
Vinegar cleaner DIY recipes are your secret weapon to a sparkling clean home, without breaking the bank or exposing your family to harsh chemicals. Have you ever wondered if there was a way to ditch those expensive, store-bought cleaners filled with unpronounceable ingredients? Well, you’re in luck! For generations, vinegar has been a trusted cleaning agent, passed down through families as a simple, effective, and eco-friendly solution.
From ancient civilizations using it to preserve food to our grandmothers relying on it for everyday cleaning, vinegar’s cleaning power is undeniable. But why should you embrace these vinegar cleaner DIY recipes now? In today’s world, we’re more conscious than ever about the impact of chemicals on our health and the environment. Plus, let’s be honest, saving money is always a good thing! I’m excited to share some easy-to-follow recipes that will transform your cleaning routine and leave your home smelling fresh and feeling healthier. Get ready to unlock the cleaning potential of this humble household staple!
DIY Vinegar Cleaning Powerhouse: Recipes for a Sparkling Home
Okay, let’s dive into the wonderful world of vinegar cleaning! I’m going to share my favorite DIY vinegar cleaner recipes that will leave your home sparkling without breaking the bank or exposing you to harsh chemicals. Vinegar is a fantastic, natural cleaner, and I’ve found it to be incredibly versatile.
Why Vinegar?
Before we get started, let’s quickly touch on why vinegar is such a cleaning superstar. It’s a mild acid, which makes it excellent for cutting through grease, grime, and hard water stains. Plus, it’s naturally antibacterial and antifungal, making it a great choice for disinfecting surfaces. And the best part? It’s super affordable!
General Guidelines for Using Vinegar
* Always use distilled white vinegar: This is the most common and effective type for cleaning.
* Dilute it properly: Vinegar is acidic, so diluting it with water is crucial to prevent damage to certain surfaces.
* Test on an inconspicuous area first: Before cleaning an entire surface, always test your vinegar solution on a small, hidden spot to ensure it doesn’t cause discoloration or damage.
* Don’t mix with bleach: This is extremely important! Mixing vinegar and bleach creates toxic chlorine gas, which is dangerous to inhale.
* Be mindful of surfaces: Avoid using vinegar on natural stone surfaces like marble and granite, as it can etch them. Also, avoid using it on waxed wood, as it can strip the wax.
All-Purpose Vinegar Cleaner
This is my go-to cleaner for almost everything! It’s simple, effective, and smells fresh (especially with the essential oils).
Ingredients:
* 1 part distilled white vinegar
* 1 part water
* 10-20 drops of your favorite essential oil (I love lemon, lavender, or tea tree)
* Spray bottle
Instructions:
1. Combine ingredients: In your spray bottle, combine the vinegar and water.
2. Add essential oils: Add your chosen essential oils. The essential oils not only add a pleasant scent but also have their own antibacterial and antifungal properties.
3. Shake well: Secure the spray nozzle and shake the bottle well to combine all the ingredients.
4. Spray and wipe: Spray the solution onto the surface you want to clean and wipe it down with a clean cloth or sponge. For stubborn messes, let the solution sit for a few minutes before wiping.
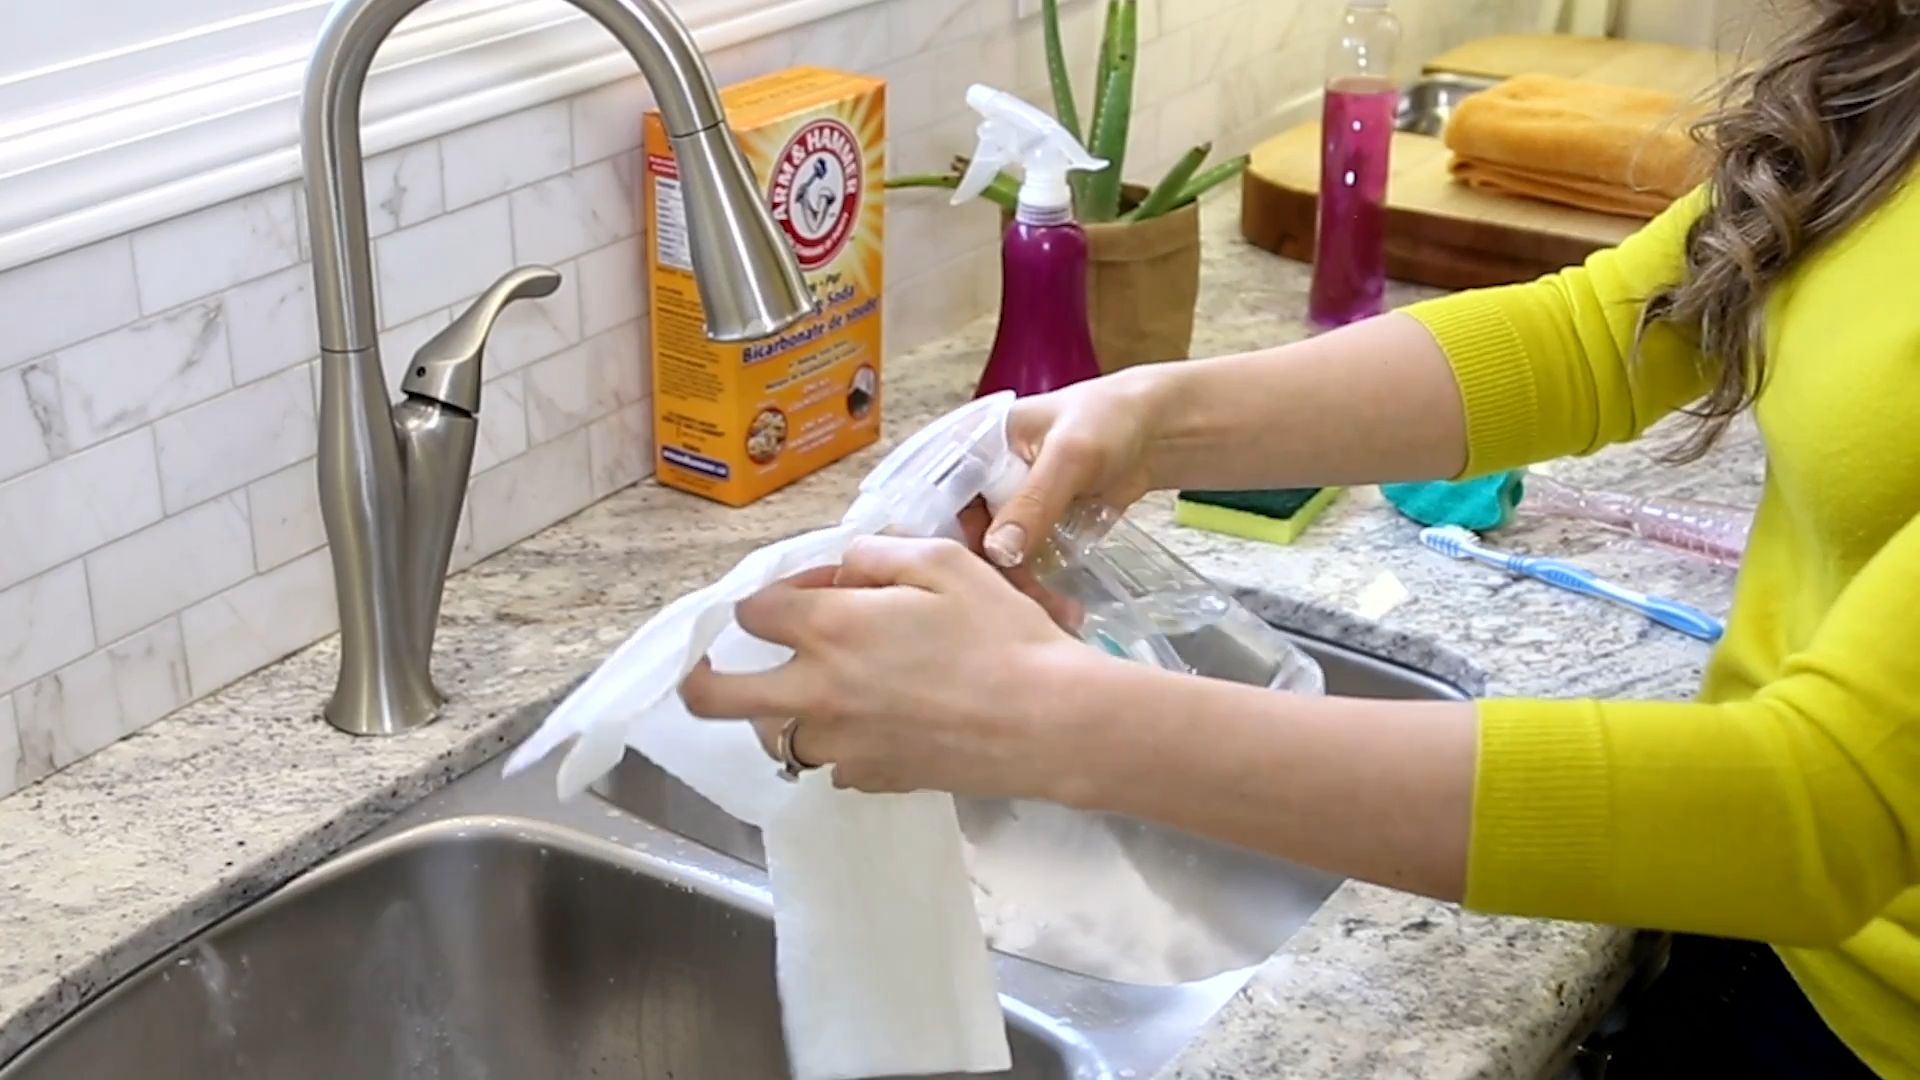
This all-purpose cleaner is great for countertops (except natural stone), sinks, appliances, and even windows!
Vinegar Window Cleaner
Say goodbye to streaks! This vinegar window cleaner will leave your windows sparkling clean.
Ingredients:
* 1/4 cup distilled white vinegar
* 2 cups water
* Spray bottle
* Microfiber cloth
Instructions:
1. Mix the solution: In your spray bottle, combine the vinegar and water.
2. Spray the windows: Spray the solution liberally onto your windows.
3. Wipe with a microfiber cloth: Use a clean, dry microfiber cloth to wipe the windows clean. Microfiber cloths are excellent for streak-free cleaning.
4. Dry if needed: If you notice any streaks, you can dry the windows with another clean, dry microfiber cloth.
I find this works best on a cloudy day, as direct sunlight can cause the solution to dry too quickly and leave streaks.
Vinegar Toilet Bowl Cleaner
This is a simple and effective way to keep your toilet bowl clean and fresh.
Ingredients:
* 1 cup distilled white vinegar
* Toilet brush
Instructions:
1. Pour vinegar into the bowl: Pour the vinegar directly into the toilet bowl.
2. Let it sit: Let the vinegar sit for at least 30 minutes, or even overnight for tougher stains. The vinegar will help to loosen mineral deposits and grime.
3. Scrub and flush: Use your toilet brush to scrub the bowl thoroughly, paying attention to any stains or buildup.
4. Flush: Flush the toilet to rinse away the vinegar and loosened debris.
For extra cleaning power, you can add a few drops of tea tree oil to the vinegar before pouring it into the bowl.
Vinegar Shower Cleaner
This recipe helps prevent soap scum and mildew buildup in your shower.
Ingredients:
* 1 part distilled white vinegar
* 1 part water
* Spray bottle
Instructions:
1. Mix the solution:Why Vinegar?
Before we get started, let’s quickly touch on why vinegar is such a cleaning superstar. It’s a mild acid, which makes it excellent for cutting through grease, grime, and hard water stains. Plus, it’s naturally antibacterial and antifungal, making it a great choice for disinfecting surfaces. And the best part? It’s super affordable!
General Guidelines for Using Vinegar
* Always use distilled white vinegar: This is the most common and effective type for cleaning.
* Dilute it properly: Vinegar is acidic, so diluting it with water is crucial to prevent damage to certain surfaces.
* Test on an inconspicuous area first: Before cleaning an entire surface, always test your vinegar solution on a small, hidden spot to ensure it doesn’t cause discoloration or damage.
* Don’t mix with bleach: This is extremely important! Mixing vinegar and bleach creates toxic chlorine gas, which is dangerous to inhale.
* Be mindful of surfaces: Avoid using vinegar on natural stone surfaces like marble and granite, as it can etch them. Also, avoid using it on waxed wood, as it can strip the wax.
All-Purpose Vinegar Cleaner
This is my go-to cleaner for almost everything! It’s simple, effective, and smells fresh (especially with the essential oils).
Ingredients:
* 1 part distilled white vinegar
* 1 part water
* 10-20 drops of your favorite essential oil (I love lemon, lavender, or tea tree)
* Spray bottle
Instructions:
1. Combine ingredients: In your spray bottle, combine the vinegar and water.
2. Add essential oils: Add your chosen essential oils. The essential oils not only add a pleasant scent but also have their own antibacterial and antifungal properties.
3. Shake well: Secure the spray nozzle and shake the bottle well to combine all the ingredients.
4. Spray and wipe: Spray the solution onto the surface you want to clean and wipe it down with a clean cloth or sponge. For stubborn messes, let the solution sit for a few minutes before wiping.
This all-purpose cleaner is great for countertops (except natural stone), sinks, appliances, and even windows!
Vinegar Window Cleaner
Say goodbye to streaks! This vinegar window cleaner will leave your windows sparkling clean.
Ingredients:
* 1/4 cup distilled white vinegar
* 2 cups water
* Spray bottle
* Microfiber cloth
Instructions:
1. Mix the solution: In your spray bottle, combine the vinegar and water.
2. Spray the windows: Spray the solution liberally onto your windows.
3. Wipe with a microfiber cloth: Use a clean, dry microfiber cloth to wipe the windows clean. Microfiber cloths are excellent for streak-free cleaning.
4. Dry if needed: If you notice any streaks, you can dry the windows with another clean, dry microfiber cloth.
I find this works best on a cloudy day, as direct sunlight can cause the solution to dry too quickly and leave streaks.
Vinegar Toilet Bowl Cleaner
This is a simple and effective way to keep your toilet bowl clean and fresh.
Ingredients:
* 1 cup distilled white vinegar
* Toilet brush
Instructions:
1. Pour vinegar into the bowl: Pour the vinegar directly into the toilet bowl.
2. Let it sit: Let the vinegar sit for at least 30 minutes, or even overnight for tougher stains. The vinegar will help to loosen mineral deposits and grime.
3. Scrub and flush: Use your toilet brush to scrub the bowl thoroughly, paying attention to any stains or buildup.
4. Flush: Flush the toilet to rinse away the vinegar and loosened debris.
For extra cleaning power, you can add a few drops of tea tree oil to the vinegar before pouring it into the bowl.
Vinegar Shower Cleaner
This recipe helps prevent soap scum and mildew buildup in your shower.
Ingredients:
* 1 part distilled white vinegar
* 1 part water
* Spray bottle
Instructions:
1. Mix the solution: In your spray bottle, combine the vinegar and water.
2. Spray after each shower: After each shower, spray the solution all over the shower walls, door, and floor.
3. No need to rinse: There’s no need to rinse the solution off. The vinegar will help to prevent soap scum and mildew from forming.
For a deeper clean, you can spray the shower with the solution and let it sit for 30 minutes before rinsing.
Vinegar Drain Cleaner
This is a great alternative to harsh chemical drain cleaners.
Ingredients:
* 1/2 cup baking soda
* 1 cup distilled white vinegar
* Hot water
Instructions:
1. Pour baking soda down the drain: Pour the baking soda down the clogged drain.
2. Pour vinegar down the drain: Immediately follow with the vinegar. You’ll hear fizzing, which is the chemical reaction between the baking soda and vinegar.
3. Let it sit: Let the mixture sit for at least 30 minutes, or even overnight for stubborn clogs.
4. Flush with hot water: After the waiting period, flush the drain with hot water for several minutes to clear the clog.
If the drain is still clogged, you can repeat the process.
Vinegar Microwave Cleaner
This is a super easy way to clean your microwave without any scrubbing!
Ingredients:
* 1/2 cup distilled white vinegar
* 1/2 cup water
* Microwave-safe bowl
Instructions:
1. Combine vinegar and water: In the microwave-safe bowl, combine the vinegar and water.
2. Microwave for several minutes: Microwave the mixture on high for 3-5 minutes, or until the solution is boiling and the microwave is filled with steam.
3. Let it sit: Leave the microwave door closed for 5-10 minutes to allow the steam to loosen any food splatters and grime.
4. Wipe clean: Carefully remove the bowl (it will be hot!) and wipe down the inside of the microwave with a clean cloth or sponge. The grime should wipe away easily.
Vinegar Coffee Maker Cleaner
Keep your coffee maker running smoothly and your coffee tasting fresh with this simple cleaning method.
Ingredients:
* 1 part distilled white vinegar
* 1 part water
Instructions:
1. Fill the water reservoir: Fill the water reservoir of your coffee maker with the vinegar and water mixture.
2. Brew halfway: Start the brewing cycle and let it brew halfway through.
3. Turn off and let sit: Turn off the coffee maker and let the vinegar solution sit in the reservoir for 30-60 minutes. This will allow the vinegar to dissolve any mineral buildup.
4. Finish brewing: Turn the coffee maker back on and let it finish brewing the remaining solution.
5. Rinse with water: Run several cycles of fresh water through the coffee maker to rinse away any remaining vinegar.
Vinegar Laundry Booster
Vinegar can be a great addition to your laundry routine!
Instructions:
* Add to the rinse cycle: Add 1/2 cup of distilled white vinegar to the fabric softener dispenser of your washing machine.
Benefits:
* Softens clothes: Vinegar acts as a natural fabric softener.
* Removes odors: It helps to neutralize odors in your laundry.
* Brightens colors: It can help to brighten colors and prevent fading.
* Removes soap residue: It helps to remove soap residue from your clothes.
Important Note: Do not use vinegar with bleach in your laundry.
Vinegar Hardwood Floor Cleaner
Important Note: Always test this solution on an inconspicuous area of your hardwood floor first to ensure it doesn’t damage the finish. Use sparingly and avoid leaving standing water on the floor.
Ingredients:
* 1/2 cup distilled white vinegar
* 1 gallon warm water
* Spray bottle (optional)
* Mop
Instructions:
1. Mix the solution: In a bucket, combine the vinegar and warm water.
2. Dampen the mop: Dip your mop into the solution and wring it out thoroughly. You want the mop to be damp, not soaking wet.
3. Mop the floor: Mop the floor in sections, making sure to
Conclusion
So, there you have it! Ditching those harsh chemicals and embracing the power of a homemade vinegar cleaner DIY solution is not just a trend; it’s a smart, sustainable, and surprisingly effective way to keep your home sparkling. We’ve explored the versatility of vinegar, from its grease-cutting prowess in the kitchen to its disinfecting abilities in the bathroom. You’ve seen how simple it is to create customized cleaning solutions tailored to your specific needs, all while saving money and reducing your environmental impact.
But why is this a must-try? Beyond the cost savings and eco-friendliness, a vinegar cleaner DIY offers a level of control you simply can’t get with store-bought products. You know exactly what’s going into your cleaner, avoiding potentially harmful ingredients and allergens. Plus, the satisfaction of creating something yourself that actually works is incredibly rewarding.
Don’t be afraid to experiment! While we’ve provided some fantastic base recipes, feel free to get creative. Add a few drops of your favorite essential oil for a personalized scent boost – lavender for calming, lemon for invigorating, or tea tree for extra disinfecting power. For tougher stains, try increasing the concentration of vinegar or letting the solution sit for a longer period before wiping. You can even infuse your vinegar with citrus peels or herbs for a more potent and fragrant cleaner. Consider using different types of vinegar, like apple cider vinegar, for its added benefits and unique scent. Remember to always test your cleaner on an inconspicuous area first, especially on delicate surfaces like marble or granite.
This isn’t just about cleaning; it’s about making conscious choices that benefit your health, your wallet, and the planet. It’s about taking control of your cleaning routine and discovering the simple, yet powerful, solutions that nature provides.
We truly believe that once you try this vinegar cleaner DIY, you’ll be amazed by the results. It’s a game-changer for anyone looking to simplify their cleaning routine and embrace a more natural lifestyle.
So, what are you waiting for? Gather your ingredients, mix up a batch of your own homemade vinegar cleaner, and experience the difference for yourself. We’re confident you’ll be thrilled with the results.
And most importantly, we want to hear about your experience! Share your favorite vinegar cleaner DIY recipes, tips, and tricks in the comments below. Let us know what works best for you, what variations you’ve tried, and any challenges you’ve overcome. Your insights will help others discover the magic of vinegar cleaning and build a community of eco-conscious cleaners. Let’s make our homes cleaner, greener, and healthier, one vinegar-powered spray at a time!
Frequently Asked Questions (FAQ)
Is vinegar cleaner safe for all surfaces?
While vinegar is a fantastic all-purpose cleaner, it’s not suitable for every surface. Avoid using it on natural stone surfaces like marble, granite, and limestone, as the acidity can etch and damage them. It’s also best to avoid using vinegar on waxed furniture, as it can strip the wax finish. Always test your vinegar cleaner on an inconspicuous area first to ensure it doesn’t cause any discoloration or damage. For delicate surfaces, consider diluting the vinegar solution further or using a gentler alternative.
What type of vinegar is best for cleaning?
Distilled white vinegar is generally considered the best type of vinegar for cleaning due to its high acidity and lack of color, which minimizes the risk of staining. However, apple cider vinegar can also be used, although it has a slightly milder acidity and a distinct scent. Avoid using cleaning vinegars that are specifically formulated for cleaning purposes, as they may contain additives that are not food-safe.
How do I get rid of the vinegar smell?
The vinegar smell can be a deterrent for some, but it dissipates quickly after cleaning. To minimize the odor, ensure proper ventilation by opening windows or using a fan. You can also add a few drops of essential oils, such as lemon, lavender, or eucalyptus, to your vinegar cleaner to mask the scent. Another trick is to wipe down surfaces with plain water after cleaning with vinegar to remove any lingering residue. The smell will usually disappear within an hour or two.
Can I mix vinegar with bleach?
Never mix vinegar with bleach! This combination creates toxic chlorine gas, which can be extremely harmful and even fatal. Always use vinegar and bleach separately, and never in the same cleaning solution. If you’re using bleach to disinfect, rinse the surface thoroughly with water before applying vinegar. Safety should always be your top priority when cleaning.
How long does a homemade vinegar cleaner last?
A homemade vinegar cleaner can last for several months if stored properly in a cool, dark place. However, it’s best to use it within a few weeks to ensure its effectiveness. If you notice any changes in color, odor, or consistency, discard the cleaner and make a fresh batch. To prolong its shelf life, store your vinegar cleaner in an airtight container to prevent evaporation and contamination.
Can I use vinegar cleaner on my clothes?
Yes, vinegar can be used as a natural laundry booster and stain remover. Adding a cup of vinegar to your washing machine can help brighten whites, remove odors, and soften fabrics. You can also pretreat stains with vinegar by applying it directly to the affected area and letting it sit for a few minutes before washing. However, avoid using vinegar on delicate fabrics like silk or wool, as it can damage them.
Is vinegar cleaner effective against bacteria and viruses?
Vinegar is a natural disinfectant that can kill many common household bacteria and viruses. However, it’s not as effective as stronger disinfectants like bleach or hydrogen peroxide. For surfaces that require thorough disinfection, such as cutting boards or bathroom fixtures, consider using a more potent disinfectant or a combination of vinegar and another natural disinfectant like tea tree oil. Remember to always follow the manufacturer’s instructions when using any disinfectant.
What are some other uses for vinegar cleaner?
The possibilities are endless! You can use vinegar cleaner to clean windows and mirrors, remove hard water stains, unclog drains, clean coffee makers, deodorize garbage disposals, and even kill weeds in your garden. It’s a truly versatile and eco-friendly cleaning solution that can replace many of your store-bought cleaning products. Experiment and discover new ways to incorporate vinegar cleaner into your cleaning routine.
How do I make a stronger vinegar cleaner?
If you need a stronger cleaning solution, you can increase the concentration of vinegar in your cleaner. For example, instead of a 50/50 vinegar and water solution, try using a 2/3 vinegar and 1/3 water solution. You can also add other natural cleaning agents like baking soda, lemon juice, or borax to boost its cleaning power. However, be cautious when combining different ingredients, and always test the solution on an inconspicuous area first.
What if my vinegar cleaner is not working?
If your vinegar cleaner is not working as expected, there could be several reasons. First, make sure you’re using the correct type of vinegar and that it’s properly diluted. Second, ensure that the surface you’re cleaning is not too dirty or greasy, as vinegar may not be effective on heavily soiled surfaces. Third, try letting the vinegar cleaner sit on the surface for a longer period before wiping it off. Finally, consider adding other cleaning agents like baking soda or lemon juice to boost its cleaning power. If all else fails, you may need to use a stronger cleaning solution or seek professional cleaning services.

Leave a Comment