
Vegetable tower DIY projects are taking the gardening world by storm, and for good reason! Imagine fresh, homegrown veggies bursting with flavor, all within arm’s reach, even if you’re short on space. Forget sprawling gardens; we’re talking vertical victory! Have you ever dreamed of plucking ripe tomatoes or crisp lettuce right from your patio or balcony? Well, get ready to turn that dream into a delicious reality.
The concept of vertical gardening isn’t new. Think of the Hanging Gardens of Babylon, one of the Seven Wonders of the Ancient World! While we might not be building anything quite so grand, the principle remains the same: maximizing space and bringing nature closer to home. Today, with smaller living spaces and a growing desire for sustainable living, the vegetable tower DIY approach is more relevant than ever.
Why do you need this DIY trick in your life? Because it’s a game-changer! It’s perfect for apartment dwellers, urban gardeners, or anyone who wants to enjoy fresh produce without the hassle of traditional gardening. Plus, it’s incredibly rewarding to build something with your own hands and then watch it flourish. I’m excited to guide you through creating your own thriving vegetable tower, so let’s get started and unlock the secrets to a bountiful harvest, no matter how small your space!

DIY Vertical Vegetable Tower: Grow More in Less Space!
Hey there, fellow gardening enthusiasts! Are you dreaming of a bountiful harvest but short on space? I totally get it! That’s why I’m so excited to share this awesome DIY project with you: building your own vertical vegetable tower. This tower is a fantastic way to maximize your growing potential, even if you only have a small balcony, patio, or even just a sunny corner. Plus, it looks pretty darn cool!
This project might seem a little intimidating at first, but trust me, it’s totally doable. I’ll walk you through every step, and before you know it, you’ll have a thriving vertical garden overflowing with fresh veggies. Let’s get started!
What You’ll Need: The Supply List
Before we dive in, let’s gather all the necessary materials. Having everything on hand will make the building process much smoother.
* Two Plastic Buckets (Food-Grade): One large (at least 5-gallon) and one slightly smaller (3-4 gallon) that can nest inside the larger one. Make sure they are food-grade plastic to avoid any harmful chemicals leaching into your soil.
* PVC Pipe (4-inch diameter): The length will depend on how tall you want your tower, but I recommend around 4-5 feet. This will be the central support and watering system.
* PVC Pipe Cap (4-inch): To seal the bottom of the PVC pipe.
* Drill with Various Drill Bits: You’ll need a large drill bit (around 1-2 inches) for creating planting holes in the outer bucket and smaller bits for drainage and watering holes.
* Utility Knife or Jigsaw: For cutting the PVC pipe, if needed, and potentially modifying the inner bucket.
* Measuring Tape or Ruler: Accuracy is key!
* Permanent Marker: For marking cutting and drilling locations.
* Landscape Fabric or Burlap: To line the inner bucket and prevent soil from washing out.
* Zip Ties or Twine: To secure the landscape fabric.
* Potting Mix: Choose a high-quality potting mix specifically formulated for vegetables.
* Gravel or Small Rocks: For drainage at the bottom of the outer bucket.
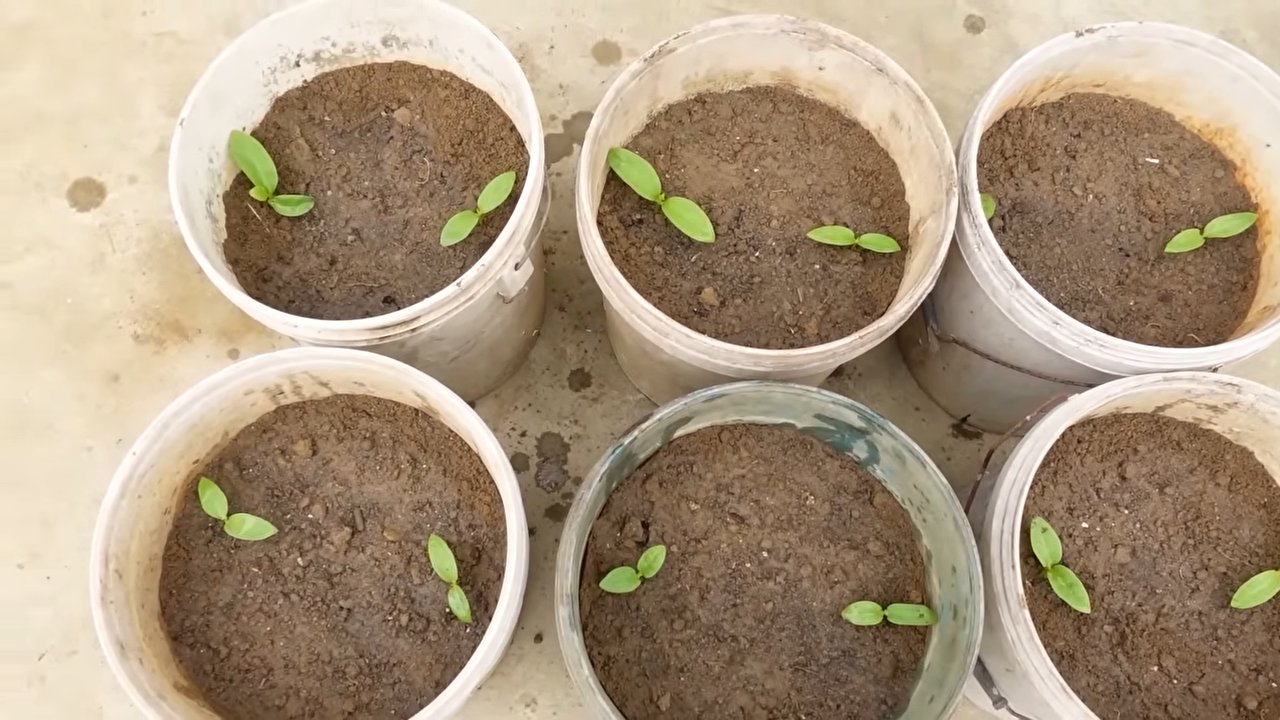
* Vegetable Seedlings or Seeds: Choose compact varieties that thrive in containers, like lettuce, herbs, strawberries, or dwarf tomatoes.
* Safety Glasses and Gloves: Always protect yourself!
Building the Tower: Step-by-Step Instructions
Okay, let’s get our hands dirty! Here’s how to assemble your vertical vegetable tower:
1. Prepare the Outer Bucket: This is where the magic happens!
* Drill Drainage Holes: Flip the larger bucket upside down and drill several drainage holes (about 1/4 inch in diameter) in the bottom. This is crucial to prevent waterlogging.
* Mark Planting Holes: Decide how many planting holes you want and how far apart they should be. I usually go for 3-4 rows of holes, staggered for maximum planting space. Use your measuring tape and marker to evenly space the holes around the bucket. Aim for holes that are 2-3 inches in diameter.
* Cut Planting Holes: Carefully use your drill with the larger drill bit or a utility knife to cut out the planting holes. Be patient and take your time to avoid cracking the plastic. Smooth the edges of the holes to prevent any sharp points.
2. Prepare the Inner Bucket: This bucket will help distribute water evenly.
* Drill Watering Holes: Drill numerous small holes (about 1/8 inch in diameter) all over the sides and bottom of the smaller bucket. These holes will allow water to seep out and irrigate the surrounding soil.
* Line with Landscape Fabric: Cut a piece of landscape fabric or burlap large enough to line the inside of the smaller bucket. This will prevent soil from washing out through the watering holes. Secure the fabric to the top edge of the bucket with zip ties or twine.
3. Prepare the PVC Pipe: This is the backbone of our watering system.
* Drill Watering Holes: Drill small holes (about 1/8 inch in diameter) along the length of the PVC pipe. Space them about 4-6 inches apart, focusing on the lower two-thirds of the pipe. This will ensure even watering throughout the tower.
* Attach the Cap: Securely attach the PVC pipe cap to the bottom of the pipe. This will prevent water from draining directly out the bottom.
4. Assemble the Tower: Now for the fun part!
* Add Drainage Layer: Place a layer of gravel or small rocks (about 2-3 inches deep) at the bottom of the larger bucket. This will improve drainage and prevent the soil from becoming waterlogged.
* Position the PVC Pipe: Place the capped PVC pipe in the center of the larger bucket, standing upright.
* Insert the Inner Bucket: Carefully nest the smaller bucket inside the larger bucket, around the PVC pipe.
* Fill with Potting Mix: Gradually fill the space between the two buckets with potting mix. As you fill, gently pack the soil around the PVC pipe and the inner bucket. Stop filling when the soil level reaches just below the top of the inner bucket.
5. Plant Your Vegetables: The moment we’ve been waiting for!
* Plant Seedlings: Gently remove your seedlings from their containers and carefully plant them in the planting holes you created in the outer bucket. Make sure the roots are well covered with soil.
* Plant Seeds: If you’re using seeds, follow the instructions on the seed packet for planting depth and spacing.
* Water Thoroughly: Water the entire tower thoroughly, pouring water into the top of the PVC pipe and directly onto the soil around the plants. This will help settle the soil and encourage root growth.
Maintaining Your Vertical Garden: Tips for Success
Now that your vertical vegetable tower is built and planted, here are a few tips to keep it thriving:
* Watering: Check the soil moisture regularly. The tower will likely dry out faster than a traditional garden bed, especially in hot weather. Water thoroughly whenever the top inch of soil feels dry. Pour water into the top of the PVC pipe to distribute water evenly throughout the tower.
* Fertilizing: Vertical gardens require regular fertilization because nutrients can leach out quickly. Use a liquid fertilizer specifically formulated for vegetables, following the instructions on the label. I prefer using an organic fertilizer.
* Sunlight: Place your tower in a location that receives at least 6-8 hours of sunlight per day. If you don’t have a sunny spot, you can supplement with grow lights.
* Pest Control: Keep an eye out for pests and diseases. Treat any problems promptly with organic pest control methods, such as insecticidal soap or neem oil.
* Rotation: Rotate your tower regularly to ensure that all sides receive equal sunlight.
* Support: As your plants grow, they may need support. Use stakes, trellises, or twine to help them stay upright.
* Harvesting: Harvest your vegetables regularly to encourage continued production.
Choosing the Right Plants: What to Grow in Your Tower
Not all vegetables are created equal when it comes to vertical gardening. Here are some of my favorite plants to grow in a vegetable tower:
* Lettuce and Salad Greens: These are perfect for planting in the holes around the tower. They’re easy to grow and provide a continuous harvest.
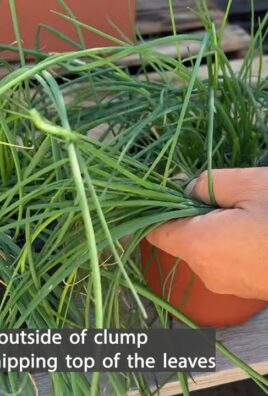
* Herbs: Herbs like basil, parsley, thyme, and oregano thrive in containers and add flavor to your meals.
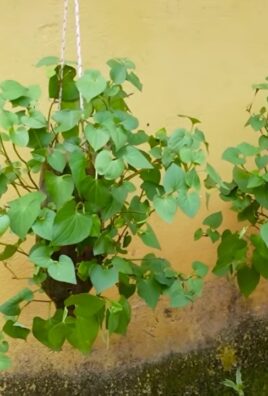
* Strawberries: Strawberries are a beautiful and delicious addition to any vertical garden.
* Dwarf Tomatoes: Choose compact tomato varieties that won’t get too large and overwhelm the tower.
* Peppers: Smaller pepper varieties, like chili peppers or bell peppers, are well-suited for container gardening.
* Spinach: Similar to lettuce, spinach is easy to grow and provides a nutritious harvest.
* Radishes: Radishes grow quickly and can be harvested in just a few weeks.
Troubleshooting: Common Problems and Solutions
Even with the best planning, you might encounter a few challenges along the way. Here are some common problems and how to fix them:
* Plants are Wilting: This could be due to underwatering, overwatering, or too much sun. Check the soil moisture and adjust your watering schedule accordingly. If the plants are getting too much sun, move the tower to a shadier location.
* Yellowing Leaves: This could be a sign of nutrient deficiency. Fertilize your plants with a balanced fertilizer.
* Pests: Inspect your plants regularly for pests. Treat any infestations promptly with organic pest control methods.
* Slow Growth: This could be due to lack of sunlight
Conclusion
So, there you have it! Creating your own vegetable tower is not just a fun weekend project; it’s a game-changer for anyone looking to maximize their gardening space, enjoy fresh, homegrown produce, and add a touch of vertical beauty to their outdoor area. We’ve walked you through the process, highlighting the simplicity and adaptability of this DIY project.
Why is this vegetable tower DIY a must-try? Because it offers a multitude of benefits that traditional gardening simply can’t match. Imagine harvesting a bounty of herbs, strawberries, or leafy greens from a compact, visually appealing structure. Think of the space you’ll save, especially if you’re working with a small balcony, patio, or urban garden. Consider the reduced weeding and pest control, thanks to the elevated design. And, of course, relish the satisfaction of knowing you built something amazing with your own two hands.
But the beauty of this project lies in its versatility. Feel free to experiment with different materials. Instead of using plastic containers, explore repurposing old tires, wooden pallets, or even terracotta pots for a more rustic look. Get creative with the planting pockets. You can use landscape fabric, burlap sacks, or even old jeans to create unique and eye-catching planters.
When it comes to choosing what to grow, the possibilities are endless. Strawberries, herbs like basil, mint, and thyme, leafy greens like lettuce and spinach, and even smaller vegetables like peppers and cherry tomatoes thrive in vegetable towers. Consider the amount of sunlight your tower will receive and choose plants accordingly. Remember to select companion plants that benefit each other, such as basil and tomatoes, to maximize your yield and minimize pest problems.
Don’t be afraid to personalize your vegetable tower to suit your specific needs and preferences. Add a drip irrigation system for easy watering, incorporate decorative elements like painted designs or mosaic tiles, or even build a trellis to support climbing plants like cucumbers or beans.
We understand that embarking on a DIY project can sometimes feel daunting, but we assure you that this vegetable tower DIY is achievable for gardeners of all skill levels. With a little planning, some basic materials, and a can-do attitude, you’ll be well on your way to creating a thriving vertical garden that will be the envy of your neighbors.
We wholeheartedly encourage you to give this project a try. Not only will you enjoy the process of building your own vegetable tower, but you’ll also reap the rewards of fresh, homegrown produce for months to come. And most importantly, we want to hear about your experience! Share your photos, tips, and stories with us. Let us know what worked well for you, what challenges you encountered, and what variations you came up with. Together, we can inspire others to embrace the joy of vertical gardening and create a community of passionate DIYers. So, grab your tools, gather your materials, and get ready to build your own amazing vegetable tower! Happy gardening!
Frequently Asked Questions (FAQ)
What are the best vegetables to grow in a vegetable tower?
The best vegetables for a vegetable tower are generally those that have shallow root systems and don’t require a lot of space. Some excellent choices include:
* **Leafy Greens:** Lettuce, spinach, kale, and arugula thrive in towers. They are relatively compact and can be harvested continuously.
* **Herbs:** Basil, mint, thyme, oregano, parsley, and chives are perfect for towers. They are easy to grow and add fresh flavor to your meals.
* **Strawberries:** These are a popular choice for towers due to their trailing growth habit and delicious fruit.
* **Cherry Tomatoes:** Smaller tomato varieties like cherry or grape tomatoes do well in towers, but may require some support as they grow.
* **Peppers:** Smaller pepper varieties, such as chili peppers or bell peppers, can also be grown successfully in towers.
* **Radishes:** These fast-growing root vegetables can be planted in the upper levels of the tower.
* **Marigolds:** These flowers are great for pest control and add color to your tower.
Avoid planting large, sprawling vegetables like pumpkins, watermelons, or corn, as they require too much space and nutrients for a tower system.
How much sunlight does a vegetable tower need?
Most vegetables require at least 6-8 hours of direct sunlight per day to thrive. Place your vegetable tower in a location that receives ample sunlight throughout the day. If you don’t have a sunny spot, you can supplement with grow lights. Consider the specific light requirements of the plants you choose. Leafy greens can tolerate partial shade, while fruiting vegetables like tomatoes and peppers need full sun.
How often should I water my vegetable tower?
The watering frequency depends on several factors, including the weather, the type of plants you’re growing, and the material of your tower. Generally, you’ll need to water your vegetable tower more frequently than a traditional garden bed, as the soil in the tower tends to dry out faster. Check the soil moisture daily by sticking your finger into the soil. If the top inch feels dry, it’s time to water. Water thoroughly until water drains out of the bottom of the tower. Consider installing a drip irrigation system or using self-watering containers to make watering easier and more efficient.
What kind of soil should I use in my vegetable tower?
Use a well-draining potting mix that is rich in organic matter. Avoid using garden soil, as it can be too heavy and compact, hindering drainage and root growth. A good potting mix will retain moisture while allowing excess water to drain away. You can also amend your potting mix with compost, perlite, or vermiculite to improve drainage and aeration.
How do I fertilize my vegetable tower?
Vegetable towers require regular fertilization to provide the plants with the nutrients they need to grow and produce. Use a balanced, slow-release fertilizer at planting time, and then supplement with liquid fertilizer every 2-4 weeks. Choose a fertilizer that is specifically formulated for vegetables or herbs. You can also use organic fertilizers like compost tea or fish emulsion. Follow the instructions on the fertilizer label carefully to avoid over-fertilizing, which can damage your plants.
How do I prevent pests and diseases in my vegetable tower?
Prevention is key when it comes to pests and diseases. Start by using healthy, disease-resistant plants. Inspect your plants regularly for signs of pests or diseases. Remove any infected leaves or plants immediately. Use organic pest control methods like insecticidal soap, neem oil, or diatomaceous earth to control pests. Encourage beneficial insects like ladybugs and lacewings to visit your garden. Ensure good air circulation around your plants to prevent fungal diseases. Avoid overwatering, as this can create a favorable environment for diseases.
Can I move my vegetable tower?
The movability of your vegetable tower depends on its size and weight. Smaller, lightweight towers can be easily moved, while larger, heavier towers may require assistance. Consider the weight of the tower when it’s filled with soil and plants. If you plan to move your tower frequently, choose a lightweight material and consider adding wheels or casters to the base.
How long will my vegetable tower last?
The lifespan of your vegetable tower depends on the materials you use and how well you maintain it. Plastic containers can last for several years, while wooden structures may require more frequent maintenance. Protect your tower from extreme weather conditions like frost and strong winds. Clean your tower regularly to prevent the buildup of algae and debris. With proper care, your vegetable tower can provide you with years of fresh, homegrown produce.
What if I don’t have a lot of space for a large vegetable tower?
That’s perfectly fine! One of the great things about the vegetable tower DIY is that you can customize the size to fit your available space. You can create a smaller, more compact tower using fewer containers or a narrower design. Even a small vegetable tower can provide you with a surprising amount of fresh herbs and vegetables. Consider building a wall-mounted vertical garden if you have limited floor space.
How do I prepare my vegetable tower for winter?
If you live in an area with cold winters, you’ll need to take steps to protect your vegetable tower from frost and freezing temperatures. Move your tower to a sheltered location, such as a garage or greenhouse. Alternatively, you can cover your tower with a frost blanket or burlap to insulate the plants. Remove any dead or diseased foliage. Reduce watering frequency. Some plants, like herbs, may survive the winter and regrow in the spring. Others, like tomatoes and peppers, will need to be replanted each year.

Leave a Comment