
Toothpaste Faucet Cleaning Trick: Are you tired of staring at a dull, stained faucet every morning? I know I was! It’s amazing how quickly those shiny fixtures can lose their luster, becoming magnets for water spots, grime, and even stubborn rust. But what if I told you that the secret to sparkling faucets is likely already sitting in your bathroom cabinet?
For generations, people have sought simple, effective ways to maintain their homes. While modern cleaning products offer convenience, sometimes the best solutions are the most unexpected. Think about it – our grandparents often relied on everyday items for cleaning, and their homes were often spotless! This toothpaste faucet cleaning trick is a nod to that resourceful spirit, a way to achieve professional-level results without harsh chemicals or expensive cleaners.
Why is this DIY trick so essential? Because a gleaming faucet isn’t just about aesthetics; it’s about creating a clean and inviting space. A sparkling bathroom or kitchen can instantly uplift your mood and make your home feel more welcoming. Plus, regularly cleaning your faucets prevents the buildup of mineral deposits that can eventually damage the finish. So, ditch the harsh chemicals and let’s get those faucets shining with this simple, effective, and surprisingly satisfying method!
DIY Toothpaste Faucet Cleaning Hack: Sparkle Like New!
Okay, let’s face it, faucets can get *nasty*. Water spots, soap scum, and just general grime build-up can make even the fanciest faucet look dull and unappealing. But don’t despair! I’ve got a super simple, surprisingly effective trick using something you probably already have in your bathroom: toothpaste! Yes, you read that right. Toothpaste isn’t just for your teeth; it’s a fantastic, gentle abrasive that can restore your faucet’s shine.
Why Toothpaste Works Wonders
Before we dive into the how-to, let’s quickly understand why toothpaste is so effective. It contains mild abrasives that help to gently scrub away dirt and grime without scratching the faucet’s finish. Plus, the minty scent leaves your bathroom smelling fresh! It’s a win-win!
Materials You’ll Need
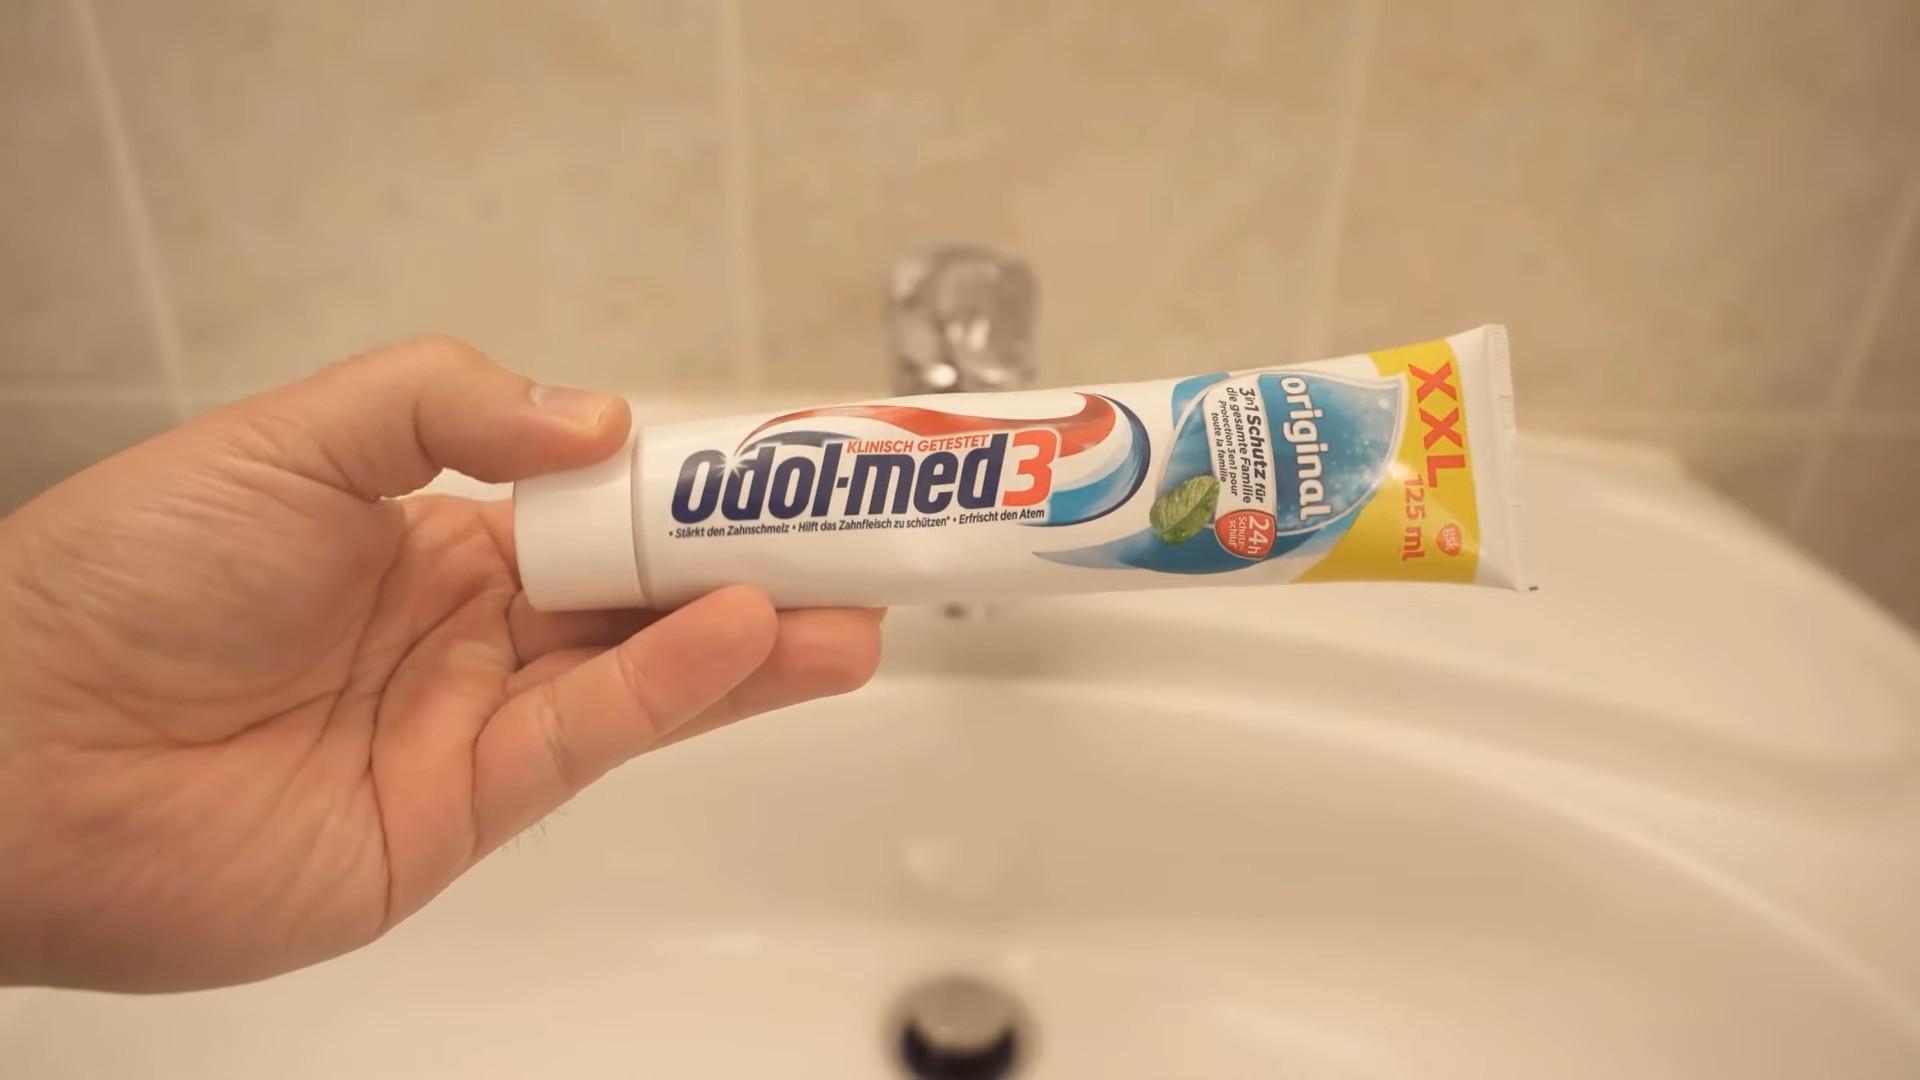
* Toothpaste (non-gel, white paste works best)
* Soft-bristled toothbrush (an old one is perfect!)
* Microfiber cloth
* Water
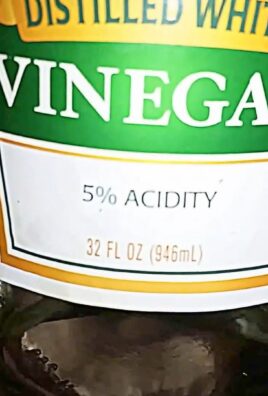
* Optional: White vinegar (for stubborn hard water stains)
* Optional: Baking soda (for extra cleaning power)
Step-by-Step Guide to a Sparkling Faucet
Here’s the breakdown of how to get your faucet looking brand new using just toothpaste:
1. Prepare the Faucet: Start by rinsing the faucet with water to remove any loose debris or surface dirt. This will help the toothpaste work more effectively.
2. Apply the Toothpaste: Squeeze a small amount of toothpaste (about the size of a pea) onto your soft-bristled toothbrush. You don’t need a ton!
3. Gentle Scrubbing: Gently scrub the entire surface of the faucet with the toothbrush. Pay special attention to areas with visible water spots, soap scum, or grime. Use small, circular motions and avoid applying too much pressure, especially on delicate finishes. Make sure to get into all the nooks and crannies around the base of the faucet, the handle, and the spout.
4. Reach the Hard-to-Reach Spots: The toothbrush is your best friend here! Use it to get into those tight spaces around the base of the faucet, the handle connections, and any other areas where grime tends to accumulate.
5. Let it Sit (Optional): For particularly stubborn stains, you can let the toothpaste sit on the faucet for a few minutes (5-10 minutes should do the trick). This allows the abrasives in the toothpaste to work their magic and loosen the grime.
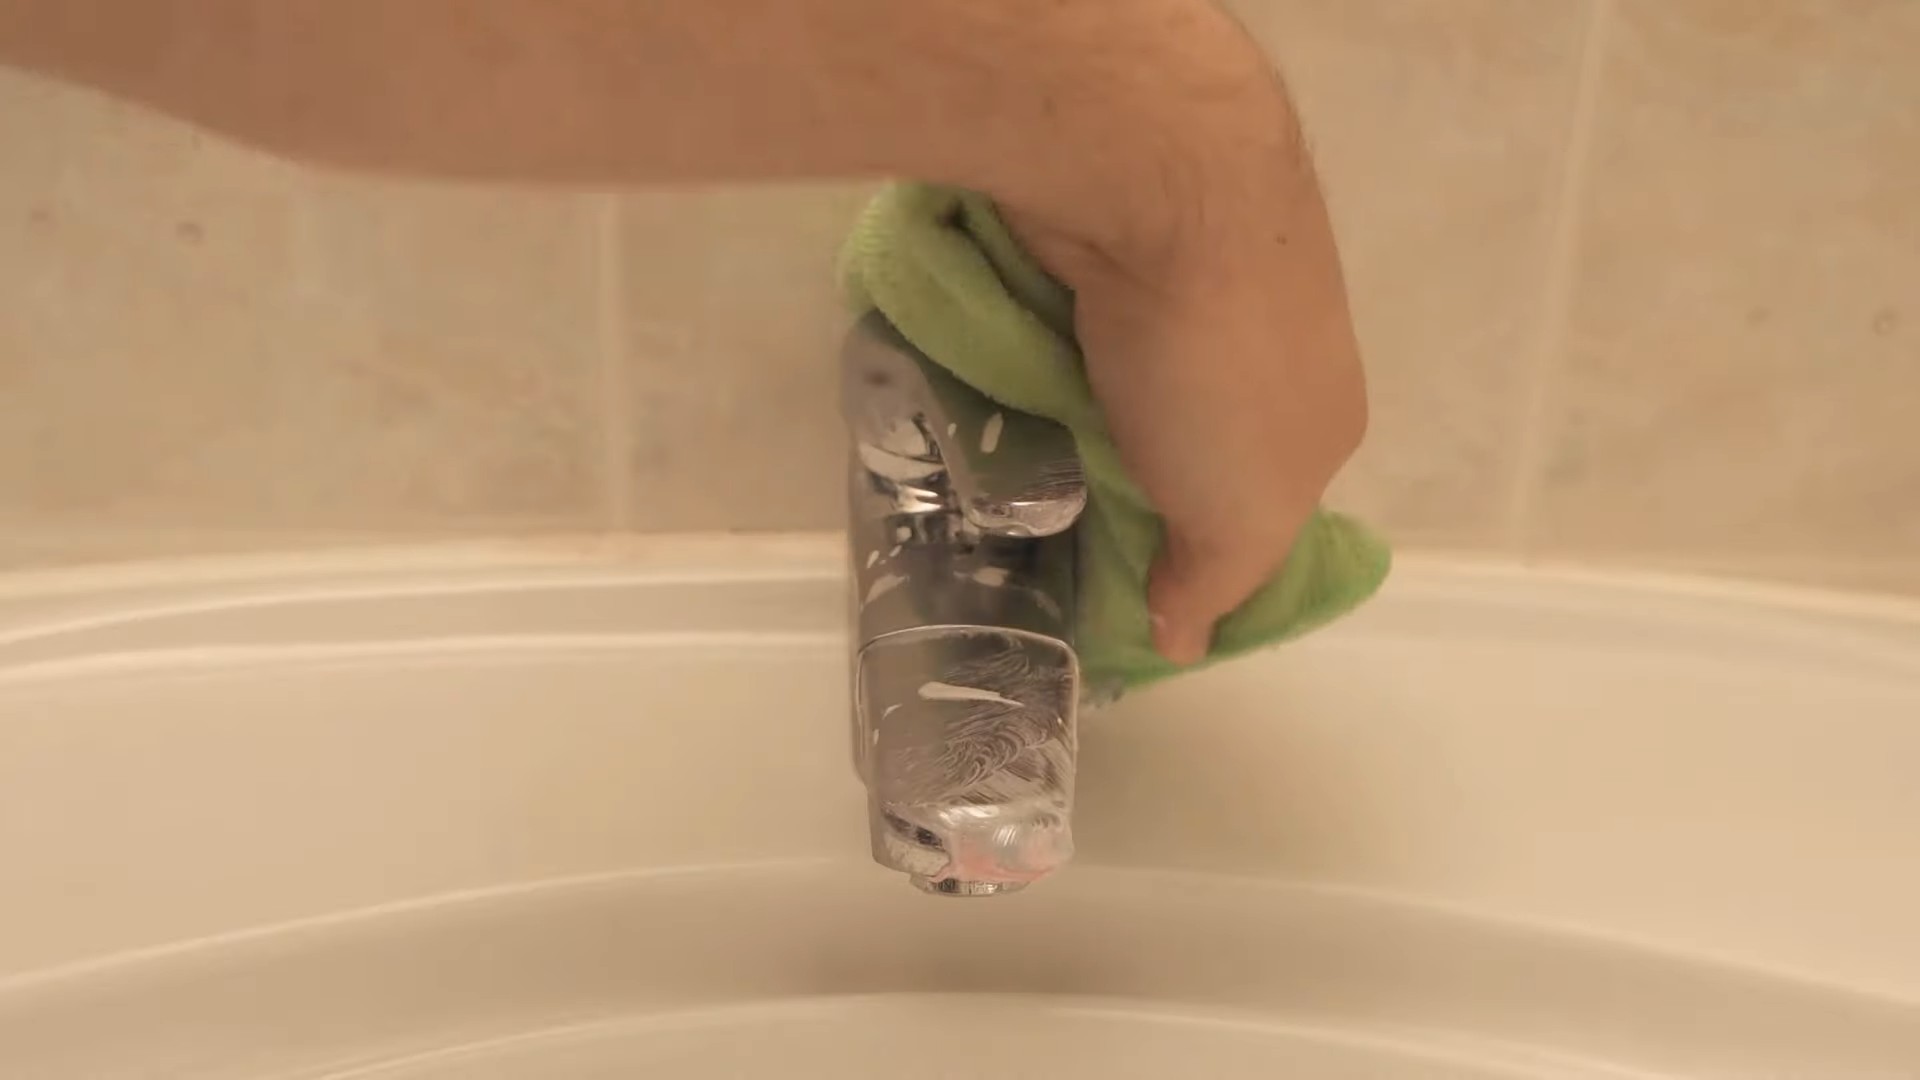
6. Rinse Thoroughly: After scrubbing (and letting it sit, if you chose to), rinse the faucet thoroughly with water. Make sure to remove all traces of toothpaste. You might need to use your fingers or a clean cloth to help remove any stubborn residue.
7. Dry and Buff: Use a clean, dry microfiber cloth to dry the faucet completely. As you dry it, buff the surface to bring out its shine. This step is crucial for achieving that sparkling, like-new look.
8. Inspect and Repeat (If Necessary): Take a good look at your faucet. If you still see any lingering stains or grime, repeat the process. Sometimes, a second application is needed for really tough spots.
Dealing with Stubborn Hard Water Stains
Hard water stains can be a real pain, but don’t worry, I’ve got a couple of extra tricks up my sleeve!
Using White Vinegar
White vinegar is a natural acid that can dissolve hard water deposits. Here’s how to use it:
1. Vinegar Soak: Soak a clean cloth or paper towel in white vinegar.
2. Apply to Stains: Wrap the vinegar-soaked cloth around the affected areas of the faucet.
3. Let it Sit: Let it sit for 15-30 minutes to allow the vinegar to break down the mineral deposits.
4. Scrub and Rinse: Remove the cloth and scrub the area with your toothbrush and toothpaste as described above. Rinse thoroughly with water and dry with a microfiber cloth.
Baking Soda Power
Baking soda is another excellent natural cleaner and mild abrasive.
1. Make a Paste: Mix baking soda with a small amount of water to create a thick paste.
2. Apply the Paste: Apply the baking soda paste to the hard water stains.
3. Gentle Scrubbing: Gently scrub the area with your toothbrush.
4. Rinse Thoroughly: Rinse thoroughly with water and dry with a microfiber cloth. You can even mix a little baking soda with the toothpaste for extra cleaning power!
Tips for Maintaining a Sparkling Faucet
Once you’ve got your faucet looking shiny and new, you’ll want to keep it that way! Here are a few tips for maintaining its sparkle:
* Wipe Down Regularly: After each use, wipe down the faucet with a dry cloth to prevent water spots from forming.
* Use a Water Softener: If you have hard water, consider installing a water softener to reduce mineral buildup.
* Regular Cleaning: Clean your faucet regularly (at least once a week) with toothpaste or another gentle cleaner to prevent grime from accumulating.
* Avoid Harsh Chemicals: Avoid using harsh chemicals or abrasive cleaners, as they can damage the faucet’s finish.
Choosing the Right Toothpaste
While most toothpastes will work for this hack, here are a few things to keep in mind when choosing one:
* Non-Gel: Opt for a non-gel toothpaste, as the gel formulas tend to be less effective at cleaning.
* White Paste: White paste toothpastes generally contain more abrasives than colored or striped toothpastes.
* Avoid Whitening Toothpastes (Initially): While whitening toothpastes can be tempting, they can sometimes be too abrasive for certain faucet finishes. I recommend starting with a regular toothpaste and only using a whitening toothpaste if necessary, and always test it in an inconspicuous area first.
Troubleshooting Common Issues
* Streaks: If you’re seeing streaks after cleaning, it could be due to toothpaste residue. Make sure you’re rinsing the faucet thoroughly and drying it with a clean microfiber cloth.
* Dull Finish: If your faucet still looks dull after cleaning, it could be due to a buildup of mineral deposits. Try using the white vinegar or baking soda methods described above.
* Scratches: If you’re noticing scratches, you might be using too much pressure or an overly abrasive cleaner. Be gentle and use a soft-bristled toothbrush.
Safety First!
While this hack is generally safe, here are a few safety precautions to keep in mind:
* Test in an Inconspicuous Area: Before cleaning the entire faucet, test the toothpaste in a small, inconspicuous area to make sure it doesn’t damage the finish.
* Avoid Abrasive Cleaners: Avoid using harsh chemicals or abrasive cleaners, as they can damage the faucet’s finish.
* Wear Gloves (Optional): If you have sensitive skin, you might want to wear gloves to protect your hands.
Beyond the Faucet: Other Uses for Toothpaste Cleaning
The cleaning power of toothpaste isn’t limited to faucets! You can also use it to clean:
* Chrome Fixtures: Toothpaste works great on other chrome fixtures in your bathroom, such as showerheads and towel racks.
* Jewelry: Gently scrub your silver or gold jewelry with toothpaste to remove tarnish and restore its shine.
* Sneakers: Use toothpaste to clean the rubber soles of your sneakers.
* Iron: Clean the soleplate of your iron with toothpaste to remove scorch marks.
So, there you have it! A simple, effective, and affordable way to get your faucets sparkling like new using just toothpaste. Give it a try, and I guarantee you’ll be amazed at the results! Happy cleaning!
Conclusion
So, there you have it! The toothpaste faucet cleaning trick is not just a hack; it’s a revelation for anyone battling stubborn water spots, grime, and the general dullness that plagues our bathroom and kitchen fixtures. We’ve all been there, scrubbing away with commercial cleaners, only to be met with lackluster results and the lingering scent of harsh chemicals. This simple, cost-effective method offers a refreshing alternative, harnessing the gentle abrasive power of toothpaste to restore your faucets to their former glory.
Why is this a must-try? Because it’s effective, readily accessible, and surprisingly gentle on your fixtures. Unlike harsh chemicals that can damage the finish over time, toothpaste provides a controlled cleaning action that lifts away grime without scratching. Plus, you likely already have a tube of toothpaste in your bathroom, making this a truly convenient solution. No special trips to the store, no complicated instructions, just a simple application and a satisfying shine.
But the beauty of this trick lies not only in its simplicity but also in its adaptability. Feel free to experiment with different types of toothpaste to find what works best for your specific faucets. For instance, a whitening toothpaste might offer an extra boost for removing stubborn stains, while a gel toothpaste could be gentler on more delicate finishes. You can also adjust the application time based on the severity of the grime. For heavily soiled faucets, let the toothpaste sit for a few extra minutes before scrubbing.
Consider these variations to personalize the toothpaste faucet cleaning trick to your needs:
* Add a touch of baking soda: For extra cleaning power, mix a small amount of baking soda with the toothpaste to create a more abrasive paste. This is particularly effective for tackling hard water stains.
* Use an old toothbrush: An old toothbrush is the perfect tool for reaching those hard-to-reach areas around the base of the faucet and the handles.
* Follow up with a sealant: After cleaning, consider applying a sealant specifically designed for metal fixtures to help protect the finish and prevent future water spots.
We are confident that once you try this toothpaste faucet cleaning trick, you’ll be amazed by the results. It’s a game-changer for maintaining a sparkling clean bathroom and kitchen without breaking the bank or resorting to harsh chemicals.
Now, it’s your turn! We encourage you to give this DIY trick a try and see the difference for yourself. Don’t just take our word for it; experience the satisfaction of a gleaming faucet, achieved with a simple household staple. And most importantly, share your experience with us! Let us know what type of toothpaste you used, any variations you tried, and the results you achieved. Your feedback will help others discover the magic of this simple yet effective cleaning solution. Share your before-and-after photos on social media and tag us! We can’t wait to see your sparkling faucets!
Frequently Asked Questions (FAQ)
Is the toothpaste faucet cleaning trick safe for all types of faucets?
Generally, yes, the toothpaste faucet cleaning trick is safe for most common faucet finishes like chrome, stainless steel, and brushed nickel. However, it’s always a good idea to test a small, inconspicuous area first, especially if you have antique or specialty finishes. Avoid using abrasive toothpastes on delicate finishes like gold plating, as they could cause scratching. Gel toothpastes are typically gentler than paste varieties. If you are unsure, consult the manufacturer’s instructions for your specific faucet.
What type of toothpaste works best for cleaning faucets?
The best type of toothpaste depends on the level of cleaning you need and the type of faucet you have. For general cleaning and removing light water spots, a standard white toothpaste is usually sufficient. Whitening toothpastes can provide an extra boost for removing stubborn stains, but use them with caution on delicate finishes. Gel toothpastes are generally gentler and suitable for more sensitive surfaces. Avoid using toothpastes with large abrasive particles, as they could scratch the faucet.
How often should I clean my faucets with toothpaste?
The frequency of cleaning depends on how often you use your faucets and the hardness of your water. In areas with hard water, mineral deposits can build up quickly, requiring more frequent cleaning. As a general guideline, cleaning your faucets with toothpaste every one to two weeks should help maintain their shine and prevent the buildup of grime.
Can I use this trick on other bathroom fixtures besides faucets?
Yes, the toothpaste cleaning trick can be used on other bathroom fixtures like showerheads, sink drains, and even toilet handles. The same principles apply: test a small area first, use a gentle toothpaste, and avoid excessive scrubbing. Toothpaste can be particularly effective for removing water spots and soap scum from showerheads.
What if the toothpaste doesn’t remove all the stains?
If the toothpaste alone isn’t enough to remove stubborn stains, you can try a few things. First, let the toothpaste sit on the stain for a longer period, up to 15-20 minutes. You can also try mixing the toothpaste with a small amount of baking soda to create a more abrasive paste. For extremely stubborn stains, you may need to use a commercial cleaner specifically designed for removing mineral deposits, but always follow the manufacturer’s instructions and test in an inconspicuous area first.
How do I prevent water spots from returning after cleaning?
To prevent water spots from returning, try to dry your faucets after each use. This will prevent mineral deposits from building up on the surface. You can also apply a sealant specifically designed for metal fixtures to help protect the finish and repel water. Regularly wiping down your faucets with a microfiber cloth can also help maintain their shine and prevent water spots from forming.
Is there a specific type of cloth I should use for cleaning?
A soft microfiber cloth is ideal for cleaning faucets with toothpaste. Microfiber cloths are gentle and absorbent, and they won’t scratch the finish. Avoid using abrasive cloths or sponges, as they could damage the faucet. You can also use an old toothbrush to reach hard-to-reach areas around the base of the faucet and the handles.
Can I use this trick on colored faucets?
Colored faucets, especially those with painted or powder-coated finishes, require extra caution. Test the toothpaste on a small, hidden area first to ensure it doesn’t damage the color. Use a very gentle toothpaste and avoid excessive scrubbing. If you’re unsure, it’s best to consult the manufacturer’s instructions or use a cleaner specifically designed for colored fixtures.
What are the environmental benefits of using toothpaste to clean faucets?
Using toothpaste to clean faucets is a more environmentally friendly alternative to many commercial cleaners. Toothpaste typically contains fewer harsh chemicals, reducing the risk of releasing harmful substances into the environment. It also reduces the need for single-use plastic bottles, as you’re likely already purchasing toothpaste for other purposes. By opting for this DIY solution, you can contribute to a cleaner and healthier planet.

Leave a Comment