
Stainless steel sink cleaning can feel like a never-ending battle, can’t it? You scrub, you rinse, and yet those pesky water spots and dullness just keep coming back. I get it! I’ve been there, staring into the abyss of a seemingly permanently stained sink, wondering if I’d ever see its original shine again. But fear not, fellow homeowners, because I’m about to share some game-changing DIY tricks that will transform your stainless steel sink from drab to dazzling!
For generations, a sparkling clean sink has been a symbol of a well-maintained home. Think back to your grandmother’s kitchen – wasn’t her sink always gleaming? While she might have used elbow grease and some old-fashioned remedies, we’re going to leverage the power of modern DIY with a touch of that timeless wisdom. These aren’t just cleaning tips; they’re a way to reclaim your kitchen’s centerpiece and add a touch of pride to your daily routine.
Why is mastering stainless steel sink cleaning so crucial? Because a clean sink isn’t just about aesthetics. It’s about hygiene, preventing the build-up of bacteria, and extending the life of your valuable fixture. Plus, let’s be honest, a sparkling sink just makes doing dishes a little less dreadful! So, ditch the harsh chemicals and expensive cleaners. I’m going to show you how to achieve a professional-level shine with simple, affordable ingredients you probably already have in your pantry. Get ready to say goodbye to stubborn stains and hello to a sink that shines like new!
DIY Sparkling Stainless Steel Sink: A Guide to a Gleaming Kitchen
Okay, let’s face it, a grimy stainless steel sink can really bring down the whole kitchen vibe. But don’t worry, you don’t need fancy cleaners to get that showroom shine back. I’m going to walk you through my tried-and-true method for cleaning a stainless steel sink, using mostly things you probably already have in your pantry. Get ready to be amazed!
What You’ll Need
Before we dive in, let’s gather our supplies. This is a pretty low-key operation, so you won’t need much:
* Baking soda
* White vinegar
* Dish soap (I prefer a gentle one)
* Lemon (optional, but adds a nice scent and extra cleaning power)
* Soft cloths or sponges (microfiber cloths are my go-to)
* An old toothbrush (for those hard-to-reach spots)
* Olive oil (yes, really!)
* Spray bottle
* Rubber gloves (optional, but recommended if you have sensitive skin)
* Water
The Cleaning Process: From Grime to Gleam
Alright, let’s get down to business! I’ve broken this down into easy-to-follow steps.
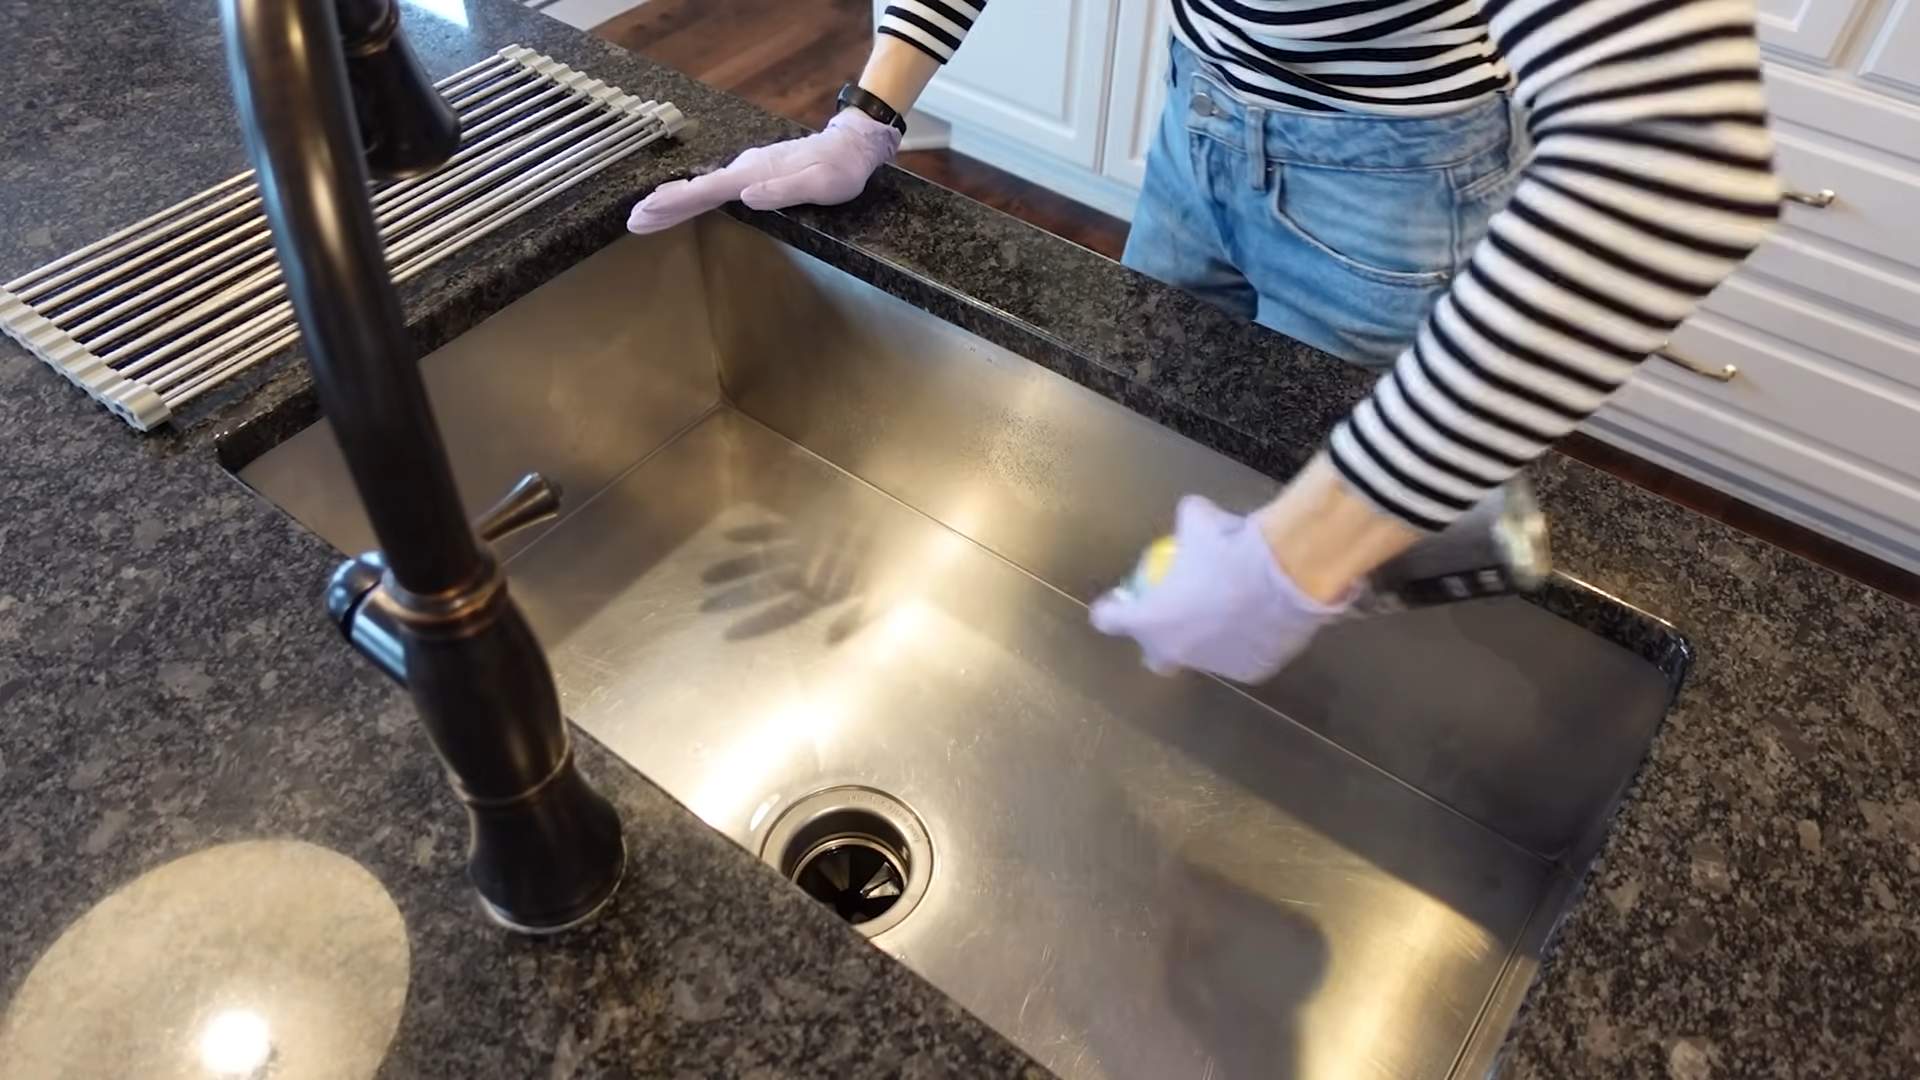
1. Rinse and Remove Debris: Start by giving your sink a good rinse with warm water. This will get rid of any loose food particles or debris. Make sure to remove any dish racks, sponges, or other items from the sink. We want a clean slate to work with.
2. The Baking Soda Scrub: This is where the magic begins! Generously sprinkle baking soda all over the surface of your sink. Don’t be shy – cover every nook and cranny. Baking soda is a mild abrasive, so it will gently scrub away stains and grime without scratching the stainless steel.
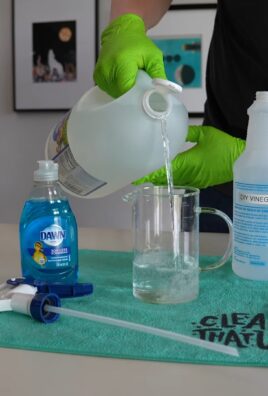
3. Vinegar Power: Now, grab your spray bottle and fill it with white vinegar. Lightly mist the baking soda-covered sink with vinegar. You’ll see it fizz – that’s the chemical reaction working its magic! The vinegar helps to dissolve hard water stains and cut through grease. Let the mixture sit for about 5-10 minutes. This gives it time to really penetrate the grime.
4. Scrub-a-Dub-Dub: Using a soft cloth or sponge, scrub the sink in the direction of the grain. This is important! Stainless steel has a grain, and scrubbing with it will prevent scratches. Pay extra attention to areas with stubborn stains or water spots. For those hard-to-reach areas around the drain and faucet, use your old toothbrush. It’s perfect for getting into those tight spots.
5. Rinse Thoroughly: Once you’ve scrubbed the entire sink, rinse it thoroughly with warm water. Make sure to remove all traces of baking soda and vinegar. You might need to rinse it a few times to get everything off.
6. Dish Soap Wash: Now, let’s give the sink a good wash with dish soap. This will remove any remaining residue and leave it sparkling clean. Apply a small amount of dish soap to a sponge or cloth and wash the entire sink.
7. Final Rinse: Rinse the sink one last time with warm water to remove all traces of dish soap.
Optional Boost: Lemon Power
If you want to add a little extra cleaning power and a fresh scent, grab a lemon!
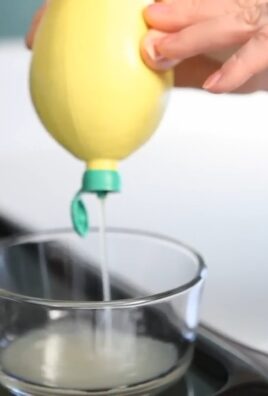
1. Lemon Scrub: Cut a lemon in half and use one half to scrub the sink. The citric acid in the lemon will help to remove stains and leave a pleasant citrus scent.
2. Rinse Again: Rinse the sink thoroughly with warm water after scrubbing with the lemon.
The Secret Weapon: Olive Oil Shine
Okay, this is my secret weapon for a truly gleaming stainless steel sink. You might think I’m crazy, but trust me on this one!
1. Dry the Sink: First, make sure your sink is completely dry. This is crucial for the olive oil to work its magic. Use a clean, dry cloth to wipe down the entire sink.
2. Apply Olive Oil: Pour a small amount of olive oil (about a teaspoon) onto a clean, dry cloth.
3. Buff the Sink: Gently buff the entire sink with the olive oil-soaked cloth. Again, make sure to buff in the direction of the grain. The olive oil will create a protective layer and leave your sink with a beautiful shine.
4. Buff Away Excess: Use a clean, dry cloth to buff away any excess olive oil. You want a subtle shine, not an oily residue.
Dealing with Stubborn Stains
Sometimes, you might encounter stubborn stains that just won’t budge with the regular cleaning process. Don’t worry, I’ve got a few tricks up my sleeve!
* Hard Water Stains: For hard water stains, try soaking a paper towel in white vinegar and placing it over the stain for about 30 minutes. Then, scrub with baking soda and rinse.
* Rust Stains: For rust stains, try using a paste of baking soda and water. Apply the paste to the stain, let it sit for a few minutes, and then scrub with a soft cloth.
* Food Stains: For stubborn food stains, try using a paste of baking soda and hydrogen peroxide. Apply the paste to the stain, let it sit for a few minutes, and then scrub with a soft cloth.
Maintaining Your Sparkling Sink
Now that you’ve got your sink looking its best, let’s talk about how to keep it that way!
* Rinse After Each Use: Make it a habit to rinse your sink after each use. This will prevent food particles and debris from building up and causing stains.
* Dry the Sink Regularly: Drying your sink after each use will prevent water spots from forming.
* Avoid Harsh Chemicals: Avoid using harsh chemicals or abrasive cleaners on your stainless steel sink. These can damage the surface and cause scratches.
* Use a Sink Grid: Consider using a sink grid to protect the bottom of your sink from scratches and dents.
* Regular Cleaning: Aim to clean your sink at least once a week to prevent grime from building up.
Troubleshooting
Sometimes, even with the best intentions, things don’t go exactly as planned. Here are a few common issues and how to fix them:
* Streaks: If you’re seeing streaks after cleaning, it could be due to hard water. Try using distilled water for the final rinse.
* Dullness: If your sink is looking dull, it could be due to a buildup of soap scum. Try using a mixture of vinegar and water to remove the soap scum.
* Scratches: If you’ve accidentally scratched your sink, you can try using a stainless steel cleaner and polish to minimize the appearance of the scratches.
Why This Method Works
So, why does this simple method work so well? It’s all about the combination of ingredients and techniques:
* Baking Soda: A mild abrasive that gently scrubs away grime and stains.
* White Vinegar: Dissolves hard water stains and cuts through grease.
* Dish Soap: Removes remaining residue and leaves the sink sparkling clean.
* Lemon (Optional): Adds extra cleaning power and a fresh scent.
* Olive Oil: Creates a protective layer and leaves a beautiful shine.
* Scrubbing in the Direction of the Grain: Prevents scratches and damage to the stainless steel.
Final Thoughts
Cleaning your stainless steel sink doesn’t have to be a chore. With a few simple ingredients and a little elbow grease, you can have a sparkling clean sink that you’re proud to show off. I hope this guide has been helpful! Now go forth and conquer that grime! You’ve got this! Remember to always test any cleaning solution in an inconspicuous area first to ensure it doesn’t damage your sink. Happy cleaning!
Conclusion
So, there you have it! Transforming your dull, water-spotted stainless steel sink into a gleaming centerpiece is not only achievable but surprisingly simple with this DIY cleaning trick. Forget expensive, harsh chemicals that promise the world but often fall short. This method leverages the power of readily available household ingredients, offering a cost-effective and environmentally conscious alternative.
Why is this a must-try? Because it works! You’ll witness a dramatic difference in the appearance of your sink, restoring its original shine and banishing those unsightly water stains and grime. Beyond the visual appeal, a clean sink is a more hygienic sink, contributing to a healthier kitchen environment. Plus, the satisfaction of achieving professional-level results with a DIY approach is incredibly rewarding.
But the beauty of this method lies in its adaptability. Feel free to experiment with variations to suit your specific needs and preferences. For instance, if you’re dealing with particularly stubborn stains, consider letting the baking soda paste sit for a longer period before scrubbing. You can also add a few drops of your favorite essential oil to the vinegar solution for a pleasant, lingering fragrance. Lemon essential oil, in particular, is known for its cleaning properties and refreshing scent. Another variation involves using a microfiber cloth instead of a regular sponge for an even more polished finish. The key is to find what works best for your sink and your cleaning style.
Don’t be intimidated by the “DIY” label. This process is straightforward and requires minimal effort. The steps are easy to follow, and the results are well worth the time invested. We’re confident that you’ll be amazed by the transformation.
We wholeheartedly encourage you to give this stainless steel sink cleaning trick a try. It’s a game-changer for anyone looking to maintain a sparkling clean kitchen without breaking the bank or resorting to harsh chemicals. Once you’ve experienced the magic of this DIY method, you’ll never look at your stainless steel sink the same way again.
And now, we want to hear from you! Share your experiences, tips, and variations in the comments below. Did you find this method effective? Did you try any modifications? What were your results? Your feedback is invaluable and helps us refine and improve our recommendations. Let’s create a community of sparkling clean sinks! We are eager to hear your success stories and learn from your unique perspectives. So go ahead, transform your sink, and share your shine with the world!
Frequently Asked Questions (FAQ)
What kind of stainless steel sink is this method suitable for?
This DIY cleaning method is generally safe and effective for most types of stainless steel sinks, including those with brushed, satin, or polished finishes. However, it’s always a good idea to test a small, inconspicuous area first, especially if you have a particularly delicate or antique sink. This will help ensure that the method doesn’t cause any discoloration or damage. If you’re unsure about the type of stainless steel your sink is made of, consult the manufacturer’s instructions or contact a professional cleaner.
How often should I clean my stainless steel sink using this method?
The frequency of cleaning depends on how often you use your sink and how prone it is to staining. For daily maintenance, a quick wipe-down with a damp cloth and mild dish soap is usually sufficient. However, for a more thorough cleaning and to remove stubborn stains, we recommend using this DIY method once or twice a week. If you notice water spots or grime building up more quickly, you may need to increase the frequency of cleaning.
Can I use other types of vinegar besides white vinegar?
While white vinegar is the most commonly recommended type for cleaning due to its acidity and lack of color, you can experiment with other types of vinegar, such as apple cider vinegar. However, be aware that some vinegars may have a stronger odor or leave a slight residue. Always test a small area first to ensure that the vinegar doesn’t stain or damage your sink. Avoid using balsamic vinegar, as its dark color can potentially stain lighter-colored stainless steel.
Is baking soda abrasive? Will it scratch my sink?
Baking soda is a mild abrasive, but it’s generally safe to use on stainless steel sinks as long as you use it gently. Avoid applying excessive pressure or scrubbing too vigorously, as this could potentially scratch the surface. Always use a soft sponge or cloth when applying the baking soda paste, and rinse thoroughly after cleaning to remove any residue. If you’re concerned about scratching, you can mix the baking soda with a little water to create a smoother paste.
What if I don’t have baking soda or vinegar? Are there any alternatives?
While baking soda and vinegar are the key ingredients in this DIY cleaning method, there are some alternatives you can try. For example, you can use a paste made from cream of tartar and water instead of baking soda. For the vinegar, you can try using lemon juice, which has similar acidic properties. However, keep in mind that these alternatives may not be as effective as baking soda and vinegar, and you may need to adjust the cleaning process accordingly.
How do I prevent water spots from forming on my stainless steel sink?
Water spots are a common problem with stainless steel sinks, but there are several things you can do to prevent them from forming. After each use, wipe down your sink with a clean, dry cloth to remove any water droplets. You can also apply a thin layer of mineral oil or stainless steel polish to create a protective barrier that repels water. Another tip is to avoid using hard water, which contains minerals that can leave behind unsightly spots. If you have hard water, consider installing a water softener or using filtered water for cleaning.
Can I use this method on other stainless steel appliances?
Yes, this DIY cleaning method can also be used on other stainless steel appliances, such as refrigerators, dishwashers, and ovens. However, be sure to test a small, inconspicuous area first to ensure that the method doesn’t damage the finish. Avoid using abrasive scrub brushes or harsh chemicals, as these can scratch or discolor the stainless steel. Always follow the manufacturer’s instructions for cleaning your appliances.
My sink has rust spots. Will this method remove them?
While this DIY cleaning method can help remove some surface rust spots, it may not be effective for more severe rust damage. For stubborn rust spots, you can try using a commercial rust remover specifically designed for stainless steel. Follow the manufacturer’s instructions carefully, and always test a small area first to ensure that the product doesn’t damage the sink. In some cases, you may need to consult a professional cleaner to remove rust spots completely.
The vinegar smell is too strong. How can I minimize it?
The smell of vinegar can be quite strong, but it dissipates quickly. To minimize the odor, you can dilute the vinegar with water or add a few drops of your favorite essential oil to the solution. Lemon, lavender, and eucalyptus essential oils are all good choices for masking the vinegar smell. You can also open a window or turn on the exhaust fan to ventilate the area while you’re cleaning.
What type of cloth or sponge is best for cleaning stainless steel?
A microfiber cloth is generally considered the best option for cleaning stainless steel, as it’s soft, non-abrasive, and highly absorbent. You can also use a soft sponge, but avoid using abrasive scrub brushes or steel wool, as these can scratch the surface. When cleaning, always wipe in the direction of the grain to prevent streaks. Rinse your cloth or sponge frequently to remove any dirt or grime.

Leave a Comment