
Sponge Painting Techniques: Ever dreamt of transforming your living room into a Tuscan villa or adding a touch of rustic charm to your bedroom without breaking the bank? Well, grab a sponge and get ready to unleash your inner artist! Sponge painting, a decorating technique that dates back centuries, offers a surprisingly simple and incredibly versatile way to add texture, depth, and personality to your walls and furniture.
From ancient civilizations using natural sponges to create decorative patterns to modern-day DIY enthusiasts experimenting with various synthetic sponges, this technique has stood the test of time. But why is it still so popular? Because let’s face it, perfectly smooth walls can sometimes feel a little… sterile. We crave character, something that reflects our unique style. And that’s where sponge painting techniques come in!
I’m here to show you how to achieve professional-looking results with minimal effort and maximum impact. Whether you’re a seasoned DIYer or a complete beginner, these tips and tricks will empower you to create stunning, one-of-a-kind finishes that will have everyone asking, “How did you do that?” So, ditch the boring paint roller and let’s dive into the wonderful world of sponge painting!
DIY Sponge Painting: Unleash Your Inner Artist!
Hey there, fellow DIY enthusiasts! Today, I’m super excited to share one of my favorite and most versatile painting techniques: sponge painting! It’s a fantastic way to add texture, depth, and a unique artistic flair to your walls, furniture, or just about any surface you can think of. Trust me, even if you don’t consider yourself an artist, you can achieve stunning results with this simple method. Let’s dive in!
What You’ll Need
Before we get started, let’s gather all the necessary supplies. Having everything ready will make the process smooth and enjoyable.
* Paint: Choose your desired paint colors. Acrylic or latex paint works best for most surfaces. I recommend using a matte or eggshell finish for walls to minimize glare and highlight the texture. For furniture, consider using chalk paint for a vintage look or a satin finish for durability.
* Sponges: This is where the fun begins! You can use natural sea sponges, synthetic sponges, or even textured rollers designed for sponge painting. Experiment with different shapes and sizes to create various effects. I personally love using natural sea sponges for their organic and unpredictable patterns.
* Paint Trays or Plates: These will hold your paint and make it easy to load your sponge.
* Painter’s Tape: Essential for protecting trim, ceilings, and other areas you don’t want to paint.
* Drop Cloths or Plastic Sheeting: Protect your floors and furniture from paint splatters.
* Paint Brushes: You’ll need these for cutting in around edges and corners.
* Clean Rags or Paper Towels: For wiping up spills and cleaning your sponges.
* Gloves: To protect your hands from paint.
* Optional: Glaze (for creating layered effects), stencils (for adding patterns), and a small bucket of water (for rinsing sponges).
Preparing Your Surface
Proper preparation is key to achieving a professional-looking finish. Don’t skip this step!
* Clean the Surface: Remove any dust, dirt, or grease from the surface you’ll be painting. Use a damp cloth and mild detergent if necessary.
* Repair Any Imperfections: Fill any holes or cracks with spackle or wood filler. Let it dry completely and then sand it smooth.
* Prime the Surface (Optional but Recommended): Priming helps the paint adhere better and provides a uniform base for your sponge painting. This is especially important if you’re painting over a dark color or a glossy surface.
* Tape Off Areas: Use painter’s tape to protect trim, ceilings, windows, and any other areas you don’t want to paint. Press the tape firmly to create a tight seal.
Sponge Painting Techniques: Let’s Get Creative!
Now for the exciting part! There are several sponge painting techniques you can try, each creating a different look. I’ll walk you through a few of my favorites.
Technique 1: Classic Sponge Painting
This is the most basic and versatile sponge painting technique. It’s perfect for adding a subtle texture and depth to your walls.
1. Apply a Base Coat: Paint the entire surface with your base coat color using a roller or brush. Let it dry completely according to the paint manufacturer’s instructions. This is crucial!
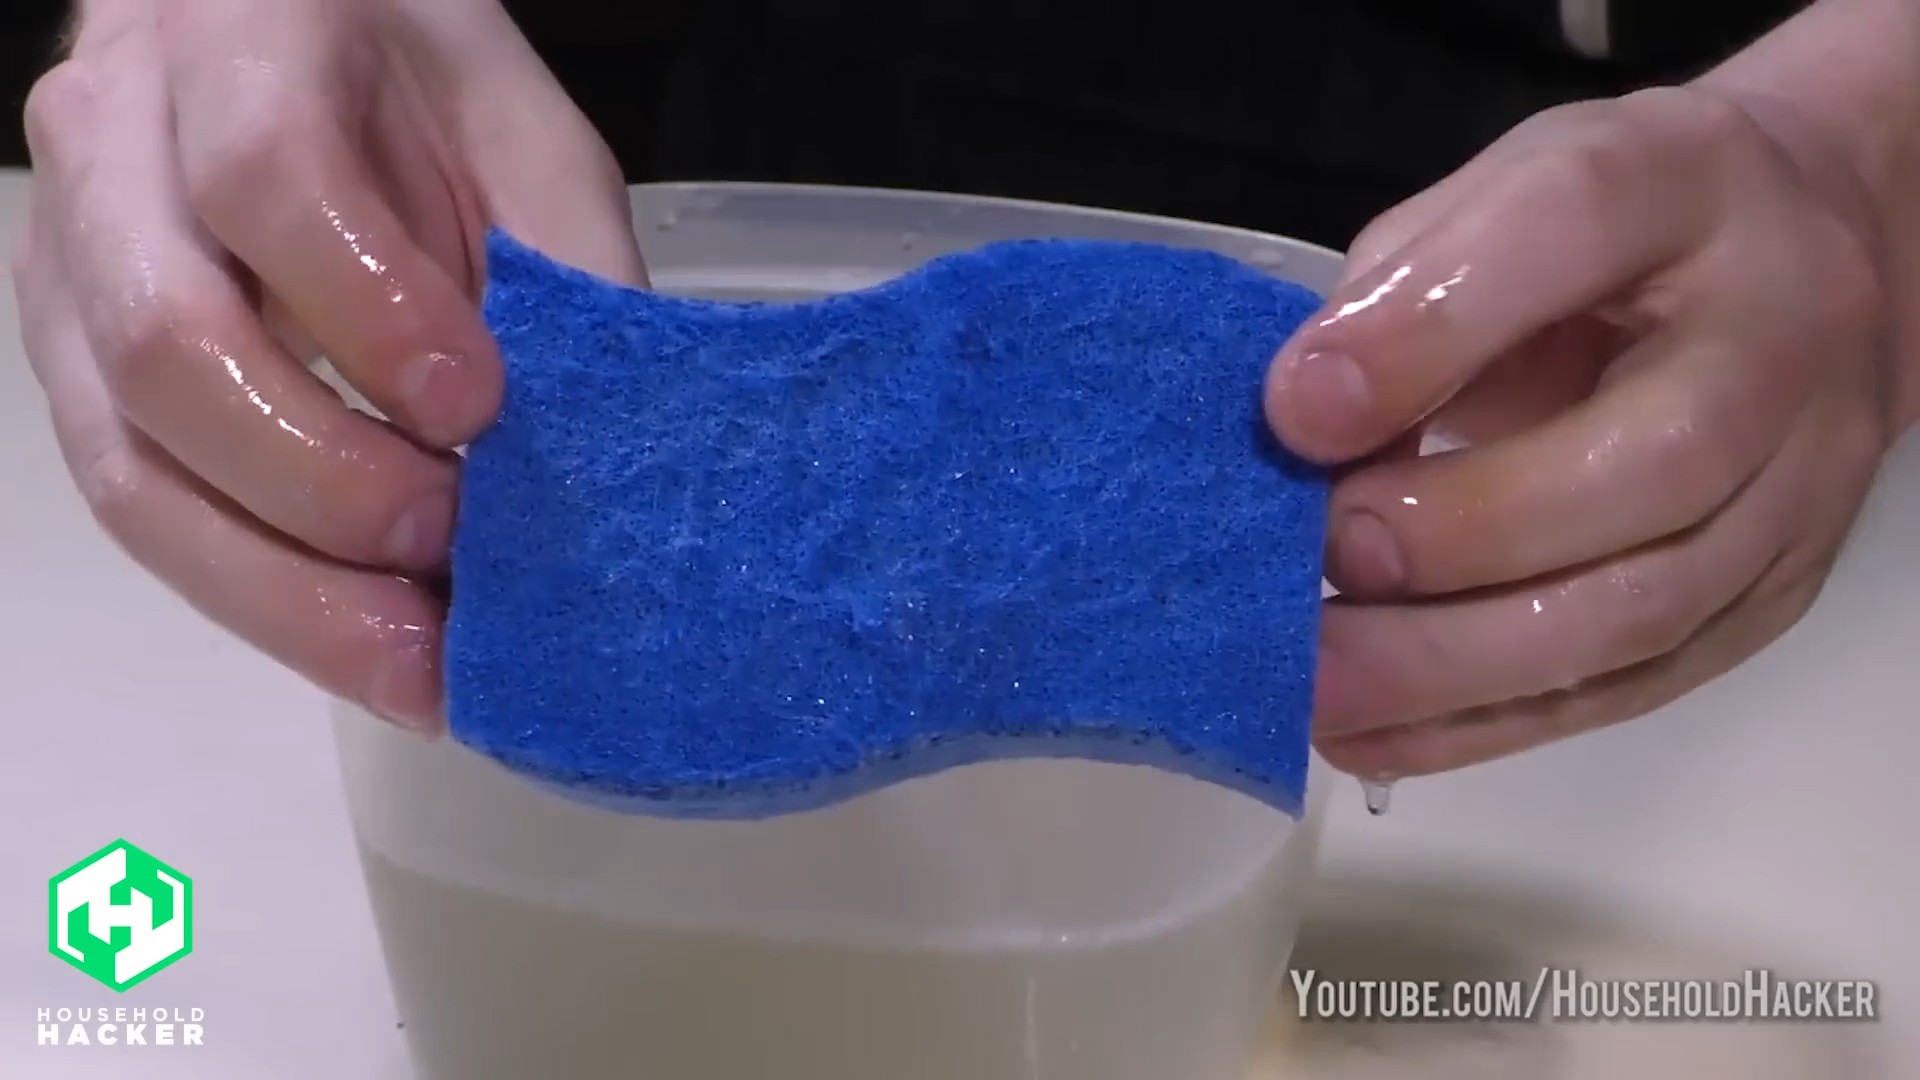
2. Prepare Your Sponge: Lightly dampen your sponge with water and squeeze out any excess. This will help the sponge absorb the paint evenly.
3. Load the Sponge: Dip the sponge lightly into your chosen paint color. Don’t overload it! You want just a small amount of paint on the surface of the sponge. Blot the sponge on a paper towel to remove any excess paint. This is super important to avoid drips and blobs.
4. Apply the Paint: Gently press the sponge onto the surface, using a light, dabbing motion. Rotate the sponge slightly with each application to create a random and natural-looking pattern. Avoid pressing too hard, as this will create a uniform and unnatural texture.
5. Overlap Your Strokes: Slightly overlap each sponge application to blend the colors and create a seamless effect.
6. Work in Small Sections: Work in small sections at a time to prevent the paint from drying before you can blend it properly.
7. Clean Your Sponge: Rinse your sponge with water periodically to remove excess paint and prevent it from becoming clogged. Squeeze out the excess water before continuing.
8. Let it Dry: Allow the paint to dry completely before applying a second coat, if desired.
Technique 2: Color Washing
Color washing is a technique that creates a soft, layered effect by applying a diluted glaze over a base coat. It’s perfect for creating a warm and inviting atmosphere.
1. Apply a Base Coat: Paint the entire surface with your base coat color and let it dry completely.
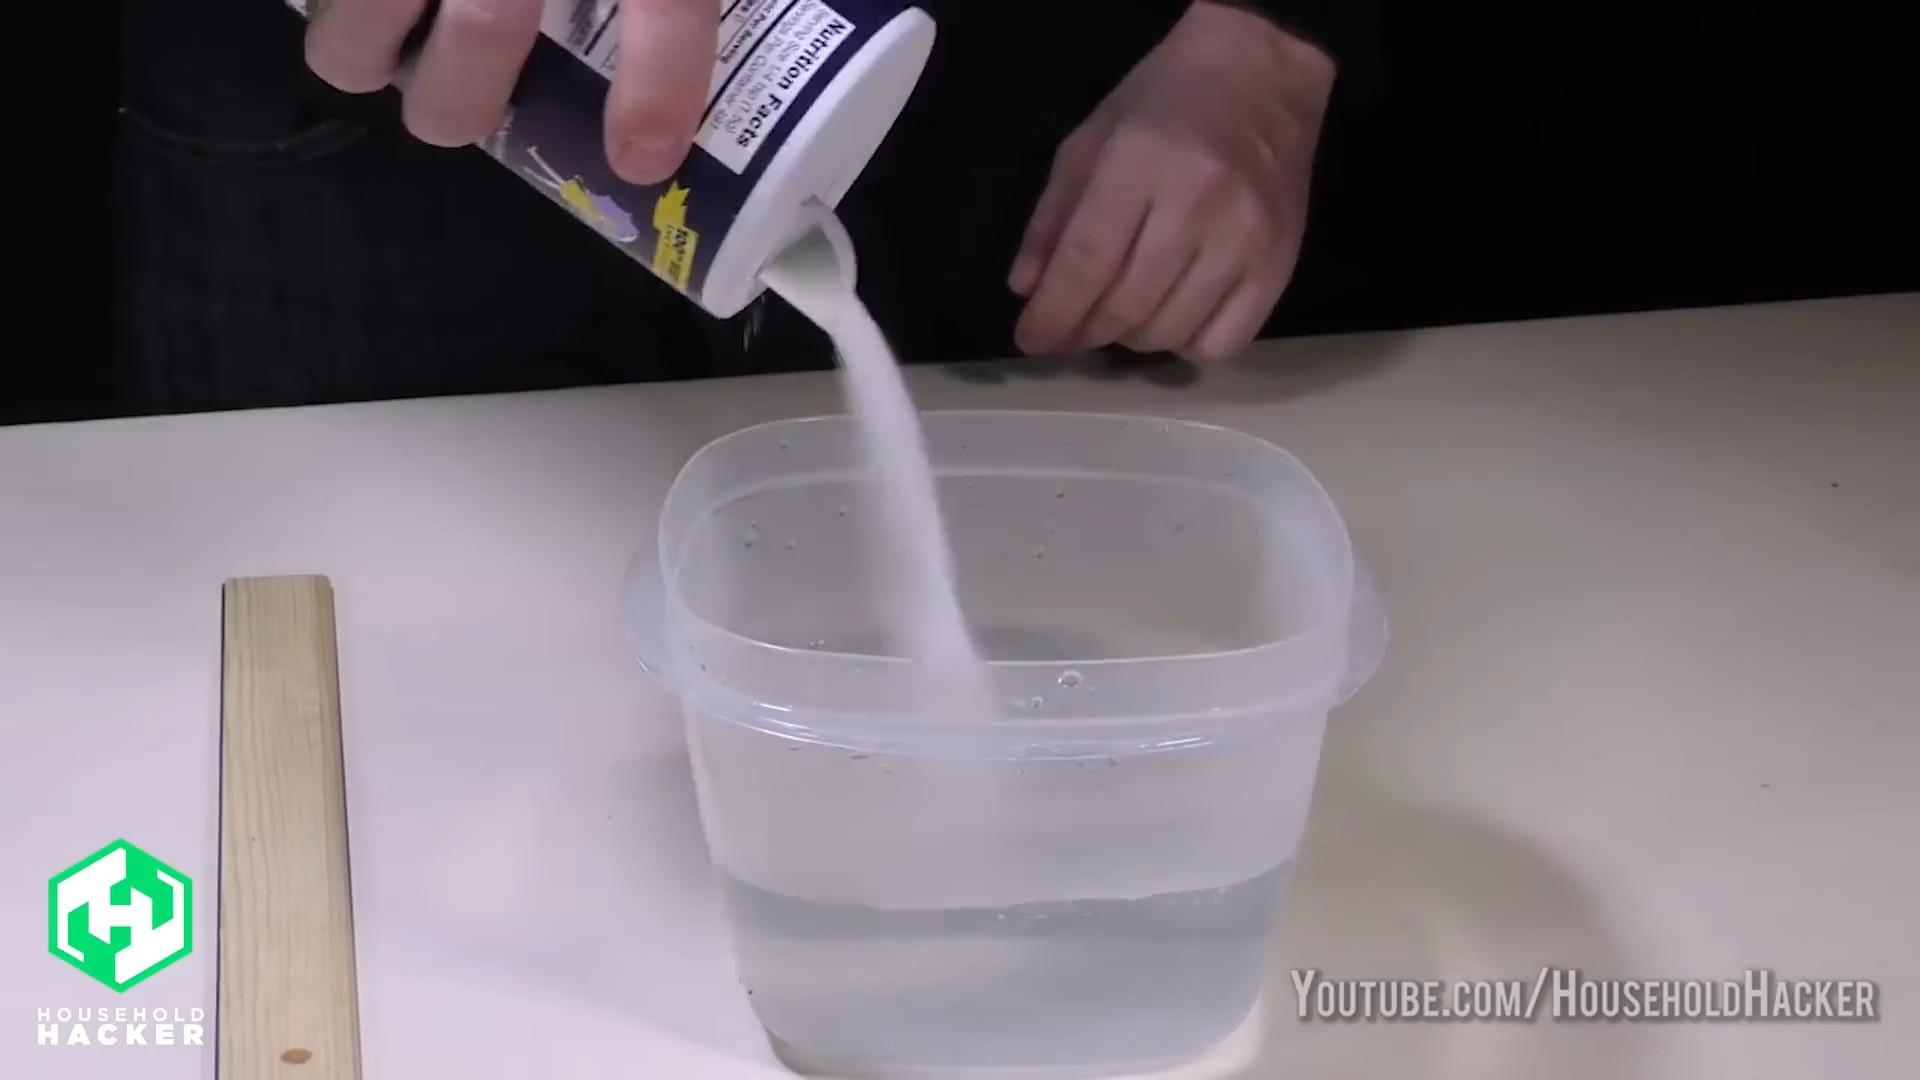
2. Prepare Your Glaze: Mix your chosen paint color with a clear glaze according to the glaze manufacturer’s instructions. A typical ratio is 1 part paint to 4 parts glaze, but you can adjust this to achieve your desired level of transparency.
3. Apply the Glaze: Using a brush or roller, apply the glaze evenly over a small section of the surface.
4. Sponge Off the Glaze: Immediately after applying the glaze, use a clean, damp sponge to dab and blot the glaze, revealing the base coat underneath. Vary the pressure and angle of the sponge to create a random and textured effect.
5. Work in Small Sections: Work in small sections at a time to prevent the glaze from drying before you can sponge it off.
6. Clean Your Sponge: Rinse your sponge with water periodically to remove excess glaze and prevent it from becoming clogged.
7. Let it Dry: Allow the glaze to dry completely. You can apply additional layers of glaze in different colors to create a more complex and layered effect.
Technique 3: Stenciling with Sponges
This technique allows you to add patterns and designs to your sponge painting. It’s a fun way to personalize your walls or furniture.
1. Apply a Base Coat: Paint the entire surface with your base coat color and let it dry completely.
2. Position Your Stencil: Secure your stencil to the surface using painter’s tape. Make sure the stencil is flat and flush against the surface to prevent paint from bleeding underneath.
3. Load Your Sponge: Dip your sponge lightly into your chosen paint color and blot off any excess.
4. Apply the Paint: Gently dab the sponge over the stencil openings, using a light, even pressure. Avoid using too much paint, as this can cause the paint to bleed underneath the stencil.
5. Remove the Stencil: Carefully remove the stencil while the paint is still wet.
6. Repeat: Reposition the stencil and repeat the process to create a repeating pattern or design.
7. Let it Dry: Allow the paint to dry completely.
Tips and Tricks for Sponge Painting Success
Here are a few extra tips to help you achieve the best possible results:
* Practice First: Before you start painting your walls or furniture, practice your sponge painting technique on a piece of cardboard or scrap wood. This will allow you to experiment with different colors, sponges, and techniques without risking ruining your project.
* Don’t Overload Your Sponge: The key to successful sponge painting is to use a small amount of paint on your sponge. Overloading the sponge will result in drips, blobs, and an uneven texture.
* Vary Your Pressure: Varying the pressure you apply to the sponge will create a more natural and textured effect. Use a light touch for a subtle texture and a firmer touch for a more pronounced texture.
* Rotate Your Sponge: Rotate your sponge slightly with each application to create a random and unpredictable pattern.
* Blend Your Colors: If you’re using multiple colors, blend them together seamlessly by overlapping your strokes and using a light touch.
* Clean Your Sponges Regularly: Rinse your sponges with water periodically to remove excess paint and prevent them from becoming clogged.
* Have Fun! Sponge painting is a creative and rewarding process. Don’t be afraid to experiment and try new things.
Troubleshooting Common Sponge Painting Problems
Even with careful planning and execution, you might encounter a few challenges along the way. Here’s how to troubleshoot some common sponge painting problems:
* Drips and Blobs: If you’re getting drips and blobs, you’re likely using too much paint on your sponge. Blot the sponge on a paper towel to remove any excess paint.
* Uneven Texture: If your texture is uneven, you may be applying too much pressure to the sponge or not rotating it enough. Try using a lighter touch and rotating the sponge more frequently.
* Paint Bleeding Under Stencil: If paint is bleeding under your stencil, make sure the stencil is flat and flush against
Conclusion
So, there you have it! Transforming your walls with these simple sponge painting techniques is not just a cost-effective alternative to expensive wallpaper or professional painters; it’s an opportunity to unleash your inner artist and create a truly unique and personalized space. We’ve explored the basics, delved into different methods like rag rolling and stippling, and even touched upon creating faux finishes that mimic the look of aged plaster or textured fabrics.
But why is this DIY trick a must-try? Beyond the obvious cost savings, sponge painting offers unparalleled control over the final aesthetic. You dictate the color palette, the intensity of the texture, and the overall mood of the room. Unlike wallpaper, which can be difficult to remove and often limits your design choices, sponge painting is easily customizable and can be readily changed when you’re ready for a new look. It’s also incredibly forgiving – imperfections are easily blended and often add to the charm of the finished product.
Consider these suggestions and variations to further personalize your sponge painting project:
* Ombre Effect: Use multiple shades of the same color, gradually transitioning from light to dark for a sophisticated and modern ombre effect. Start with the lightest shade at the top of the wall and gradually work your way down, blending each layer seamlessly.
* Metallic Accents: Incorporate metallic paints or glazes to add a touch of glamour and sophistication. A subtle shimmer can catch the light and create a stunning visual effect, especially in areas with natural light.
* Stenciled Designs: Combine sponge painting with stencils to create intricate patterns and designs. This is a great way to add a focal point to a room or create a unique border.
* Rag Rolling Variation: Instead of using a sponge, experiment with different types of fabric, such as cheesecloth or burlap, to create different textures. The possibilities are endless!
* Color Washing: Dilute your paint with glaze and apply it in thin, translucent layers to create a soft, watercolor-like effect. This technique is perfect for creating a calming and serene atmosphere.
Remember to always test your chosen technique and color combinations on a small, inconspicuous area before committing to the entire wall. This will allow you to make any necessary adjustments and ensure that you’re happy with the final result.
We are confident that you’ll find sponge painting to be a rewarding and enjoyable DIY experience. It’s a fantastic way to add personality and character to your home without breaking the bank. So, gather your supplies, unleash your creativity, and transform your walls into works of art!
We encourage you to try these sponge painting techniques and share your experiences with us! Post photos of your finished projects on social media using #SpongePaintingDIY and let us know what tips and tricks you discovered along the way. We can’t wait to see what you create!
Frequently Asked Questions
What type of paint should I use for sponge painting?
The best type of paint for sponge painting is typically a latex-based paint with a matte or eggshell finish. These finishes provide a good base for the sponge to grip onto and create texture. Avoid using high-gloss paints, as they can be too slippery and make it difficult to achieve the desired effect. You can also use acrylic paints, especially for smaller projects or when adding decorative details. Experiment with different paint types on a test area to see what works best for you. Remember to use a good quality primer before painting to ensure proper adhesion and coverage.
What kind of sponge is best for sponge painting?
Natural sea sponges are generally considered the best option for sponge painting because they create a more organic and varied texture. Their irregular shapes and pores produce a unique and unpredictable pattern that is difficult to replicate with synthetic sponges. However, synthetic sponges can also be used, especially for creating more uniform or controlled textures. Look for synthetic sponges with open pores and varying densities. Experiment with different types of sponges to see which one produces the texture you prefer. You can also cut or tear sponges into different shapes to create custom patterns.
How do I prevent the paint from dripping or running when sponge painting?
To prevent paint from dripping or running, it’s crucial to use a dry sponge technique. This means that you should only load a small amount of paint onto the sponge and then blot off the excess with a paper towel before applying it to the wall. This will help to prevent the paint from becoming too saturated and running down the wall. Also, apply the paint in light, even layers, rather than trying to cover the entire surface in one go. Working in small sections and overlapping your strokes can also help to prevent drips and runs.
How do I fix mistakes when sponge painting?
One of the great things about sponge painting is that it’s very forgiving. If you make a mistake, you can usually fix it quite easily. If you apply too much paint or create a texture that you don’t like, simply wipe it off with a damp cloth or sponge while the paint is still wet. You can then reapply the paint using the correct technique. For more stubborn mistakes, you may need to lightly sand the area and then reapply a base coat of paint before sponge painting again.
Can I sponge paint over existing wallpaper?
While it’s technically possible to sponge paint over existing wallpaper, it’s generally not recommended. The wallpaper may not provide a stable surface for the paint to adhere to, and the texture of the wallpaper may show through the sponge paint. Additionally, if the wallpaper is peeling or damaged, the paint may cause it to come loose. It’s always best to remove the wallpaper before painting to ensure a smooth and long-lasting finish. If you absolutely must paint over wallpaper, make sure to thoroughly clean and prime the surface first.
How do I clean my sponge after sponge painting?
Cleaning your sponge after sponge painting is essential to prolong its lifespan and prevent it from becoming stiff and unusable. If you’re using latex-based paint, simply rinse the sponge thoroughly with warm water until all of the paint is removed. You may need to use a mild detergent to help break down the paint. For oil-based paints, you’ll need to use a paint thinner or mineral spirits to clean the sponge. Be sure to follow the manufacturer’s instructions for using these solvents. After cleaning, squeeze out any excess water or solvent and allow the sponge to air dry completely before storing it.
How do I create a subtle sponge painting effect?
To achieve a subtle sponge painting effect, use a light touch and apply the paint in thin, even layers. Avoid overloading the sponge with paint and blot off any excess before applying it to the wall. Use a soft, natural sea sponge to create a more delicate texture. You can also dilute your paint with glaze to make it more translucent and create a softer, more diffused effect. Experiment with different colors and techniques to find the perfect balance for your desired look.
What are some color combinations that work well for sponge painting?
The best color combinations for sponge painting depend on your personal preferences and the overall style of your room. However, some popular and effective combinations include:
* Tonal Colors: Using different shades of the same color, such as light blue and dark blue, can create a subtle and sophisticated effect.
* Complementary Colors: Pairing complementary colors, such as blue and orange or yellow and purple, can create a bold and vibrant look.
* Analogous Colors: Using colors that are next to each other on the color wheel, such as green and blue or red and orange, can create a harmonious and balanced effect.
* Neutral Colors: Combining neutral colors, such as beige, gray, and white, can create a calming and elegant atmosphere.
Remember to test your chosen color combinations on a small area before committing to the entire wall to ensure that you’re happy with the final result.


Leave a Comment