
Soil-less garden high yields – the very phrase conjures images of lush, bountiful harvests springing forth from… well, nothing but air and water! Intrigued? I know I was when I first stumbled upon this revolutionary gardening technique. Forget back-breaking digging and endless weeding; imagine a world where you can cultivate vibrant, thriving plants with minimal effort and maximum results.
While the idea might seem futuristic, the concept of hydroponics, a key component of soil-less gardening, has roots stretching back centuries. Some historians believe the Hanging Gardens of Babylon, one of the Seven Wonders of the Ancient World, may have even utilized a form of hydroponics! Today, this method is experiencing a resurgence, driven by a desire for sustainable food production and a growing interest in urban gardening.
But why should you consider a soil-less garden? In today’s world, space is often a premium, and traditional gardening can be challenging for those with limited mobility or poor soil quality. That’s where these DIY tricks and hacks come in. I’m going to show you how to unlock the secrets to achieving soil-less garden high yields, regardless of your experience level. Whether you’re a seasoned gardener looking to experiment or a complete beginner eager to grow your own food, this guide will provide you with the knowledge and inspiration to create your own thriving, soil-free oasis. Get ready to ditch the dirt and embrace a new era of gardening!
DIY Soil-less Garden for High Yields: A Beginner’s Guide
Hey there, fellow gardening enthusiasts! Are you dreaming of bountiful harvests but dread the thought of battling weeds, pests, and unpredictable soil conditions? Well, I’ve got some exciting news for you: you can ditch the dirt and still grow amazing produce with a soil-less garden! I’m going to walk you through building your own hydroponic system, a method that delivers nutrients directly to your plants’ roots, resulting in faster growth, higher yields, and less hassle. Let’s get started!
What is Hydroponics and Why Should You Try It?
Before we dive into the how-to, let’s quickly cover the basics. Hydroponics is simply growing plants without soil, using water-based nutrient solutions. The roots are either submerged in the solution, periodically flooded, or misted with it.
Why go soil-less?
* Faster Growth: Plants receive nutrients directly, leading to quicker development.
* Higher Yields: Optimized nutrient delivery results in more abundant harvests.
* Less Water Usage: Hydroponic systems recycle water, reducing waste.
* Fewer Pests and Diseases: Soil-borne pests and diseases are minimized.
* Space Saving: Ideal for small spaces like balconies or patios.
* Year-Round Growing: You can control the environment and grow crops regardless of the season.
Choosing Your Hydroponic System: The Kratky Method
There are several hydroponic methods, but for beginners, I highly recommend the Kratky method. It’s simple, passive (no pumps or electricity needed), and incredibly low-maintenance.
What is the Kratky Method?
The Kratky method involves suspending plant roots in a nutrient solution within a container. As the plant grows and consumes the solution, an air gap forms between the water level and the top of the container. The roots in this air gap receive oxygen, while the roots submerged in the solution absorb nutrients. It’s a set-it-and-forget-it system!
Materials You’ll Need
Here’s a list of everything you’ll need to build your Kratky hydroponic system:
* Opaque Container: A dark-colored plastic storage bin (5-10 gallons is a good starting size) to prevent algae growth.
* Net Cups: These will hold your plants and growing medium. 2-inch net cups are a common size.
* Growing Medium: Coco coir, perlite, or rockwool cubes are excellent choices.
* Hydroponic Nutrients: Specifically formulated for hydroponics, containing all the essential elements your plants need.
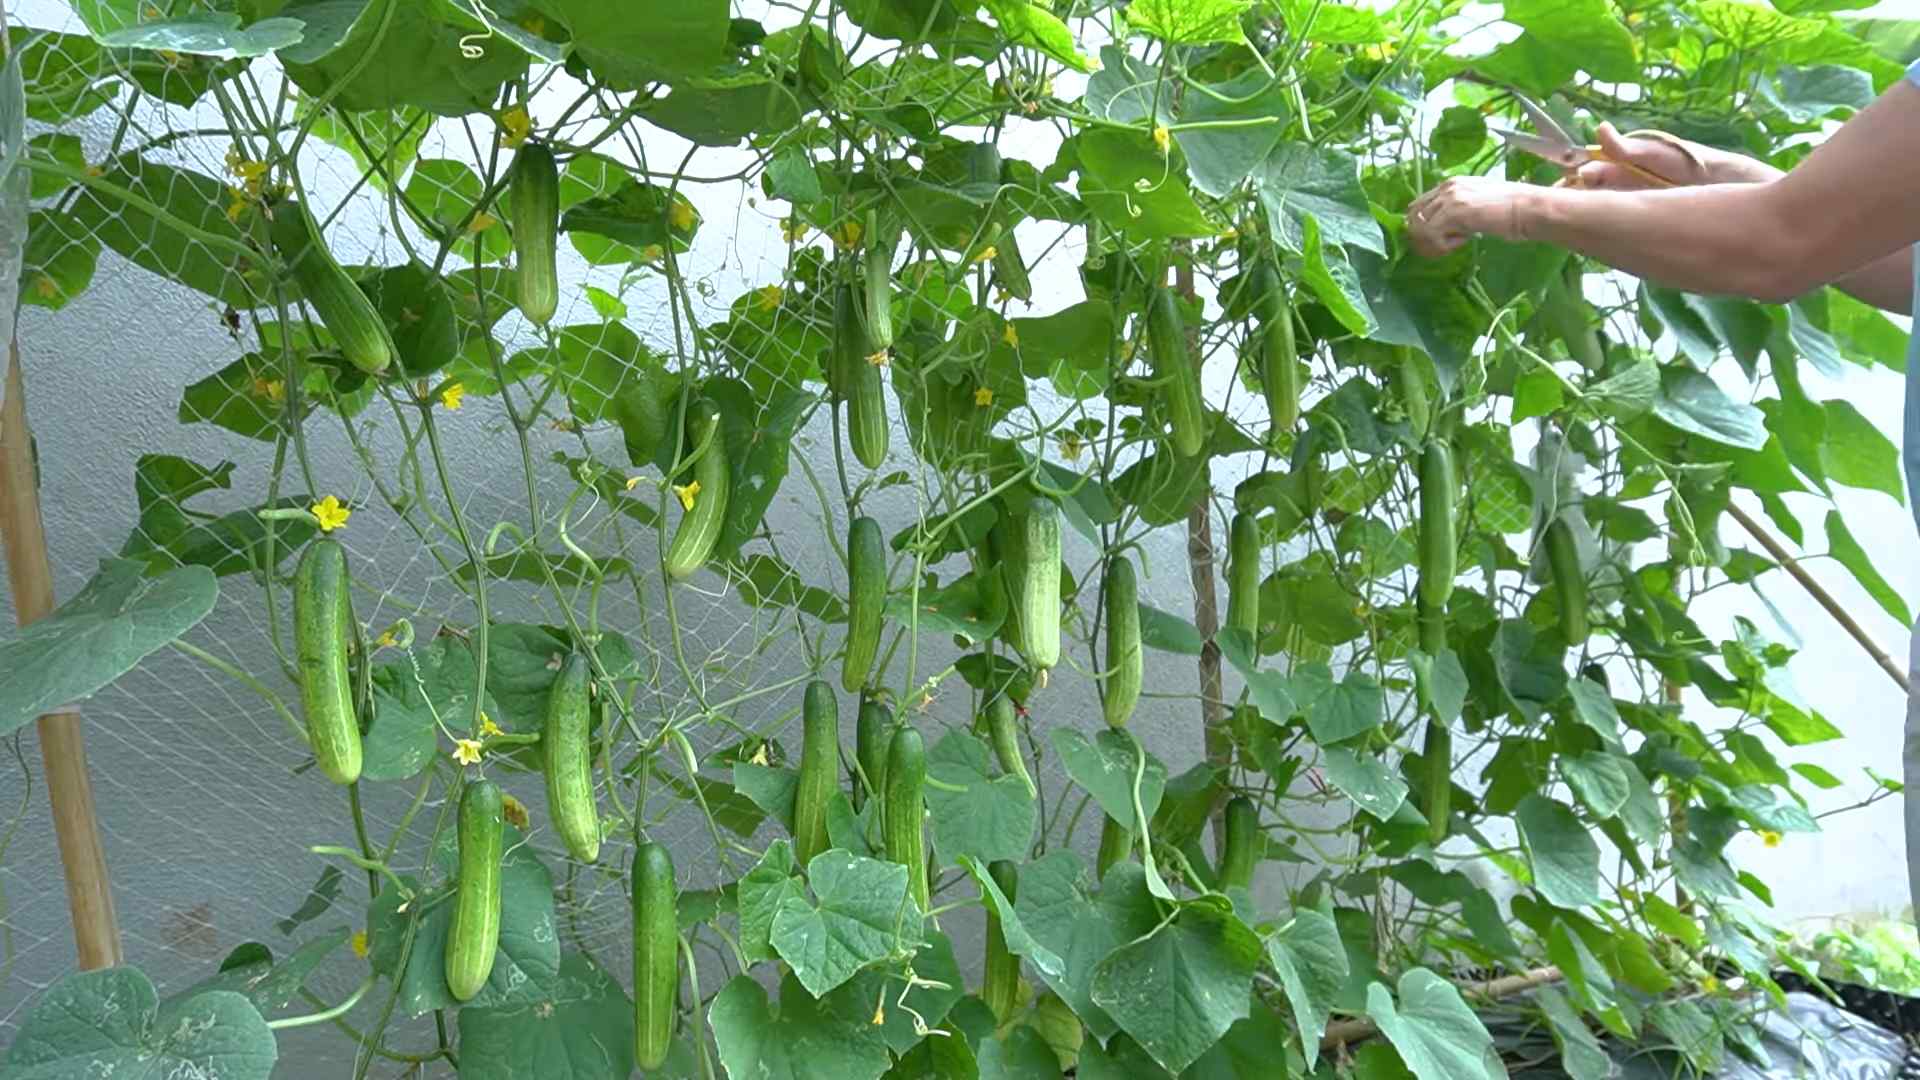
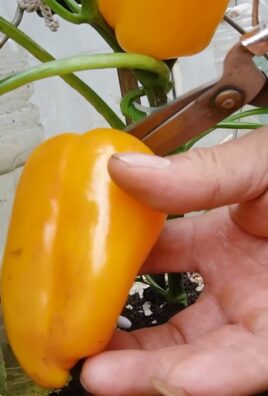
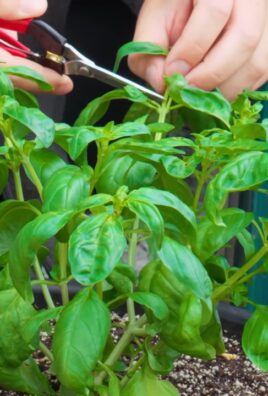
* Seedlings or Seeds: Choose plants that thrive in hydroponic systems, such as lettuce, spinach, herbs, tomatoes, peppers, and strawberries.
* Drill with Hole Saw Attachment: To create holes in the container lid for the net cups.
* Measuring Cups and Spoons: For accurately mixing the nutrient solution.
* pH Meter or pH Test Kit: To monitor and adjust the pH of the nutrient solution.
* Water: Tap water is usually fine, but let it sit for 24 hours to allow chlorine to dissipate.
* Marker: For marking the container lid.
* Gloves: To protect your hands.
Step-by-Step Instructions: Building Your Kratky System
Alright, let’s get our hands dirty (well, not really, since it’s soil-less!). Follow these steps to build your own Kratky hydroponic system:
1. Prepare the Container:
* Clean the container thoroughly with soap and water to remove any dirt or debris. Rinse well.
* If your container isn’t already dark-colored, consider painting the outside with a dark, non-toxic paint to prevent light from penetrating and promoting algae growth.
2. Create Holes in the Lid:
* Place the lid on a flat surface.
* Using a marker, trace circles onto the lid where you want to place your net cups. Space them evenly, allowing enough room for the plants to grow. A good rule of thumb is to leave at least 6 inches between each hole.
* Attach the hole saw attachment to your drill. Make sure the hole saw size matches the diameter of your net cups.
* Carefully drill holes through the lid at each marked location.
* Smooth any rough edges around the holes with sandpaper or a file.
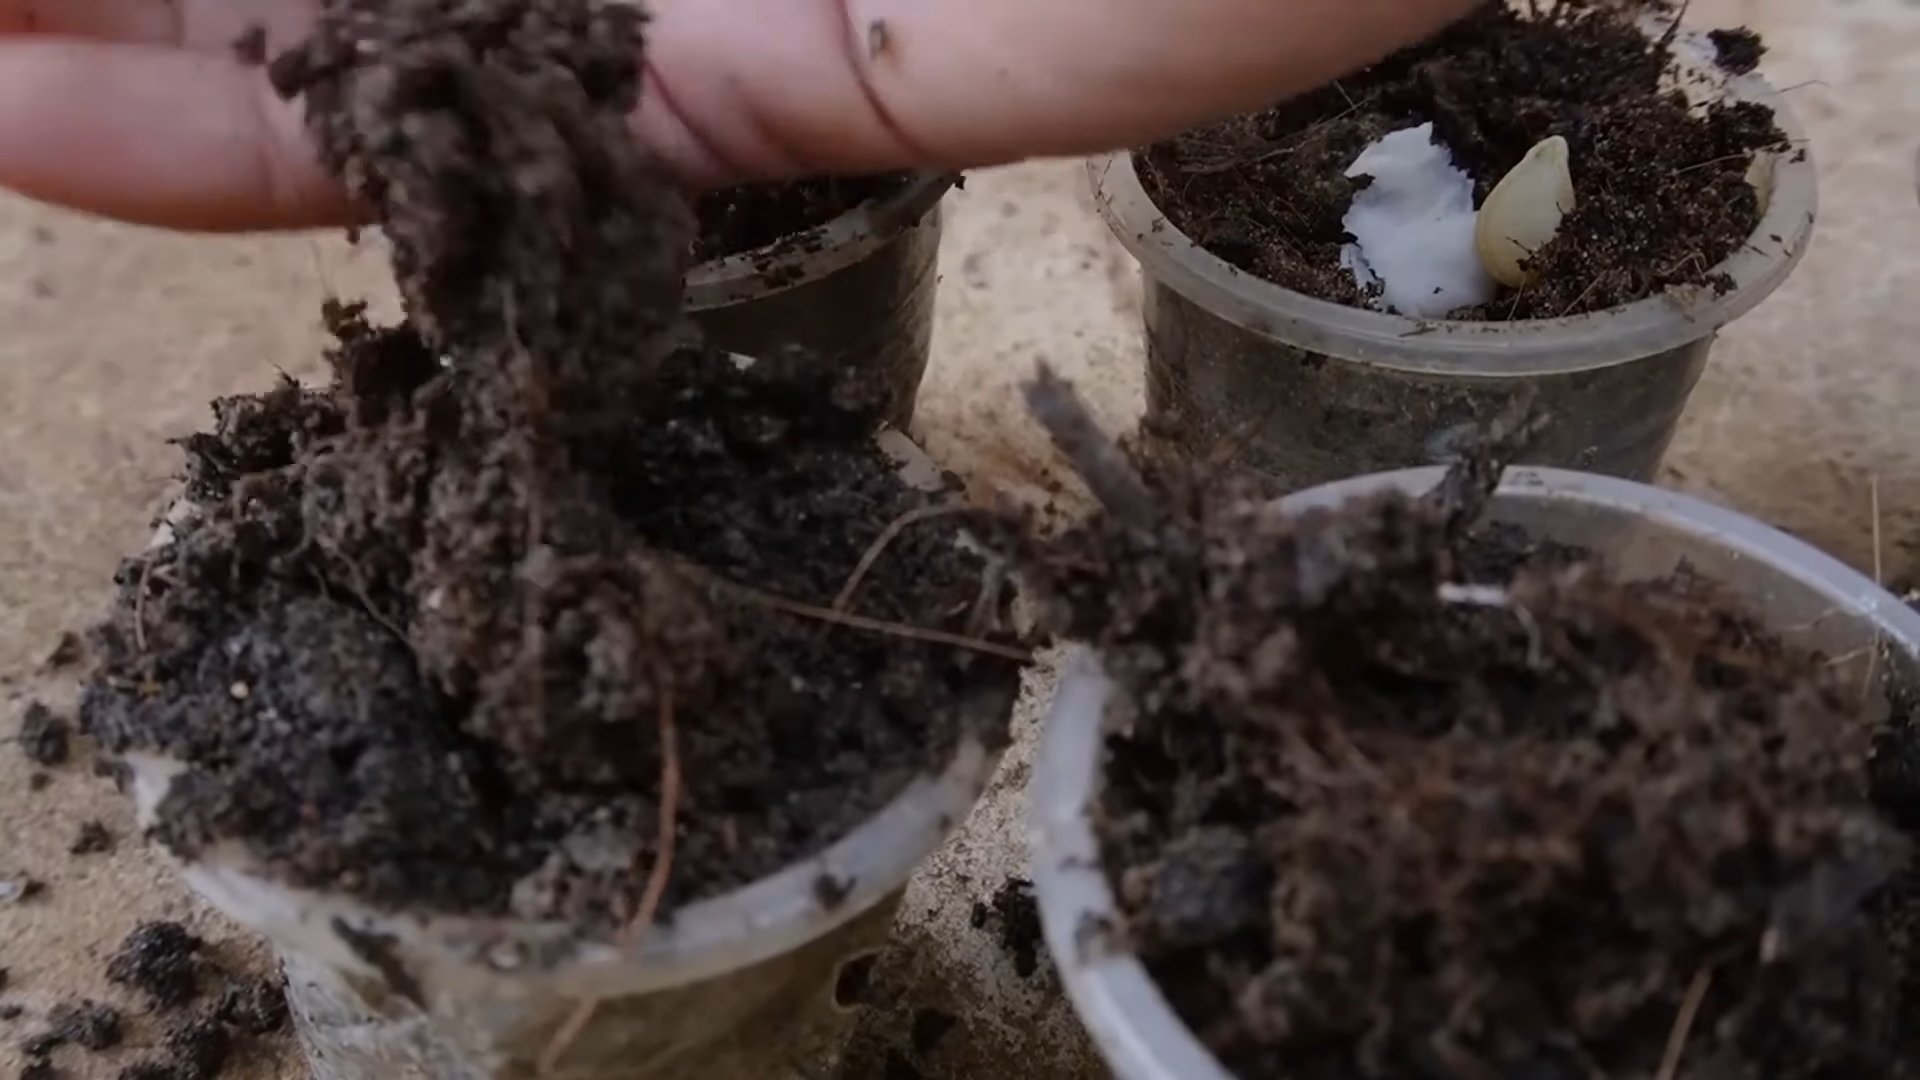
3. Prepare the Net Cups and Growing Medium:
* Rinse the net cups to remove any dust or debris.
* If using coco coir, pre-soak it in water for a few hours to hydrate it.
* If using rockwool cubes, soak them in pH-adjusted water (pH 5.5-6.5) for a few hours before use. This helps to stabilize the pH and remove any excess alkalinity.
4. Plant Your Seedlings or Seeds:
* If using seedlings, gently remove them from their original containers, being careful not to damage the roots.
* Place a small amount of growing medium in the bottom of each net cup.
* Position the seedling in the center of the net cup and fill the remaining space with growing medium, gently packing it around the roots.
* If starting from seeds, sow a few seeds directly into the growing medium in the net cups. Once the seedlings emerge and have a few true leaves, thin them out, leaving only the strongest seedling in each cup.
5. Prepare the Nutrient Solution:
* Fill the container with water, leaving a few inches of space at the top.
* Carefully measure and add the hydroponic nutrients according to the manufacturer’s instructions. It’s crucial to use hydroponic-specific nutrients, as regular fertilizers are not formulated for soil-less systems.
* Stir the solution thoroughly to ensure the nutrients are evenly distributed.
* Use a pH meter or pH test kit to check the pH of the solution. The ideal pH range for most hydroponic plants is between 5.5 and 6.5.
* If the pH is too high, add a pH-down solution (phosphoric acid) a little at a time, stirring and retesting until the pH is within the desired range.
* If the pH is too low, add a pH-up solution (potassium hydroxide) in the same manner.
6. Assemble the System:
* Carefully place the net cups containing your plants into the holes in the lid.
* Make sure the bottom of the net cups are submerged in the nutrient solution. The water level should be high enough to reach the growing medium and keep it moist.
* Place the lid on the container, ensuring it fits snugly.
7. Provide Light:
* Place your hydroponic system in a location that receives at least 6-8 hours of direct sunlight per day.
* If you don’t have enough natural light, you can supplement with grow lights. LED grow lights are energy-efficient and provide the full spectrum of light that plants need to thrive.
Maintaining Your Kratky System
Now that your system is up and running, here’s how to keep your plants happy and healthy:
* Monitor the Water Level: Check the water level regularly and add more nutrient solution as needed. As the plants grow, they will consume the solution, creating the air gap that is essential for the Kratky method.
* Check the pH: Monitor the pH of the nutrient solution weekly and adjust as needed to maintain the ideal range of 5.5-6.5.
* Change the Nutrient Solution: Every 2-3 weeks, completely replace the nutrient solution with a fresh batch. This helps to prevent nutrient imbalances and the buildup of harmful salts.
* Inspect for Pests and Diseases: Regularly inspect your plants for any signs of pests or diseases. If you spot any problems, address them promptly with appropriate organic pest control methods or disease treatments.
* Provide Support: As your plants grow, they may need support to prevent them from toppling over. Use stakes, trellises, or cages to provide support as needed.
* Harvest Regularly: Harvest your crops regularly to encourage continued production.
Troubleshooting Common Problems
Even with the best care, you might encounter some challenges along the way. Here are some common problems and how to address them:
* Algae Growth: Algae can grow in the nutrient solution if the container is not opaque or if it’s exposed to too much light. To prevent algae growth, use a dark-colored container, paint the outside of the container with a dark paint, and keep the system out of direct sunlight. If algae does appear, you can add a small amount of hydrogen peroxide to the nutrient solution to kill it.
* Nutrient Deficiencies: If your plants are showing signs of nutrient deficiencies (e.g., yellowing leaves, stunted growth), double-check that you are using the correct hydroponic nutrients and that the pH of the solution is within the ideal range. You
Conclusion
So, there you have it! Embracing a soil-less garden for high yields isn’t just a trendy experiment; it’s a game-changer for anyone looking to maximize their harvest, regardless of space or traditional gardening limitations. We’ve explored the core principles, the simple setup, and the incredible potential this method unlocks.
Why is this a must-try? Because it offers a trifecta of benefits: increased yields, reduced pest and disease problems, and unparalleled control over your plants’ environment. Imagine harvesting baskets overflowing with vibrant, healthy produce, all grown without a single speck of soil. That’s the power of a well-executed soil-less garden.
But the beauty of this method lies in its adaptability. Feel free to experiment with different nutrient solutions to find the perfect blend for your chosen crops. Try different growing mediums like coco coir, perlite, or even rockwool to see which one your plants thrive in. Consider adding supplemental lighting, especially during the shorter days of the year, to further boost growth and yields. You can even explore vertical gardening techniques to maximize space and create a stunning green wall of edible delights.
Don’t be afraid to get creative! Perhaps you want to focus on growing herbs indoors year-round, or maybe you’re dreaming of a bountiful tomato harvest on your balcony. A soil-less garden makes these dreams a reality.
We’ve provided you with the knowledge and the inspiration; now it’s time to take the plunge. Start small, experiment, and learn as you go. The initial setup might seem a little daunting, but the rewards are well worth the effort. The satisfaction of harvesting your own fresh, delicious produce, knowing you’ve nurtured it from seed to table, is truly unparalleled.
We are confident that you will be amazed by the results you can achieve with a soil-less garden. It’s a sustainable, efficient, and incredibly rewarding way to grow your own food.
So, what are you waiting for? Dive into the world of soil-less gardening and experience the joy of abundant harvests. And most importantly, we want to hear about your journey! Share your experiences, your successes, and even your challenges in the comments below. Let’s build a community of soil-less gardening enthusiasts and learn from each other. Your insights could inspire others to take the leap and discover the magic of growing without soil. Let us know what kind of plants you are growing and what kind of nutrient solution you are using. We are excited to see what you create!
Frequently Asked Questions
What exactly is a soil-less garden, and how does it differ from traditional gardening?
A soil-less garden, also known as hydroponics, aeroponics, or aquaponics (though aquaponics involves fish), is a method of growing plants without using soil. Instead of soil providing nutrients and support, plants receive these essentials through a nutrient-rich solution delivered directly to their roots. This can be done in a variety of ways, from simple water culture systems to more complex setups involving inert growing mediums like coco coir or perlite. The key difference from traditional gardening is the absence of soil as the primary source of nutrients and support. This allows for greater control over the plant’s environment and nutrient intake, leading to potentially higher yields and faster growth.
What are the main benefits of using a soil-less garden for high yields?
The benefits are numerous! Firstly, increased yields are a major draw. Because you’re directly feeding the plants the exact nutrients they need, they can focus their energy on growth and fruit production. Secondly, soil-less systems often experience fewer pest and disease problems. Soil can harbor pests and pathogens, which are eliminated in a soil-less environment. Thirdly, you have greater control over the growing environment. You can adjust the nutrient solution, pH levels, and even the temperature and humidity to optimize plant growth. Fourthly, soil-less gardens are often more water-efficient than traditional gardens, as the water is recirculated and reused. Finally, they are ideal for urban gardening, as they can be set up in small spaces like balconies or patios.
What kind of plants can I grow in a soil-less garden?
The possibilities are vast! Many vegetables, fruits, and herbs thrive in soil-less systems. Popular choices include leafy greens like lettuce, spinach, and kale; fruiting vegetables like tomatoes, peppers, and cucumbers; herbs like basil, mint, and oregano; and even strawberries. Root vegetables like carrots and potatoes can be grown, but they require deeper containers and careful attention to nutrient levels. The key is to research the specific needs of each plant and adjust your system accordingly.
What type of nutrient solution should I use for my soil-less garden?
Choosing the right nutrient solution is crucial for success. There are many commercially available hydroponic nutrient solutions that are specifically formulated for different types of plants. Look for solutions that contain a balanced blend of macronutrients (nitrogen, phosphorus, potassium) and micronutrients (iron, manganese, zinc, etc.). You can also find organic nutrient solutions, although they may require more monitoring and adjustments. It’s important to follow the manufacturer’s instructions carefully and monitor the pH and EC (electrical conductivity) of the solution regularly to ensure that your plants are getting the right amount of nutrients.
How often should I change the nutrient solution in my soil-less garden?
The frequency of nutrient solution changes depends on the size of your system, the type of plants you’re growing, and the rate at which they’re using nutrients. As a general rule, you should change the nutrient solution every 1-2 weeks. However, it’s important to monitor the pH and EC levels regularly. If the pH drifts too far out of the optimal range (typically 5.5-6.5), or if the EC drops significantly, it’s a sign that the nutrients are depleted and the solution needs to be changed.
What are some common problems I might encounter with a soil-less garden, and how can I fix them?
Some common problems include nutrient deficiencies, pH imbalances, algae growth, and root rot. Nutrient deficiencies can be identified by observing the leaves of your plants. Yellowing leaves, stunted growth, or unusual spots can all be signs of a deficiency. pH imbalances can be corrected by using pH up or pH down solutions. Algae growth can be prevented by keeping the nutrient solution covered and out of direct sunlight. Root rot is often caused by poor aeration or overwatering. Ensure that your roots have access to plenty of oxygen and avoid letting them sit in stagnant water.
Is a soil-less garden more expensive than traditional gardening?
The initial setup cost of a soil-less garden can be higher than traditional gardening, as you’ll need to purchase containers, growing mediums, nutrient solutions, and potentially pumps and timers. However, in the long run, a soil-less garden can be more cost-effective. You’ll save money on soil amendments, pesticides, and water. Plus, the increased yields can offset the initial investment.
Can I use tap water for my soil-less garden?
It depends on the quality of your tap water. If your tap water is heavily chlorinated or contains high levels of minerals, it’s best to use filtered or distilled water. You can also let tap water sit out for 24 hours to allow the chlorine to evaporate. Test your tap water to determine its pH and mineral content before using it in your soil-less garden.
How do I get started with a soil-less garden on a small budget?
You don’t need to spend a fortune to get started. You can build a simple water culture system using recycled containers, styrofoam, and an aquarium air pump. Use inexpensive growing mediums like perlite or vermiculite. Purchase a basic hydroponic nutrient solution and monitor the pH and EC levels regularly. Start with a few easy-to-grow plants like lettuce or spinach. As you gain experience, you can gradually upgrade your system and expand your garden.
Where can I find more information and resources about soil-less gardening?
There are many excellent resources available online and in libraries. Search for articles, videos, and forums dedicated to hydroponics, aeroponics, and aquaponics. Look for books on soil-less gardening techniques and nutrient management. Join online communities and connect with other soil-less gardening enthusiasts. Experiment, learn from your mistakes, and most importantly, have fun!
Leave a Comment