
Remove Rust from Tools WD40: Are your trusty garden tools looking a little worse for wear? Covered in unsightly rust that’s making them difficult to use? Don’t despair! Before you think about replacing them, I’m going to share a super simple, incredibly effective DIY trick that will have them looking (and working!) like new again.
Rust, the bane of any gardener’s existence, has been plaguing metal tools for centuries. From ancient farming implements to modern-day trowels, oxidation has always been a challenge. But thankfully, we’ve got some modern solutions at our fingertips! This method I’m about to show you is a game-changer, and it involves something you might already have in your garage: WD40.
Why is this DIY trick so important? Well, rusty tools aren’t just ugly; they’re inefficient and can even be dangerous. Rust can make tools difficult to grip, harder to use, and can even harbor bacteria that could harm your plants. Plus, replacing tools is expensive! Learning how to remove rust from tools WD40 is a cost-effective and environmentally friendly way to keep your gardening equipment in top condition. So, let’s dive in and get those tools sparkling!
DIY Rust Removal: Revive Your Tools with WD-40
Hey there, fellow DIY enthusiasts! Are your trusty tools looking a little worse for wear, covered in unsightly rust? Don’t despair! Before you think about replacing them, I’m going to show you a simple and effective method to banish that rust and bring your tools back to life using WD-40. Yes, that’s right, the multi-purpose spray we all know and love can work wonders on rust. This method is relatively inexpensive, requires minimal effort, and is perfect for tackling light to moderate rust. Let’s get started!
What You’ll Need
Before we dive in, let’s gather our supplies. Here’s a list of everything you’ll need for this rust-busting project:
* **WD-40:** The star of the show! Make sure you have a can of WD-40 on hand.
* **Wire Brush:** A sturdy wire brush is essential for scrubbing away the loosened rust. I recommend having a few different sizes and shapes to reach into tight corners and crevices.
* **Steel Wool (Optional):** For stubborn rust or delicate tools, fine-grade steel wool can be a gentler alternative to a wire brush.
* **Rags or Paper Towels:** You’ll need these for wiping away excess WD-40 and rust residue.
* **Gloves:** Protect your hands from the WD-40 and rust particles.
* **Safety Glasses:** Safety first! Protect your eyes from flying debris.
* **Container (Optional):** If you’re dealing with heavily rusted tools, a container for soaking them in WD-40 can be helpful.
* **Old Toothbrush (Optional):** An old toothbrush is great for cleaning small, intricate areas.
* **Penetrating Oil (Optional):** For extremely stubborn rust, a dedicated penetrating oil can be used in conjunction with WD-40.
Step-by-Step Rust Removal Guide
Now that we have all our supplies, let’s get down to business! Here’s a detailed, step-by-step guide to removing rust from your tools using WD-40:
1. **Prepare Your Workspace:** Find a well-ventilated area to work in. Lay down some newspaper or a drop cloth to protect your work surface from WD-40 and rust.
2. **Clean the Tools (Optional):** If your tools are covered in dirt, grease, or grime, give them a quick cleaning with soap and water before applying WD-40. This will help the WD-40 penetrate the rust more effectively. Make sure the tools are completely dry before proceeding.
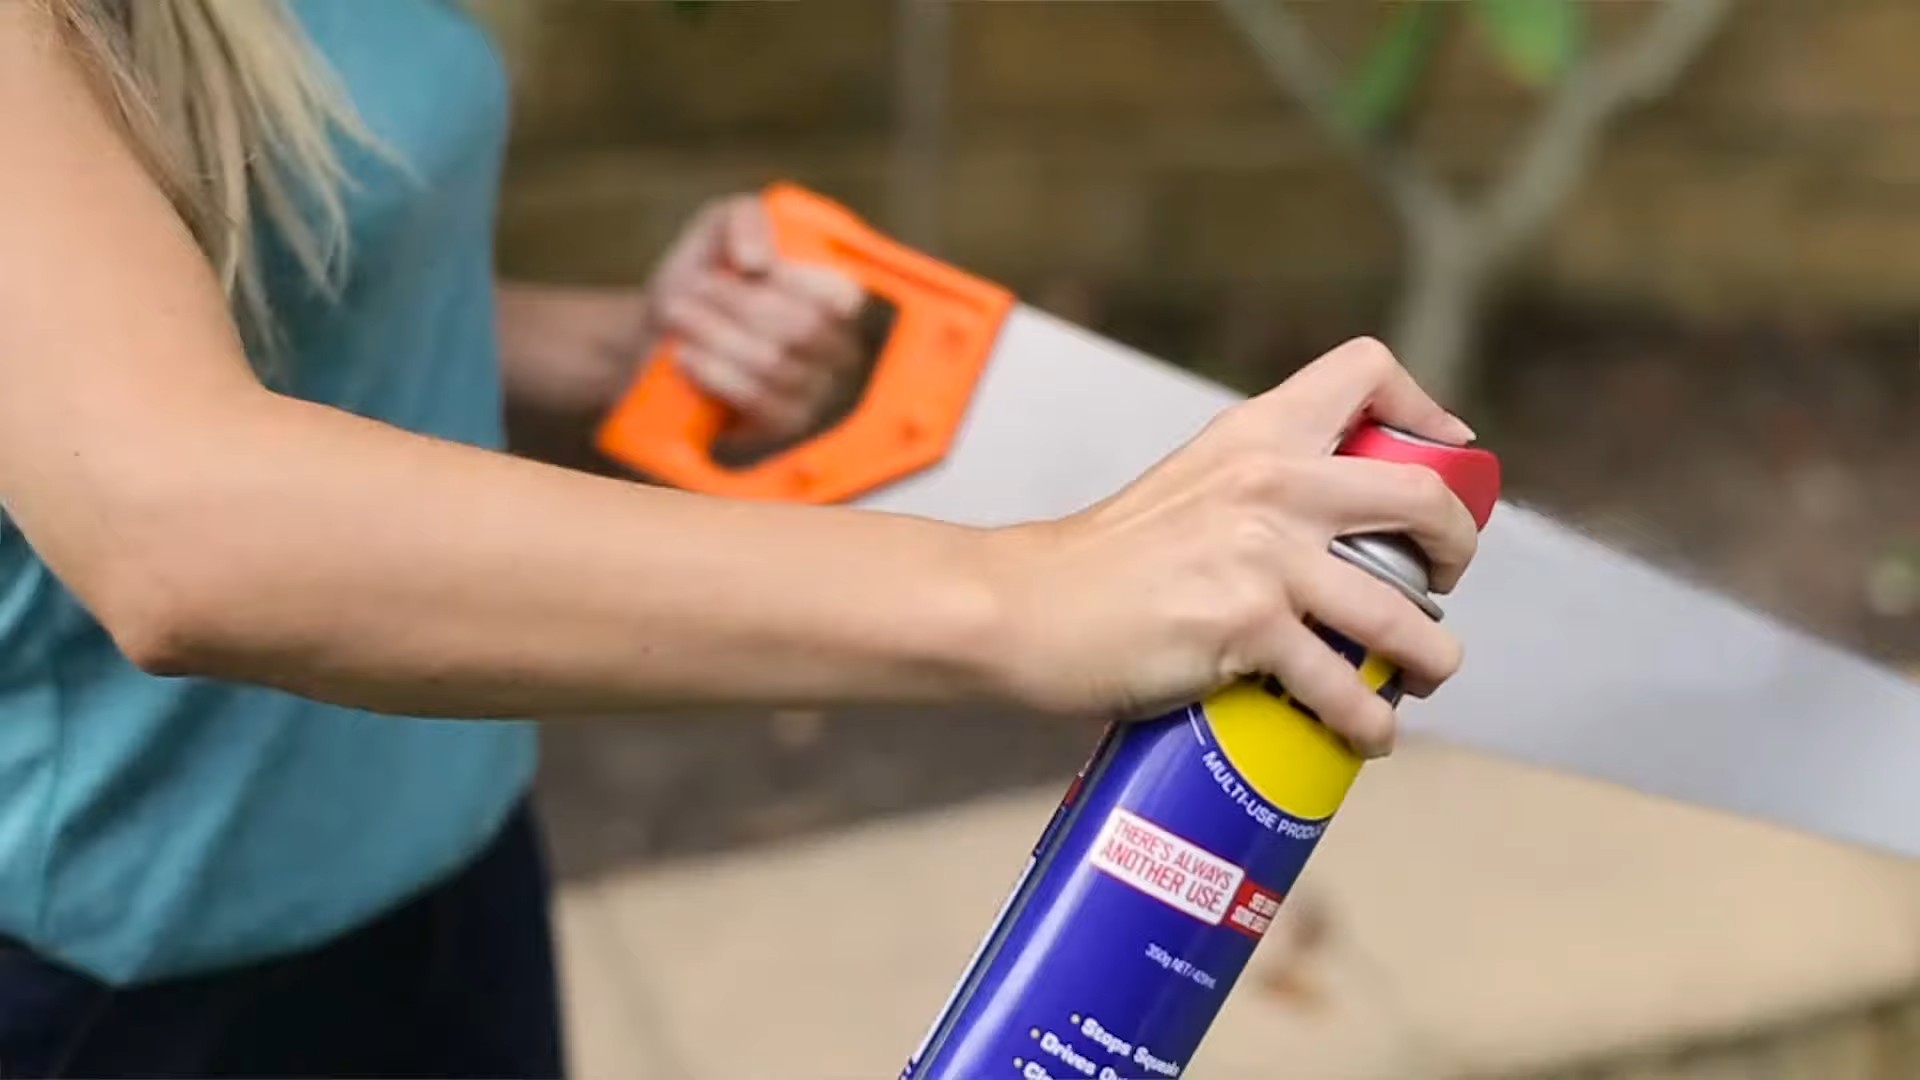
3. **Apply WD-40:** Generously spray the rusted areas of your tools with WD-40. Don’t be shy! Make sure the rust is thoroughly saturated. For heavily rusted tools, consider soaking them in a container filled with WD-40 for several hours or even overnight. This will give the WD-40 ample time to penetrate and loosen the rust.
4. **Let it Soak:** Allow the WD-40 to soak into the rust for at least 10-15 minutes. The longer you let it soak, the easier it will be to remove the rust. For heavily rusted tools, I recommend letting it soak for several hours or overnight.
5. **Scrub Away the Rust:** After the WD-40 has had time to soak, it’s time to start scrubbing! Use your wire brush to scrub away the loosened rust. Apply firm, even pressure, and work in small sections. For stubborn rust, you may need to scrub more vigorously. If you’re working with delicate tools or tools with intricate details, use fine-grade steel wool or an old toothbrush instead of a wire brush to avoid scratching or damaging the surface.
6. **Wipe Away Residue:** As you scrub, periodically wipe away the rust residue and excess WD-40 with a rag or paper towel. This will allow you to see your progress and ensure that you’re removing all the rust.
7. **Repeat if Necessary:** If you’re dealing with heavily rusted tools, you may need to repeat steps 3-6 several times to remove all the rust. Don’t get discouraged! Just keep applying WD-40, letting it soak, and scrubbing until the rust is gone.
8. **Clean and Dry:** Once you’ve removed all the rust, thoroughly clean your tools with a clean rag or paper towel to remove any remaining WD-40 and rust residue. Make sure the tools are completely dry before storing them.
9. **Apply a Protective Coating:** To prevent future rust, apply a thin layer of WD-40 or another rust preventative to your tools. This will help protect them from moisture and oxidation. You can also use a silicone-based lubricant or a specialized tool protectant.
10. **Proper Storage:** Store your tools in a dry, cool place. Avoid storing them in damp or humid environments, as this can accelerate rust formation. Consider using a tool chest or toolbox with desiccant packs to absorb moisture.
Dealing with Stubborn Rust
Sometimes, you’ll encounter rust that just won’t budge, no matter how much WD-40 you use. In these cases, you may need to try some more aggressive techniques. Here are a few tips for dealing with stubborn rust:
* **Penetrating Oil:** Apply a dedicated penetrating oil to the rusted areas and let it soak for several hours or overnight. Penetrating oil is designed to penetrate deep into the rust and loosen it from the metal.
* **Heat:** Applying heat to the rusted area can help loosen the rust. You can use a heat gun or a propane torch, but be careful not to overheat the metal, as this can damage it.
* **Electrolysis:** Electrolysis is a more advanced rust removal technique that uses an electric current to remove rust. This method is very effective, but it requires some specialized equipment and knowledge.
* **Commercial Rust Remover:** There are many commercial rust removers available on the market. These products typically contain strong acids or chemicals that dissolve rust. Be sure to follow the manufacturer’s instructions carefully when using these products.
Preventing Future Rust
The best way to deal with rust is to prevent it from forming in the first place. Here are a few tips for preventing future rust on your tools:
* **Keep Your Tools Clean:** Regularly clean your tools with soap and water to remove dirt, grease, and grime.
* **Dry Your Tools Thoroughly:** After cleaning your tools, make sure they are completely dry before storing them.
* **Apply a Protective Coating:** Apply a thin layer of WD-40 or another rust preventative to your tools after each use.
* **Store Your Tools Properly:** Store your tools in a dry, cool place.
* **Use Desiccant Packs:** Place desiccant packs in your tool chest or toolbox to absorb moisture.
* **Consider a Vapor Phase Inhibitor (VPI):** VPIs release chemicals that inhibit rust formation. These are available as sprays, emitters, or even liners for toolboxes.
Safety Precautions
Before you start working on your tools, it’s important to take some safety precautions:
* **Wear Gloves:** Protect your hands from WD-40 and rust particles.
* **Wear Safety Glasses:** Protect your eyes from flying debris.
* **Work in a Well-Ventilated Area:** WD-40 can be irritating to the lungs, so work in a well-ventilated area.
* **Dispose of Rags Properly:** WD-40-soaked rags can be a fire hazard, so dispose of them properly.
Conclusion
And there you have it! With a little WD-40, some elbow grease, and these helpful tips, you can easily remove rust from your tools and keep them in tip-top shape for years to come. Remember, prevention is key, so take the time to clean, dry, and protect your tools after each use. Happy DIY-ing!
Conclusion
So, there you have it! Removing rust from your tools doesn’t have to involve harsh chemicals, expensive equipment, or hours of tedious scrubbing. This simple, yet incredibly effective, DIY trick using WD40 is a game-changer for anyone who values their tools and wants to keep them in tip-top shape. We’ve shown you how WD40 can penetrate the rust, loosen its grip, and allow you to easily wipe away years of neglect.
Why is this a must-try? Because it’s accessible, affordable, and, most importantly, it works! Think about the time and money you’ll save by restoring your existing tools instead of replacing them. Imagine the satisfaction of seeing your rusty old wrench gleaming like new again. This isn’t just about cleaning; it’s about extending the life of your investments and reducing waste.
But don’t stop there! Feel free to experiment with variations to suit your specific needs. For heavily rusted tools, consider letting the WD40 soak for an extended period, even overnight. You can also try using a wire brush or steel wool for extra scrubbing power, but be gentle to avoid scratching the underlying metal. For delicate tools, a soft cloth or toothbrush might be a better option. Another variation is to use a rust eraser after the WD40 soak to remove any stubborn spots. Remember to always wear gloves to protect your hands.
We’re confident that this WD40 rust removal method will become your go-to solution for keeping your tools in pristine condition. It’s a simple, effective, and environmentally conscious way to tackle rust and extend the lifespan of your valuable equipment.
Now it’s your turn! We encourage you to try this DIY trick and see the amazing results for yourself. Don’t just take our word for it – experience the difference firsthand. And most importantly, share your experience with us! Let us know how it worked for you, what variations you tried, and any tips or tricks you discovered along the way. Your feedback will help others learn and benefit from this simple yet powerful technique. Share your before-and-after photos on social media using #ToolRustNoMore and #WD40Magic. We can’t wait to see your success stories! This simple method of rust removal using WD40 is a skill every homeowner and DIY enthusiast should have in their arsenal.
Frequently Asked Questions (FAQs)
What exactly is WD40, and why does it work for removing rust?
WD40 is a multi-purpose product known for its water-displacing properties, hence the “WD” in its name. It’s a blend of lubricants, solvents, and corrosion inhibitors. When applied to rust, WD40 penetrates the porous rust layer and loosens the bond between the rust and the underlying metal. The solvents help to dissolve some of the rust, while the lubricants create a barrier that prevents further corrosion. It’s not a rust converter, but rather a rust remover and preventative.
Is WD40 safe to use on all types of tools?
Generally, yes, WD40 is safe to use on most metal tools. However, it’s always a good idea to test it on a small, inconspicuous area first, especially if you’re dealing with antique or delicate tools. Avoid using WD40 on tools with rubber or plastic components, as it can degrade these materials over time. If you must use it on tools with these components, try to avoid direct contact and wipe off any excess immediately.
How long should I let the WD40 soak on the rusted tool?
The soaking time depends on the severity of the rust. For light rust, 15-30 minutes may be sufficient. For moderate rust, let it soak for a few hours. For heavily rusted tools, consider soaking them overnight or even for a full 24 hours. The longer the WD40 has to penetrate the rust, the easier it will be to remove. You can also reapply WD40 periodically during the soaking process to keep the area saturated.
What’s the best way to scrub the rust off after soaking with WD40?
The best scrubbing method depends on the type of tool and the severity of the rust. For most tools, a wire brush or steel wool is effective for removing rust. However, be careful not to scratch the underlying metal, especially on delicate tools. For these, a soft cloth, toothbrush, or nylon brush may be a better option. You can also use a rust eraser, which is a specialized abrasive tool designed for removing rust without damaging the metal. Always scrub in the direction of the grain of the metal to minimize scratches.
Do I need to wear gloves when using WD40?
Yes, it’s always recommended to wear gloves when using WD40 or any other chemical product. WD40 can irritate the skin, especially with prolonged exposure. Gloves will protect your hands from the chemicals and prevent them from becoming dry or cracked. Nitrile gloves are a good choice, as they are resistant to most chemicals.
How do I prevent rust from returning after cleaning my tools with WD40?
After removing the rust, it’s important to protect your tools from future corrosion. WD40 can be used as a rust preventative. Simply spray a light coat of WD40 on the cleaned tools and wipe off any excess. This will create a protective barrier that prevents moisture and oxygen from reaching the metal. You can also store your tools in a dry, cool place to further prevent rust. Consider using a tool chest or cabinet with desiccant packs to absorb moisture. Regularly inspect your tools for any signs of rust and reapply WD40 as needed.
Can I use other lubricants or solvents instead of WD40?
While WD40 is a popular and effective choice, other lubricants and solvents can also be used to remove rust. Penetrating oils, such as PB Blaster or Liquid Wrench, are specifically designed to loosen rusted parts and can be effective for removing rust. White vinegar is another natural alternative, but it may take longer to work. However, WD40 is generally preferred due to its multi-purpose nature and its ability to both remove rust and prevent future corrosion.
Is WD40 environmentally friendly?
WD40 is not considered a completely environmentally friendly product. It contains petroleum-based solvents and propellants that can contribute to air pollution. However, WD40 is working to reduce its environmental impact by developing more sustainable products and packaging. When using WD40, it’s important to use it sparingly and dispose of it properly. Do not pour WD40 down the drain or into the environment. Instead, dispose of it at a hazardous waste collection facility.
What if the rust is extremely stubborn and doesn’t come off easily?
For extremely stubborn rust, you may need to use a combination of methods. Start by soaking the tool in WD40 for an extended period, such as 24-48 hours. Then, use a wire brush or steel wool to scrub the rust vigorously. If that doesn’t work, you can try using a rust converter, which chemically converts the rust into a stable compound that can be painted over. As a last resort, you can consider using a power tool, such as a grinder or sander, to remove the rust. However, be very careful when using power tools, as they can easily damage the underlying metal.
Can I use WD40 to remove rust from other metal objects besides tools?
Yes, WD40 can be used to remove rust from a variety of metal objects, including car parts, bicycles, furniture, and household appliances. The same principles apply: soak the rusted area in WD40, scrub it with a suitable brush or cloth, and then protect the metal from future corrosion. However, be careful when using WD40 on painted or coated surfaces, as it can damage the finish. Always test it on a small, inconspicuous area first.
Leave a Comment