
Lime Cleaning Trick: Are you tired of stubborn stains and grime that just won’t budge, no matter how hard you scrub? I know I am! It feels like you’re battling a never-ending war against dirt, especially in the kitchen and bathroom. But what if I told you the solution was sitting right there in your fruit bowl?
For centuries, limes have been more than just a zesty addition to our drinks and dishes. Historically, sailors carried limes on long voyages to prevent scurvy, highlighting their potent cleaning and preserving properties. This citrus fruit is packed with citric acid, a natural cleaning agent that can tackle everything from hard water stains to greasy buildup.
That’s why I’m so excited to share this simple yet incredibly effective lime cleaning trick with you. In today’s world, we’re all looking for ways to simplify our lives, reduce our reliance on harsh chemicals, and save a little money. This DIY cleaning hack ticks all those boxes! Imagine effortlessly removing soap scum, polishing chrome fixtures, and even deodorizing your garbage disposal – all with the power of a humble lime. So, ditch the expensive cleaners and let’s unlock the cleaning potential of this amazing fruit. You’ll be amazed at the results!
DIY Lime Cleaning Power: Unleash the Zest!
Hey there, fellow DIY enthusiasts! Are you tired of battling stubborn limescale buildup in your bathroom, kitchen, or even on your favorite appliances? Well, I’ve got a fantastic, all-natural solution for you: the power of limes! Yes, those tangy citrus fruits are not just for margaritas; they’re also incredible cleaning agents. This guide will walk you through several ways to harness the cleaning power of limes to tackle limescale and leave your home sparkling.
What is Limescale and Why Should You Care?
Limescale is that chalky, white deposit you often see around faucets, showerheads, kettles, and toilets. It’s formed when hard water, which contains high levels of calcium and magnesium, evaporates and leaves behind these mineral deposits. While limescale isn’t harmful to your health, it can:
* Reduce the efficiency of appliances: Limescale buildup in kettles and coffee makers can make them work harder and consume more energy.
* Clog pipes and showerheads: Over time, limescale can restrict water flow and even damage plumbing.
* Make surfaces look unsightly: Let’s face it, limescale just isn’t pretty!
The Magic of Limes: Why They Work
Limes contain citric acid, a natural acid that effectively dissolves mineral deposits like limescale. It’s a much gentler and more eco-friendly alternative to harsh chemical cleaners. Plus, the fresh citrus scent is a bonus!
DIY Lime Cleaning Guide: Your Step-by-Step Arsenal
Here’s a breakdown of how to use limes to clean various areas of your home:
1. Cleaning Faucets and Showerheads
This is one of the easiest and most effective ways to use limes for cleaning.
* Materials You’ll Need:
* Limes (1-2, depending on the size and number of faucets/showerheads)
* Knife
* Soft cloth or sponge
* Optional: Rubber bands or zip ties (for showerheads)
* Step-by-Step Instructions:
1. Prepare the Limes: Cut the lime(s) in half.
2. Apply the Lime Juice: Rub the cut side of the lime directly onto the affected areas of the faucet or showerhead. Make sure to cover all the limescale deposits. Squeeze the lime gently as you rub to release more juice.
3. Let it Sit: Allow the lime juice to sit on the limescale for at least 30 minutes, or even longer for heavy buildup (up to a few hours). The citric acid needs time to break down the mineral deposits.
4. Scrub (if needed): After soaking, use a soft cloth or sponge to scrub away the loosened limescale. For stubborn areas, you might need to apply a bit more pressure.
5. Rinse Thoroughly: Rinse the faucet or showerhead thoroughly with clean water to remove any remaining lime juice and loosened limescale.
6. Dry and Admire: Dry the surface with a clean cloth. You should see a noticeable difference!
For Showerheads with Heavy Buildup:
1. Lime Soak: If your showerhead has a lot of limescale, you can try soaking it in lime juice. Fill a plastic bag with lime juice (you might need several limes) and secure it around the showerhead using rubber bands or zip ties. Make sure the showerhead is fully submerged in the juice.
2. Soak Overnight: Let it soak overnight for maximum effectiveness.
3. Rinse and Scrub: The next day, remove the bag and rinse the showerhead thoroughly. Scrub away any remaining limescale with a brush or sponge.
2. Descaling Your Kettle or Coffee Maker
Limescale buildup in your kettle or coffee maker can affect the taste of your beverages and reduce the appliance’s efficiency. Here’s how to descale them with limes:
* Materials You’ll Need:
* Limes (2-3, depending on the size of the appliance)
* Water
* Knife
* Step-by-Step Instructions:
1. Prepare the Lime Solution: Cut the limes into slices and place them in the kettle or coffee maker’s water reservoir.
2. Add Water: Fill the kettle or reservoir with water.
3. Boil or Brew: For a kettle, boil the lime-water mixture. For a coffee maker, run a full brewing cycle.
4. Let it Sit: After boiling or brewing, let the solution sit in the appliance for at least an hour, or even overnight for heavy limescale.
5. Rinse Thoroughly: Empty the kettle or coffee maker and rinse it thoroughly with clean water several times to remove any remaining lime residue.
6. Boil/Brew Again with Clean Water: To ensure all lime residue is gone, boil or brew a cycle with just clean water.
7. Enjoy Your Clean Appliance!
3. Cleaning Toilet Bowls
Limes can also help remove limescale stains and freshen up your toilet bowl.
* Materials You’ll Need:
* Limes (2-3)
* Knife
* Toilet brush
* Step-by-Step Instructions:
1. Prepare the Limes: Cut the limes in half or into smaller pieces.
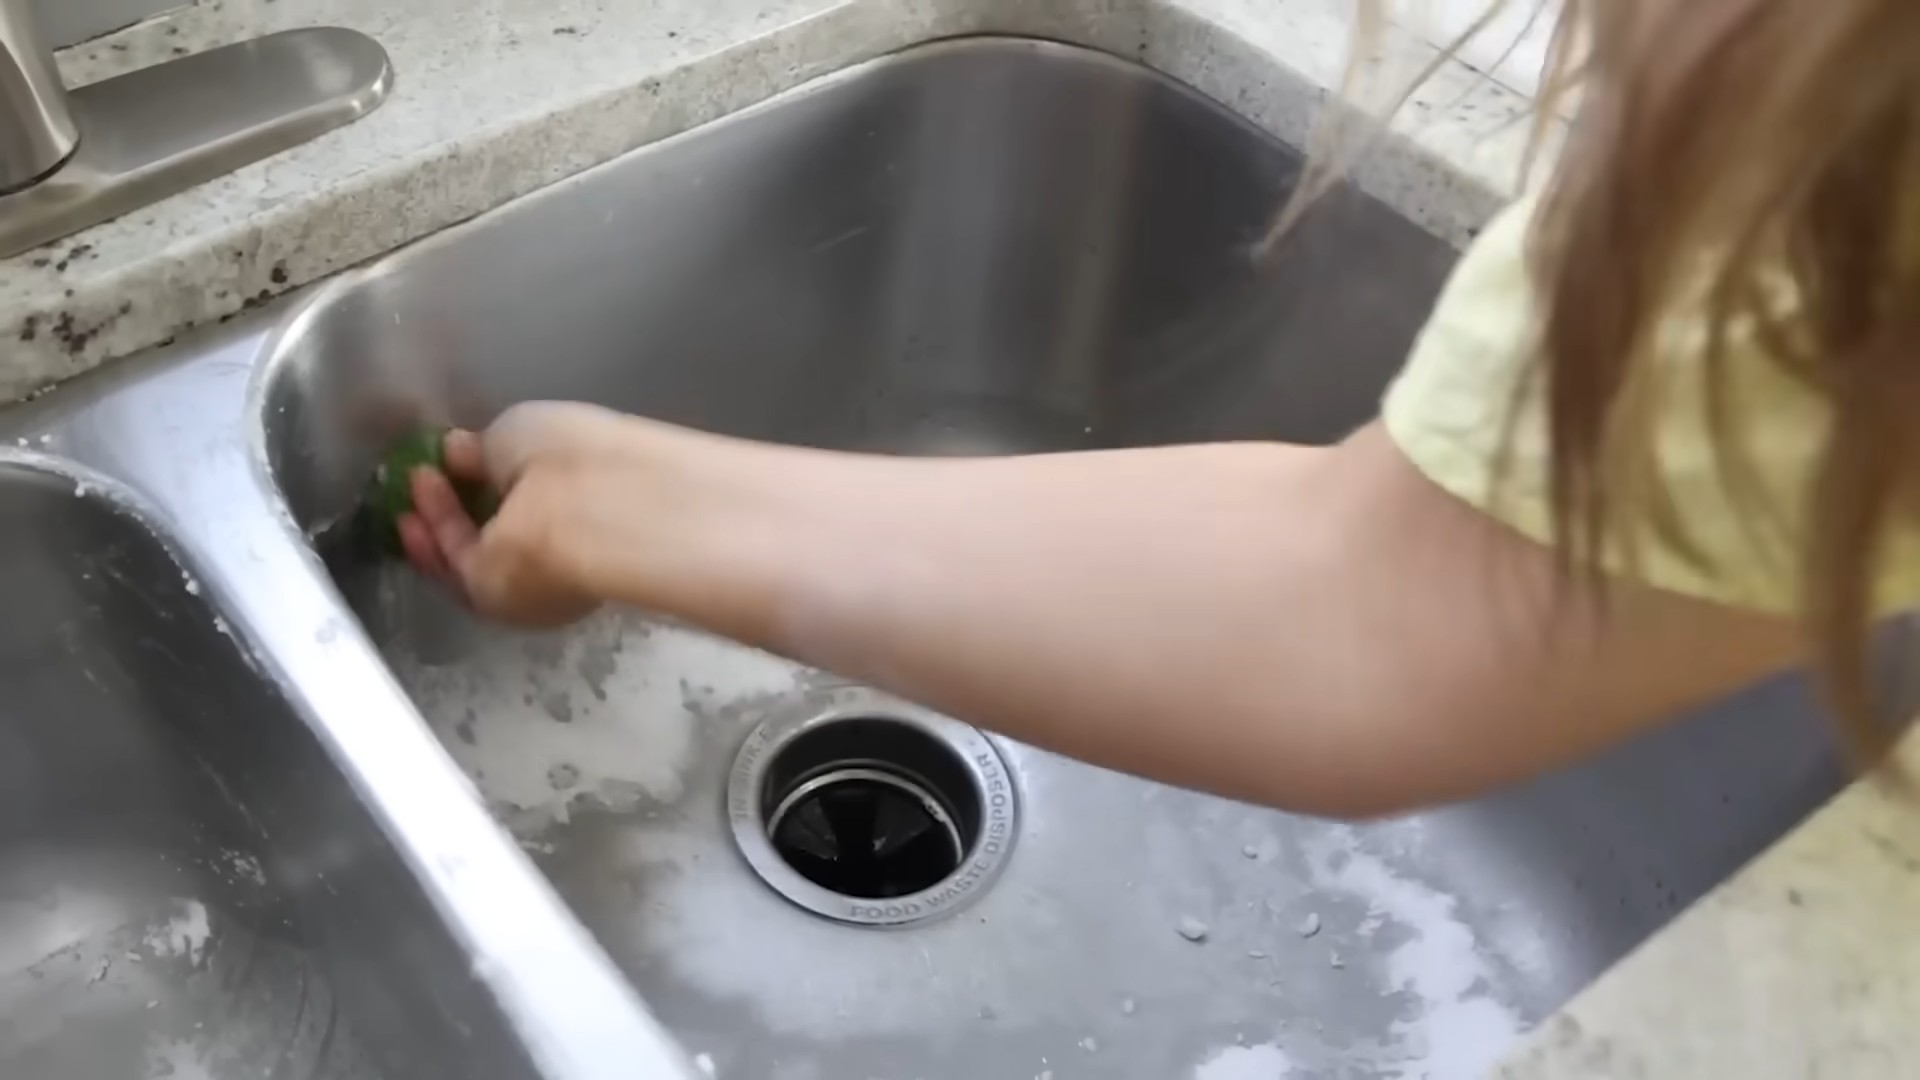
2. Squeeze and Drop: Squeeze the lime juice into the toilet bowl, focusing on areas with limescale stains. Then, drop the lime rinds into the bowl as well.
3. Let it Sit: Allow the lime juice and rinds to sit in the bowl for at least a few hours, or preferably overnight.
4. Scrub: Use a toilet brush to scrub the bowl thoroughly, paying attention to the areas with limescale.
5. Flush: Flush the toilet to remove the lime residue and loosened limescale.
4. Removing Limescale from Glass Shower Doors
Those pesky water spots and limescale on glass shower doors can be a real pain. Limes to the rescue!
* Materials You’ll Need:
* Limes (1-2)
* Knife
* Soft cloth or sponge
* Spray bottle (optional)
* Step-by-Step Instructions:
1. Prepare the Limes: Cut the lime(s) in half.
2. Apply the Lime Juice: Rub the cut side of the lime directly onto the glass shower door, focusing on areas with water spots and limescale. Squeeze gently to release the juice. Alternatively, you can squeeze the lime juice into a spray bottle and spray it onto the door.
3. Let it Sit: Allow the lime juice to sit on the glass for about 30 minutes.
4. Wipe and Rinse: Wipe the door with a soft cloth or sponge to remove the loosened limescale. Rinse the door thoroughly with clean water.
5. Dry: Dry the door with a clean towel or squeegee to prevent new water spots from forming.
5. Cleaning Chrome Fixtures
Limes can also bring back the shine to your chrome fixtures.
* Materials You’ll Need:
* Lime (1)
* Knife
* Soft cloth
* Step-by-Step Instructions:
1. Prepare the Lime: Cut the lime in half.
2. Rub and Polish: Rub the cut side of the lime over the chrome fixtures, applying gentle pressure.
3. Let it Sit: Allow the juice to sit for about 10-15 minutes.
4. Wipe and Buff: Wipe the fixtures clean with a soft cloth. Buff the surface to bring out the shine.
Important Tips and Considerations
* Test First: Before applying lime juice to any surface, test it on a small, inconspicuous area to ensure it doesn’t damage the material.
* Avoid Sensitive Surfaces: Do not use lime juice on marble, granite, or other porous surfaces, as the acid can etch or stain them.
* Rinse Thoroughly: Always rinse surfaces thoroughly with clean water after cleaning with lime juice to remove any residue.
* Wear Gloves: If you have sensitive skin, consider wearing gloves when handling lime juice.
* Fresh Limes are Best: Fresh limes will provide the most potent cleaning power.
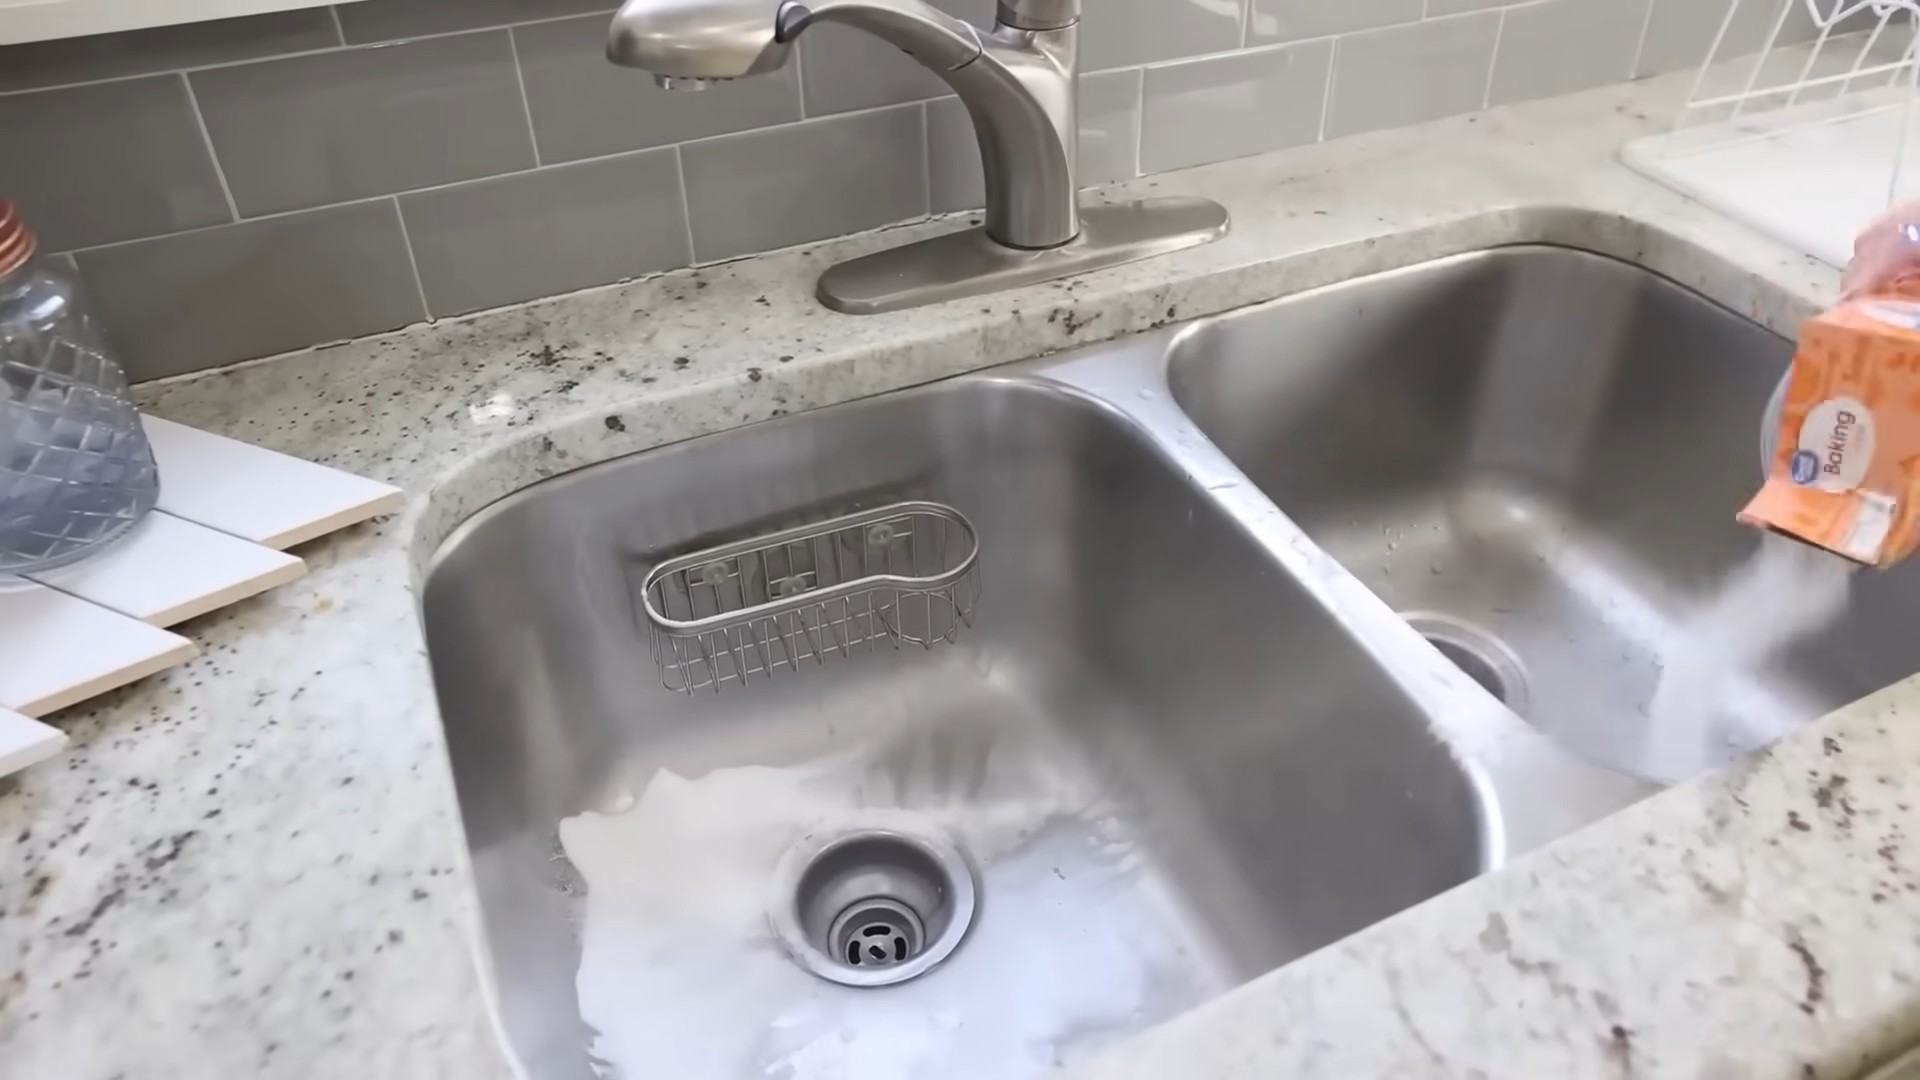
* Combine with Baking Soda: For extra cleaning power, you can combine lime juice with baking soda to create a paste. This is especially effective for scrubbing stubborn limescale.
* Prevention is Key: To prevent limescale buildup, wipe down surfaces after each use, especially
Conclusion
So, there you have it! This simple, yet incredibly effective, lime cleaning trick is a game-changer for anyone battling stubborn limescale buildup. Forget expensive, harsh chemical cleaners that leave behind lingering odors and potential health concerns. This DIY method harnesses the natural power of citric acid to dissolve limescale, leaving your surfaces sparkling clean and fresh.
Why is this a must-try? Because it’s cost-effective, eco-friendly, and remarkably easy. You likely already have the necessary ingredients in your kitchen – limes, water, and perhaps a little baking soda for extra scrubbing power. The process is straightforward, requiring minimal effort and yielding impressive results. Think of the time and money you’ll save by ditching those store-bought cleaners!
But the benefits extend beyond just cost and convenience. This lime cleaning trick is also a safer alternative for your family and the environment. You’re avoiding the harsh chemicals found in commercial cleaners, reducing your exposure to potentially harmful substances and minimizing your impact on the planet. Plus, the fresh, citrusy scent of lime is a welcome bonus!
Don’t be afraid to experiment with variations to suit your specific needs. For tougher stains, try letting the lime juice soak for a longer period, even overnight. You can also create a paste by mixing lime juice with baking soda for a more abrasive cleaning action. This paste is particularly effective on grout and other textured surfaces. For delicate surfaces, always test the lime juice in an inconspicuous area first to ensure it doesn’t cause any damage or discoloration. You can also dilute the lime juice with water for a gentler cleaning solution.
Consider adding a few drops of your favorite essential oil to the lime juice mixture for an extra boost of fragrance and aromatherapy benefits. Lavender, lemon, or eucalyptus essential oils are all excellent choices that complement the citrusy scent of lime.
We’re confident that once you try this lime cleaning trick, you’ll be amazed by its effectiveness and simplicity. It’s a sustainable and budget-friendly way to keep your home clean and fresh, without compromising your health or the environment.
So, what are you waiting for? Grab a lime, get cleaning, and prepare to be amazed! We encourage you to try this DIY trick and share your experiences with us. Let us know what surfaces you’ve cleaned, what variations you’ve tried, and what results you’ve achieved. Your feedback will help us refine this method and share even more helpful tips with our community. Share your before and after photos on social media using #LimeCleaningTrick and inspire others to embrace this natural cleaning solution. We can’t wait to hear your success stories!
Frequently Asked Questions (FAQ)
What exactly is limescale, and why is it so hard to remove?
Limescale is a hard, chalky deposit that forms when hard water evaporates, leaving behind dissolved minerals like calcium and magnesium. It’s particularly common in areas with hard water and can build up on faucets, showerheads, sinks, toilets, and other surfaces that come into contact with water. Limescale is difficult to remove because it’s alkaline, meaning it resists acidic cleaners. That’s why many commercial cleaners contain harsh chemicals to dissolve it.
Can I use any type of lime for this cleaning trick?
Yes, you can use any type of lime, including Key limes, Persian limes, or even lime juice concentrate. However, fresh limes are generally more effective due to their higher concentration of citric acid. If using lime juice concentrate, you may need to use a larger amount or let it soak for a longer period to achieve the desired results.
Is this lime cleaning trick safe for all surfaces?
While lime juice is generally safe for most surfaces, it’s always a good idea to test it in an inconspicuous area first, especially on delicate materials like marble, granite, or certain types of plastic. The acidity of lime juice can potentially etch or discolor these surfaces. If you’re unsure, dilute the lime juice with water or use a gentler cleaning solution.
How long should I let the lime juice soak on the limescale?
The soaking time will depend on the severity of the limescale buildup. For light limescale, 15-30 minutes may be sufficient. For heavier buildup, you may need to let the lime juice soak for several hours or even overnight. You can also reapply the lime juice periodically to keep the surface moist and allow the citric acid to continue dissolving the limescale.
Can I use this lime cleaning trick on my coffee maker or kettle?
Yes, this lime cleaning trick is an excellent way to descale your coffee maker or kettle. Simply fill the reservoir with a mixture of lime juice and water (about half and half) and run a brewing cycle. Then, rinse the coffee maker or kettle thoroughly with clean water to remove any remaining lime juice. For kettles, you can boil the lime juice and water mixture and then let it sit for 30 minutes before rinsing.
What if the limescale is really stubborn and doesn’t come off easily?
For extremely stubborn limescale, you can try a few different approaches. First, make a paste of lime juice and baking soda and apply it to the affected area. Let it sit for 15-20 minutes, then scrub with a non-abrasive sponge or brush. You can also try using a limescale remover specifically designed for your appliance or surface, but always follow the manufacturer’s instructions carefully. In some cases, you may need to repeat the lime cleaning trick several times to completely remove the limescale.
Will this lime cleaning trick leave a lime scent behind?
Yes, this lime cleaning trick will leave a fresh, citrusy scent behind, which is a welcome bonus compared to the harsh chemical odors of commercial cleaners. The scent will typically dissipate within a few hours, but you can also add a few drops of your favorite essential oil to the lime juice mixture for an extra boost of fragrance.
How often should I use this lime cleaning trick to prevent limescale buildup?
The frequency of cleaning will depend on the hardness of your water and how often you use the affected surfaces. In general, it’s a good idea to clean your faucets, showerheads, and other surfaces prone to limescale buildup at least once a month. For coffee makers and kettles, you may need to descale them more frequ
So, there you have it! This simple, yet incredibly effective, lime cleaning trick is a game-changer for anyone battling stubborn limescale buildup. Forget expensive, harsh chemical cleaners that leave behind lingering odors and potential health concerns. This DIY method harnesses the natural power of citric acid to dissolve limescale, leaving your surfaces sparkling clean and fresh.
Why is this a must-try? Because it’s cost-effective, eco-friendly, and remarkably easy. You likely already have the necessary ingredients in your kitchen – limes, water, and perhaps a little baking soda for extra scrubbing power. The process is straightforward, requiring minimal effort and yielding impressive results. Think of the time and money you’ll save by ditching those store-bought cleaners!
But the benefits extend beyond just cost and convenience. This lime cleaning trick is also a safer alternative for your family and the environment. You’re avoiding the harsh chemicals found in commercial cleaners, reducing your exposure to potentially harmful substances and minimizing your impact on the planet. Plus, the fresh, citrusy scent of lime is a welcome bonus!
Don’t be afraid to experiment with variations to suit your specific needs. For tougher stains, try letting the lime juice soak for a longer period, even overnight. You can also create a paste by mixing lime juice with baking soda for a more abrasive cleaning action. This paste is particularly effective on grout and other textured surfaces. For delicate surfaces, always test the lime juice in an inconspicuous area first to ensure it doesn’t cause any damage or discoloration. You can also dilute the lime juice with water for a gentler cleaning solution.
Consider adding a few drops of your favorite essential oil to the lime juice mixture for an extra boost of fragrance and aromatherapy benefits. Lavender, lemon, or eucalyptus essential oils are all excellent choices that complement the citrusy scent of lime.
We’re confident that once you try this lime cleaning trick, you’ll be amazed by its effectiveness and simplicity. It’s a sustainable and budget-friendly way to keep your home clean and fresh, without compromising your health or the environment.
So, what are you waiting for? Grab a lime, get cleaning, and prepare to be amazed! We encourage you to try this DIY trick and share your experiences with us. Let us know what surfaces you’ve cleaned, what variations you’ve tried, and what results you’ve achieved. Your feedback will help us refine this method and share even more helpful tips with our community. Share your before and after photos on social media using #LimeCleaningTrick and inspire others to embrace this natural cleaning solution. We can’t wait to hear your success stories!
Frequently Asked Questions (FAQ)
What exactly is limescale, and why is it so hard to remove?
Limescale is a hard, chalky deposit that forms when hard water evaporates, leaving behind dissolved minerals like calcium and magnesium. It’s particularly common in areas with hard water and can build up on faucets, showerheads, sinks, toilets, and other surfaces that come into contact with water. Limescale is difficult to remove because it’s alkaline, meaning it resists acidic cleaners. That’s why many commercial cleaners contain harsh chemicals to dissolve it.
Can I use any type of lime for this cleaning trick?
Yes, you can use any type of lime, including Key limes, Persian limes, or even lime juice concentrate. However, fresh limes are generally more effective due to their higher concentration of citric acid. If using lime juice concentrate, you may need to use a larger amount or let it soak for a longer period to achieve the desired results.
Is this lime cleaning trick safe for all surfaces?
While lime juice is generally safe for most surfaces, it’s always a good idea to test it in an inconspicuous area first, especially on delicate materials like marble, granite, or certain types of plastic. The acidity of lime juice can potentially etch or discolor these surfaces. If you’re unsure, dilute the lime juice with water or use a gentler cleaning solution.
How long should I let the lime juice soak on the limescale?
The soaking time will depend on the severity of the limescale buildup. For light limescale, 15-30 minutes may be sufficient. For heavier buildup, you may need to let the lime juice soak for several hours or even overnight. You can also reapply the lime juice periodically to keep the surface moist and allow the citric acid to continue dissolving the limescale.
Can I use this lime cleaning trick on my coffee maker or kettle?
Yes, this lime cleaning trick is an excellent way to descale your coffee maker or kettle. Simply fill the reservoir with a mixture of lime juice and water (about half and half) and run a brewing cycle. Then, rinse the coffee maker or kettle thoroughly with clean water to remove any remaining lime juice. For kettles, you can boil the lime juice and water mixture and then let it sit for 30 minutes before rinsing.
What if the limescale is really stubborn and doesn’t come off easily?
For extremely stubborn limescale, you can try a few different approaches. First, make a paste of lime juice and baking soda and apply it to the affected area. Let it sit for 15-20 minutes, then scrub with a non-abrasive sponge or brush. You can also try using a limescale remover specifically designed for your appliance or surface, but always follow the manufacturer’s instructions carefully. In some cases, you may need to repeat the lime cleaning trick several times to completely remove the limescale.
Will this lime cleaning trick leave a lime scent behind?
Yes, this lime cleaning trick will leave a fresh, citrusy scent behind, which is a welcome bonus compared to the harsh chemical odors of commercial cleaners. The scent will typically dissipate within a few hours, but you can also add a few drops of your favorite essential oil to the lime juice mixture for an extra boost of fragrance.
How often should I use this lime cleaning trick to prevent limescale buildup?
The frequency of cleaning will depend on the hardness of your water and how often you use the affected surfaces. In general, it’s a good idea to clean your faucets, showerheads, and other surfaces prone to limescale buildup at least once a month. For coffee makers and kettles, you may need to descale them more frequently, especially if you notice a decrease in performance or a buildup of limescale. Regular cleaning will help prevent limescale from becoming too stubborn and difficult to remove.
Is there anything else I can do to prevent limescale buildup?
Yes, there are several things you can do to prevent limescale buildup. One of the most effective is to install a water softener, which removes the minerals that cause limescale. You can also wipe down surfaces after each use to prevent water from evaporating and leaving behind mineral deposits. Consider using a water filter on your faucets and showerheads to reduce the amount of minerals in the water. Finally, avoid using harsh chemical cleaners, as they can damage surfaces and actually contribute to limescale buildup over time.


Leave a Comment