
Homemade White Vinegar Recipes: Unlock the Secret to a Sparkling Home and Garden!
Have you ever wondered if you could create your own cleaning and gardening solutions right in your kitchen? I’m here to tell you, you absolutely can! For generations, resourceful homemakers have relied on the power of vinegar, a humble ingredient with a surprisingly rich history. From ancient civilizations using it as a preservative to modern-day eco-conscious individuals seeking sustainable alternatives, vinegar has proven its versatility time and time again.
But why should you bother making your own homemade white vinegar recipes? Well, think about it: store-bought cleaning products can be expensive and often contain harsh chemicals that aren’t exactly friendly to our environment (or our skin!). Plus, the satisfaction of creating something yourself, knowing exactly what’s in it, is incredibly rewarding.
This DIY guide will empower you to ditch the pricey, chemical-laden cleaners and embrace the simplicity and effectiveness of homemade solutions. We’ll explore a range of easy-to-follow homemade white vinegar recipes perfect for tackling everything from stubborn stains to pesky weeds. Get ready to transform your home and garden with the power of this natural wonder!
Making Your Own White Vinegar: A Comprehensive DIY Guide
Hey there, fellow DIY enthusiasts! Ever find yourself needing white vinegar for cleaning, cooking, or even gardening, only to realize you’re fresh out? Or maybe you’re just looking for a more sustainable and budget-friendly alternative to store-bought vinegar? Well, you’re in the right place! I’m going to walk you through several methods for making your own white vinegar at home. It’s easier than you might think, and the satisfaction of creating something useful from scratch is totally worth it.
Understanding the Science (Simplified!)
Before we dive in, let’s quickly touch on what vinegar actually is. Vinegar is essentially acetic acid diluted in water. The magic happens when bacteria, specifically *Acetobacter*, convert alcohol into acetic acid through a process called fermentation. So, to make vinegar, we need a source of alcohol and the right conditions for these bacteria to thrive.
Method 1: The Fruit Scrap Vinegar Adventure
This is my favorite method because it’s a fantastic way to reduce food waste. Plus, it’s super simple!
What You’ll Need:
* Fruit scraps (apple cores, pear peels, citrus peels – avoid oily peels like avocado)
* Sugar (white or brown, it doesn’t matter too much)
* Water (non-chlorinated is best)
* A large glass jar or container
* Cheesecloth or a coffee filter
* Rubber band
* Patience (this takes time!)
Step-by-Step Instructions:
1. Gather Your Scraps: Collect your fruit scraps in a container in the fridge until you have a good amount – about half to three-quarters of your jar. Make sure the scraps are clean and free of mold. I usually aim for about 2-3 cups of scraps for a quart-sized jar.
2. Prepare the Sugar Solution: In a separate bowl, dissolve about ¼ cup of sugar in 4 cups of water. The sugar provides the food source for the bacteria that will eventually turn the mixture into vinegar.
3. Combine and Submerge: Place the fruit scraps in your glass jar. Pour the sugar water over the scraps, making sure they are completely submerged. This is crucial to prevent mold growth. If needed, use a small glass weight or a clean rock to keep the scraps down.
4. Cover and Wait: Cover the mouth of the jar with cheesecloth or a coffee filter secured with a rubber band. This allows air to circulate while keeping out fruit flies and other unwanted critters.
5. The First Fermentation: Place the jar in a dark, cool place (like a pantry or cupboard) for 2-3 weeks. You might see some bubbles forming – that’s a good sign! It means the yeast is working its magic, converting the sugar into alcohol.
6. Strain and Observe: After 2-3 weeks, strain the liquid through a cheesecloth-lined sieve into a clean jar. Discard the fruit scraps. At this point, you’ll have what’s essentially fruit wine. Taste it! It should be slightly alcoholic.
7. The Second Fermentation (Vinegar Time!): Cover the jar again with cheesecloth and a rubber band. Place it back in the dark, cool place for another 4-6 weeks, or even longer. This is where the *Acetobacter* bacteria come into play, converting the alcohol into acetic acid.
8. Check for Vinegar: After 4-6 weeks, start checking the liquid regularly. You’ll notice a vinegary smell and taste. You might also see a slimy, gelatinous substance forming on the surface – this is called a “mother of vinegar.” It’s a colony of *Acetobacter* and is a sign that the fermentation is working well. Don’t worry, it’s harmless!
9. Test the Acidity: The acidity of vinegar is measured as a percentage of acetic acid. For cleaning purposes, you want at least 5% acidity. You can test this using pH strips or a vinegar hydrometer (available online). If the acidity is too low, let it ferment for a longer period.
10. Pasteurize (Optional): To stop the fermentation process and kill any remaining bacteria, you can pasteurize the vinegar. Heat it to 150°F (66°C) for 10 minutes. This will also prevent the formation of a mother of vinegar in the future. However, I usually skip this step because I like the natural, unpasteurized vinegar.
11. Bottle and Store: Once you’re happy with the acidity, bottle your homemade vinegar in clean, airtight containers. Store it in a cool, dark place. It will keep indefinitely!
Method 2: Wine or Beer Vinegar – A More Direct Approach
If you have leftover wine or beer that’s gone a bit flat, don’t throw it away! You can easily turn it into vinegar. This method is faster than the fruit scrap method because you’re starting with an already alcoholic base.
What You’ll Need:
* Leftover wine or beer (red, white, or beer all work)
* A “mother of vinegar” (optional, but it speeds up the process)
* A glass jar or container
* Cheesecloth or a coffee filter
* Rubber band
Step-by-Step Instructions:
1. Choose Your Alcohol: Select your leftover wine or beer. Make sure it’s not moldy or contaminated.
2. Add the Mother (Optional): If you have a “mother of vinegar” from a previous batch of homemade vinegar or a store-bought unpasteurized vinegar, add it to the jar. This will introduce the *Acetobacter* bacteria and speed up the fermentation process. If you don’t have a mother, don’t worry! The bacteria are naturally present in the air, but it will take longer for the fermentation to begin.
3. Pour and Cover: Pour the wine or beer into a clean glass jar. Cover the mouth of the jar with cheesecloth or a coffee filter secured with a rubber band.
4. Wait and Observe: Place the jar in a dark, cool place for 2-4 weeks, or longer. The time it takes will depend on the temperature, the presence of a mother, and the alcohol content of the wine or beer.
5. Check for Vinegar: After 2-4 weeks, start checking the liquid regularly for a vinegary smell and taste. You might see a mother forming on the surface.
6. Test the Acidity: Test the acidity using pH strips or a vinegar hydrometer. Aim for at least 5% acidity for cleaning purposes.
7. Pasteurize (Optional): Pasteurize the vinegar if desired.
8. Bottle and Store: Bottle your homemade vinegar in clean, airtight containers and store it in a cool, dark place.
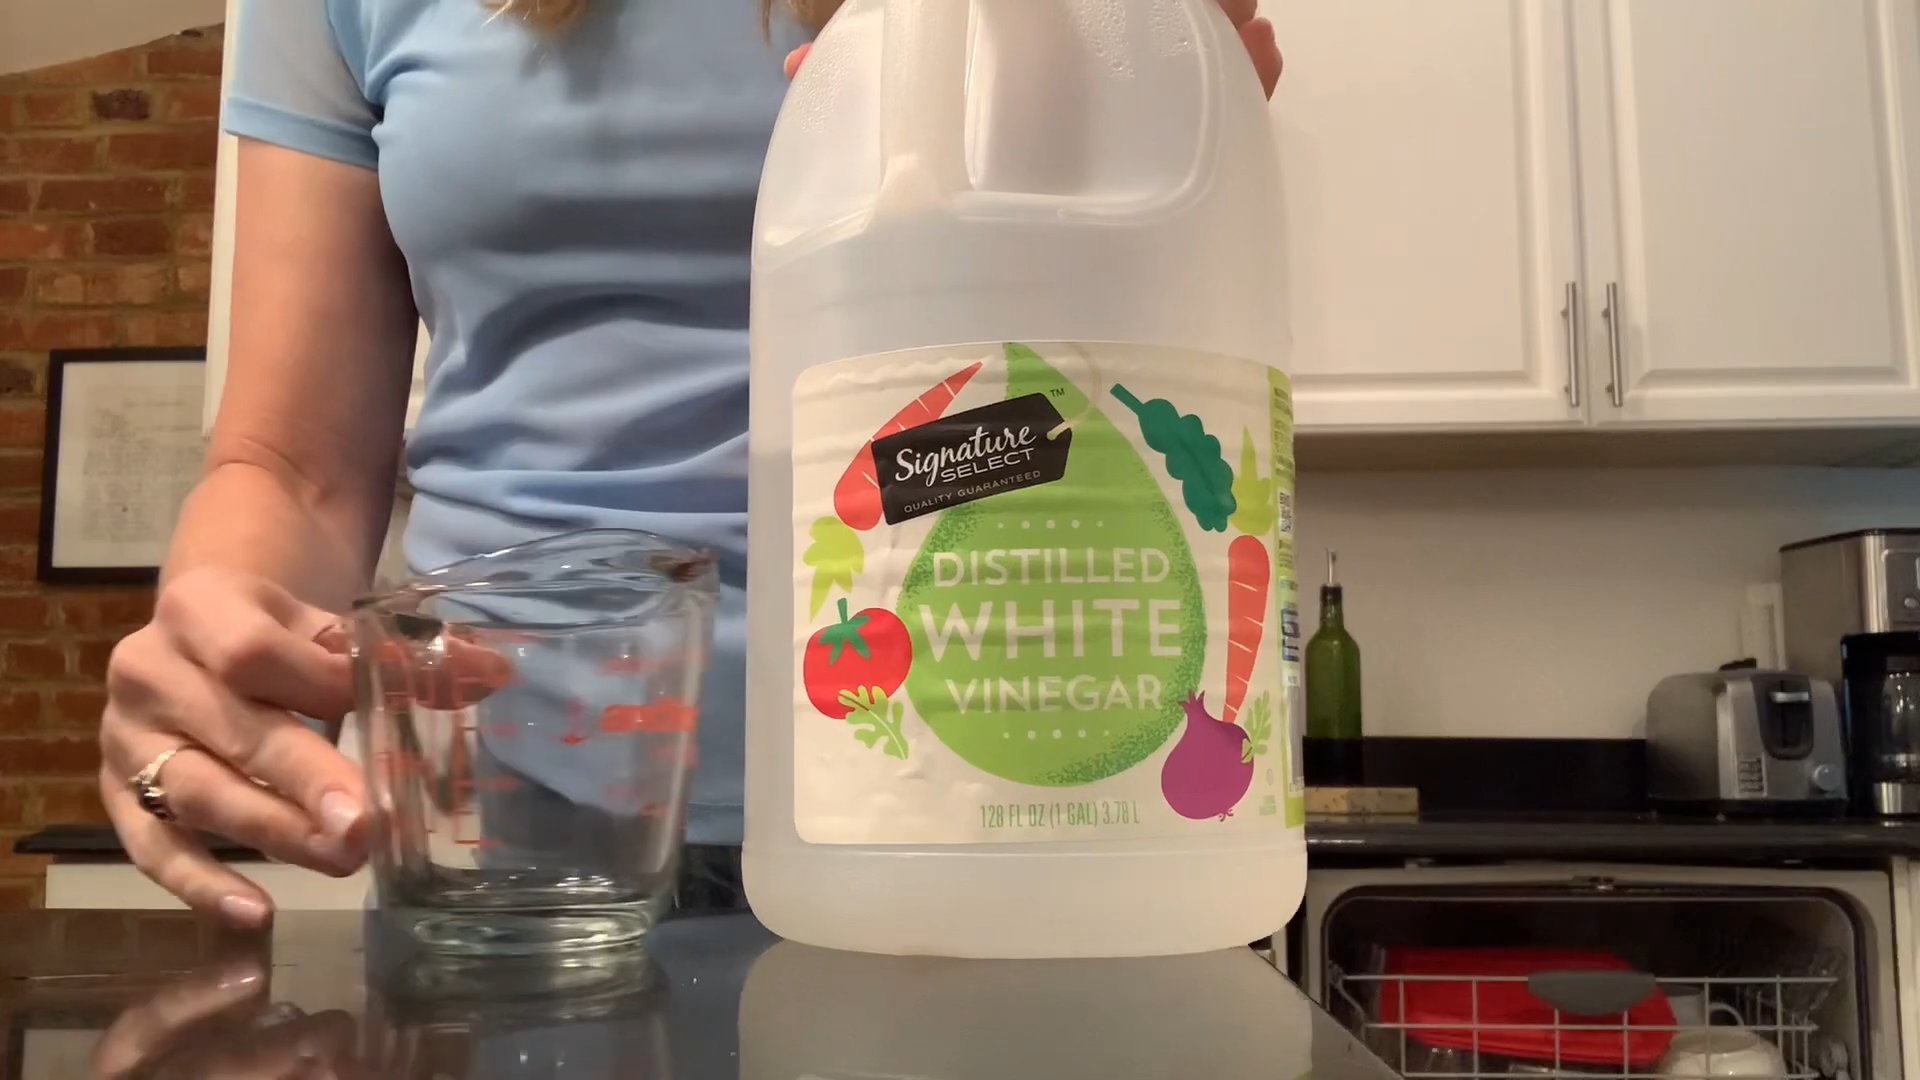
Method 3: The Distilled White Vinegar Shortcut (Using Vodka)
This method is a bit less “from scratch” but it’s still a fun experiment and a good way to make a neutral-tasting vinegar.
What You’ll Need:
* Vodka (the cheaper, the better – you’re not drinking it!)
* Water (non-chlorinated)
* A “mother of vinegar” (highly recommended for this method)
* A glass jar or container
* Cheesecloth or a coffee filter
* Rubber band
Step-by-Step Instructions:
1. Dilute the Vodka: Mix the vodka with water to achieve an alcohol content of around 5-7%. This is roughly a 1:1 ratio, but you can adjust it based on the proof of your vodka. Too much alcohol will inhibit the *Acetobacter* bacteria.
2. Add the Mother: Add a “mother of vinegar” to the diluted vodka. This is essential for this method because vodka doesn’t contain any of the natural nutrients that would encourage the growth of *Acetobacter* on its own.
3. Cover and Wait: Cover the jar with cheesecloth and a rubber band. Place it in a dark, cool place.
4. Monitor and Test: This method can take several weeks to months, depending on the strength of your mother and the temperature. Check the liquid regularly for a vinegary smell and taste. Test the acidity using pH strips or a vinegar hydrometer.
5. Pasteurize (Optional): Pasteurize the vinegar if desired.
6. Bottle and Store: Bottle your homemade vinegar in clean, airtight containers and store it in a cool, dark place.
Important Tips and Considerations:
* Cleanliness is Key: Make sure all your equipment (jars, utensils, etc.) is thoroughly cleaned and sanitized to prevent unwanted bacteria from contaminating your vinegar.
* Temperature Matters: The ideal temperature for vinegar fermentation is between 60-80°F (15-27°C).
* Patience is a Virtue: Making vinegar takes time.
Conclusion
So, there you have it! Ditching the store-bought stuff and embracing the world of homemade white vinegar is not just a cost-effective move, it’s a step towards a more sustainable and customizable cleaning and cooking experience. We’ve explored several methods, from the simple fermentation of fruit scraps to the more involved process using alcohol. Each offers a unique approach to creating this versatile liquid, allowing you to tailor the process to your available resources and desired level of involvement.
Why is this a must-try? Because you’re gaining control. Control over the ingredients, ensuring a pure and natural product free from unnecessary additives. Control over the strength, allowing you to adjust the acidity to suit specific cleaning or culinary needs. And control over your budget, significantly reducing your reliance on expensive commercial options.
But the benefits extend beyond mere practicality. The satisfaction of creating something useful from scratch is incredibly rewarding. Turning food waste into a powerful cleaning agent is a tangible way to reduce your environmental impact and embrace a more eco-conscious lifestyle. Plus, the subtle variations in flavor that arise from using different fruits can add a unique twist to your culinary creations.
Consider these variations to further personalize your homemade white vinegar:
* **Infused Vinegar:** Add herbs like rosemary, thyme, or lavender during the fermentation process to create infused vinegars perfect for salad dressings or cleaning solutions with a pleasant aroma.
* **Citrus Zest Vinegar:** Incorporate citrus peels (lemon, orange, grapefruit) for a brighter, more refreshing scent and enhanced cleaning power. This is particularly effective for tackling grease and grime.
* **Spice-Infused Vinegar:** Experiment with spices like cloves, cinnamon sticks, or star anise for a warm and inviting aroma, ideal for fall cleaning or adding a unique flavor to pickling brines.
* **Adjusting Acidity:** Use a pH meter to test the acidity of your vinegar. If it’s too weak, allow it to ferment for a longer period. If it’s too strong, dilute it with distilled water.
We understand that venturing into the world of DIY can sometimes feel daunting, but we assure you, making your own white vinegar is surprisingly simple and incredibly rewarding. The initial investment of time and effort will pay off in the long run, both financially and environmentally.
Don’t be afraid to experiment with different fruits, fermentation times, and infusion techniques to discover your perfect homemade white vinegar recipe. The possibilities are endless!
So, roll up your sleeves, gather your ingredients, and embark on this exciting DIY adventure. We’re confident that you’ll be amazed by the results.
We encourage you to try these recipes and share your experiences with us! Let us know which method worked best for you, what variations you tried, and how you’re using your homemade vinegar. Your feedback will not only help us improve our recipes but also inspire others to embrace the joys of DIY. Share your photos and stories on social media using #HomemadeWhiteVinegar and let’s build a community of vinegar-making enthusiasts! We can’t wait to hear from you!
Frequently Asked Questions (FAQ)
What fruits work best for making homemade white vinegar?
While apple scraps are a popular choice, you can use a wide variety of fruits. Pears, grapes, peaches, and even pineapple cores can be successfully fermented into vinegar. The key is to use fruit that is ripe or slightly overripe, as this will provide the necessary sugars for the fermentation process. Avoid using moldy or rotten fruit, as this can introduce unwanted bacteria and compromise the quality of your vinegar. Experiment with different combinations of fruits to create unique flavor profiles. Remember that the flavor of the fruit will subtly influence the final product.
How long does it take to make homemade white vinegar?
The fermentation process typically takes anywhere from 2 to 6 weeks, depending on the temperature, the type of fruit used, and the amount of sugar present. Warmer temperatures will generally speed up the fermentation process, while cooler temperatures will slow it down. It’s important to be patient and allow the vinegar to ferment fully. You’ll know it’s ready when it has a strong, acidic smell and taste. Regularly check the vinegar and taste it to monitor its progress.
How do I know if my homemade white vinegar is strong enough?
The strength of vinegar is measured by its acidity, which is expressed as a percentage. Commercial white vinegar typically has an acidity of 5%. You can test the acidity of your homemade vinegar using a pH meter or vinegar testing strips, which are readily available online or at home brewing supply stores. If the acidity is too low, allow the vinegar to ferment for a longer period. If it’s too high, you can dilute it with distilled water to achieve the desired strength. For cleaning purposes, a 5% acidity is generally sufficient. For culinary uses, you may prefer a slightly lower acidity.
Is homemade white vinegar safe to use for cleaning?
Yes, homemade white vinegar is generally safe to use for cleaning, as long as it has a sufficient acidity level (around 5%). However, it’s important to avoid using vinegar on certain surfaces, such as marble, granite, and other natural stones, as it can etch and damage them. Also, avoid mixing vinegar with bleach, as this can create toxic fumes. Always test the vinegar on a small, inconspicuous area before applying it to a larger surface. For sensitive surfaces, dilute the vinegar with water to reduce its acidity.
Can I use homemade white vinegar for cooking?
Absolutely! Homemade white vinegar can be used in a variety of culinary applications, such as salad dressings, marinades, pickling brines, and sauces. The flavor of your homemade vinegar will depend on the type of fruit used, so experiment with different fruits to find your favorite flavor profile. When using homemade vinegar in cooking, be sure to taste it first to ensure that it has a pleasant flavor and a sufficient acidity level. If the flavor is too strong, you can dilute it with water or other liquids.
How should I store my homemade white vinegar?
Store your homemade white vinegar in a clean, airtight glass container in a cool, dark place. This will help to preserve its flavor and prevent it from spoiling. Properly stored, homemade white vinegar can last for several years. Avoid storing vinegar in metal containers, as the acidity can react with the metal and contaminate the vinegar. Label the container with the date it was made and the type of fruit used.
What if mold grows during the fermentation process?
The appearance of a harmless, gelatinous substance called a “mother of vinegar” is normal during fermentation. This is a colony of acetic acid bacteria and is a sign that the fermentation process is progressing. However, if you see mold growing on the surface of the vinegar, it’s best to discard the batch. Mold can contaminate the vinegar and make it unsafe to use. To prevent mold growth, ensure that your fermentation vessel is clean and that the fruit scraps are fully submerged in the water.
Can I reuse the “mother of vinegar” for future batches?
Yes, you can reuse the “mother of vinegar” to speed up the fermentation process in future batches. Simply add a piece of the mother to your new batch of fruit scraps and water. The mother will help to inoculate the mixture with acetic acid bacteria and accelerate the conversion of alcohol to acetic acid. Store the mother in a jar of vinegar in the refrigerator between batches.
What are the benefits of using homemade white vinegar over store-bought vinegar?
There are several benefits to using homemade white vinegar over store-bought vinegar. Homemade vinegar is often more affordable, as it can be made from fruit scraps that would otherwise be discarded. It’s also more sustainable, as it reduces waste and reliance on commercially produced products. Homemade vinegar is free from additives and preservatives, making it a more natural and healthier option. Finally, homemade vinegar allows you to customize the flavor and acidity to your liking.
What if my homemade white vinegar doesn’t turn out right?
Don’t be discouraged if your first batch of homemade white vinegar doesn’t turn out perfectly. Fermentation can be unpredictable, and it may take some experimentation to get it right. If your vinegar is too weak, allow it to ferment for a longer period. If it’s too strong, dilute it with water. If it has an unpleasant flavor, try using different fruits or adjusting the fermentation time. The key is to be patient and persistent. With practice, you’ll be able to consistently produce high-quality homemade white vinegar.

Leave a Comment