
Home life hacks – aren’t they the secret sauce to a smoother, more enjoyable daily routine? I’ve always been fascinated by the ingenious ways people find to simplify their lives, and that’s exactly what we’re diving into today! Forget spending hours on tedious tasks or breaking the bank on expensive gadgets. This article is your ultimate guide to unlocking a treasure trove of clever DIY tricks that will transform your home and your life.
From ancient civilizations using natural remedies to streamline their households to modern-day TikTok trends showcasing innovative solutions, the quest for efficiency has always been a part of human history. Think about it – our grandmothers had their own versions of home life hacks, passed down through generations, often born out of necessity and a desire to make the most of what they had.
In today’s fast-paced world, we’re all looking for ways to save time, money, and energy. That’s where these DIY tricks come in! Whether you’re a busy parent, a student on a budget, or simply someone who appreciates a well-organized and functional home, these hacks will empower you to take control and create a space that truly works for you. Get ready to discover simple yet effective solutions that will make your home a haven of comfort and efficiency. Let’s get started!
DIY Home Organization: Transforming Clutter into Calm
Okay, let’s face it, we all have those areas in our homes that seem to attract clutter like a magnet. Whether it’s the dreaded junk drawer, the overflowing pantry, or the chaotic closet, these spaces can be a real source of stress. But don’t worry! I’m here to share some of my favorite DIY home organization hacks that are not only budget-friendly but also surprisingly easy to implement. Get ready to say goodbye to chaos and hello to a more organized and peaceful home!
Decluttering is Key: Before You Organize, You Must Purge!
Before we dive into the fun part of organizing, it’s crucial to declutter. Trust me, there’s no point in organizing things you don’t need or use. This is where you get ruthless!
* The Marie Kondo Method (Sort Of): I’m not saying you need to thank every item before letting it go, but the core principle is solid. Hold each item and ask yourself, “Does this bring me joy?” If the answer is no, or if you haven’t used it in ages, it’s time to say goodbye.
* The One-Year Rule: If you haven’t used something in a year, chances are you won’t miss it. Exceptions apply, of course, like seasonal decorations or sentimental items.
* Create Three Piles: Label them “Keep,” “Donate/Sell,” and “Trash.” Be honest with yourself about where each item belongs.
* Be Realistic: Don’t keep things “just in case.” If you haven’t needed it in a year, the likelihood of needing it in the future is slim.
DIY Pantry Organization: From Chaos to Culinary Bliss
The pantry is often a hotspot for clutter. Canned goods get lost in the back, snacks overflow, and it becomes a black hole of forgotten ingredients. Let’s tackle this beast!
Step 1: Empty and Clean
1. Remove Everything: Take everything out of your pantry. Yes, everything! This gives you a blank slate to work with and allows you to see exactly what you have.
2. Wipe Down Shelves: Give your shelves a good cleaning. You can use a simple solution of soap and water or a multi-purpose cleaner.
3. Check Expiration Dates: This is the perfect time to toss out expired items. You’d be surprised how much you find lurking in the back!
Step 2: Categorize and Plan
1. Group Similar Items: Sort your pantry items into categories like snacks, baking supplies, canned goods, pasta, etc.
2. Assess Your Space: Take a look at your pantry and decide how you want to organize each category. Consider the height and depth of your shelves.
3. Plan Your Storage Solutions: Think about what kind of containers and organizers you’ll need. Clear containers are great for seeing what you have at a glance.
Step 3: Implement Your DIY Solutions
1. DIY Can Organizer: Use empty cardboard boxes (like soda or beer boxes) to create a tiered can organizer. Cut off the top of the box and arrange the cans inside, creating rows. This prevents cans from getting lost in the back.
2. Repurpose Jars and Containers: Save glass jars (like pickle or pasta sauce jars) and use them to store dry goods like pasta, rice, and beans. Label them clearly with a marker or label maker.
3. Dollar Store Baskets: Dollar stores are a goldmine for affordable baskets. Use them to organize snacks, baking supplies, or even cleaning products.
4. DIY Spice Rack: If you have limited space, create a DIY spice rack using a simple wooden board and some small jars. Attach the jars to the board with screws or strong adhesive.
5. Hanging Shoe Organizer for Snacks: Hang a clear shoe organizer on the back of your pantry door and use it to store snacks. This is a great way to keep snacks visible and easily accessible, especially for kids.
Step 4: Maintain Your Organized Pantry
1. Regularly Check Expiration Dates: Make it a habit to check expiration dates every few weeks.
2. Put Items Back in Their Place: Train yourself and your family to put items back in their designated spots after using them.
3. Restock Strategically: When you go grocery shopping, put the new items in the back and bring the older items to the front. This helps prevent food waste.
DIY Closet Organization: From Overstuffed to Stylishly Sorted
Closets can quickly become dumping grounds for clothes, shoes, and accessories. Let’s transform your closet into a well-organized and functional space.
Step 1: Empty and Assess
1. Take Everything Out: Just like with the pantry, start by removing everything from your closet.
2. Clean the Closet: Wipe down the shelves, rod, and floor.
3. Evaluate Your Space: Take a good look at your closet and assess its layout. Consider the height of the shelves, the length of the rod, and the available floor space.
Step 2: Sort and Declutter
1. Try Everything On: This is the most important step! Try on every piece of clothing and ask yourself:
* Does it fit?
* Do I like it?
* Have I worn it in the past year?
2. Be Honest with Yourself: Don’t keep clothes that you don’t love or that don’t fit.
3. Create Three Piles: “Keep,” “Donate/Sell,” and “Trash.”
Step 3: Implement Your DIY Solutions
1. DIY Shelf Dividers: Use cardboard or foam board to create shelf dividers. This helps keep stacks of clothes neat and prevents them from toppling over.
2. Repurpose Shoe Boxes: Cover shoe boxes with decorative paper or fabric and use them to store accessories like scarves, belts, or jewelry.
3. DIY Hanging Organizer: Cut the bottom out of old t-shirts and sew the necklines together to create a hanging organizer for small items.
4. Dollar Store Hooks: Hang hooks on the back of your closet door to store bags, hats, or scarves.
5. DIY Jewelry Organizer: Use a corkboard and pushpins to create a simple jewelry organizer. Hang necklaces, bracelets, and earrings on the pushpins.
6. Maximize Vertical Space: Use stackable shelves or hanging organizers to maximize vertical space in your closet.
7. Matching Hangers: Invest in matching hangers. It makes a huge difference in the overall look of your closet and helps clothes hang more evenly. I prefer slim velvet hangers because they save space and prevent clothes from slipping.
Step 4: Maintain Your Organized Closet
1. The One-In, One-Out Rule: For every new item of clothing you buy, donate or sell an old one.
2. Regularly Declutter: Take a few minutes each month to declutter your closet and get rid of anything you no longer need.
3. Put Clothes Away Immediately: Don’t let clothes pile up on chairs or the floor. Put them away as soon as you take them off.
DIY Junk Drawer Organization: Taming the Chaos
Ah, the junk drawer. We all have one (or more!). It’s the catch-all for everything that doesn’t have a designated home. But with a little effort, you can transform your junk drawer from a chaotic mess into an organized oasis.
Step 1: Empty and Sort
1. Dump Everything Out: Empty the entire contents of your junk drawer onto a table or countertop.
2. Sort into Categories: Group similar items together, such as pens, paperclips, rubber bands, batteries, etc.
3. Toss the Trash: Get rid of any trash, broken items, or things you no longer need.
Step 2: Choose Your Organizers
1. Drawer Dividers: These are essential for keeping your junk drawer organized. You can buy adjustable drawer dividers or make your own using cardboard or foam board.
2. Small Containers: Use small containers (like empty yogurt cups or spice jars) to store small items like paperclips, rubber bands, and pushpins.
3. Repurpose Old Items: Get creative and repurpose old items like egg cartons, muffin tins, or silverware trays to organize your junk drawer.
Step 3: Arrange and Organize
1. Place Dividers: Arrange the drawer dividers to create compartments for each category of items.
2. Fill Containers: Fill the small containers with the appropriate items.
3. Arrange Neatly: Place the containers and dividers in the drawer, making sure everything is neatly arranged and easily accessible.
Step 4: Maintain Your Organized Junk Drawer
1. Regularly Declutter:
Conclusion
So, there you have it! This simple yet incredibly effective DIY trick is a game-changer for anyone looking to streamline their home life and save money. We’ve shown you how to create a powerful, all-natural cleaning solution using ingredients you likely already have in your pantry. Forget those expensive, chemical-laden store-bought cleaners that promise the world but often fall short. This homemade alternative is not only better for your health and the environment, but it’s also surprisingly versatile.
Why is this a must-try? Because it simplifies your cleaning routine, reduces waste, and gives you complete control over the ingredients you’re using. You know exactly what’s going into your cleaning products, eliminating any concerns about harsh chemicals or allergens. Plus, the satisfaction of creating something yourself that works so well is incredibly rewarding.
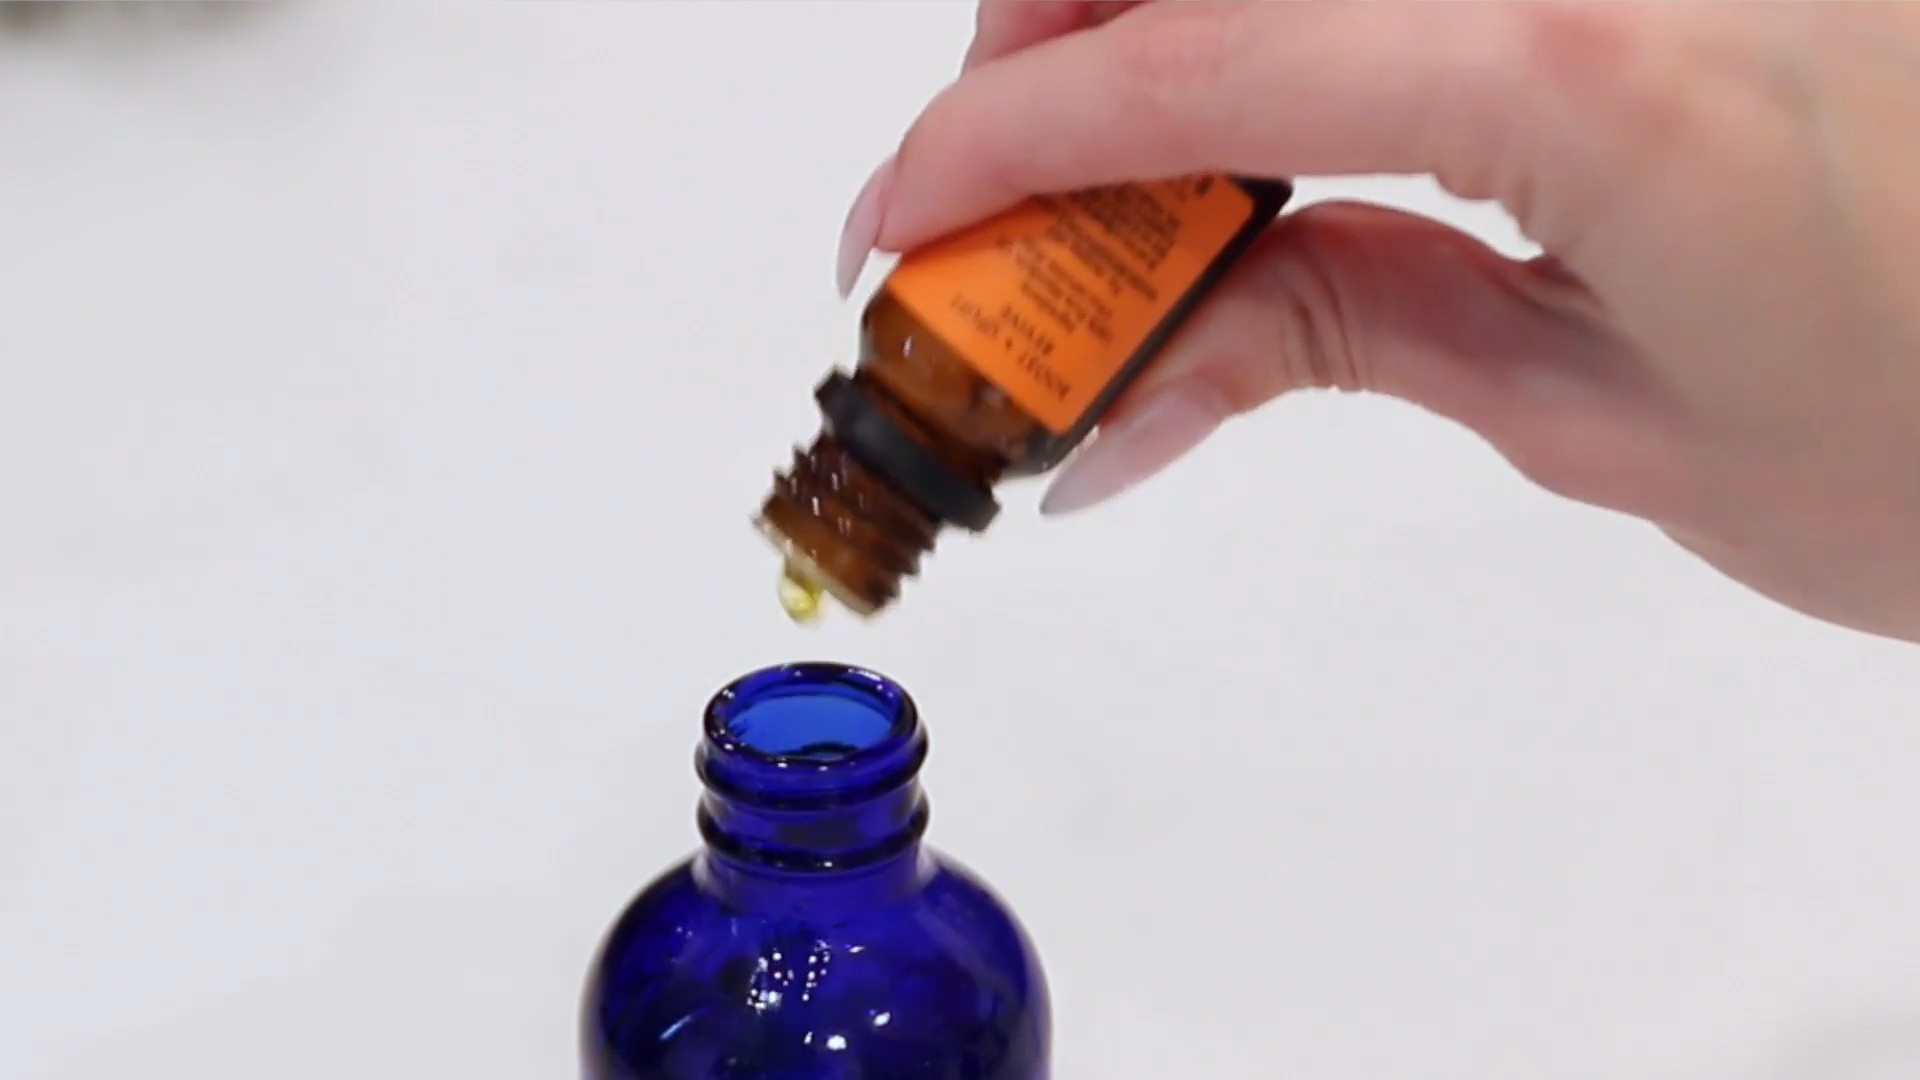
But the benefits don’t stop there. This DIY cleaning solution is incredibly adaptable. For a citrusy boost, add a few drops of lemon or orange essential oil. If you’re tackling tough grease, a little bit of borax can work wonders. And for a deeper clean on surfaces prone to mold or mildew, consider adding a splash of tea tree oil. The possibilities are endless!
We encourage you to give this DIY cleaning trick a try. It’s a small change that can make a big difference in your home and your life. Embrace the power of homemade cleaning and experience the satisfaction of a sparkling clean home without the harsh chemicals or hefty price tag.
Don’t just take our word for it, though! We’re confident that once you try this, you’ll be hooked. And we want to hear all about your experience. Share your results, your variations, and any tips you discover along the way in the comments below. Let’s build a community of DIY enthusiasts who are passionate about creating a healthier, cleaner, and more sustainable home. This is more than just a cleaning solution; it’s a step towards a more mindful and eco-conscious lifestyle. So, grab your ingredients, get mixing, and prepare to be amazed by the power of this simple, effective, and all-natural home life hack!
Frequently Asked Questions (FAQ)
What exactly makes this DIY cleaning solution so effective?
The effectiveness of this DIY cleaning solution lies in the synergistic properties of its ingredients. Vinegar, for example, is a natural disinfectant and degreaser, effectively cutting through grime and killing bacteria. Baking soda acts as a mild abrasive, helping to scrub away stubborn stains without scratching surfaces. The addition of essential oils, if used, not only provides a pleasant scent but can also contribute to the cleaning power, with some oils possessing antibacterial and antifungal properties. The combination of these ingredients creates a powerful cleaning solution that is both effective and safe for most household surfaces.
Can I use this DIY cleaner on all surfaces in my home?
While this DIY cleaner is generally safe for most surfaces, it’s always a good idea to test it in an inconspicuous area first, especially on delicate materials like marble, granite, or wood. The acidity of vinegar can potentially damage these surfaces over time. For these types of surfaces, consider diluting the solution further or using a different cleaning agent altogether. Always check the manufacturer’s recommendations for cleaning specific surfaces.
How long does this DIY cleaning solution last?
This DIY cleaning solution typically lasts for several weeks when stored properly in an airtight container. However, it’s best to use it within a month or two to ensure maximum effectiveness. Over time, the ingredients may start to separate or lose their potency. If you notice any changes in color, smell, or consistency, it’s best to discard the solution and make a fresh batch.
What essential oils are best to use in this DIY cleaner?
The best essential oils to use in this DIY cleaner depend on your personal preferences and the specific cleaning task. Lemon and orange essential oils are great for their uplifting scent and degreasing properties. Lavender essential oil is known for its calming aroma and antibacterial properties. Tea tree oil is a powerful antifungal and antibacterial agent, making it ideal for cleaning bathrooms and other areas prone to mold or mildew. Eucalyptus essential oil has a refreshing scent and can help to disinfect surfaces. Experiment with different essential oils to find your favorite combinations.
Can I use this DIY cleaner to clean my oven?
While this DIY cleaner can be used to clean the interior of your oven, it may not be as effective as commercial oven cleaners for removing baked-on grease and grime. For best results, preheat your oven to a low temperature (around 200°F) for a few minutes, then turn it off and let it cool slightly. Spray the DIY cleaner liberally inside the oven, let it sit for several hours or overnight, and then scrub away the grime with a sponge or brush. You may need to repeat this process several times for heavily soiled ovens.
Is this DIY cleaner safe to use around pets and children?
This DIY cleaner is generally considered safe to use around pets and children, as it is made with natural ingredients. However, it’s still important to take precautions to prevent accidental ingestion or contact with eyes. Store the cleaner in a secure location out of reach of children and pets. When cleaning, keep pets and children away from the area until the surfaces are dry. If you are using essential oils, be sure to choose oils that are safe for pets and children, as some essential oils can be toxic to animals.
What are some other variations of this DIY cleaning solution?
There are many variations of this DIY cleaning solution that you can try. For a stronger cleaning solution, add a tablespoon of borax to the mixture. For a more fragrant cleaner, infuse vinegar with citrus peels or herbs before using it in the recipe. You can also add a few drops of dish soap to the solution for extra cleaning power. Experiment with different ingredients and ratios to find the perfect combination for your needs.
What if I don’t have vinegar? Can I substitute it with something else?
While vinegar is a key ingredient in this DIY cleaner, you can substitute it with lemon juice in a pinch. Lemon juice has similar acidic properties to vinegar and can effectively cut through grease and kill bacteria. However, lemon juice may not be as effective as vinegar for removing stubborn stains. If you don’t have vinegar or lemon juice, you can also try using a diluted solution of baking soda and water as a general-purpose cleaner.
How can I make a larger batch of this DIY cleaning solution?
To make a larger batch of this DIY cleaning solution, simply increase the quantities of each ingredient proportionally. For example, if the original recipe calls for 1 cup of vinegar, 1/2 cup of water, and 1 tablespoon of baking soda, you can double the recipe to make 2 cups of vinegar, 1 cup of water, and 2 tablespoons of baking soda. Be sure to store the larger batch in an airtight container to prevent it from losing its potency.
Where can I find more information about DIY cleaning and home life hacks?
There are many resources available online and in libraries that provide information about DIY cleaning and home life hacks. You can search for articles, blog posts, and videos on websites like Pinterest, YouTube, and various home improvement blogs. You can also check out books on natural cleaning and home organization at your local library. Additionally, consider joining online communities and forums dedicated to DIY and sustainable living to connect with other enthusiasts and share tips and ideas. Remember to always research and verify any information you find online before trying new DIY projects.


Leave a Comment