
Growing onions in plastic bottles might sound a little unconventional, but trust me, it’s a game-changer for any home gardener, especially if you’re short on space or just love a good DIY project! For centuries, humans have cultivated onions, from the fertile crescent to our modern-day gardens, valuing them for their culinary and medicinal properties. But let’s face it, traditional gardening can be tough – dealing with weeds, pests, and limited garden space can be a real headache.
That’s where this clever DIY trick comes in. Imagine harvesting plump, juicy onions right from your balcony or windowsill, all thanks to repurposed plastic bottles! This method not only reduces waste but also offers a controlled environment for your onions to thrive. Plus, it’s incredibly satisfying to watch your little onion farm flourish. I’m going to show you how to make the most of growing onions in plastic bottles, so you can enjoy fresh, homegrown onions all year round, no matter how small your living space is. Get ready to unleash your inner gardener and transform those empty bottles into a thriving onion patch!
Zwiebeln in Plastikflaschen ziehen: Eine DIY-Anleitung für den kleinen Garten
Hallo liebe Gartenfreunde! Habt ihr auch so wenig Platz im Garten oder auf dem Balkon, aber trotzdem Lust auf frische, selbstgezogene Zwiebeln? Dann habe ich hier genau das Richtige für euch: Zwiebeln in Plastikflaschen ziehen! Klingt verrückt? Ist es aber nicht! Es ist eine super einfache und platzsparende Methode, um eure eigenen Zwiebeln anzubauen. Ich zeige euch, wie es geht!
Was ihr braucht:
* Leere Plastikflaschen: Am besten eignen sich 1,5-Liter- oder 2-Liter-Flaschen. Je größer die Flasche, desto mehr Platz haben die Zwiebeln zum Wachsen.
* Erde: Normale Blumenerde oder Gartenerde ist perfekt. Ihr könnt auch eine Mischung aus Erde, Kompost und Sand verwenden.
* Zwiebeln: Entweder Saatgut oder kleine Steckzwiebeln. Steckzwiebeln sind einfacher, da sie schneller wachsen.
* Messer oder Schere: Zum Zuschneiden der Plastikflaschen.
* Bohrmaschine oder Nagel: Um Löcher in die Flaschen zu bohren (für die Drainage).
* Gießkanne: Zum Bewässern der Zwiebeln.
* Optional: Dünger (flüssig oder als Granulat) für eine bessere Nährstoffversorgung.
Vorbereitung der Plastikflaschen
1. Reinigung: Zuerst müsst ihr die Plastikflaschen gründlich reinigen. Entfernt alle Etiketten und spült sie mit warmem Wasser und Spülmittel aus. Achtet darauf, dass keine Spülmittelreste zurückbleiben.
2. Zuschneiden: Jetzt kommt der spaßige Teil! Schneidet die Plastikflaschen so zu, dass ihr Pflanzgefäße erhaltet. Es gibt verschiedene Möglichkeiten:
* Variante 1: Schneidet die Flasche horizontal in der Mitte durch. Den oberen Teil könnt ihr umgedreht als Trichter zum Gießen verwenden oder ganz weglassen.
* Variante 2: Schneidet ein großes Rechteck aus der Seite der Flasche. So entsteht eine Art “Balkonkasten”.
* Variante 3: Schneidet mehrere Löcher in die Seite der Flasche, sodass ihr mehrere Zwiebeln nebeneinander pflanzen könnt. Diese Variante ist besonders platzsparend.
Ich persönlich bevorzuge Variante 1, da sie am einfachsten ist und die Flasche stabil bleibt.
3. Drainagelöcher: Unbedingt Drainagelöcher bohren! Sonst staut sich das Wasser und die Zwiebeln faulen. Bohrt mit einer Bohrmaschine oder einem Nagel mehrere kleine Löcher in den Boden der Flasche.
Zwiebeln pflanzen: Schritt für Schritt
1. Erde einfüllen: Füllt die vorbereiteten Plastikflaschen mit Erde. Lasst etwa 2-3 cm Platz bis zum Rand.
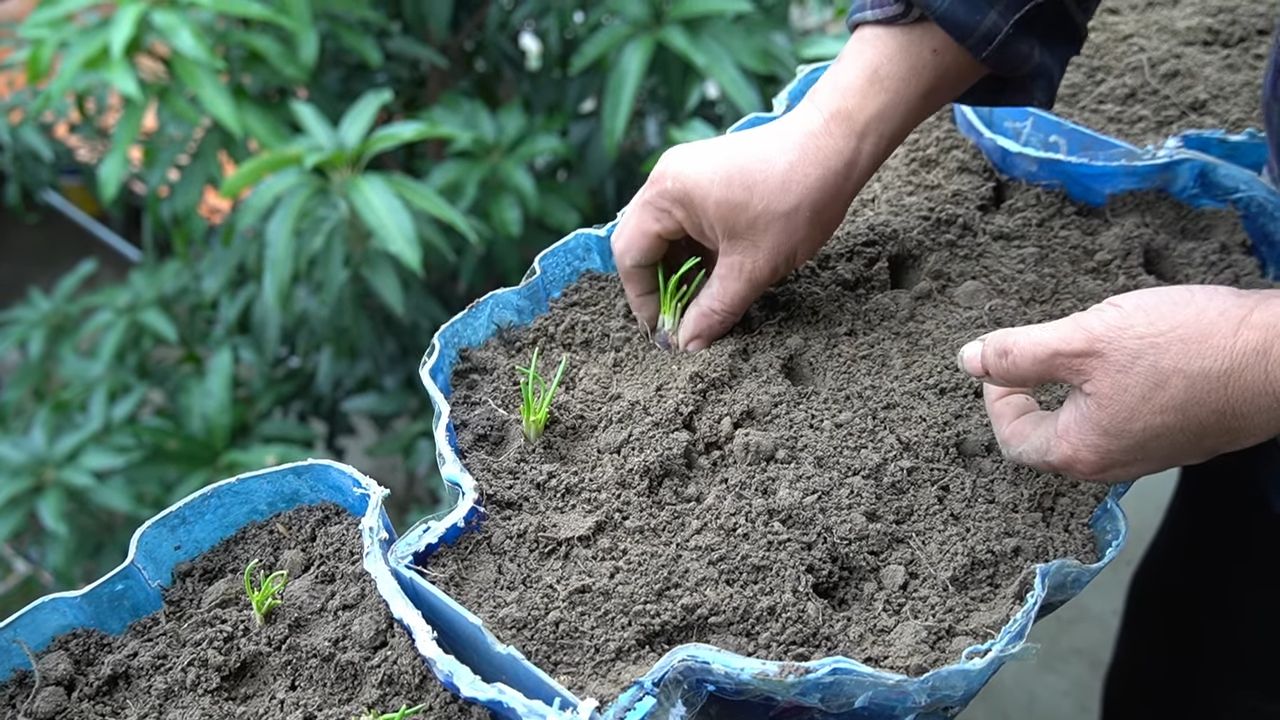
2. Zwiebeln setzen:
* Steckzwiebeln: Drückt die Steckzwiebeln etwa 2-3 cm tief in die Erde. Achtet darauf, dass die Spitze der Zwiebel nach oben zeigt. Pflanzt die Zwiebeln nicht zu dicht nebeneinander, damit sie genug Platz zum Wachsen haben.
* Saatgut: Verteilt die Zwiebelsamen gleichmäßig auf der Erde und bedeckt sie leicht mit Erde.
3. Gießen: Gießt die Erde vorsichtig an, sodass sie gut durchfeuchtet ist. Vermeidet Staunässe.
4. Standort: Stellt die bepflanzten Plastikflaschen an einen sonnigen Standort. Zwiebeln lieben die Sonne!
Pflege der Zwiebeln
1. Bewässerung: Gießt die Zwiebeln regelmäßig, aber nicht zu viel. Die Erde sollte immer leicht feucht sein. Vermeidet Staunässe, da dies zu Fäulnis führen kann. An heißen Tagen müsst ihr möglicherweise öfter gießen.
2. Düngung: Düngt die Zwiebeln alle 2-3 Wochen mit einem flüssigen Dünger oder einem Düngergranulat. Achtet darauf, dass der Dünger für Gemüse geeignet ist. Eine gute Nährstoffversorgung fördert das Wachstum und die Entwicklung der Zwiebeln.
3. Unkraut entfernen: Entfernt regelmäßig Unkraut, das in den Plastikflaschen wächst. Unkraut konkurriert mit den Zwiebeln um Nährstoffe und Wasser.
4. Schutz vor Schädlingen: Achtet auf Schädlinge wie Zwiebelfliegen oder Thripse. Bei Bedarf könnt ihr biologische Schädlingsbekämpfungsmittel einsetzen.
Erntezeit
Die Erntezeit hängt von der Zwiebelsorte und den Wachstumsbedingungen ab. In der Regel sind Zwiebeln nach etwa 3-4 Monaten erntereif. Ihr erkennt die Reife daran, dass das Laub gelb wird und umknickt.
1. Ernten: Zieht die Zwiebeln vorsichtig aus der Erde.
2. Trocknen: Lasst die Zwiebeln einige Tage an einem trockenen und luftigen Ort trocknen. So werden sie haltbarer.
3. Lagern: Lagert die getrockneten Zwiebeln an einem kühlen, trockenen und dunklen Ort. So halten sie sich mehrere Monate.
Zusätzliche Tipps und Tricks
* Verschiedene Zwiebelsorten: Probiert verschiedene Zwiebelsorten aus! Es gibt gelbe, rote und weiße Zwiebeln. Jede Sorte hat ihren eigenen Geschmack.
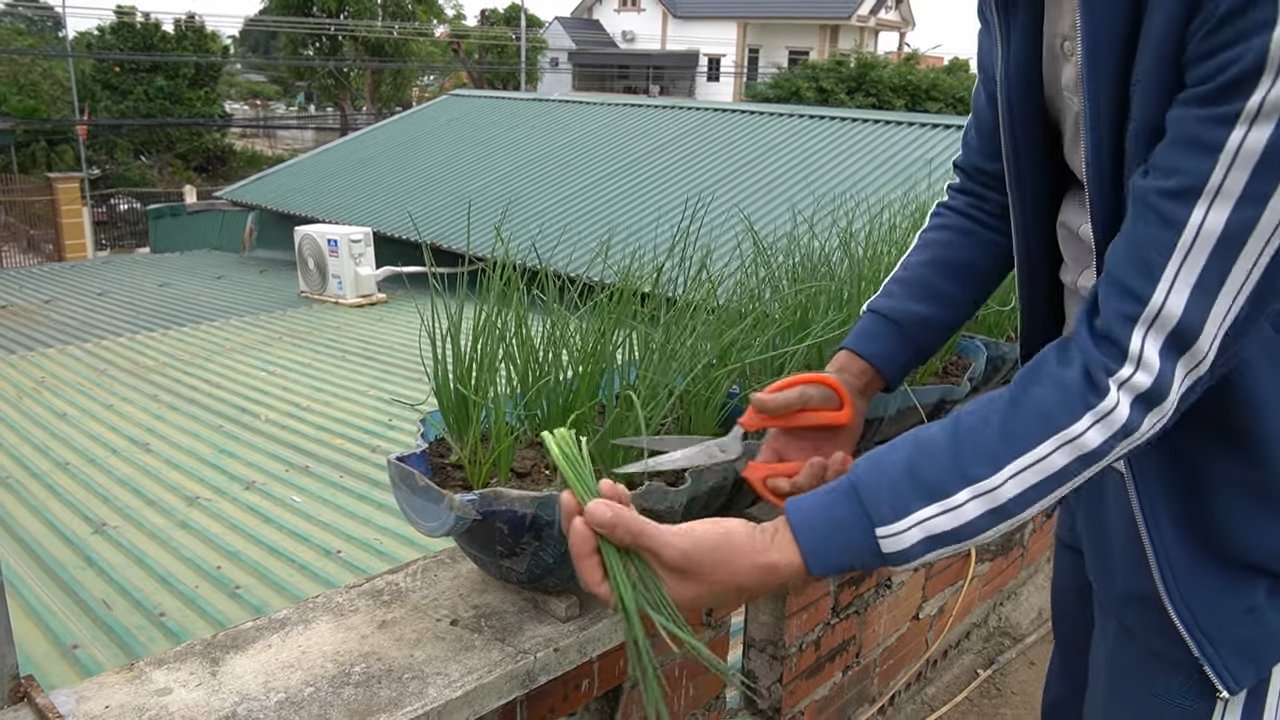
* Frühlingszwiebeln: Ihr könnt auch Frühlingszwiebeln in Plastikflaschen ziehen. Diese sind besonders schnellwüchsig und können schon nach wenigen Wochen geerntet werden.
* Upcycling: Verwendet alte Plastikflaschen, um Ressourcen zu schonen und die Umwelt zu schützen.
* Beschriftung: Beschriftet die Plastikflaschen mit dem Namen der Zwiebelsorte und dem Pflanzdatum. So behaltet ihr den Überblick.
* Dekoration: Bemalt die Plastikflaschen oder beklebt sie mit bunten Papieren. So werden sie zu einem Hingucker auf eurem Balkon oder im Garten.
* Vertikaler Garten: Befestigt die Plastikflaschen an einer Wand oder einem Zaun, um einen vertikalen Garten zu schaffen. Das spart Platz und sieht toll aus.
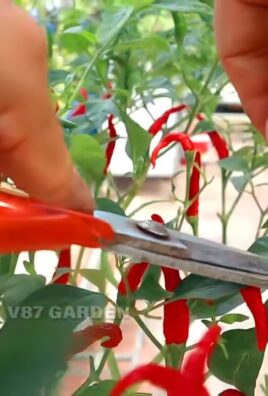
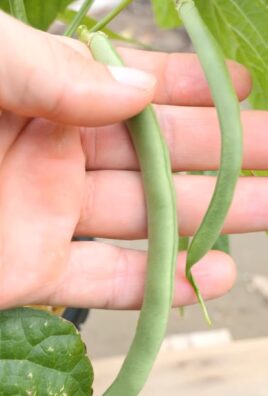
* Kombination mit anderen Pflanzen: Pflanzt neben den Zwiebeln auch andere Kräuter oder Gemüse in die Plastikflaschen. So könnt ihr den Platz optimal nutzen.
* Bodenverbesserung: Mischt der Erde etwas Kompost oder Hornspäne bei, um die Nährstoffversorgung zu verbessern.
* Schutz vor Frost: Wenn es im Frühjahr noch Frost gibt, solltet ihr die Plastikflaschen mit einem Vlies abdecken.
* Regelmäßiges Drehen: Dreht die Plastikflaschen regelmäßig, damit die Zwiebeln gleichmäßig mit Sonnenlicht versorgt werden.
* Beobachtung: Beobachtet eure Zwiebeln regelmäßig und achtet auf Veränderungen. So könnt ihr Probleme frühzeitig erkennen und beheben.
Häufige Probleme und Lösungen
* Gelbe Blätter: Gelbe Blätter können ein Zeichen für Nährstoffmangel oder Staunässe sein. Düngt die Zwiebeln oder reduziert die Bewässerung.
* Faule Zwiebeln: Faule Zwiebeln sind meistens ein Zeichen für Staunässe. Achtet auf eine gute Drainage und reduziert die Bewässerung.
* Schädlinge: Bei Schädlingsbefall solltet ihr biologische Schädlingsbekämpfungsmittel einsetzen.
* Langsames Wachstum: Langsames Wachstum kann ein Zeichen für Nährstoffmangel oder zu wenig Sonnenlicht sein. Düngt die Zwiebeln und stellt sie an einen sonnigeren Standort.
Ich hoffe, diese Anleitung hilft euch dabei, eure eigenen Zwiebeln in Plastikflaschen zu ziehen. Es ist wirklich eine einfache und lohnende Methode, um frisches Gemüse anzubauen, auch wenn ihr wenig Platz habt. Viel Spaß beim Gärtnern!
Conclusion
So, there you have it! Growing onions in plastic bottles isn’t just a quirky gardening experiment; it’s a surprisingly effective and rewarding way to cultivate fresh, flavorful onions, even if you’re short on space or dealing with challenging soil conditions. This DIY trick transforms discarded plastic bottles into miniature onion paradises, offering a sustainable and cost-effective solution for home gardeners of all levels.
Why is this a must-try? Because it democratizes gardening! No sprawling backyard is required. A sunny balcony, a patio, or even a well-lit windowsill can become your personal onion patch. It’s also incredibly satisfying to witness the entire growth cycle of an onion, from tiny seedling to bulbous beauty, all within the confines of a recycled container. Plus, you’re actively reducing plastic waste, contributing to a greener planet one onion at a time.
But the benefits don’t stop there. Growing onions in plastic bottles allows for greater control over the growing environment. You can easily monitor soil moisture, adjust sunlight exposure, and protect your precious onions from pests and diseases. This level of control often translates to healthier, more robust plants and a more abundant harvest.
Looking for variations? Absolutely! Experiment with different types of onions. Shallots, scallions, and even garlic cloves can thrive in these bottle gardens. Consider adding companion plants like marigolds or basil to deter pests and enhance the flavor of your onions. You can also customize your soil mix to suit the specific needs of your chosen onion variety. For example, adding a bit of bone meal to the soil can promote strong root development.
Don’t be afraid to get creative with your bottle gardens! Paint the bottles with vibrant colors, decorate them with stencils, or even create a vertical garden by hanging them from a fence or railing. The possibilities are endless!
Ultimately, the success of this DIY trick hinges on your willingness to experiment and adapt. Pay close attention to your onions’ needs, adjust your watering schedule as necessary, and don’t be discouraged by setbacks. Gardening is a learning process, and every mistake is an opportunity to grow (pun intended!).
We wholeheartedly encourage you to try growing onions in plastic bottles. It’s a fun, educational, and rewarding experience that will connect you with nature and provide you with a steady supply of fresh, homegrown onions. Once you’ve given it a try, we’d love to hear about your experience! Share your photos, tips, and challenges in the comments below. Let’s build a community of bottle-gardeners and inspire others to embrace this sustainable and innovative gardening technique. Let us know what worked for you, what didn’t, and any creative adaptations you made along the way. Your insights will be invaluable to other aspiring onion growers. Happy gardening!
Frequently Asked Questions (FAQ)
What type of plastic bottles are best for growing onions?
The ideal plastic bottles are those that are sturdy and opaque or semi-opaque. Clear bottles can allow too much sunlight to reach the roots, potentially causing them to overheat or develop algae. Two-liter soda bottles, gallon-sized water jugs, and even larger juice containers work well. Ensure the bottles are thoroughly cleaned before use to remove any residue that could harm your plants. Also, consider the color of the bottle; darker colors can absorb more heat, which might be beneficial in cooler climates but detrimental in hotter ones.
How often should I water my onions grown in plastic bottles?
Watering frequency depends on several factors, including the climate, the type of soil you’re using, and the size of the bottle. Generally, you should water when the top inch of soil feels dry to the touch. Avoid overwatering, as this can lead to root rot. Ensure the bottles have adequate drainage holes to prevent water from accumulating at the bottom. During hot, dry periods, you may need to water daily, while during cooler, wetter periods, watering every few days may suffice. A good rule of thumb is to check the soil moisture regularly and adjust your watering schedule accordingly.
What type of soil is best for growing onions in plastic bottles?
A well-draining potting mix is essential for growing healthy onions in plastic bottles. Avoid using garden soil, as it can be too heavy and compact, hindering root growth. A mixture of potting soil, compost, and perlite or vermiculite provides the ideal balance of nutrients, drainage, and aeration. Compost adds essential nutrients and improves soil structure, while perlite or vermiculite enhances drainage and prevents the soil from becoming waterlogged. You can also add a slow-release fertilizer to the soil mix to provide a steady supply of nutrients throughout the growing season.
How much sunlight do onions need when grown in plastic bottles?
Onions require at least 6-8 hours of direct sunlight per day to thrive. Place your bottle gardens in a sunny location, such as a south-facing balcony or windowsill. If you don’t have access to enough natural sunlight, you can supplement with grow lights. Rotate the bottles regularly to ensure that all sides of the plants receive adequate sunlight. Insufficient sunlight can lead to leggy growth and reduced bulb development.
How do I prevent pests and diseases when growing onions in plastic bottles?
Prevention is key when it comes to pests and diseases. Start with healthy seedlings or sets and use a sterile potting mix. Regularly inspect your plants for signs of pests or diseases, such as aphids, thrips, or fungal infections. If you spot any problems, address them promptly with organic pest control methods, such as insecticidal soap or neem oil. Ensure good air circulation around the plants to prevent fungal diseases. You can also add companion plants like marigolds or basil to deter pests.
When is the best time to harvest my onions grown in plastic bottles?
The harvesting time depends on the type of onion you’re growing and your desired use. Green onions or scallions can be harvested at any time once they reach a usable size. Bulb onions are typically ready to harvest when the tops begin to fall over and turn yellow or brown. Gently pull the onions from the bottles and allow them to cure in a dry, well-ventilated place for a week or two before storing them. Curing helps to dry out the outer layers of the bulb, preventing rot and extending their shelf life.
Can I reuse the plastic bottles for multiple growing seasons?
Yes, you can reuse the plastic bottles for multiple growing seasons, but it’s essential to clean them thoroughly between uses. Wash the bottles with soap and water to remove any soil or debris. You can also disinfect them with a diluted bleach solution to kill any remaining pathogens. Inspect the bottles for cracks or damage and replace them if necessary. Reusing plastic bottles is a sustainable practice that reduces waste and saves you money.
What are some common problems I might encounter when growing onions in plastic bottles, and how can I fix them?
Some common problems include yellowing leaves, stunted growth, and pest infestations. Yellowing leaves can indicate overwatering, underwatering, or nutrient deficiencies. Adjust your watering schedule and fertilize your plants as needed. Stunted growth can be caused by insufficient sunlight, poor soil, or rootbound plants. Ensure your plants are receiving adequate sunlight and use a well-draining potting mix. If the plants are rootbound, transplant them into larger bottles. Pest infestations can be treated with organic pest control methods. Regularly monitor your plants and address any problems promptly to ensure a healthy and productive harvest. Remember that growing onions in plastic bottles is a learning experience, and don’t be afraid to experiment and adapt your techniques as needed.
Leave a Comment