
Growing Mint at Home can be incredibly rewarding, filling your kitchen with the fresh, invigorating scent and providing you with a constant supply of this versatile herb. But let’s be honest, sometimes it feels like mint takes over the entire garden! Have you ever planted a seemingly innocent sprig of mint only to find it’s become a sprawling, unstoppable force? I know I have!
Mint has a rich history, dating back to ancient times where it was valued for its medicinal and culinary properties. The Romans even brought mint to Britain, spreading its use throughout Europe. Today, mint is a staple in cuisines worldwide, from refreshing mojitos to flavorful lamb dishes.
That’s why I’m so excited to share these simple, yet effective, DIY tricks and hacks for growing mint at home without it taking over your entire yard. We’ll explore clever container gardening techniques and other methods to keep your mint contained and thriving. No more mint mayhem! These tips will help you enjoy the benefits of fresh mint without the headache of an unruly garden. Let’s get started and unlock the secrets to a happy, healthy, and well-behaved mint plant!
Growing Mint at Home: A Comprehensive DIY Guide
Hey everyone! I love fresh mint. Whether in a mojito, in tea, or as a garnish for my summer dishes—mint is simply unbeatable. And the best part? It’s super easy to grow at home! In this article, I’ll show you how to plant and care for your own mint, whether you have a garden, a balcony, or just a sunny windowsill. Let’s get started!
Why Grow Mint Yourself?
Before we get started, here are a few reasons why it’s worth growing your own mint:
- Freshness: Nothing beats the taste of freshly harvested mint.
- Cost Savings: Mint from the supermarket can be expensive. With your own mint plant, you’ll save money in the long run.
- Sustainability: You avoid unnecessary packaging and transportation.
- Relaxation: Gardening is a great way to relieve stress and connect with nature.
- Versatility: Mint is incredibly versatile in the kitchen and in your home pharmacy.
What You’ll Need for Growing Mint
Here is a list of the things you’ll need for successfully growing mint:
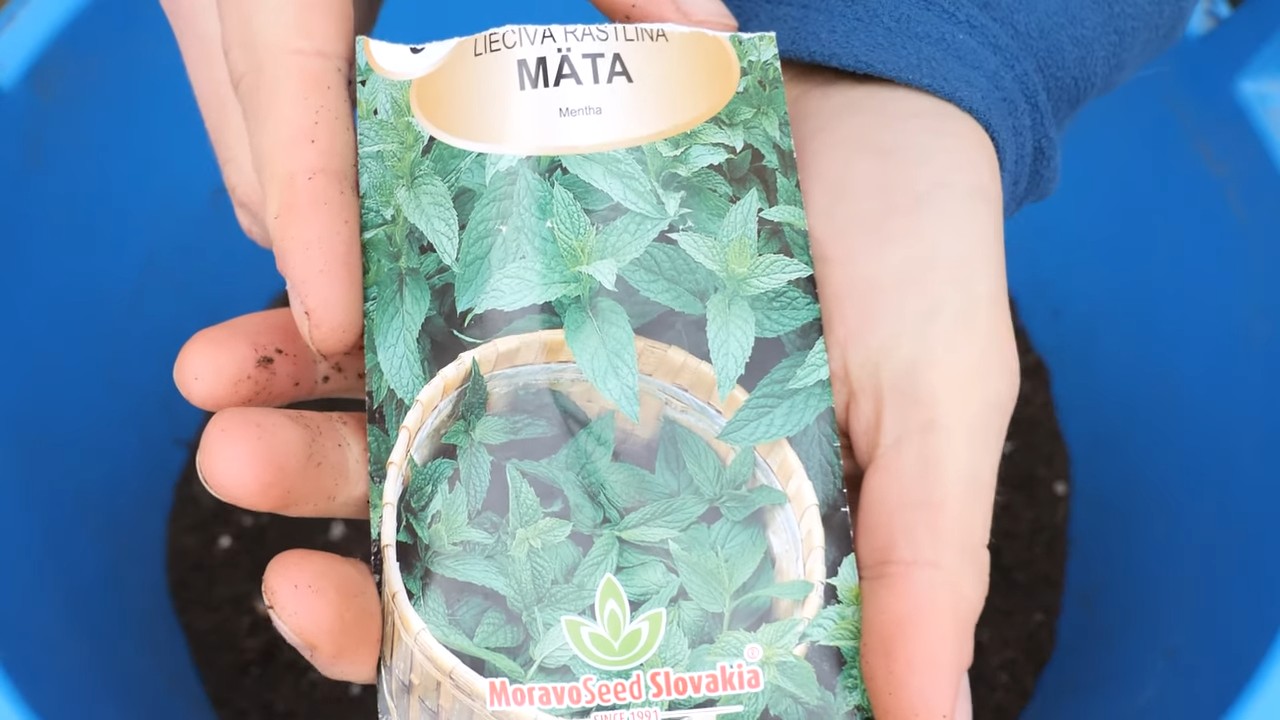
- A mint seedling or seeds: You can either buy a seedling or grow mint from seed. For beginners, I recommend a seedling, as it’s faster and has a higher success rate.
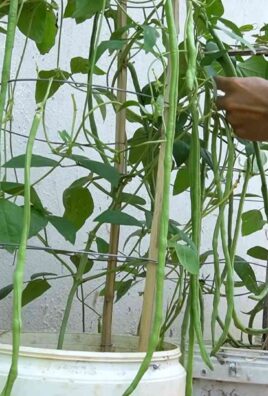
- A pot or planter: Choose a pot with adequate drainage. Mint doesn’t like waterlogged soil. A diameter of at least 20 cm (8 inches) is ideal.
- High-quality potting soil: Use a good potting soil that is loose and nutrient-rich.
- Watering can: For regular watering.
- Scissors or garden shears: For harvesting and trimming the mint.
- Fertilizer (optional): An organic fertilizer can promote growth.
- A sunny location: Mint needs enough light, but not scorching midday sun.
Planting Mint: A Step-by-Step Guide
Alright, let’s get down to it! Here is a detailed guide on how to successfully plant your mint:
1. Preparing the Right Pot:
- Choose a pot with sufficient holes in the bottom so that water can drain well.
- Place a layer of clay shards or gravel at the bottom of the pot. This improves drainage and prevents waterlogging.
2. Filling the Pot with Soil:
- Fill the pot with high-quality potting soil. Leave about 2-3 cm (1 inch) of space at the top.
- Press the soil down lightly.
3. Planting the Mint Seedling:
- Carefully remove the mint seedling from its nursery pot.
- Gently loosen the roots to help them spread out in the new pot.
- Place the seedling in the center of the pot. The top of the root ball should be level with the soil surface.
- Fill the pot with soil and press it down lightly.
4. Watering in the Mint:
- Water the mint thoroughly until water runs out of the drainage holes.
- Let the excess water drain away.
5. Choosing the Right Location:
- Place the pot in a sunny location. Mint needs at least 4-6 hours of sunlight per day.
- Avoid scorching midday sun, as this can burn the leaves. A partially shaded spot is ideal.
Growing Mint from Seed (A Bit More Demanding)
If you’re feeling adventurous, you can also grow mint from seed. Although it takes longer, it’s also an exciting experience.
1. Prepare Seedling Containers:
- Use seed trays or small pots.
- Fill them with seed-starting mix.
2. Sow the Seeds:
- Sprinkle the mint seeds evenly over the soil.
- Press them down lightly, but do not cover them with soil. Mint is a light germinator.
3. Keep the Soil Moist:
- Spray the soil regularly with water to keep it moist.
- It’s best to use a spray bottle to avoid washing the seeds away.
4. Provide Warmth:
- Place the seed trays in a warm location (approx. 20-25°C / 68-77°F).
- A clear cover or a mini-greenhouse can help retain moisture and warmth.
5. Be Patient:
- Germination can take 1-3 weeks.
- Once the seedlings are large enough (approx. 5-10 cm / 2-4 inches), you can transplant them into larger pots.
Mint Care: How to Keep Your Mint Healthy and Vibrant
Proper care is crucial for a lush mint harvest. Here are my tips:
- Regular Watering:
- Mint needs regular watering, especially on hot days.
- The soil should always be slightly moist, but not wet.
- It’s best to water in the morning or evening to avoid evaporation.
- Fertilizing (optional):
- If you wish, you can fertilize your mint every 2-4 weeks with an organic fertilizer.
- Use a fertilizer that is specifically designed for herbs.
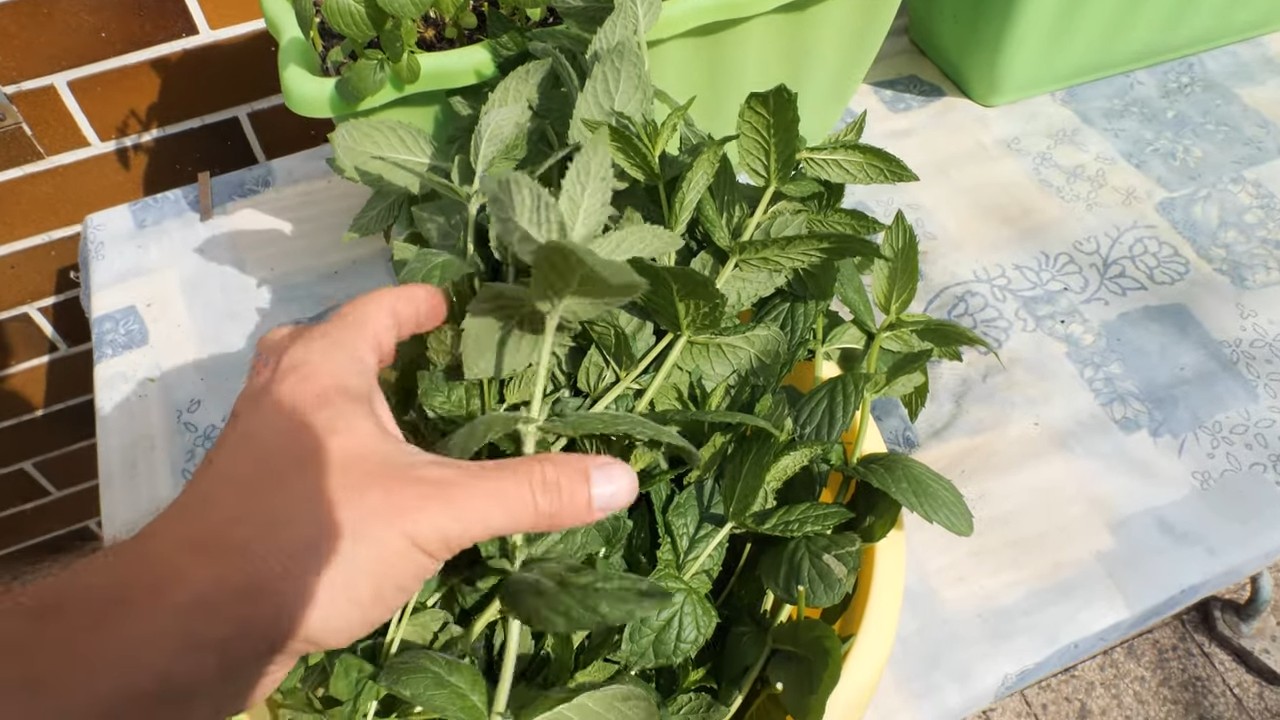
- Regular Harvesting:
- Regular harvesting encourages the mint’s growth.
- Cut the stems just above a leaf node.
- Don’t worry, the mint will grow back quickly!
- Remove Flowers:
- When mint flowers, it loses its flavor.
- Remove the flowers to promote leaf growth.
- Overwintering:
- Mint is hardy, but in cold regions, you should protect it.
- Place the pot in a sheltered location or cover it with brushwood.
- Water the mint occasionally in winter as well, so the soil doesn’t dry out.
- Beware of Runners:
- Mint tends to spread aggressively.
- If you plant it in the garden, you should place it in a pot or use a root barrier to prevent it from spreading uncontrollably.
Common Problems and Solutions
Even when growing mint, problems can arise. Here are some of the most common issues and how you can solve them:
Solution: Remove affected leaves and use a fungicide.
Yellow Leaves:
Cause: Too much water, nutrient deficiency, or pests.
Solution: Water less, fertilize, or treat for pests.
Brown Leaves:
Cause: Too little water, too much sun, or fungal infection.
Solution: Water more, change the location, or use a fungicide.
Pests:
Aphids, spider mites, or slugs can infest mint.
Solution: Combat pests with a natural insecticide or by picking them off.
Fungal Infection:
Powdery mildew or other fungal diseases can occur.
Conclusion
So, there you have it! Growing mint at home isn’t just a fun project; it’s a game-changer for your culinary creations, your beverages, and even your home’s ambiance. We’ve walked you through the simple steps, from choosing the right container to harvesting your fragrant bounty. But why is this DIY trick a must-try?
Firstly, the flavor of homegrown mint is simply unparalleled. Forget the wilted, often flavorless bunches you find at the grocery store. Freshly picked mint bursts with an intensity that will elevate your mojitos, teas, salads, and desserts to a whole new level. Imagine the vibrant green leaves, their aroma filling your kitchen as you chop them for a refreshing summer salad. That’s the magic of homegrown mint.
Secondly, growing your own mint is incredibly cost-effective. A single plant can provide you with a continuous supply of fresh mint for months, even years, saving you money on those frequent grocery store trips. Think of all the delicious mint-infused recipes you can create without breaking the bank!
Thirdly, it’s incredibly rewarding. There’s something deeply satisfying about nurturing a plant from a tiny sprig to a thriving bush. It connects you to nature, even in the heart of the city, and provides a sense of accomplishment that’s hard to beat. Plus, the delightful fragrance of mint acts as a natural air freshener, creating a calming and inviting atmosphere in your home.
But the possibilities don’t stop there! Feel free to experiment with different varieties of mint. Peppermint, spearmint, chocolate mint, even apple mint – each offers a unique flavor profile that can add a special touch to your dishes and drinks. Try growing a combination of varieties to create your own custom mint blends.
Consider using your homegrown mint to create homemade mint extract, a valuable ingredient for baking and desserts. Or, dry your mint leaves to make your own herbal tea blends, perfect for a relaxing evening. You can even infuse olive oil with mint for a flavorful finishing oil for salads and grilled vegetables.
Don’t be afraid to get creative! Growing mint at home is an invitation to explore the endless possibilities of this versatile herb.
We wholeheartedly encourage you to give this DIY trick a try. It’s easy, affordable, and incredibly rewarding. And most importantly, it will provide you with a constant supply of fresh, flavorful mint that will transform your cooking and your home.
Once you’ve experienced the joy of growing your own mint, we’d love to hear about it! Share your experiences, your tips, and your favorite mint recipes in the comments below. Let’s create a community of mint enthusiasts and inspire others to discover the magic of homegrown herbs. What are you waiting for? Get planting!
Frequently Asked Questions (FAQ)
Q: What is the best type of container for growing mint?
A: The best type of container for growing mint is one that is at least 6-8 inches deep and wide. Mint spreads aggressively through its roots, so it’s crucial to choose a container that can accommodate its growth. Terracotta pots are a good option as they allow for good drainage, but plastic pots are also suitable and retain moisture better. Ensure the container has drainage holes to prevent waterlogging, which can lead to root rot. You can also use a self-watering container to help maintain consistent moisture levels. Remember that mint is invasive, so keeping it contained is key to preventing it from taking over your garden.
Q: How much sunlight does mint need?
A: Mint thrives in partial shade to full sun. Ideally, it should receive at least 4-6 hours of sunlight per day. However, in hotter climates, it’s best to provide some afternoon shade to prevent the leaves from scorching. If you’re growing mint indoors, place it near a sunny window or use a grow light to supplement natural light. Insufficient sunlight can result in leggy growth and reduced flavor. Observe your mint plant and adjust its location as needed to ensure it’s receiving the optimal amount of light.
Q: How often should I water my mint plant?
A: Mint prefers consistently moist soil, but it doesn’t like to be waterlogged. Water your mint plant when the top inch of soil feels dry to the touch. During hot weather, you may need to water it more frequently. Ensure the container has good drainage to prevent root rot. Overwatering can be just as harmful as underwatering. Check the soil moisture regularly and adjust your watering schedule accordingly. A good rule of thumb is to water deeply until water drains out of the drainage holes.
Q: How do I harvest mint leaves?
A: Harvesting mint leaves is easy and can be done regularly throughout the growing season. Simply pinch or cut off the stems just above a leaf node (the point where leaves grow from the stem). This will encourage the plant to branch out and produce more leaves. Avoid removing more than one-third of the plant at a time, as this can stress the plant. The best time to harvest mint is in the morning, after the dew has dried, as the leaves will have the highest concentration of essential oils. You can use the harvested leaves fresh or dry them for later use.
Q: How do I prevent mint from spreading too much?
A: Mint is known for its invasive nature, so it’s important to take steps to prevent it from spreading uncontrollably. The best way to contain mint is to grow it in a container. This will prevent its roots from spreading into the surrounding soil. If you’re planting mint in the ground, consider burying a barrier around the planting area, such as a plastic or metal edging, to prevent the roots from spreading. Regularly prune the plant to remove any runners (horizontal stems that grow along the surface of the soil) that may be trying to escape.
Q: What are some common problems that affect mint plants?
A: Some common problems that can affect mint plants include aphids, spider mites, and powdery mildew. Aphids and spider mites are small pests that can suck the sap from the leaves, causing them to become discolored and distorted. Powdery mildew is a fungal disease that appears as a white, powdery coating on the leaves. To prevent these problems, ensure your mint plant has good air circulation and avoid overwatering. Regularly inspect the plant for signs of pests or disease and take action promptly. You can treat aphids and spider mites with insecticidal soap or neem oil. Powdery mildew can be treated with a fungicide.
Q: Can I grow mint indoors during the winter?
A: Yes, you can grow mint indoors during the winter. To do so, bring your outdoor mint plant indoors before the first frost. Place it near a sunny window or use a grow light to provide adequate light. Water the plant regularly, allowing the soil to dry slightly between waterings. You may need to fertilize the plant occasionally to provide it with the nutrients it needs to grow. With proper care, your mint plant can thrive indoors throughout the winter, providing you with a continuous supply of fresh mint leaves.
Q: What are some creative ways to use homegrown mint?
A: The possibilities for using homegrown mint are endless! Of course, you can use it in classic cocktails like mojitos and mint juleps. But don’t stop there! Add it to iced tea, lemonade, or sparkling water for a refreshing twist. Use it to flavor salads, soups, and sauces. Mint pairs particularly well with lamb, chicken, and vegetables like peas and carrots. You can also use it to make mint chutney, mint pesto, or mint-infused olive oil. For desserts, add mint to chocolate brownies, ice cream, or fruit salads. You can even use it to make homemade mint tea or dry it for use in potpourri. Let your imagination run wild and discover new and exciting ways to incorporate homegrown mint into your culinary creations and beyond!
Leave a Comment