
Growing Indoor Mint can seem like a daunting task, conjuring images of sprawling outdoor gardens and endless sunshine. But what if I told you that fresh, fragrant mint is just a few simple steps away, right inside your own home? Forget those sad, wilted bunches from the grocery store – imagine the joy of snipping vibrant, aromatic leaves whenever you need them for a refreshing mojito, a flavorful tea, or a zesty addition to your favorite dish!
Mint, with its rich history dating back to ancient Egypt and Rome, has always been prized for its medicinal and culinary properties. From flavoring ancient wines to soothing digestive ailments, this versatile herb has truly stood the test of time. But you don’t need to be a seasoned gardener to enjoy the benefits of fresh mint.
In today’s busy world, having access to fresh herbs at your fingertips is more valuable than ever. Not only does it elevate your cooking and beverages, but growing indoor mint also provides a therapeutic connection to nature, reducing stress and adding a touch of greenery to your living space. This DIY guide will equip you with all the essential tips and tricks to successfully cultivate your own thriving mint plant indoors, regardless of your experience level. So, let’s ditch the store-bought stuff and embark on this exciting journey of bringing the garden indoors!
Growing Indoor Mint: A Beginner’s Guide to Fresh Flavor All Year Round
Hey there, fellow plant enthusiasts! Are you tired of buying wilted, expensive mint from the grocery store? Do you dream of having fresh, fragrant mint readily available for your mojitos, teas, and culinary creations? Well, you’ve come to the right place! I’m going to walk you through everything you need to know to successfully grow mint indoors, even if you don’t have a green thumb. Trust me, it’s easier than you think!
Why Grow Mint Indoors?
Before we dive into the how-to, let’s talk about why growing mint indoors is such a fantastic idea:
* Freshness at Your Fingertips: Imagine being able to snip fresh mint leaves whenever you need them. No more last-minute grocery store runs!
* Cost-Effective: Buying mint regularly can add up. Growing your own is a much more economical option in the long run.
* Aromatic Delight: Mint’s invigorating scent can fill your home with a refreshing fragrance.
* Year-Round Availability: You can enjoy fresh mint even during the colder months when outdoor gardening isn’t possible.
* Therapeutic Benefits: Mint has known therapeutic properties, from aiding digestion to relieving stress.
* It’s Fun! Seriously, watching your mint plant thrive is incredibly rewarding.
What You’ll Need
Okay, let’s gather our supplies. Here’s what you’ll need to get started:
* Mint Cuttings or a Starter Plant: You can either propagate mint from cuttings (I’ll show you how!) or purchase a small mint plant from a local nursery or garden center. Make sure to choose a healthy-looking plant with vibrant green leaves.
* A Pot with Drainage Holes: Mint likes well-draining soil, so a pot with drainage holes is essential. The size of the pot will depend on the size of your starter plant or how many cuttings you’re planting. A 6-8 inch pot is a good starting point.
* Potting Mix: Use a high-quality potting mix that’s specifically formulated for containers. Avoid using garden soil, as it can become compacted and doesn’t drain well.
* Watering Can or Spray Bottle: For watering your mint plant.
* A Sunny Location: Mint needs plenty of sunlight to thrive. A south-facing window is ideal, but an east- or west-facing window can also work.
* Optional: Grow Light: If you don’t have a sunny window, you can supplement with a grow light.
* Optional: Fertilizer: A balanced liquid fertilizer can help your mint plant grow strong and healthy.
* Scissors or Pruning Shears: For taking cuttings and harvesting leaves.
Propagating Mint from Cuttings (If You Don’t Have a Starter Plant)
If you’re starting from scratch, propagating mint from cuttings is a simple and effective way to get your indoor mint garden going. Here’s how I do it:
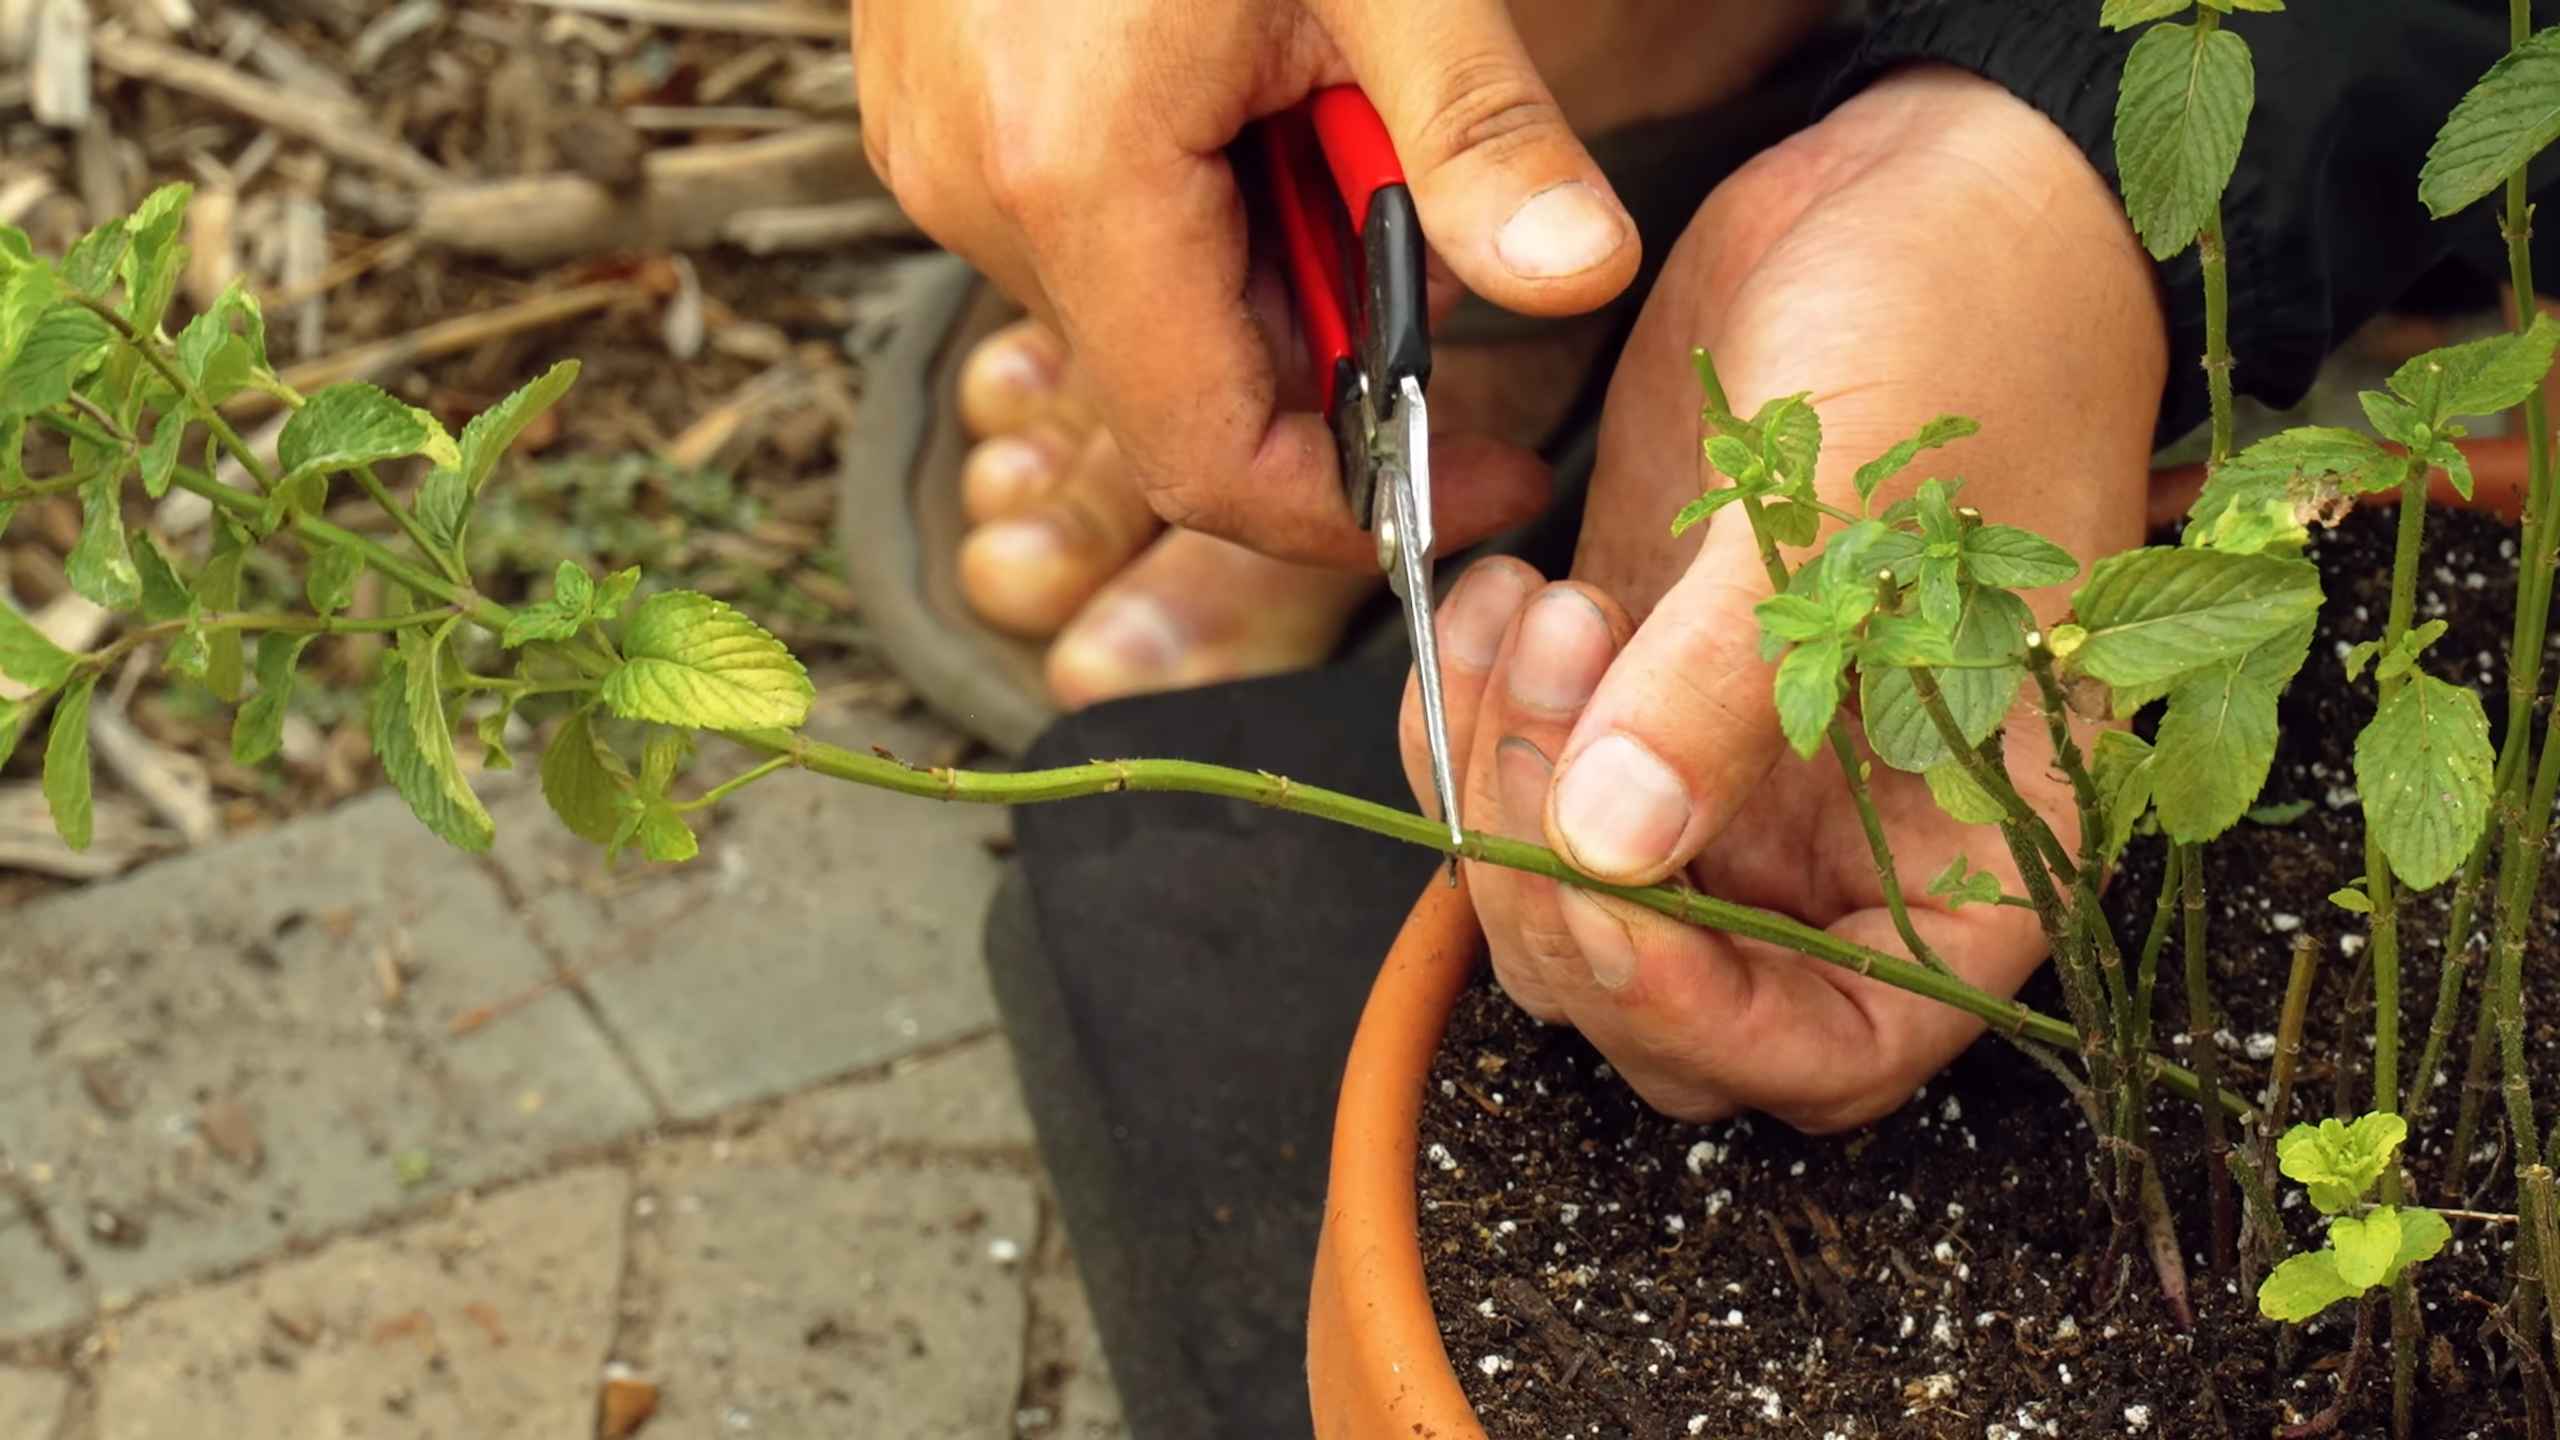
1. Select Healthy Stems: Choose healthy, vibrant green stems from an existing mint plant. Look for stems that are about 4-6 inches long and have several leaves.
2. Remove Lower Leaves: Carefully remove the leaves from the bottom 1-2 inches of the stem. This is where the roots will grow.
3. Place Cuttings in Water: Fill a glass or jar with water and place the cuttings in the water, making sure the bottom portion of the stem (where you removed the leaves) is submerged.
4. Find a Sunny Spot: Place the glass or jar in a bright, sunny location, but avoid direct sunlight, which can scorch the leaves.
5. Change the Water Regularly: Change the water every 1-2 days to keep it fresh and prevent bacteria from growing.
6. Wait for Roots to Develop: Within a week or two, you should start to see roots growing from the stems. Once the roots are about an inch long, your cuttings are ready to be planted.
Planting Your Mint
Whether you’re planting a starter plant or cuttings, the planting process is the same.
1. Prepare the Pot: Fill the pot with potting mix, leaving about an inch of space at the top.
2. Create a Hole: Use your finger or a small trowel to create a hole in the center of the potting mix.
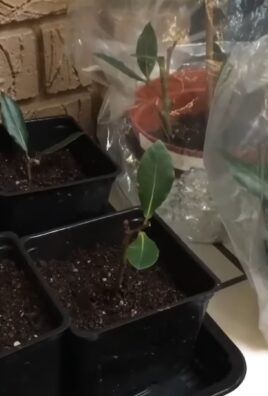
3. Plant the Mint: Gently remove the mint plant from its original container (if you’re using a starter plant) or carefully place the rooted cuttings into the hole.
4. Fill in with Soil: Fill in the hole with potting mix, gently pressing down around the base of the plant to secure it.
5. Water Thoroughly: Water the plant thoroughly until water drains out of the drainage holes.
Caring for Your Indoor Mint
Now that your mint is planted, it’s time to learn how to care for it. Here’s what you need to know:
1. Sunlight: Mint needs at least 6 hours of sunlight per day. Place your plant in a sunny window or supplement with a grow light. If you notice the leaves turning pale or yellow, it’s likely not getting enough light.
2. Watering: Mint likes to be kept consistently moist, but not soggy. Water your plant when the top inch of soil feels dry to the touch. Avoid overwatering, as this can lead to root rot. Make sure the pot has good drainage.
3. Humidity: Mint prefers moderate humidity. If your home is particularly dry, you can increase the humidity around your plant by misting it with water regularly or placing it on a tray filled with pebbles and water.
4. Fertilizing: Feed your mint plant with a balanced liquid fertilizer every 2-4 weeks during the growing season (spring and summer). Follow the instructions on the fertilizer label.
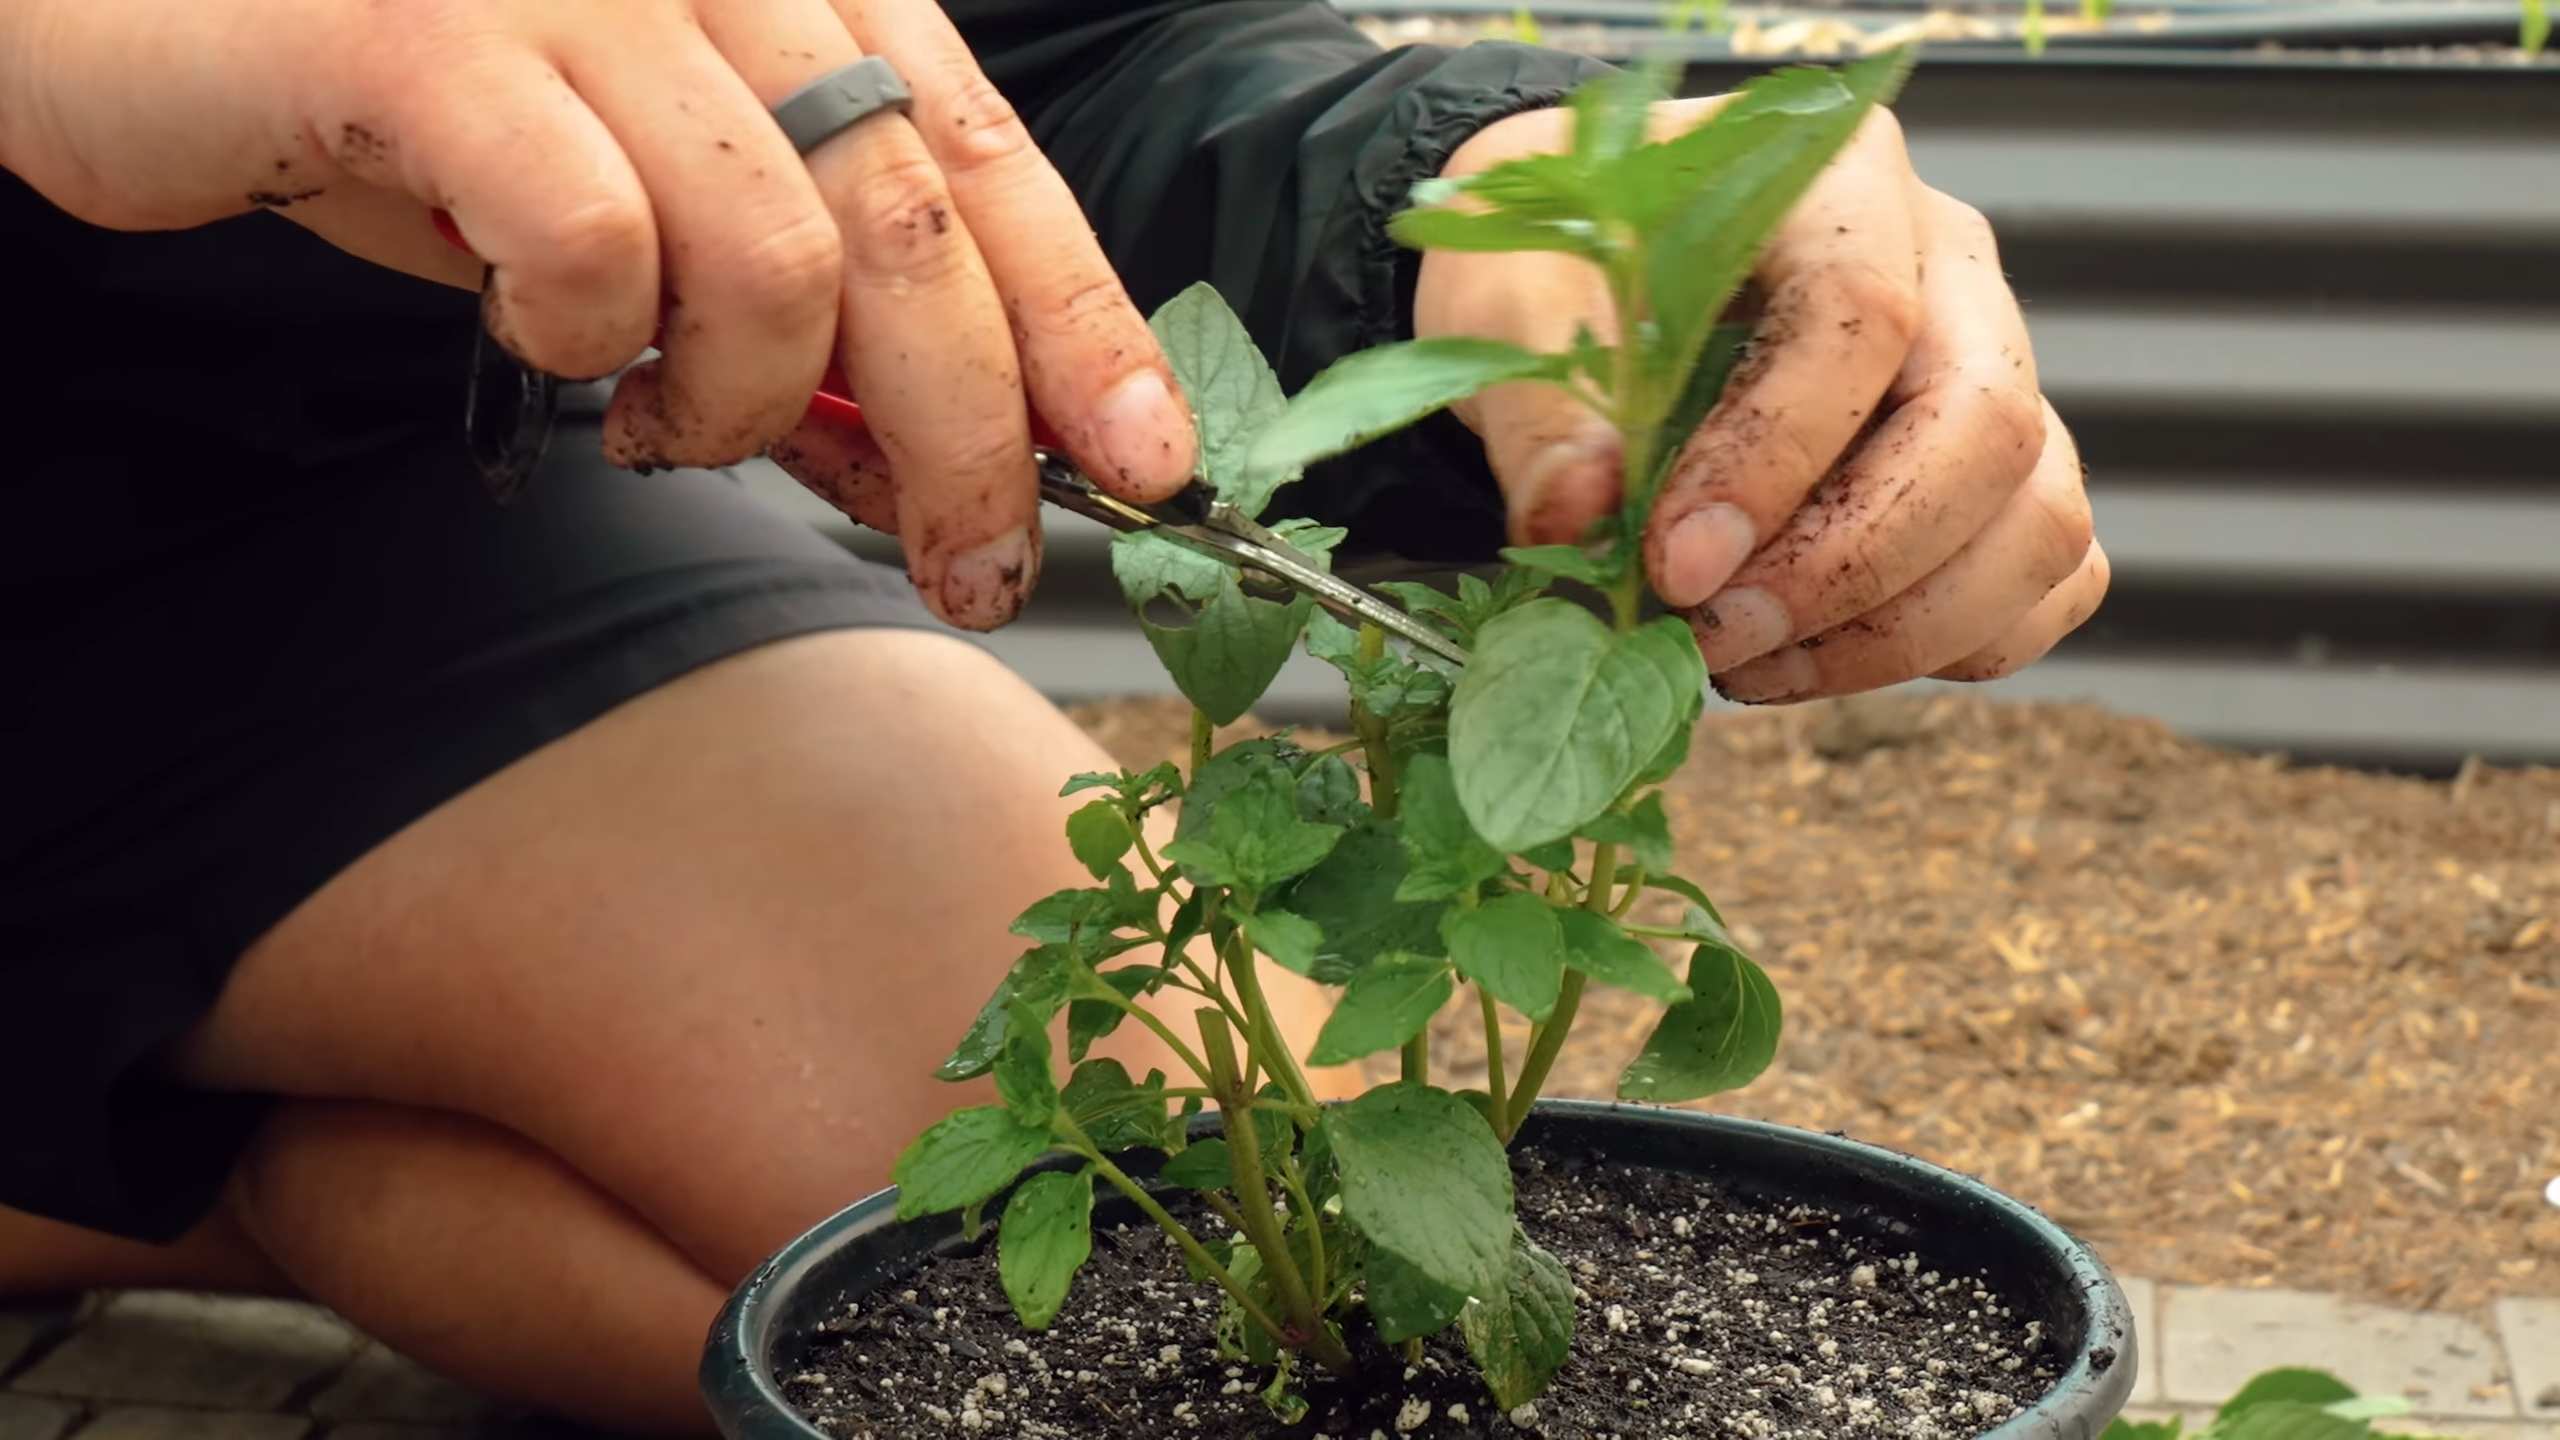
5. Pruning: Pruning is essential for keeping your mint plant healthy and productive. Regularly pinch off the top leaves to encourage bushier growth. You can also prune back the stems to control the size of the plant.
6. Pest Control: Mint is generally pest-resistant, but it can occasionally be affected by aphids or spider mites. If you notice any pests, you can try spraying the plant with insecticidal soap or neem oil.
7. Repotting: Mint is a fast-growing plant, so you may need to repot it into a larger container every year or two. When repotting, choose a pot that’s 1-2 inches larger in diameter than the previous pot.
Harvesting Your Mint
The best part about growing your own mint is being able to harvest fresh leaves whenever you need them!
1. Harvest Regularly: The more you harvest, the more your mint plant will grow. Don’t be afraid to snip off leaves whenever you need them.
2. Pinch Off Leaves: Use scissors or pruning shears to pinch off leaves from the top of the stems.
3. Harvest in the Morning: The best time to harvest mint is in the morning, after the dew has dried but before the sun gets too hot.
4. Store Properly: Fresh mint leaves can be stored in the refrigerator for up to a week. Wrap them in a damp paper towel and place them in a plastic bag or container. You can also dry mint leaves for longer storage.
Troubleshooting
Even with the best care, you may encounter some problems while growing indoor mint. Here are some common issues and how to fix them:
* Yellowing Leaves: This can be caused by overwatering, underwatering, lack of sunlight, or nutrient deficiencies. Adjust your watering schedule, move the plant to a sunnier location, or fertilize it.
* Leggy Growth: This is usually caused by insufficient sunlight. Move the plant to a sunnier location or supplement with a grow light.
* Brown Spots on Leaves: This can be caused by fungal diseases or pests. Remove any affected leaves and treat the plant with a fungicide or insecticide.
* Slow Growth: This can be caused by lack of nutrients, poor soil, or insufficient sunlight. Fertilize the plant, repot it into fresh potting mix, or move it to a sunnier location.
Mint Varieties to Consider
While spearmint is the most common variety, there are many other types of mint to choose from, each with its own unique flavor and aroma. Here are a few to consider:
* Peppermint: A classic mint with a strong, refreshing flavor. Great for teas, desserts, and candies.
* Chocolate Mint: A unique variety with a hint of chocolate flavor. Perfect for desserts and cocktails.
* Orange Mint: A citrusy mint with a refreshing orange aroma. Delicious in teas and salads.
* Apple Mint: A mild, fruity mint with a hint of apple flavor. Great for teas, salads
Conclusion
So, there you have it! Growing indoor mint isn’t just a fun project; it’s a gateway to fresher flavors, a greener home, and a more sustainable lifestyle. Forget those sad, wilted bunches from the grocery store. Imagine stepping into your kitchen and snipping off vibrant, fragrant leaves whenever you need them. The difference in taste and aroma between store-bought and homegrown mint is truly remarkable. It’s a culinary game-changer, especially when you’re whipping up mojitos, adding a refreshing touch to salads, or brewing a soothing cup of mint tea.
This DIY trick is a must-try for several reasons. First, it’s incredibly cost-effective. A single packet of mint seeds or a small starter plant can provide you with a continuous supply of fresh mint for months, even years, to come. Second, it’s surprisingly easy. Even if you don’t have a green thumb, you can successfully grow mint indoors with just a few simple steps. Third, it’s a fantastic way to bring a touch of nature into your home, especially during the colder months when outdoor gardening isn’t an option. The vibrant green leaves of your mint plant will add a splash of color and life to any room.
But the benefits don’t stop there. Growing your own mint also allows you to control the quality of your herbs. You can be sure that your mint is free from pesticides and other harmful chemicals, making it a healthier and more flavorful addition to your meals. Plus, the act of nurturing a plant can be incredibly therapeutic and rewarding. There’s something deeply satisfying about watching your mint plant grow and thrive under your care.
Want to take your indoor mint garden to the next level? Consider experimenting with different varieties of mint. Peppermint, spearmint, chocolate mint, and even apple mint each offer a unique flavor profile that can add a new dimension to your culinary creations. You can also try growing mint in different types of containers, from terracotta pots to repurposed jars. Just make sure your container has adequate drainage to prevent root rot. Another variation is to propagate your mint from cuttings. This is a great way to expand your mint collection without having to buy new seeds or plants. Simply take a cutting from a healthy stem, remove the lower leaves, and place it in a glass of water. Within a few weeks, roots will start to form, and you can then transplant the cutting into a pot of soil.
Don’t be afraid to experiment and find what works best for you. The beauty of growing your own mint is that it’s a forgiving and adaptable plant. So, go ahead and give it a try! We’re confident that you’ll be amazed at how easy and rewarding it is to grow your own fresh mint indoors.
We encourage you to embark on this green adventure and discover the joy of having fresh mint at your fingertips. Once you’ve tried this DIY trick, we’d love to hear about your experience. Share your tips, tricks, and photos with us in the comments below. Let’s create a community of indoor mint enthusiasts and inspire others to embrace the joys of homegrown herbs. Happy growing!
Frequently Asked Questions (FAQ)
Why is my indoor mint plant not thriving?
There are several reasons why your indoor mint plant might not be thriving. The most common culprits are insufficient light, overwatering, underwatering, and poor soil. Mint needs at least 6 hours of sunlight per day, so make sure you place your plant in a sunny location or supplement with a grow light. Overwatering can lead to root rot, so allow the soil to dry out slightly between waterings. Underwatering can cause the leaves to wilt and turn brown. Use a well-draining potting mix to ensure that your mint plant has access to the nutrients it needs. Also, consider the humidity levels in your home. Mint prefers slightly humid conditions, so you may need to mist your plant regularly or place it near a humidifier.
How often should I water my indoor mint plant?
The frequency of watering depends on several factors, including the size of your pot, the type of soil, and the humidity levels in your home. As a general rule, you should water your mint plant when the top inch of soil feels dry to the touch. Avoid overwatering, as this can lead to root rot. When you do water, make sure to water thoroughly, until water drains out of the bottom of the pot. Then, allow the excess water to drain away. During the warmer months, you may need to water your mint plant more frequently than during the cooler months.
What kind of soil is best for growing indoor mint?
Mint prefers a well-draining potting mix that is rich in organic matter. You can use a commercially available potting mix or make your own by combining equal parts of potting soil, perlite, and compost. Perlite helps to improve drainage, while compost provides essential nutrients. Avoid using garden soil, as it can be too heavy and may contain pests or diseases.
How much sunlight does indoor mint need?
Mint needs at least 6 hours of sunlight per day to thrive. If you don’t have a sunny window, you can supplement with a grow light. Place the grow light about 6-12 inches above your mint plant and leave it on for 12-14 hours per day.
How do I harvest mint leaves from my indoor plant?
To harvest mint leaves, simply snip off the stems with a pair of scissors or pruning shears. Avoid removing more than one-third of the plant at a time, as this can stress the plant. The best time to harvest mint leaves is in the morning, after the dew has dried. This is when the leaves are at their most flavorful.
Can I grow different varieties of mint together in the same pot?
While it’s technically possible to grow different varieties of mint together in the same pot, it’s generally not recommended. Mint is a vigorous grower and can quickly spread and take over the pot. Different varieties of mint can also cross-pollinate, which can result in unexpected flavor combinations. If you want to grow multiple varieties of mint, it’s best to keep them in separate pots.
How do I prevent pests and diseases from affecting my indoor mint plant?
To prevent pests and diseases from affecting your indoor mint plant, start by using a clean potting mix and a clean pot. Inspect your plant regularly for signs of pests or diseases. If you notice any problems, take action immediately. Common pests that can affect mint include aphids, spider mites, and whiteflies. These can be treated with insecticidal soap or neem oil. Common diseases that can affect mint include powdery mildew and rust. These can be treated with a fungicide. Also, make sure to provide your mint plant with adequate air circulation to prevent fungal diseases.
Is it necessary to fertilize my indoor mint plant?
While not strictly necessary, fertilizing your indoor mint plant can help it to grow more vigorously and produce more flavorful leaves. Use a balanced liquid fertilizer diluted to half strength. Fertilize your mint plant every 2-4 weeks during the growing season. Avoid over-fertilizing, as this can burn the roots.
How do I propagate mint from cuttings?
Propagating mint from cuttings is a simple and effective way to expand your mint collection. To propagate mint from cuttings, take a cutting from a healthy stem that is about 4-6 inches long. Remove the lower leaves from the cutting, leaving only a few leaves at the top. Place the cutting in a glass of water, making sure that the lower nodes (where the leaves were removed) are submerged. Place the glass of water in a bright, indirect light. Within a few weeks, roots will start to form. Once the roots are about an inch long, you can transplant the cutting into a pot of soil.
My mint plant is flowering. Should I do anything?
When mint flowers, it signals the end of its vegetative growth cycle, and the leaves may become less flavorful. To encourage continued leaf production, pinch off the flower buds as soon as you see them. This will redirect the plant’s energy back into growing leaves. You can also allow your mint to flower if you want to attract pollinators to your garden.

Leave a Comment