
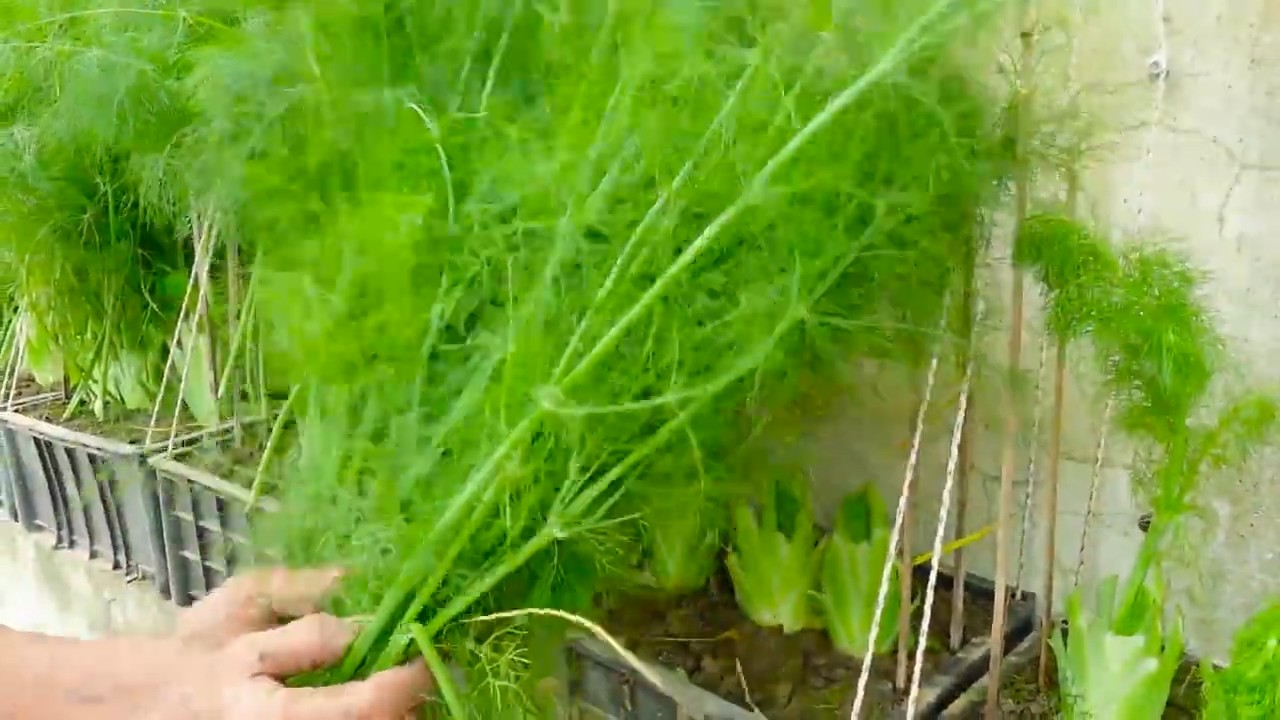
Growing Dill Indoors can seem like a daunting task, especially if you’re used to seeing this feathery herb thriving in sprawling outdoor gardens. But fear not, fellow gardening enthusiasts! I’m here to tell you that bringing the fresh, aromatic flavor of dill right into your kitchen is not only possible, but surprisingly easy with a few clever DIY tricks.
For centuries, dill has been more than just a culinary delight. Its use dates back to ancient Egypt and Rome, where it was valued for its medicinal properties and even used as a symbol of good luck. Imagine, you’re not just growing a herb; you’re cultivating a piece of history!
Why bother with the effort of growing dill indoors? Well, think about it: no more last-minute trips to the grocery store when you need a sprig for your favorite salmon dish or a handful for a refreshing tzatziki sauce. Plus, you’ll have access to fresh, organic dill year-round, regardless of the weather outside. Growing Dill Indoors also allows you to control the growing environment, ensuring your dill is free from pests and harmful chemicals. In this article, I’ll share my favorite DIY hacks and tips to help you successfully cultivate this versatile herb in the comfort of your own home. Get ready to enjoy the fresh, vibrant taste of homegrown dill whenever you please!
Growing Dill Indoors: Your Guide for Fresh Greens All Year Round!
I love dill! This aromatic herb is a must-have for my cucumber salads, fish dishes, and even a simple slice of bread with butter. But fresh dill from the supermarket can be expensive and wilts quickly. That’s why I decided to grow my own dill indoors, and I want to share my experiences with you! It’s easier than you think, and you’ll have fresh dill on hand all year round.
What you need:
- Dill seeds: Choose a variety that is suitable for growing in pots. “Dwarf Fernleaf” is a good option.
- Pots: Use pots with a diameter of at least 15 cm (6 inches) and good drainage.
- Potting soil: High-quality potting soil is crucial. Avoid garden soil, as it is too heavy.
- Grow light (optional, but recommended): Dill needs a lot of light. If you don’t have a sunny spot, a grow light is essential.
- Spray bottle: For moistening the soil.
- Fertilizer (optional): A liquid herb fertilizer can promote growth.
The Preparation: The Foundation for Your Dill Success
Before we start planting, it’s important to prepare everything. This saves time and ensures a smooth process.
- Prepare the pots: Make sure your pots are clean and have sufficient drainage holes. Place a layer of clay shards or pebbles at the bottom of the pot to improve drainage. This prevents waterlogging, which dill does not like.
- Fill with soil: Fill the pots with potting soil, leaving about 2-3 cm (1 inch) of space at the top. Press the soil down lightly, but not too firmly.
- Choose a location: Dill needs at least 6 hours of sunlight per day. A south-facing window is ideal. If you don’t have a sunny spot, a grow light is the best solution. Place the lamp about 15-20 cm (6-8 inches) above the pots.
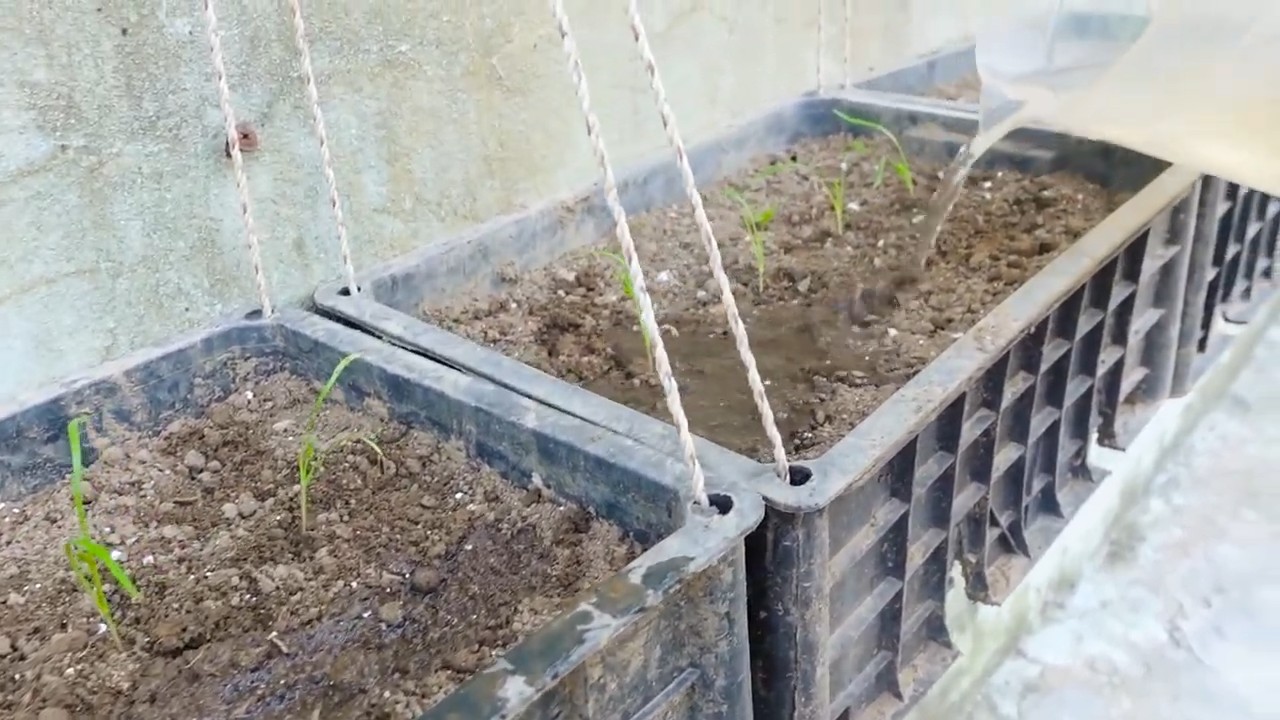
Sowing: The Start to a Green Dill Life
Now comes the exciting part: sowing the dill seeds!
- Sow the seeds: Sprinkle the dill seeds evenly over the surface of the soil. Dill is a light germinator, which means it needs light to sprout. Therefore, cover the seeds only lightly with a thin layer of soil (about 0.5 cm / 0.2 inches).
- Water: Gently moisten the soil with a spray bottle. Avoid flooding the soil. The soil should be damp, but not wet.
- Keep it warm: Dill germinates best at a temperature of 20-25°C (68-77°F). You can cover the pots with plastic wrap to increase moisture and warmth. Don’t forget to briefly ventilate the wrap daily to prevent mold.
- Be patient: Germination usually takes 7-14 days. Once the first seedlings appear, you can remove the plastic wrap.
Care: So Your Dill Thrives
Proper care is crucial for your dill to grow healthy and strong.
- Watering: Water the dill regularly, but avoid waterlogging. The soil should always be slightly moist. Check the soil’s moisture by sticking your finger about 2 cm (1 inch) deep into it. If the soil feels dry, it’s time to water.
- Light: Make sure the dill gets enough light. If you are using a grow light, leave it on for 12-14 hours a day.
- Fertilizing (optional): Fertilize the dill every 2-3 weeks with a liquid herb fertilizer. Follow the instructions on the packaging. Over-fertilizing can lead to weak growth.
- Thinning: If the dill plants are too close together, you should thin them out. Remove the weakest plants to give the remaining ones more space to grow.
- Pest control: Check the dill regularly for pests like aphids or spider mites. If infested, you can spray the plants with a mild insecticide or remove the pests manually.
Harvest: The Reward for Your Effort
After about 6-8 weeks, you can harvest your dill for the first time!
- Harvest time: Harvest the dill as soon as it is about 15-20 cm (6-8 inches) tall.
- Harvesting technique: Cut the dill stems with scissors or a knife. Cut the stems just above the soil so the plant can continue to grow.
- Harvest regularly: Regular harvesting encourages growth and prevents the dill from flowering. When dill flowers, it loses its flavor.
- Storage: Fresh dill keeps in the refrigerator for about 3-4 days. You can also freeze or dry the dill to make it last longer.
Common Problems and Solutions:
- Yellow leaves: Yellow leaves can be a sign of overwatering, underwatering, or a nutrient deficiency. Check your watering and fertilize the dill if necessary.
- Mold: Mold can be caused by too high humidity or poor ventilation. Ensure good ventilation and avoid flooding the soil.
- Slow growth: Slow growth can be caused by too little light, nutrient deficiency, or temperatures that are too low. Make sure the dill gets enough light, fertilize it regularly, and keep it warm.
Additional Tips for Growing Dill Indoors:
- Rotate the pots regularly: Rotate the pots regularly so the dill gets even light and doesn’t grow to one side.
- Use rainwater: Rainwater is ideal for watering dill as it is soft and free of chemicals.
- Sow regularly: To ensure a continuous harvest, you can sow new dill seeds every few weeks.
- Experiment with different varieties: There are many different dill varieties. Try different types to find out which one you like best.
Dill in the Kitchen: Versatile and Delicious!
Dill is an incredibly versatile herb that can be used in many different dishes. Here are a few ideas:
- Cucumber salad: Dill is a must for any cucumber salad!
- Fish dishes: Dill pairs excellently with fish, especially salmon and trout.
- Potato salad: Dill adds a fresh note to potato salad.
- Egg dishes: Dill goes well with scrambled eggs, omelets, and quiche.
- Sauces: Dill can be used in sauces like dill sauce or remoulade.
- Butter: Mix dill with soft butter and serve it with bread or vegetables.
I hope this guide has helped you grow your own dill indoors. With a little patience and care, you will soon have fresh dill on hand to enhance your favorite dishes! Happy gardening
Conclusion
So, there you have it! Growing dill indoors is not only achievable, but it’s also a rewarding experience that brings a touch of freshness and vibrant flavor to your kitchen year-round. Forget those sad, wilted bunches of dill at the grocery store – imagine having a constant supply of fragrant, feathery fronds right at your fingertips, ready to elevate your culinary creations.
This DIY trick is a must-try for several compelling reasons. First and foremost, it grants you unparalleled control over the quality of your dill. You know exactly what goes into nurturing your plants – no harsh chemicals, no questionable growing practices. You’re getting pure, unadulterated dill goodness. Secondly, it’s incredibly convenient. No more last-minute trips to the store when you realize you’re out of dill for that creamy cucumber salad or tangy dill pickle recipe. Your fresh dill is always there, waiting to be snipped and enjoyed. Thirdly, it’s surprisingly easy and cost-effective. With just a few basic supplies and a little bit of patience, you can cultivate a thriving dill plant indoors, saving you money in the long run and reducing your reliance on commercially grown herbs.
But the benefits don’t stop there. Growing dill indoors is also a fantastic way to connect with nature, even in the heart of the city. It’s a calming and therapeutic activity that can bring a sense of peace and tranquility to your home. Plus, it’s a great conversation starter! Imagine the delight of sharing your homegrown dill with friends and family, knowing that you nurtured it from seed to table.
Ready to take your indoor dill growing to the next level? Consider experimenting with different varieties of dill. ‘Bouquet’ dill is a popular choice for its compact size and abundant foliage, while ‘Long Island Mammoth’ dill boasts impressive height and robust flavor. You can also try companion planting your dill with other herbs like basil or parsley, creating a mini indoor herb garden that’s both beautiful and functional. Another variation is to use different types of containers. While a standard pot works perfectly well, you could also try using a self-watering container or a vertical planter to maximize space and minimize maintenance.
Don’t be afraid to experiment and find what works best for you and your growing environment. The key is to provide your dill with plenty of sunlight, well-draining soil, and consistent moisture. With a little bit of care and attention, you’ll be rewarded with a bountiful harvest of fresh, flavorful dill that will enhance your cooking and brighten your home.
So, what are you waiting for? Grab a pot, some soil, and a packet of dill seeds, and embark on your indoor gardening adventure today. We’re confident that you’ll be amazed at how easy and rewarding it is to grow your own dill indoors. And once you’ve experienced the joy of harvesting your own fresh herbs, you’ll never want to go back to store-bought dill again.
We encourage you to try this DIY trick and share your experiences with us! Post photos of your thriving dill plants on social media using #IndoorDill and let us know what your favorite ways are to use your homegrown dill. We can’t wait to see your green thumbs in action! Happy growing!
Frequently Asked Questions (FAQ)
What kind of soil is best for growing dill indoors?
Dill thrives in well-draining soil that is rich in organic matter. A good potting mix specifically formulated for herbs is ideal. You can also create your own mix by combining equal parts of potting soil, perlite, and compost. The perlite helps with drainage, while the compost provides essential nutrients for healthy growth. Avoid using garden soil, as it can be too heavy and may contain pests or diseases. Ensure the pot you choose has drainage holes to prevent waterlogging, which can lead to root rot.
How much sunlight does indoor dill need?
Dill requires at least 6-8 hours of direct sunlight per day to thrive indoors. A south-facing window is usually the best option, but an east- or west-facing window can also work if it provides sufficient light. If you don’t have access to enough natural light, you can supplement with a grow light. Place the grow light a few inches above the dill plant and keep it on for 12-14 hours per day. Insufficient light can result in leggy, weak growth and reduced flavor. Rotate the pot regularly to ensure all sides of the plant receive adequate light.
How often should I water my indoor dill plant?
Water your dill plant when the top inch of soil feels dry to the touch. Avoid overwatering, as this can lead to root rot. Water thoroughly until excess water drains out of the bottom of the pot. During the warmer months, you may need to water more frequently than during the cooler months. Check the soil moisture regularly and adjust your watering schedule accordingly. A good rule of thumb is to water deeply but infrequently, allowing the soil to dry out slightly between waterings.
How do I harvest dill from my indoor plant?
You can start harvesting dill leaves once the plant is about 6-8 inches tall. Simply snip off the leaves with scissors or pruning shears, being careful not to damage the main stem. Harvest from the top of the plant to encourage bushier growth. You can harvest dill leaves as needed throughout the growing season. For the strongest flavor, harvest dill in the morning after the dew has dried. Dill flowers are also edible and can be used to add a delicate flavor to salads and other dishes.
Can I grow dill from seed indoors?
Yes, growing dill from seed indoors is a relatively easy process. Start by sowing the seeds directly into a pot filled with well-draining potting mix. Lightly cover the seeds with soil and water gently. Keep the soil moist but not soggy. Dill seeds typically germinate within 7-14 days. Once the seedlings emerge, thin them out so that only one or two plants remain in each pot. Provide the seedlings with plenty of sunlight and water regularly.
What are some common problems when growing dill indoors and how can I fix them?
Some common problems when growing dill indoors include aphids, spider mites, and powdery mildew. Aphids and spider mites can be controlled with insecticidal soap or neem oil. Powdery mildew can be prevented by providing good air circulation and avoiding overwatering. If you notice any signs of pests or diseases, treat them promptly to prevent them from spreading. Another common problem is leggy growth, which is usually caused by insufficient light. Make sure your dill plant is receiving enough sunlight or supplement with a grow light.
Can I transplant my indoor dill plant outdoors?
Yes, you can transplant your indoor dill plant outdoors, but it’s important to do it gradually to avoid shocking the plant. Start by hardening off the plant by gradually exposing it to outdoor conditions for a few hours each day over the course of a week. Choose a sunny location with well-draining soil. Dig a hole that is slightly larger than the pot and carefully remove the dill plant from the pot. Gently loosen the roots and place the plant in the hole. Backfill with soil and water thoroughly. Protect the plant from strong winds and extreme temperatures for the first few weeks.
How long does it take for dill to grow indoors?
From seed to harvest, it typically takes about 70-90 days to grow dill indoors. However, you can start harvesting dill leaves once the plant is about 6-8 inches tall, which usually takes about 4-6 weeks. The growth rate of dill can vary depending on factors such as sunlight, temperature, and watering. With proper care, you can enjoy a continuous harvest of fresh dill throughout the growing season.
Is growing dill indoors worth it?
Absolutely! Growing dill indoors offers numerous benefits, including a constant supply of fresh, flavorful herbs, control over the growing environment, and a connection with nature. It’s a relatively easy and cost-effective way to enhance your culinary creations and brighten your home. Plus, it’s a rewarding experience that can bring a sense of peace and tranquility to your life. Once you’ve tasted the difference between homegrown dill and store-bought dill, you’ll never want to go back!
Leave a Comment