
Grow Watermelons Indoors? Absolutely! Imagine sinking your teeth into a juicy, homegrown watermelon, bursting with flavor, even when the snow is falling outside. Sounds like a dream, right? Well, it doesn’t have to be! For centuries, gardeners have been pushing the boundaries of what’s possible, experimenting with techniques to cultivate their favorite fruits and vegetables regardless of the season. From ancient Roman greenhouses to modern hydroponic systems, the desire to nurture life and enjoy fresh produce year-round has always been a driving force.
But why bother trying to grow watermelons indoors? Well, for many of us, space is a premium. Maybe you live in an apartment with a small balcony, or perhaps your outdoor garden is plagued by pests and unpredictable weather. Growing watermelons indoors offers a controlled environment, shielding your precious plants from the elements and unwanted critters. Plus, there’s the sheer satisfaction of defying expectations and proving that you can cultivate a taste of summer, no matter the time of year. In this article, I’m going to share some simple, yet effective, DIY tricks and hacks that will empower you to successfully grow watermelons indoors, transforming your home into a miniature oasis of deliciousness. Get ready to roll up your sleeves and embark on this exciting gardening adventure with me!
Growing Watermelons Indoors: Your Comprehensive DIY Guide
Hey everyone! Have you ever dreamed of harvesting juicy, sweet watermelons in the middle of winter? I have! And you know what? It’s possible to grow watermelons indoors! While it requires a bit more effort and planning than outdoors, the reward—a homegrown watermelon when there’s snow outside—is priceless. In this article, I’ll show you step-by-step how you can grow your own watermelons at home. Let’s get started!
The Basics: What You Need
Before we begin, let’s make sure we have everything we need. Here is a list of the most important items:
- Watermelon seeds: Choose a variety that is suitable for growing in containers. Smaller varieties like ‘Sugar Baby,’ ‘Bush Sugar Baby,’ or ‘Golden Midget’ are ideal.
- Seed-starting mix: A high-quality, well-draining seed-starting mix is crucial for success.
- Large pots: Watermelons need space! Choose pots with a capacity of at least 20 liters (5 gallons), or even better, 30 liters (8 gallons) per plant.
- Grow lights: Since we are growing indoors, we need artificial light. LED grow lights are energy-efficient and provide the right light spectrum.
- Fertilizer: A balanced fertilizer (e.g., 10-10-10) and a fertilizer with a high phosphorus content (e.g., 10-30-10) for flower formation.
- Support/Trellis: Watermelon vines can grow long. A trellis helps to support the plant and save space.
- Pollination tool: A small paintbrush or cotton swab to manually pollinate the flowers.
- Thermometer and hygrometer: To keep an eye on the temperature and humidity.
- Spray bottle: For moistening the leaves.
Phase 1: Sowing
- Prepare the seeds: To speed up germination, you can soak the seeds in lukewarm water for 24 hours. This helps to soften the hard seed coat.
- Sowing: Fill small starter pots (approx. 8-10 cm / 3-4 inches in diameter) with seed-starting mix. Place 2-3 seeds in each pot, about 1-2 cm (0.5-1 inch) deep.
- Watering: Gently moisten the soil with a spray bottle. The soil should be damp, but not soaked.
- Warmth and light: Place the pots in a warm location (ideally 24-27°C / 75-80°F). A heat mat can help increase the soil temperature. Place the pots under the grow lights.
- Germination: The seeds should germinate within 7-14 days. As soon as the seedlings appear, remove the weakest ones, leaving only one strong seedling per pot.
Phase 2: Rearing
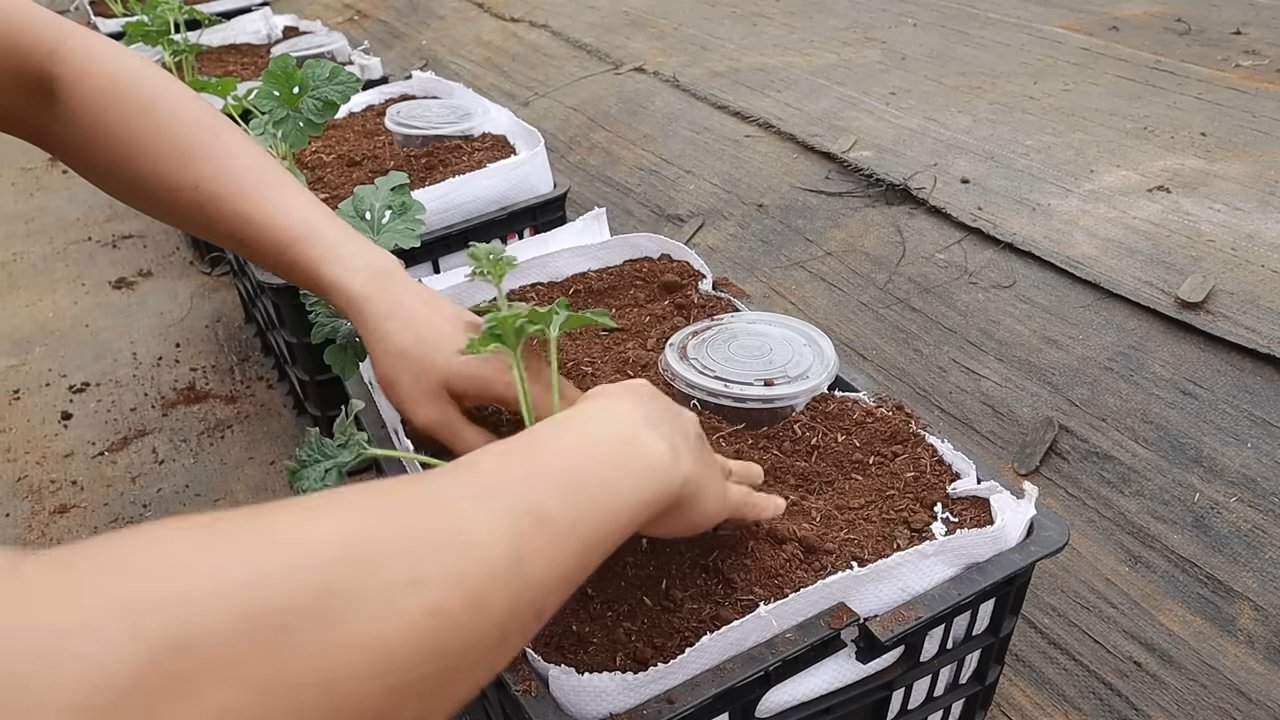
- Transplanting: Once the seedlings have 2-3 true leaves, it’s time to transplant them into larger pots (approx. 15 cm / 6 inches in diameter). Fill the pots with seed-starting mix and carefully move the seedlings.
- Light: Make sure the plants get enough light. The grow lights should be on for 14-16 hours per day. Be careful that the lights are not too close to the plants to avoid burns.
- Watering: Water the plants regularly, but avoid waterlogging. The soil should always be slightly moist.
- Fertilizer: Start fertilizing as soon as the plants are well-established. Use a balanced fertilizer (e.g., 10-10-10) according to the instructions on the package.
- Temperature and humidity: The ideal temperature for watermelons is between 21-27°C (70-80°F). The humidity should be between 50-70%. A spray bottle can help increase the humidity.
Phase 3: Flowering and Pollination
- Transplanting to the final pot: Once the plants are large enough (approx. 30-40 cm / 12-16 inches high), it’s time to transplant them into their final pots (at least 20 liters, preferably 30 liters).
- Attach a trellis: Provide the plants with a trellis to climb on. This saves space and ensures better ventilation.
- Change fertilizer: As soon as the plants start to flower, switch to a fertilizer with a high phosphorus content (e.g., 10-30-10). Phosphorus promotes flower formation and fruit development.
- Manual pollination: Since we are growing indoors, we need to manually pollinate the flowers. Watermelons have male and female flowers. You can recognize the female flowers by the small, undeveloped fruit directly behind the blossom.
- How to pollinate: Take a small paintbrush or a cotton swab and collect pollen from the male flowers. Then, transfer the pollen to the stigma of the female flowers. It’s best to pollinate in the early morning when the flowers are open.
- Repetition: Repeat the pollination for several days to ensure that the female flowers are fertilized.
- Observe fruit set: If pollination was successful, the undeveloped fruit behind the female flower should start to grow within a few days.
Phase 4: Fruit Development and Harvest
- Thinning: If several fruits are growing on one plant, you should remove the weakest ones so the plant can concentrate its energy on the remaining fruits. Leave a maximum of 2-3 fruits per plant.
- Watering and fertilizing: Continue to water the plants regularly and fertilize them with a balanced fertilizer. Make sure the soil does not dry out, especially during fruit development.
- Fruit care: Place the fruits on a support (e.g., a piece of cardboard or styrofoam) to prevent rot.
- Ripening time: The ripening time for watermelons varies depending on the variety. As a rule, it takes 70-90 days from pollination to harvest.
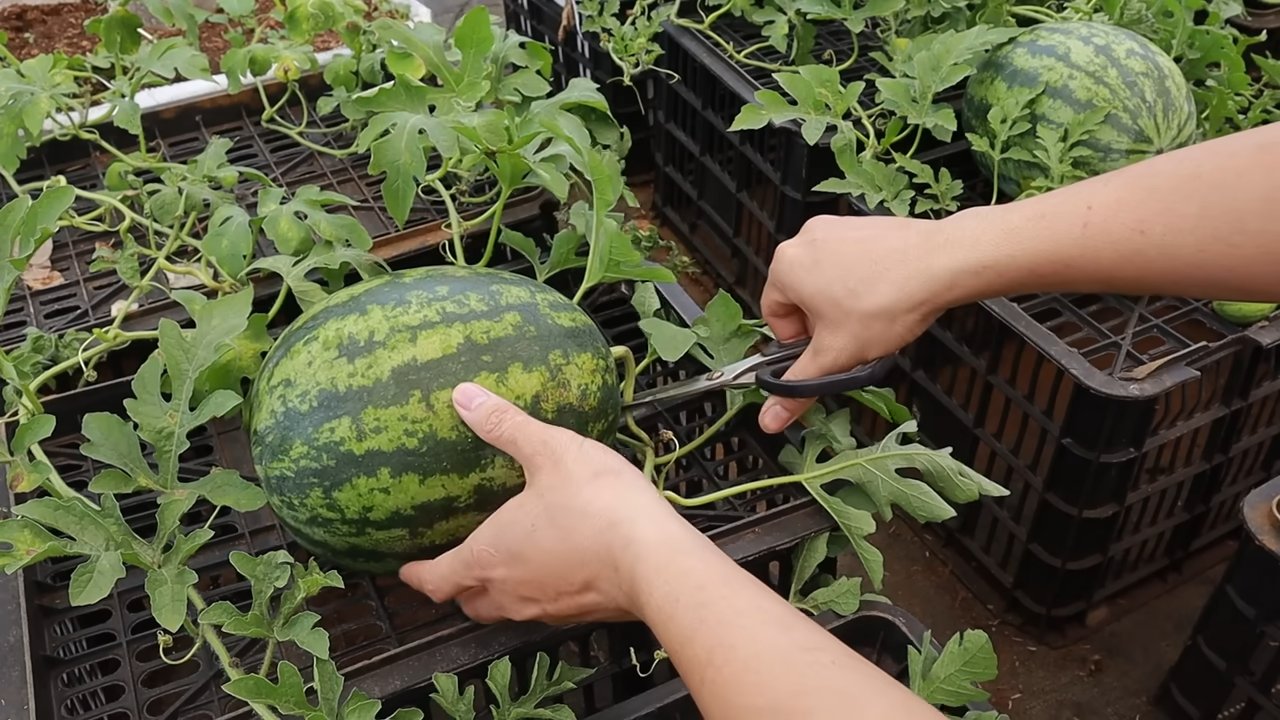
- Harvest: There are several signs that indicate a watermelon is ripe:
- The tendril on the stem connecting the fruit to the plant will become dry and brown.
- The spot where the fruit rests on the ground will turn yellowish.
- When you tap on the fruit, it should sound hollow.
Carefully cut the ripe watermelon from the stem.
Additional Tips and Tricks
Documentation: Keep a journal about your…
Pests and diseases: Watch for signs of pests or diseases. Aphids, spider mites, and powdery mildew can cause problems. Treat the plants with appropriate remedies if necessary.
Ventilation: Ensure good ventilation to prevent fungal diseases. A fan can help improve air circulation.
Patience: Growing watermelons indoors requires patience. It can take some time for the fruits to ripen. But the reward is worth it!
Conclusion
So, there you have it! Growing watermelons indoors might seem like a daunting task, but with a little patience, the right setup, and these simple DIY tricks, you can absolutely cultivate your own sweet, juicy watermelons, even without a sprawling outdoor garden. This isn’t just about having fresh fruit; it’s about the satisfaction of nurturing life from seed to harvest, a truly rewarding experience.
Why is this DIY approach a must-try? Because it empowers you to control the growing environment, extending the watermelon season far beyond its natural limits. No more waiting for summer to enjoy that refreshing taste! You can bypass unpredictable weather, pesky pests, and limited space, bringing the joy of homegrown watermelons right into your home. Plus, it’s a fantastic conversation starter! Imagine serving a watermelon you grew yourself, indoors, in the middle of winter.
But don’t stop there! Experiment with different watermelon varieties. Consider trying smaller, bush-type watermelons specifically bred for container gardening. These varieties are naturally more compact and better suited for indoor growing. You can also explore different training techniques, such as vertical gardening, to maximize space and support the growing vines. Think about using a trellis or even suspending the developing watermelons in slings made from old t-shirts to provide extra support as they grow heavier.
Another variation to consider is hydroponics. While soil-based growing is perfectly viable, hydroponic systems can offer even greater control over nutrient delivery and water usage, potentially leading to faster growth and larger yields. Research different hydroponic setups and see if one aligns with your resources and preferences.
Remember, growing watermelons indoors is a journey of learning and adaptation. Don’t be afraid to make mistakes and adjust your approach as needed. The key is to provide consistent care, monitor your plants closely, and create an environment that mimics their natural habitat as closely as possible.
We wholeheartedly encourage you to give this DIY trick a try. It’s an investment of time and effort, but the reward of biting into a homegrown, indoor-grown watermelon is truly unparalleled. And most importantly, share your experience! Let us know what worked for you, what challenges you faced, and any tips or tricks you discovered along the way. Your insights can help other aspiring indoor watermelon growers succeed. Post pictures of your progress, share your favorite varieties, and let’s build a community of indoor watermelon enthusiasts! Embrace the challenge, enjoy the process, and get ready to savor the sweet taste of success with your very own **grow watermelons indoors** project!
Frequently Asked Questions (FAQ)
1. What is the best watermelon variety to grow indoors?
Choosing the right variety is crucial for indoor success. Look for bush or dwarf varieties specifically bred for container gardening. These varieties are more compact and produce smaller watermelons, making them ideal for limited spaces. Some popular choices include ‘Bush Sugar Baby,’ ‘Golden Midget,’ and ‘Tiger Baby.’ These varieties typically mature faster and require less space than traditional sprawling watermelon vines. Research the specific needs of each variety, including its light requirements, maturity time, and fruit size, to ensure it aligns with your indoor growing conditions. Remember that even with dwarf varieties, you’ll still need to provide adequate support for the developing fruit.
2. How much light do indoor watermelons need?
Watermelons are sun-loving plants and require a significant amount of light to thrive. Ideally, they need at least 6-8 hours of direct sunlight per day. If you don’t have a south-facing window that provides sufficient sunlight, you’ll need to supplement with grow lights. LED grow lights are a popular choice due to their energy efficiency and ability to provide the full spectrum of light needed for plant growth. Position the grow lights close to the plants, typically 6-12 inches above the foliage, and adjust the height as the plants grow. Monitor the plants closely for signs of insufficient light, such as leggy growth or pale leaves, and adjust the light intensity or duration accordingly.
3. How do I pollinate watermelons indoors?
Watermelons are not self-pollinating and require either insect pollination or hand-pollination to produce fruit. Since you’re growing them indoors, you’ll need to hand-pollinate the flowers. The process is relatively simple: identify the male and female flowers. Male flowers have a slender stem behind the flower, while female flowers have a small, immature watermelon at the base of the flower. Use a small paintbrush or cotton swab to collect pollen from the male flower and gently transfer it to the stigma of the female flower. It’s best to do this in the morning when the flowers are fully open. Repeat the process for several female flowers to increase your chances of success. You can also gently shake the male flower over the female flower to release the pollen.
4. What kind of soil should I use for growing watermelons indoors?
Watermelons need well-draining soil that is rich in organic matter. A good potting mix specifically formulated for vegetables is a great option. You can also create your own mix by combining equal parts of potting soil, compost, and perlite or vermiculite. The compost provides essential nutrients, while the perlite or vermiculite improves drainage and aeration. Avoid using garden soil, as it can be too heavy and may contain pests or diseases. Ensure the container you’re using has drainage holes to prevent waterlogging, which can lead to root rot.
5. How often should I water my indoor watermelon plants?
Watermelons need consistent moisture, but it’s important to avoid overwatering. Water deeply when the top inch of soil feels dry to the touch. The frequency of watering will depend on factors such as the size of the container, the temperature, and the humidity. Check the soil moisture regularly and adjust your watering schedule accordingly. During hot weather or when the plants are actively growing, you may need to water more frequently. Avoid watering the foliage directly, as this can increase the risk of fungal diseases.
6. What kind of fertilizer should I use for indoor watermelons?
Watermelons are heavy feeders and require regular fertilization to support their growth and fruit production. Use a balanced fertilizer with a ratio of 10-10-10 or 14-14-14. Start fertilizing when the plants are about 4-6 inches tall and continue throughout the growing season. Follow the instructions on the fertilizer package for application rates. You can also supplement with organic fertilizers such as compost tea or fish emulsion. Avoid over-fertilizing, as this can lead to nutrient imbalances and damage the plants.
7. How do I support the growing watermelons?
As the watermelons grow larger, they will need support to prevent the vines from breaking. You can use a trellis, stakes, or even slings made from old t-shirts to support the fruit. If using slings, make sure they are strong enough to hold the weight of the watermelon. Tie the slings to the trellis or stakes to provide additional support. Regularly check the support system and adjust it as needed as the watermelons grow larger.
8. How long does it take to grow watermelons indoors?
The time it takes to grow watermelons indoors depends on the variety, the growing conditions, and your level of care. Generally, it takes about 70-90 days from planting to harvest. Some smaller varieties may mature faster, while larger varieties may take longer. Monitor the watermelons closely for signs of ripeness, such as a dull thud when tapped, a change in color on the underside of the fruit, and a drying of the tendril closest to the fruit.
9. What are some common problems when growing watermelons indoors?
Some common problems when growing watermelons indoors include pests, diseases, and nutrient deficiencies. Monitor your plants regularly for signs of pests such as aphids, spider mites, or whiteflies. Treat infestations promptly with insecticidal soap or neem oil. Prevent fungal diseases by providing good air circulation and avoiding overwatering. Address nutrient deficiencies by fertilizing regularly with a balanced fertilizer.
10. Can I grow watermelons indoors year-round?
Yes, with the right setup and care, you can grow watermelons indoors year-round. You’ll need to provide adequate light, temperature, and humidity to mimic their natural growing conditions. You may also need to adjust your watering and fertilization schedule depending on the season. With a little planning and effort, you can enjoy fresh, homegrown watermelons even in the middle of winter.


Leave a Comment