
Grow Summer Squash At Home: Your Guide to a Bountiful Harvest
Growing summer squash at home might seem daunting, but I promise you, it’s easier than you think! This article is your passport to a summer filled with delicious, homegrown zucchini, yellow squash, and pattypan squash – all bursting with flavor and freshness far surpassing anything you’ll find at the grocery store. I’ll walk you through simple, effective Grow Summer Squash At Home techniques, transforming your backyard or even a sunny balcony into a thriving squash patch.
The history of squash cultivation is fascinating! These versatile vegetables have been a staple food source for thousands of years, playing a significant role in various cultures across the globe. From ancient civilizations in the Americas to modern-day kitchens, squash has consistently provided nourishment and culinary inspiration. Now, you can tap into this rich history and experience the satisfaction of growing your own.
Why Grow Your Own Summer Squash?
There are countless reasons to embark on this rewarding journey of growing summer squash at home. Firstly, the taste is unparalleled. Nothing beats the flavor of a freshly picked squash, still warm from the sun. Secondly, you’ll have complete control over the growing process, ensuring your squash is free from pesticides and other harmful chemicals. And finally, the sheer joy of nurturing a plant from seed to harvest is incredibly fulfilling – a true connection to nature and the source of your food.
So, whether you’re a seasoned gardener or a complete beginner, get ready to discover the secrets to a bountiful summer squash harvest. Let’s dive in and transform your gardening dreams into a reality!
Growing Summer Squash: A Bountiful DIY Harvest
Summer squash is one of the easiest vegetables to grow at home, even for beginners! With a little planning and effort, you’ll be enjoying fresh squash from your garden in no time. Here’s my step-by-step guide to help you achieve a bumper crop.
Phase 1: Planning and Preparation
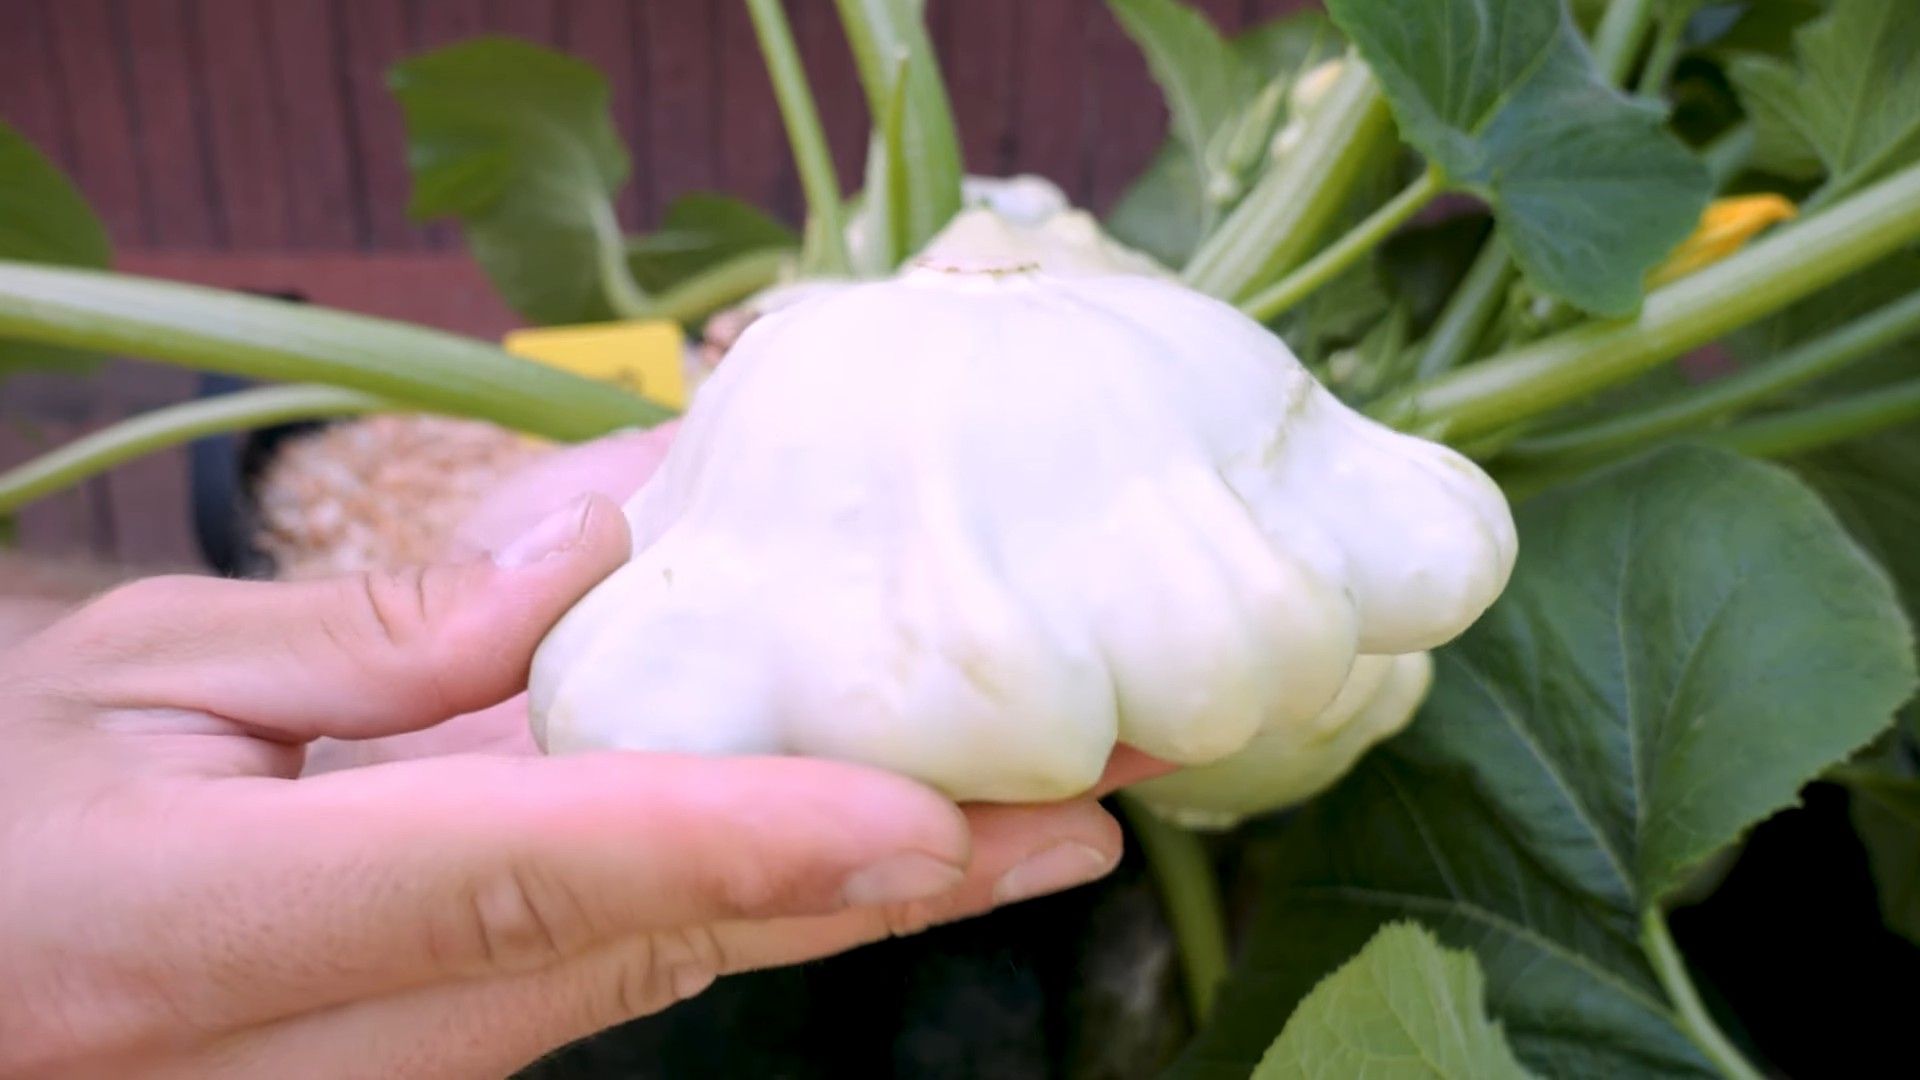
- Choose your squash variety: There’s a huge variety of summer squash – zucchini, yellow squash, pattypan, etc. Select a few that appeal to you and are suited to your climate. Check seed packets for information on days to maturity and growing requirements.
- Select a sunny spot: Summer squash needs at least six hours of direct sunlight per day. Find a location in your garden that receives ample sun.
- Prepare the soil: Summer squash thrives in well-drained, fertile soil. Amend your soil with compost or other organic matter to improve its texture and nutrient content. A soil test can help determine if you need to add any specific nutrients.
- Gather your supplies: You’ll need seeds or seedlings, gardening gloves, a trowel or hand cultivator, a watering can, and possibly some row covers or netting to protect your plants from pests.
Phase 2: Planting Your Squash
- Direct sowing vs. starting seedlings: You can either sow seeds directly into the ground or start seedlings indoors about 3-4 weeks before the last expected frost. Direct sowing is simpler, but starting seedlings gives you a head start.
- Planting seeds: If direct sowing, plant seeds about ½ inch deep and 18-24 inches apart, in hills or rows. Plant several seeds per hill to increase your chances of successful germination. Once seedlings emerge, thin to the strongest plant per hill.
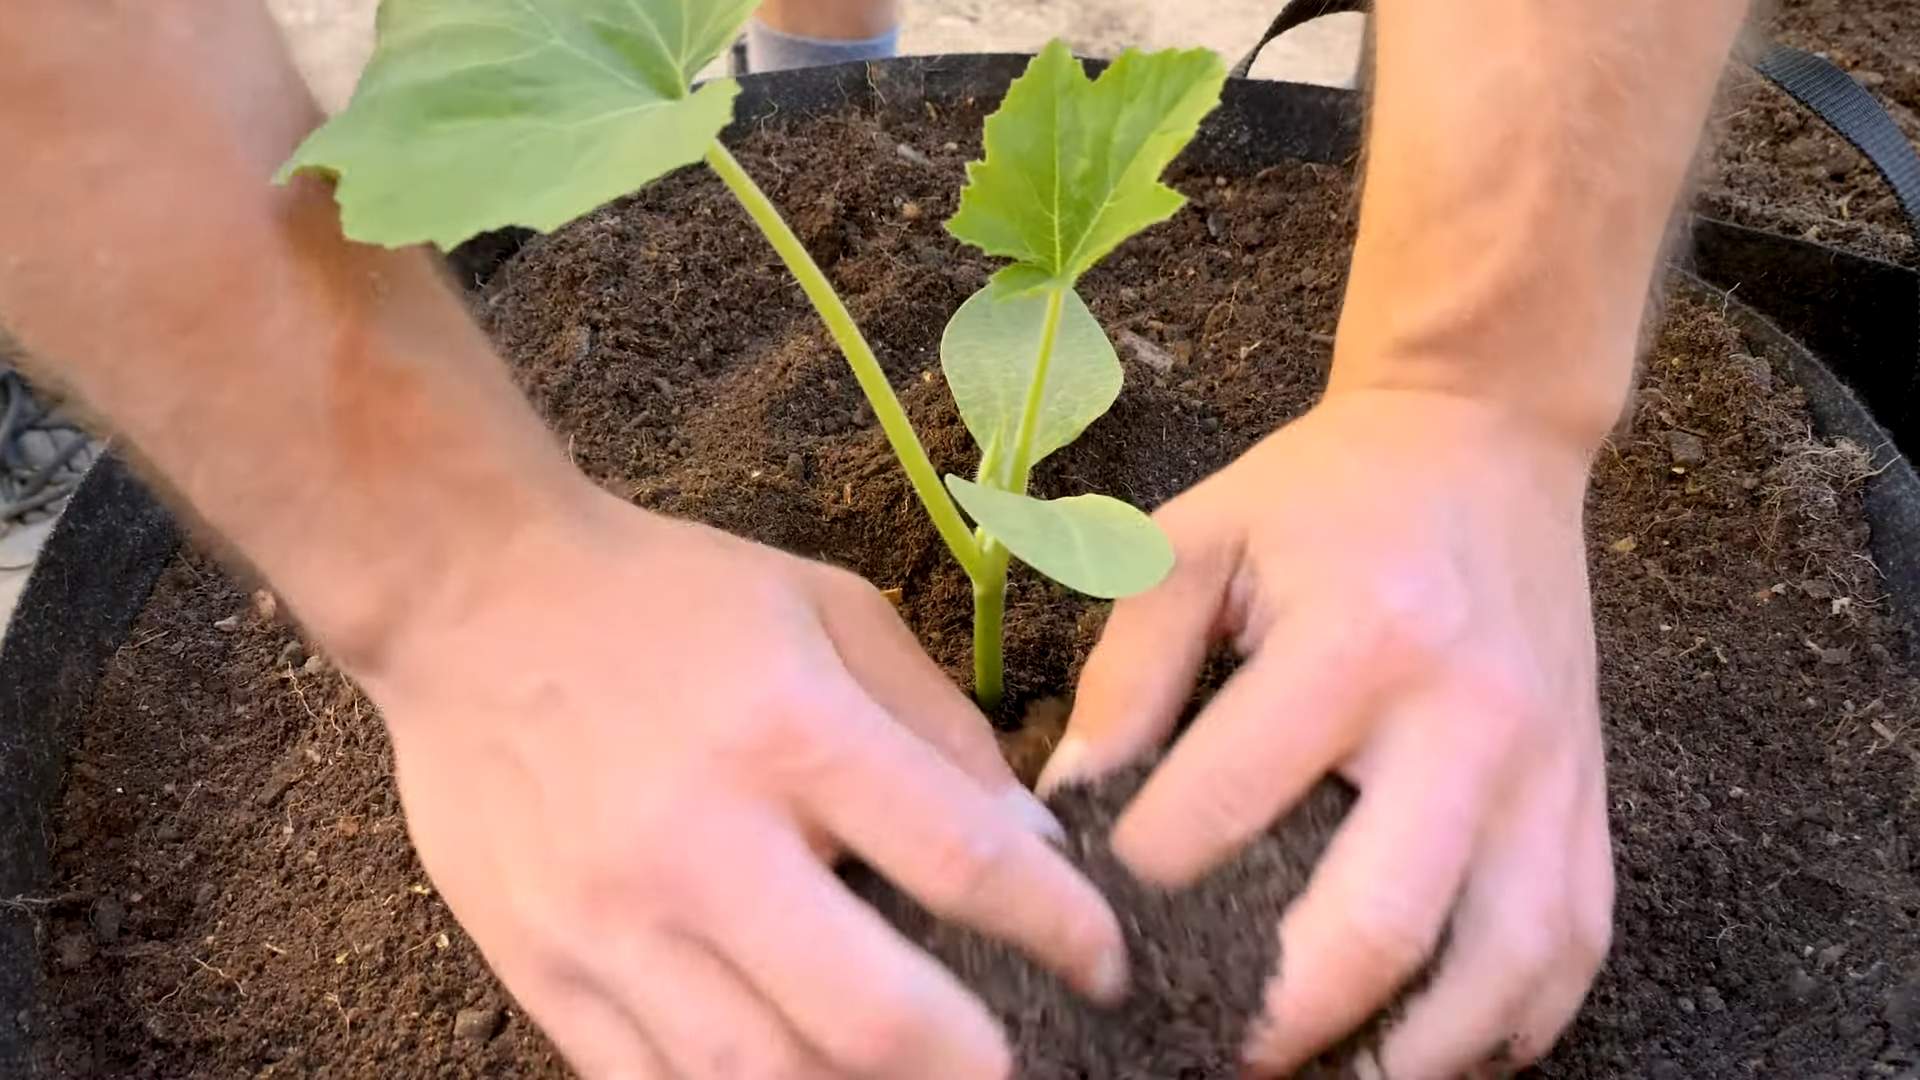
- Planting seedlings: If using seedlings, gently remove them from their containers, being careful not to damage the roots. Plant them at the same depth they were growing in their containers, spacing them as mentioned above.
- Watering: Water thoroughly after planting, ensuring the soil is moist but not waterlogged. Consistent watering is crucial, especially during dry spells.
Phase 3: Ongoing Care and Maintenance
- Watering: Water deeply and regularly, aiming for about 1 inch of water per week. Water at the base of the plants to avoid wetting the leaves, which can increase the risk of fungal diseases.
- Weeding: Keep the area around your squash plants free of weeds, which compete for water and nutrients. Mulching can help suppress weeds and retain soil moisture.
- Fertilizing: While summer squash isn’t a heavy feeder, a side dressing of compost or a balanced fertilizer can boost growth and yield. Follow package instructions carefully.
- Pest and disease control: Regularly inspect your plants for signs of pests or diseases. Common pests include squash bugs, squash vine borers, and aphids. Use appropriate organic pest control methods if necessary. Good air circulation can help prevent fungal diseases.
- Pollination: Summer squash plants are usually self-pollinating, but bees can help improve pollination. If you notice a lack of fruit set, you might consider hand-pollination or attracting more bees to your garden.
Phase 4: Harvesting Your Summer Squash
- Harvesting time: Summer squash is ready for harvest when it’s young and tender, typically 6-8 weeks after planting. The size varies depending on the variety, but generally, you want to harvest them before they get too large and tough.
- Harvesting technique: Use a sharp knife to cut the squash from the vine, leaving about an inch of stem attached. Avoid pulling or twisting the squash, as this can damage the plant.
- Storage: Summer squash is best eaten fresh. Store it in the refrigerator for a few days, but it’s not ideal for long-term storage. Consider freezing or pickling excess squash for later use.
- Successive planting: For a continuous harvest, consider planting seeds or seedlings every few weeks throughout the growing season. This will ensure a steady supply of fresh squash throughout the summer.
Phase 5: Troubleshooting Common Problems
Problem: Yellowing leaves
This could indicate several issues, including nutrient deficiencies, overwatering, underwatering, or pest infestations. Check the soil moisture, look for pests, and consider a soil test to determine nutrient levels.
Problem: Blossom-end rot
This is characterized by a dark, leathery spot at the blossom end of the fruit. It’s often caused by inconsistent watering, leading to calcium deficiency. Ensure consistent soil moisture.
Problem: Squash vine borers
These pests bore into the stems of squash plants, causing wilting and death. Monitor your plants carefully and take action if you see signs of infestation. You can try hand-picking the borers or using Bacillus thuringiensis (Bt) to control them.
Problem: Powdery mildew
This fungal disease appears as a white powdery coating on the leaves. Good air circulation and avoiding overhead watering can help prevent it. If it occurs, you may need to use a fungicide.
Remember: Growing summer squash is a rewarding experience. Don’t be discouraged if you encounter some challenges along the way. Learn from your mistakes, and enjoy the delicious fruits (or vegetables!) of your labor!
Conclusion
Growing your own summer squash is a truly rewarding experience, offering a taste of freshness and satisfaction that store-bought produce simply can’t match. This DIY approach to cultivating summer squash isn’t just about saving money; it’s about connecting with nature, understanding the life cycle of your food, and enjoying the incredible flavor of homegrown vegetables. The ease and speed with which you can achieve a bountiful harvest makes this a must-try for gardeners of all skill levels. From the vibrant yellow of zucchini to the delicate green of pattypan squash, the variety of shapes, sizes, and flavors available is astounding. This simple DIY method unlocks the potential for a summer filled with delicious, homegrown summer squash. You’ll be amazed at how easy it is to transform a small space into a productive garden, providing you with an abundance of squash for weeks to come. Don’t just take our word for it – try it yourself and experience the joy of harvesting your own summer squash!
Beyond the basic method outlined, there are numerous ways to customize your summer squash growing experience. Experiment with different varieties to discover your favorites. Consider companion planting, using herbs like basil or marigolds to deter pests and improve soil health. If space is limited, explore vertical gardening techniques, training your squash plants to climb trellises or fences. For those with even less space, consider container gardening – many summer squash varieties thrive in large pots. You can also experiment with different soil types and amendments to optimize your yield. The possibilities are endless, and the learning process is half the fun!
We strongly encourage you to embark on this rewarding journey of growing your own summer squash. Share your experiences, photos, and tips with us and other gardening enthusiasts online. Let’s create a vibrant community of home gardeners, supporting each other and celebrating the bounty of our efforts. The taste of a sun-ripened, homegrown summer squash is an unparalleled experience, and we believe everyone should have the opportunity to enjoy it. So, grab some seeds, prepare your soil, and get ready to experience the magic of growing your own food. You won’t regret it!
Frequently Asked Questions
Q: What is the best time of year to plant summer squash?
The best time to plant summer squash is after the last frost, when the soil temperature is consistently warm (at least 60-70°F). This usually falls between late spring and early summer, depending on your geographic location. Check your local frost dates for the most accurate planting time.
Q: How much sunlight do summer squash plants need?
Summer squash plants are sun-worshippers! They need at least 6-8 hours of direct sunlight per day to thrive and produce a bountiful harvest. Choose a sunny spot in your garden or on your patio for optimal growth.
Q: How often should I water my summer squash plants?
Consistent watering is crucial for healthy summer squash plants. Aim to water deeply and regularly, especially during dry spells. The soil should be consistently moist but not waterlogged. Mulching around the plants can help retain moisture and suppress weeds.
Q: What are some common pests and diseases that affect summer squash?
Squash plants can be susceptible to pests like squash bugs, squash vine borers, and aphids. Diseases such as powdery mildew and downy mildew can also affect them. Regular inspection of your plants, along with preventative measures like companion planting and proper watering, can help minimize these issues. If problems arise, consult a local gardening expert or use organic pest control methods.
Q: How often should I harvest my summer squash?
Harvesting summer squash regularly is key to encouraging continued production. Harvest the squash when they are young and tender, typically 6-8 inches long for zucchini. The more frequently you harvest, the more squash the plant will produce. Don’t let the squash get too large, as they can become tough and less flavorful.
Q: Can I grow summer squash in containers?
Yes! Many varieties of summer squash can be successfully grown in large containers, making them ideal for patios, balconies, or smaller gardens. Choose a container that is at least 12-18 inches in diameter and depth to provide ample space for root growth. Ensure the container has adequate drainage holes.
Q: What type of soil is best for growing summer squash?
Summer squash prefers well-drained, fertile soil that is rich in organic matter. Before planting, amend your soil with compost or other organic materials to improve its structure and nutrient content. A slightly acidic to neutral pH (6.0-7.0) is ideal.
Q: What should I do if my summer squash plants aren’t producing?
Several factors can affect summer squash production. Insufficient sunlight, inadequate watering, nutrient deficiencies, pest infestations, or diseases can all reduce yields. Review your growing practices, ensure your plants are receiving adequate care, and address any potential problems promptly. Consulting a local gardening expert can also be helpful.
Q: Can I save seeds from my homegrown summer squash to plant next year?
While you can try saving seeds from your summer squash, it’s important to note that hybrid varieties will not produce true-to-type plants from saved seeds. If you want to save seeds, choose open-pollinated varieties specifically designated for seed saving. Allow the squash to fully mature on the vine before harvesting the seeds for saving.

Leave a Comment