
Grow Scallions in Pots
I love the satisfying crunch of fresh scallions in my cooking, but grocery store bunches often wilt before I can use them all. That’s why I’m so excited to share my favorite gardening trick with you: growing scallions in pots! It’s a simple, rewarding project that’s perfect for even the most novice gardener, and it provides a continuous supply of this versatile herb right at your fingertips. This isn’t just about convenience; it’s about connecting with nature in a small, manageable way, echoing the age-old practice of cultivating herbs and vegetables close to home. Historically, growing herbs in pots was a common practice, especially in urban areas or for those with limited space. Now, it’s experiencing a resurgence as more people seek sustainable and flavorful food options.
Why bother with growing scallions in pots yourself? Well, besides the obvious freshness and flavor advantage, it’s incredibly cost-effective. You’ll save money on constantly buying pre-packaged scallions, and you’ll be amazed at how quickly these little plants grow. Plus, there’s a real sense of accomplishment in nurturing something from a small root to a vibrant, flavorful herb. This DIY project is perfect for apartments, balconies, or even sunny kitchen windowsills. It’s a fantastic way to introduce children to the wonders of gardening, teaching them about where their food comes from and fostering a love for nature. So, let’s get started and discover the joy of having fresh, homegrown scallions all year round!
Growing Scallions in Pots: A Step-by-Step Guide
I love fresh scallions, but buying them regularly can get expensive. So, I decided to try growing my own in pots! It’s surprisingly easy, and you’ll have a constant supply of fresh, flavorful scallions right at your fingertips. Here’s how I did it:
Phase 1: Preparation
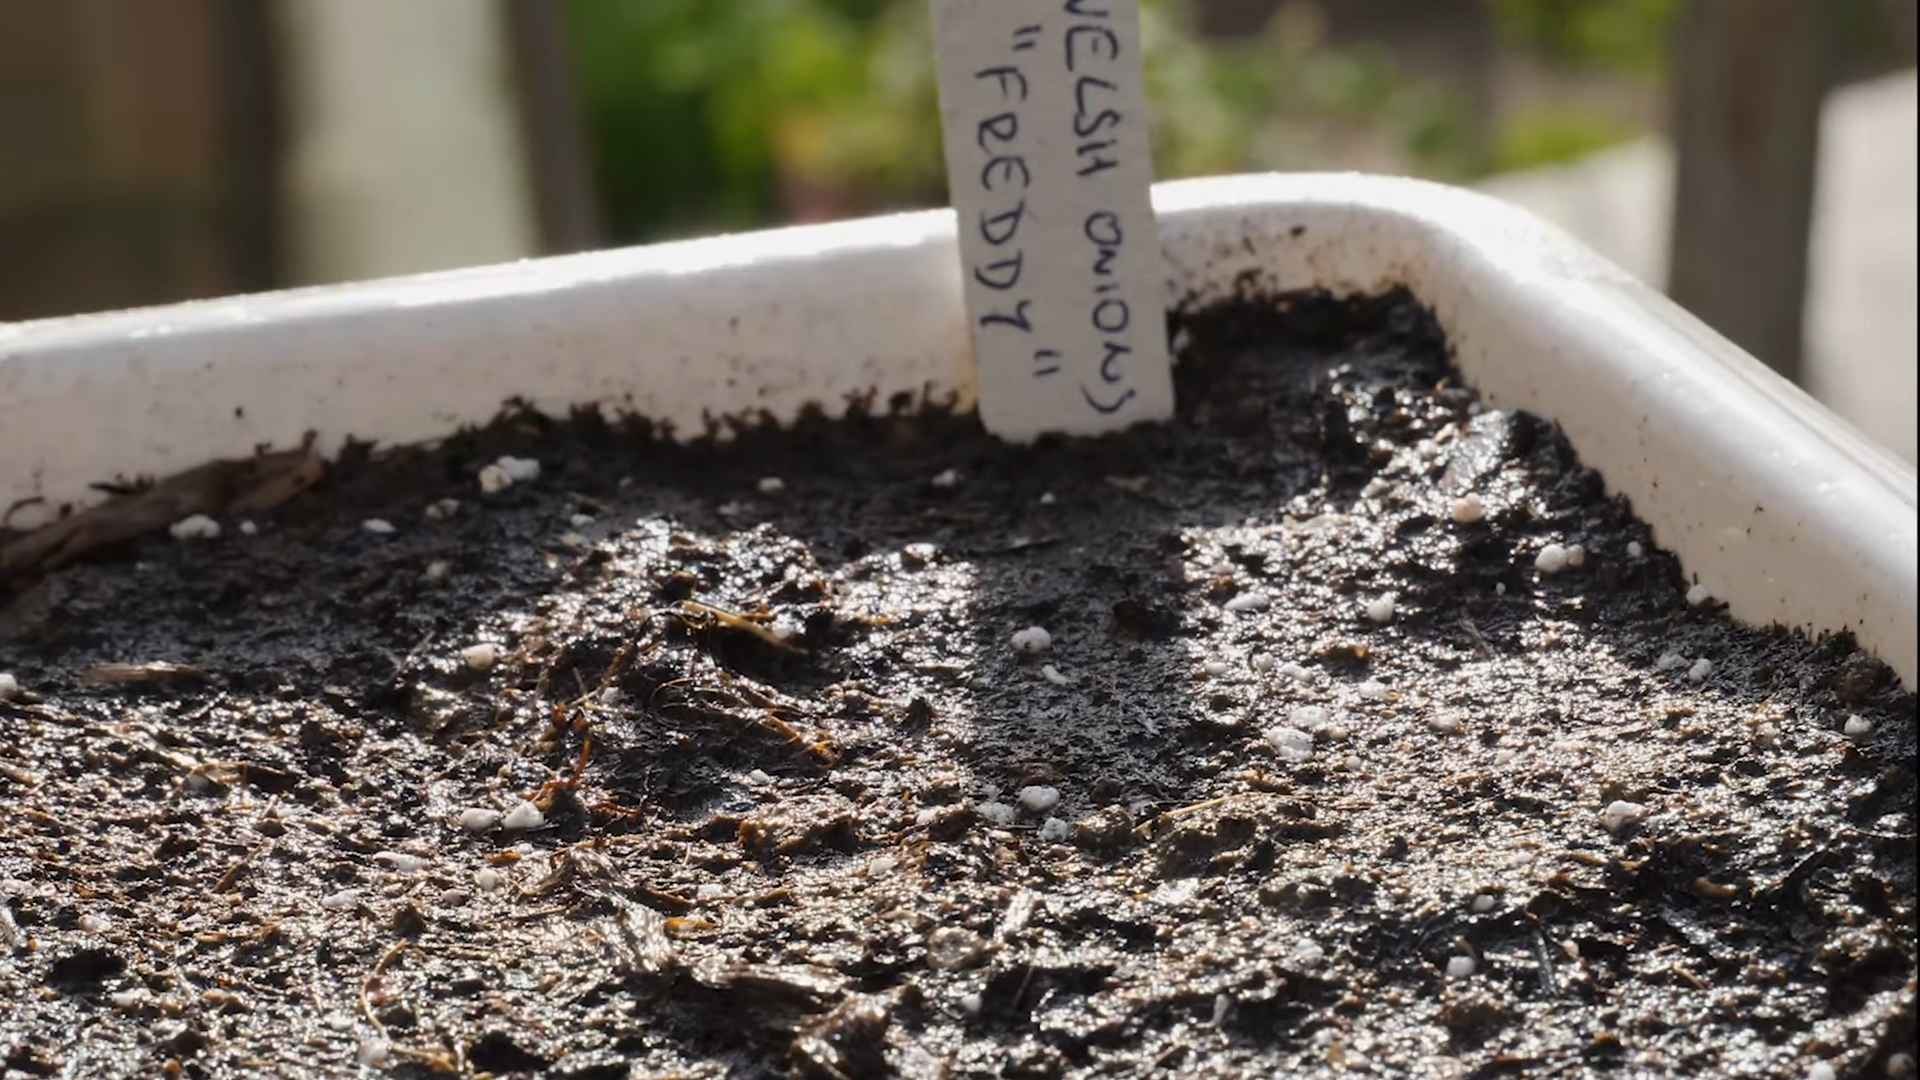
- Choose the right pot: I opted for a relatively shallow, wide pot (about 6-8 inches deep and 10-12 inches wide). This allows for good root development and plenty of space for multiple scallions. Make sure it has drainage holes to prevent soggy soil.
- Select your potting mix: A well-draining potting mix is crucial. I used a standard potting mix, but you can also add some perlite or vermiculite to improve drainage. Avoid using garden soil, as it can be too heavy and compact for pot-grown scallions.
- Gather your scallions: You can start with store-bought scallions or even the root ends of scallions you’ve already used. If using store-bought scallions, choose ones that are firm and fresh, with healthy green tops.
Phase 2: Planting Your Scallions
- Prepare the pot: Fill your chosen pot with the potting mix, leaving about an inch of space from the top. Gently water the soil until it’s evenly moist but not waterlogged. You should be able to squeeze a handful of soil and have it hold its shape without dripping water.
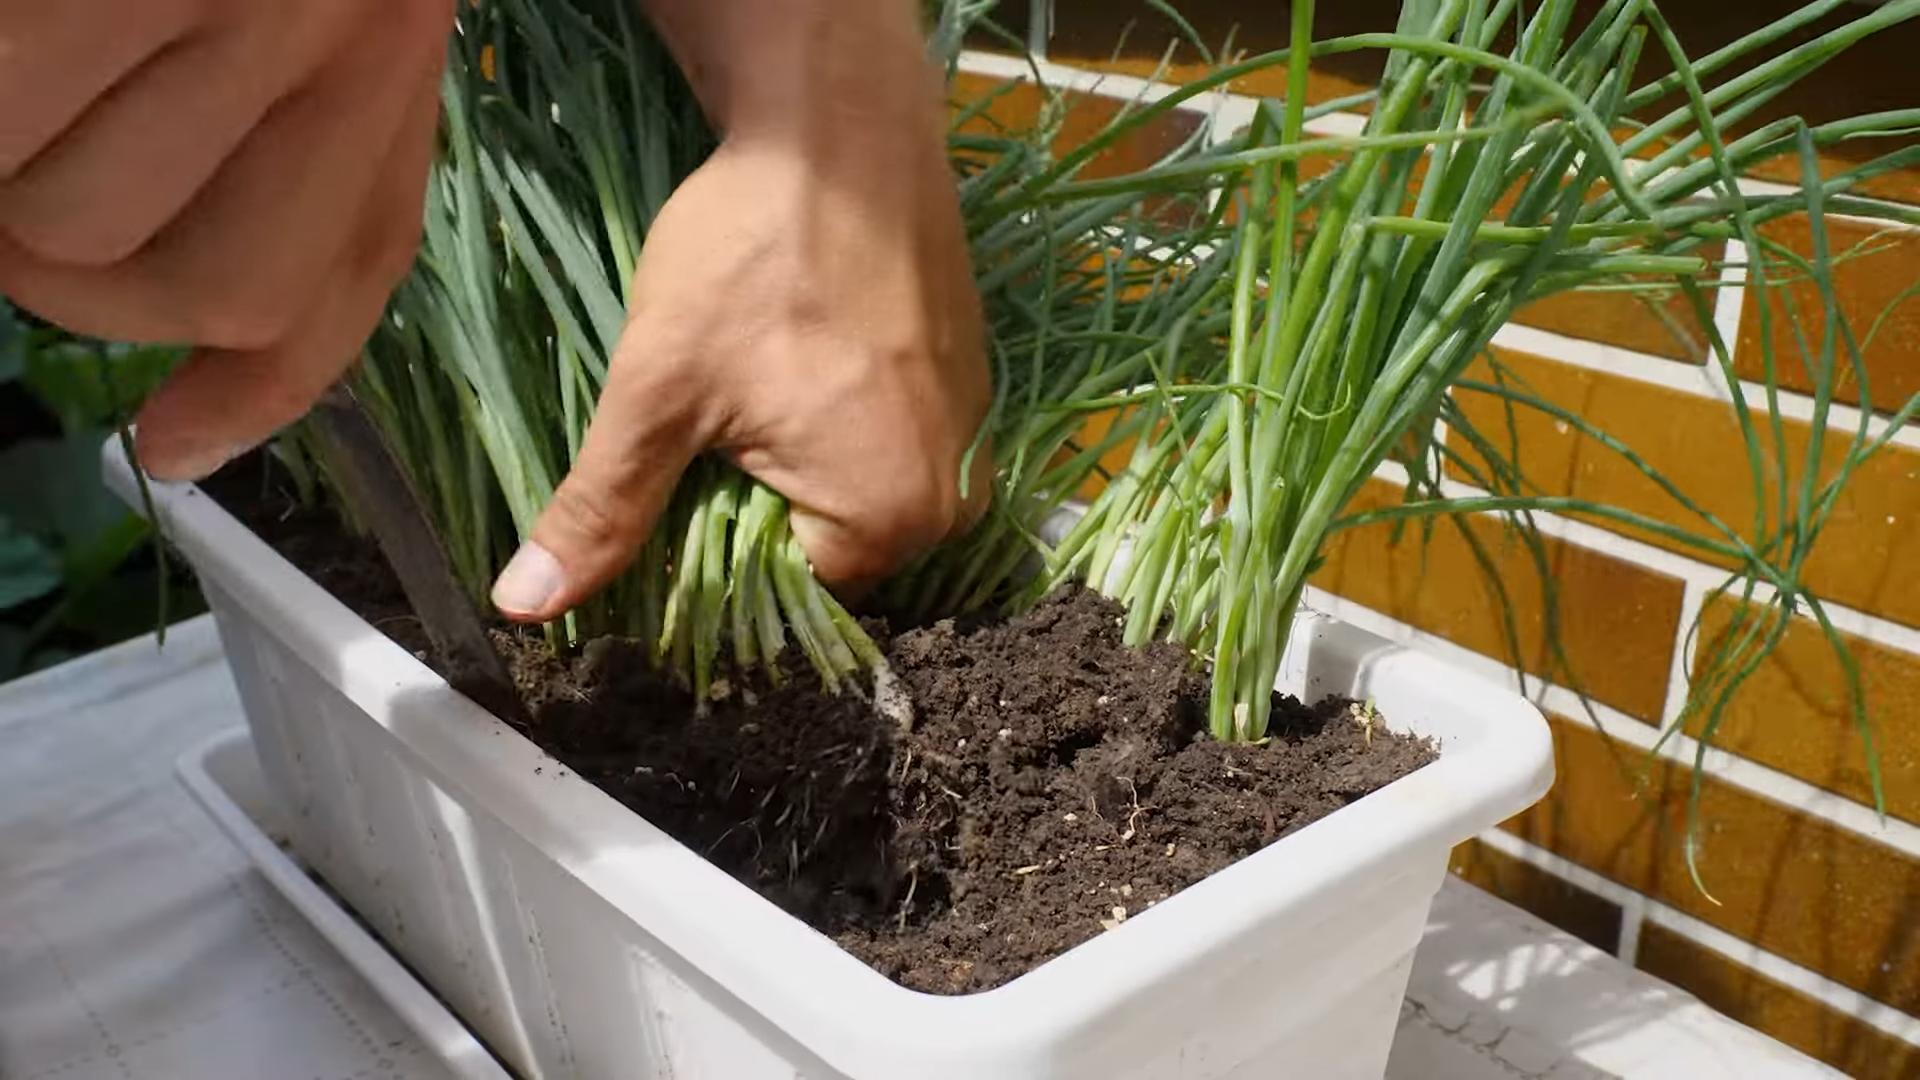
- Planting from whole scallions: If you’re using whole scallions, gently separate the individual scallions. You can plant them directly into the soil, spacing them about an inch apart. Make sure the white root ends are buried, and the green tops are sticking out of the soil.
- Planting from root ends: If you’re using root ends, make sure they have about an inch of white root attached. Plant these root ends about an inch apart, burying them about an inch deep in the soil. The root end should be facing down.
- Water gently: After planting, gently water the soil again to settle it around the scallions. Avoid overwatering, as this can lead to root rot.
Phase 3: Care and Maintenance
- Sunlight: Place your pot in a sunny location. Scallions need at least 6 hours of sunlight per day to thrive. A south-facing windowsill or a sunny spot on your patio works well. However, avoid direct, intense midday sun, especially during the hottest months, as this can scorch the leaves.
- Watering: Keep the soil consistently moist but not soggy. Water when the top inch of soil feels dry to the touch. Overwatering is a common mistake, so it’s better to underwater slightly than to overwater. Check the soil moisture regularly, especially during hot and dry weather.
- Fertilizing: Scallions are not heavy feeders, but a light feeding every few weeks can promote faster growth and healthier plants. I use a diluted liquid fertilizer, following the instructions on the product label. You can also use a slow-release granular fertilizer at planting time.
- Harvesting: You can start harvesting your scallions in about 4-6 weeks, depending on the variety and growing conditions. To harvest, simply snip off the green tops, leaving the white bulb in the soil. New growth will emerge from the base, allowing for multiple harvests from the same plant. For a larger harvest, you can pull up the entire plant.
- Pest and disease control: Scallions are relatively pest-resistant. However, keep an eye out for aphids or other common garden pests. If you notice any pests, you can try using insecticidal soap or neem oil. Good air circulation can also help prevent fungal diseases.
Phase 4: Troubleshooting
Problem: Yellowing leaves
This often indicates overwatering or underwatering. Check the soil moisture and adjust your watering schedule accordingly. Yellowing leaves can also be a sign of nutrient deficiency. Try fertilizing your plants with a balanced liquid fertilizer.
Problem: Slow growth
This could be due to insufficient sunlight or lack of nutrients. Make sure your pot is in a sunny location and fertilize regularly. Poor drainage can also hinder growth, so ensure your pot has adequate drainage holes.
Problem: Root rot
Root rot is caused by overwatering. If you notice your scallions wilting and the soil is constantly soggy, repot them in fresh, well-draining soil. Make sure your pot has adequate drainage holes.
Problem: Pests
Aphids and other pests can infest scallions. Inspect your plants regularly and treat any infestations with insecticidal soap or neem oil. Consider using companion planting to deter pests. For example, planting basil near your scallions can help repel some insects.
Phase 5: Extending the Harvest
To keep your scallion supply going throughout the year, you can start new scallions from seed or root ends at different times. This staggered planting ensures a continuous harvest. You can also bring your potted scallions indoors during colder months to protect them from frost.
Remember: Growing scallions in pots is a rewarding and easy way to enjoy fresh, flavorful scallions all year round. With a little care and attention, you’ll be harvesting your own delicious scallions in no time!
Conclusion
So there you have it – a simple, effective, and surprisingly rewarding method to grow scallions in pots! This DIY trick isn’t just about saving money on grocery bills; it’s about experiencing the pure satisfaction of nurturing life from a humble root. The freshness of homegrown scallions surpasses anything you can buy in a store, adding a vibrant, pungent zing to your culinary creations. Imagine snipping those bright green shoots, knowing they went from root to plate with your loving care. That’s the magic of this simple gardening project.
Beyond the immediate gratification of fresh scallions, this method offers a fantastic entry point into the world of home gardening. It’s a low-commitment project, perfect for beginners, and a great way to introduce children to the wonders of nature. The success rate is incredibly high, making it a confidence booster for even the most hesitant gardeners. You’ll be amazed at how quickly your scallions grow, providing a continuous supply of this versatile ingredient for your cooking.
We encourage you to experiment with different pot sizes and types. Try using terracotta pots for better drainage or even repurposed containers to add a touch of creativity to your kitchen garden. Feel free to experiment with different types of scallions, too. While white scallions are commonly used, you can also try growing green scallions or even shallots using this same method. The possibilities are endless!
Don’t be afraid to get creative with your placement. A sunny windowsill is ideal, but even a well-lit corner of your kitchen will work wonders. Remember to keep the soil consistently moist but not waterlogged. Regularly inspect your scallions for any signs of pests or diseases, but with proper care, you should have a bountiful harvest in no time. This grow scallions in pots method is a testament to the fact that even the smallest of spaces can yield incredible results.
Now, it’s your turn! We urge you to try this simple yet effective method and experience the joy of harvesting your own fresh scallions. Share your experiences, photos, and any innovative variations you discover with us. Let’s build a community of home gardeners, sharing tips and tricks to make our kitchens greener and our meals more flavorful. Join the conversation and let us know how your scallion-growing journey unfolds. Happy gardening!
Frequently Asked Questions
Can I grow scallions from the root ends I usually discard?
Absolutely! This method primarily uses the root ends of store-bought scallions. Simply place the root end in a pot with soil, ensuring the roots are covered, and keep the soil consistently moist. You’ll be surprised how quickly new growth emerges.
What type of soil is best for growing scallions in pots?
A well-draining potting mix is ideal. Avoid heavy clay soils that can retain too much water and lead to root rot. A standard potting mix readily available at most garden centers will work perfectly.
How much sunlight do scallions need?
Scallions thrive in bright, indirect sunlight. A sunny windowsill is perfect, but they can also tolerate some shade. Avoid placing them in direct, intense sunlight, which can scorch the leaves.
How often should I water my scallions?
Keep the soil consistently moist, but avoid overwatering. Check the soil moisture regularly. Water when the top inch or two feels dry to the touch. Overwatering can lead to root rot, so it’s better to slightly underwater than overwater.
How long does it take for scallions to grow from the root ends?
You should start seeing new growth within a week or two, depending on the conditions. With consistent care, you’ll have harvestable scallions in about 4-6 weeks. The growth rate can be influenced by factors like sunlight and temperature.
What should I do if my scallions start to wilt?
Wilting usually indicates insufficient watering. Check the soil moisture and water thoroughly. If the wilting persists, check for pests or diseases. Ensure the pot has adequate drainage to prevent root rot.
Can I use any type of pot for growing scallions?
Yes, almost any pot will work, as long as it has drainage holes to prevent waterlogging. Terracotta pots are a good choice because they allow for better air circulation and drainage. However, you can also use plastic pots, recycled containers, or even mason jars (ensure drainage).
What can I do with the harvested scallions?
The culinary uses for homegrown scallions are endless! Chop them finely and add them to soups, stir-fries, salads, omelets, or as a garnish. Their fresh, pungent flavor elevates any dish.
Can I grow scallions in pots year-round?
While optimal growth occurs during warmer months, you can grow scallions in pots year-round with supplemental lighting during shorter days in winter. A grow light can help ensure sufficient light for healthy growth.
What if my scallions don’t grow?
If your scallions fail to grow, review the care instructions. Ensure the soil is moist but not waterlogged, the pot has adequate drainage, and the scallions receive sufficient light. If the problem persists, consider repotting them in fresh soil.
Leave a Comment