
Grow Rosemary Indoors? Absolutely! Imagine having fresh, fragrant rosemary at your fingertips, ready to elevate your culinary creations any time of year. No more sad, dried-up sprigs from the grocery store – just vibrant, flavorful rosemary grown right in your own home. For centuries, rosemary has been cherished not only for its culinary uses but also for its medicinal properties and symbolic significance, representing remembrance and love. From ancient Greece, where students wore rosemary garlands to improve memory, to modern-day kitchens, this herb has a rich and fascinating history.
But let’s be honest, sometimes bringing the garden indoors can feel a little daunting. That’s where these easy DIY tricks and hacks come in! I’m going to share my secrets to successfully grow rosemary indoors, even if you don’t have a green thumb. We’ll cover everything from choosing the right pot and soil to providing the perfect amount of light and water. With these simple tips, you’ll be enjoying the delightful aroma and taste of homegrown rosemary in no time. So, let’s get started and transform your windowsill into a thriving herb garden!
Growing Rosemary Indoors: A Comprehensive DIY Guide
Hey there, fellow plant enthusiasts! I’m so excited to share my secrets for successfully growing rosemary indoors. Rosemary is such a versatile herb – perfect for cooking, aromatherapy, and even just adding a touch of Mediterranean charm to your home. While it thrives outdoors in warmer climates, with a little know-how, you can absolutely cultivate a thriving rosemary plant inside. Let’s dive in!
Choosing the Right Rosemary Plant
Before we get started, it’s important to choose the right rosemary plant. Not all rosemary varieties are created equal, especially when it comes to indoor growing.
* Consider Dwarf Varieties: Look for dwarf or prostrate varieties like ‘Blue Boy’ or ‘Roman Beauty’. These tend to be more compact and better suited for container growing. They won’t outgrow your space as quickly as larger varieties.
* Inspect the Plant Carefully: When selecting your rosemary plant, give it a thorough inspection. Check for any signs of pests (like aphids or spider mites) or diseases (like powdery mildew). The leaves should be a healthy green color and the plant should look robust.
* Start from Cuttings (Optional): If you’re feeling adventurous, you can also propagate rosemary from cuttings. This is a great way to save money and create multiple plants from a single source. I’ll touch on this later!
Essential Supplies You’ll Need
To ensure your rosemary plant thrives indoors, you’ll need to gather a few essential supplies.
* Well-Draining Pot: Choose a pot that’s at least 6 inches in diameter and has drainage holes. Rosemary hates sitting in soggy soil, so good drainage is crucial. Terracotta pots are a great option because they allow the soil to breathe.
* Well-Draining Soil Mix: Don’t use regular garden soil! It’s too heavy and doesn’t drain well enough. Instead, opt for a well-draining potting mix specifically formulated for herbs or Mediterranean plants. You can also create your own mix by combining equal parts potting soil, perlite, and coarse sand.
* Grow Light (Optional but Recommended): Rosemary needs a lot of sunlight, and indoor light can often be insufficient, especially during the winter months. A grow light can supplement natural light and ensure your plant gets the energy it needs to thrive.
* Watering Can or Spray Bottle: For watering your rosemary plant.
* Fertilizer: A balanced liquid fertilizer diluted to half strength.
* Pruning Shears or Scissors: For trimming and shaping your rosemary plant.
Step-by-Step Planting Guide
Now that you have your rosemary plant and supplies, let’s get planting!
1. Prepare the Pot: Place a layer of gravel or small stones at the bottom of the pot to improve drainage. This will help prevent the roots from sitting in water.
2. Add Soil: Fill the pot with your well-draining potting mix, leaving about an inch of space at the top.
3. Plant the Rosemary: Gently remove the rosemary plant from its nursery pot. Loosen the roots slightly with your fingers to encourage them to spread out. Place the plant in the center of the pot and fill in around it with more potting mix.
4. Water Thoroughly: Water the rosemary plant thoroughly until water drains out of the drainage holes. This will help settle the soil and ensure the roots are properly hydrated.
5. Place in a Sunny Location: Place your newly planted rosemary in a location that receives at least 6-8 hours of direct sunlight per day. A south-facing window is ideal. If you don’t have enough natural light, supplement with a grow light.
Caring for Your Indoor Rosemary Plant
Once your rosemary plant is planted, it’s important to provide it with the right care to ensure it thrives.
Watering
* Water Sparingly: Rosemary is drought-tolerant and doesn’t like to be overwatered. Allow the soil to dry out completely between waterings.
* Check the Soil Moisture: Before watering, stick your finger into the soil to check the moisture level. If the top inch of soil is dry, it’s time to water.
* Water Deeply: When you do water, water deeply until water drains out of the drainage holes. This ensures the roots are thoroughly hydrated.
* Avoid Wet Foliage: Try to avoid getting the foliage wet when watering, as this can increase the risk of fungal diseases. Water at the base of the plant.
Light
* Provide Ample Sunlight: Rosemary needs at least 6-8 hours of direct sunlight per day. If you don’t have enough natural light, supplement with a grow light.
* Rotate the Plant: Rotate the plant regularly to ensure all sides receive equal sunlight. This will prevent it from leaning towards the light source.
Fertilizing
* Fertilize Sparingly: Rosemary doesn’t need a lot of fertilizer. Fertilize every 2-3 months during the growing season (spring and summer) with a balanced liquid fertilizer diluted to half strength.
* Avoid Over-Fertilizing: Over-fertilizing can lead to leggy growth and a weaker plant.
Pruning
* Prune Regularly: Prune your rosemary plant regularly to encourage bushier growth and prevent it from becoming leggy.
* Pinch Back Tips: Pinch back the tips of the stems to encourage branching.
* Remove Dead or Yellowing Leaves: Remove any dead or yellowing leaves to prevent the spread of disease.
* Shape the Plant: Prune the plant to maintain its desired shape and size.
Humidity
* Rosemary Prefers Dry Air: Rosemary prefers dry air and doesn’t like high humidity.
* Avoid Humidifiers: Avoid placing your rosemary plant near humidifiers or in bathrooms with high humidity.
* Increase Air Circulation: Ensure good air circulation around the plant to prevent fungal diseases.
Pest and Disease Control
* Inspect Regularly: Inspect your rosemary plant regularly for signs of pests or diseases.
* Common Pests: Common pests that can affect rosemary include aphids, spider mites, and whiteflies.
* Treat Pests: Treat pests with insecticidal soap or neem oil.
* Common Diseases: Common diseases that can affect rosemary include powdery mildew and root rot.
* Prevent Diseases: Prevent diseases by providing good air circulation, avoiding overwatering, and removing any dead or yellowing leaves.
Propagating Rosemary from Cuttings
As I mentioned earlier, you can also propagate rosemary from cuttings. This is a fun and easy way to create new plants from a single source.
1. Take Cuttings: In the spring or summer, take 4-6 inch cuttings from healthy, new growth.
2. Remove Lower Leaves: Remove the leaves from the bottom inch of the cutting.
3. Dip in Rooting Hormone: Dip the cut end of the cutting in rooting hormone. This will help encourage root growth.
4. Plant in Potting Mix: Plant the cutting in a small pot filled with well-draining potting mix.
5. Water and Cover: Water the cutting thoroughly and cover it with a plastic bag or humidity dome to create a humid environment.
6. Place in a Warm Location: Place the cutting in a warm, bright location, but out of direct sunlight.
7. Check for Roots: After a few weeks, check for roots by gently tugging on the cutting. If it resists, it has rooted.
8. Transplant: Once the cutting has rooted, transplant it into a larger pot.
Troubleshooting Common Problems
Even with the best care, you may encounter some problems when growing rosemary indoors. Here are some common issues and how to address them:
* Yellowing Leaves: Yellowing leaves can be caused by overwatering, underwatering, nutrient deficiencies, or pests. Adjust your watering schedule, fertilize the plant, and inspect for pests.
* Leggy Growth: Leggy growth is often caused by insufficient light. Provide more sunlight or supplement with a grow light. Prune the plant regularly to encourage bushier growth.
* Powdery Mildew: Powdery mildew is a fungal disease that appears as a white, powdery coating on the leaves. Improve air circulation, avoid getting the foliage wet when watering, and treat with a fungicide if necessary.
* Root Rot: Root rot is caused by overwatering and poor drainage. Ensure the pot has drainage holes and allow the soil to dry out completely between waterings. If the plant is severely affected, you may need to repot it with fresh potting mix.
* Pest Infestations: Inspect your plant regularly for pests and treat them with insecticidal soap or neem oil.
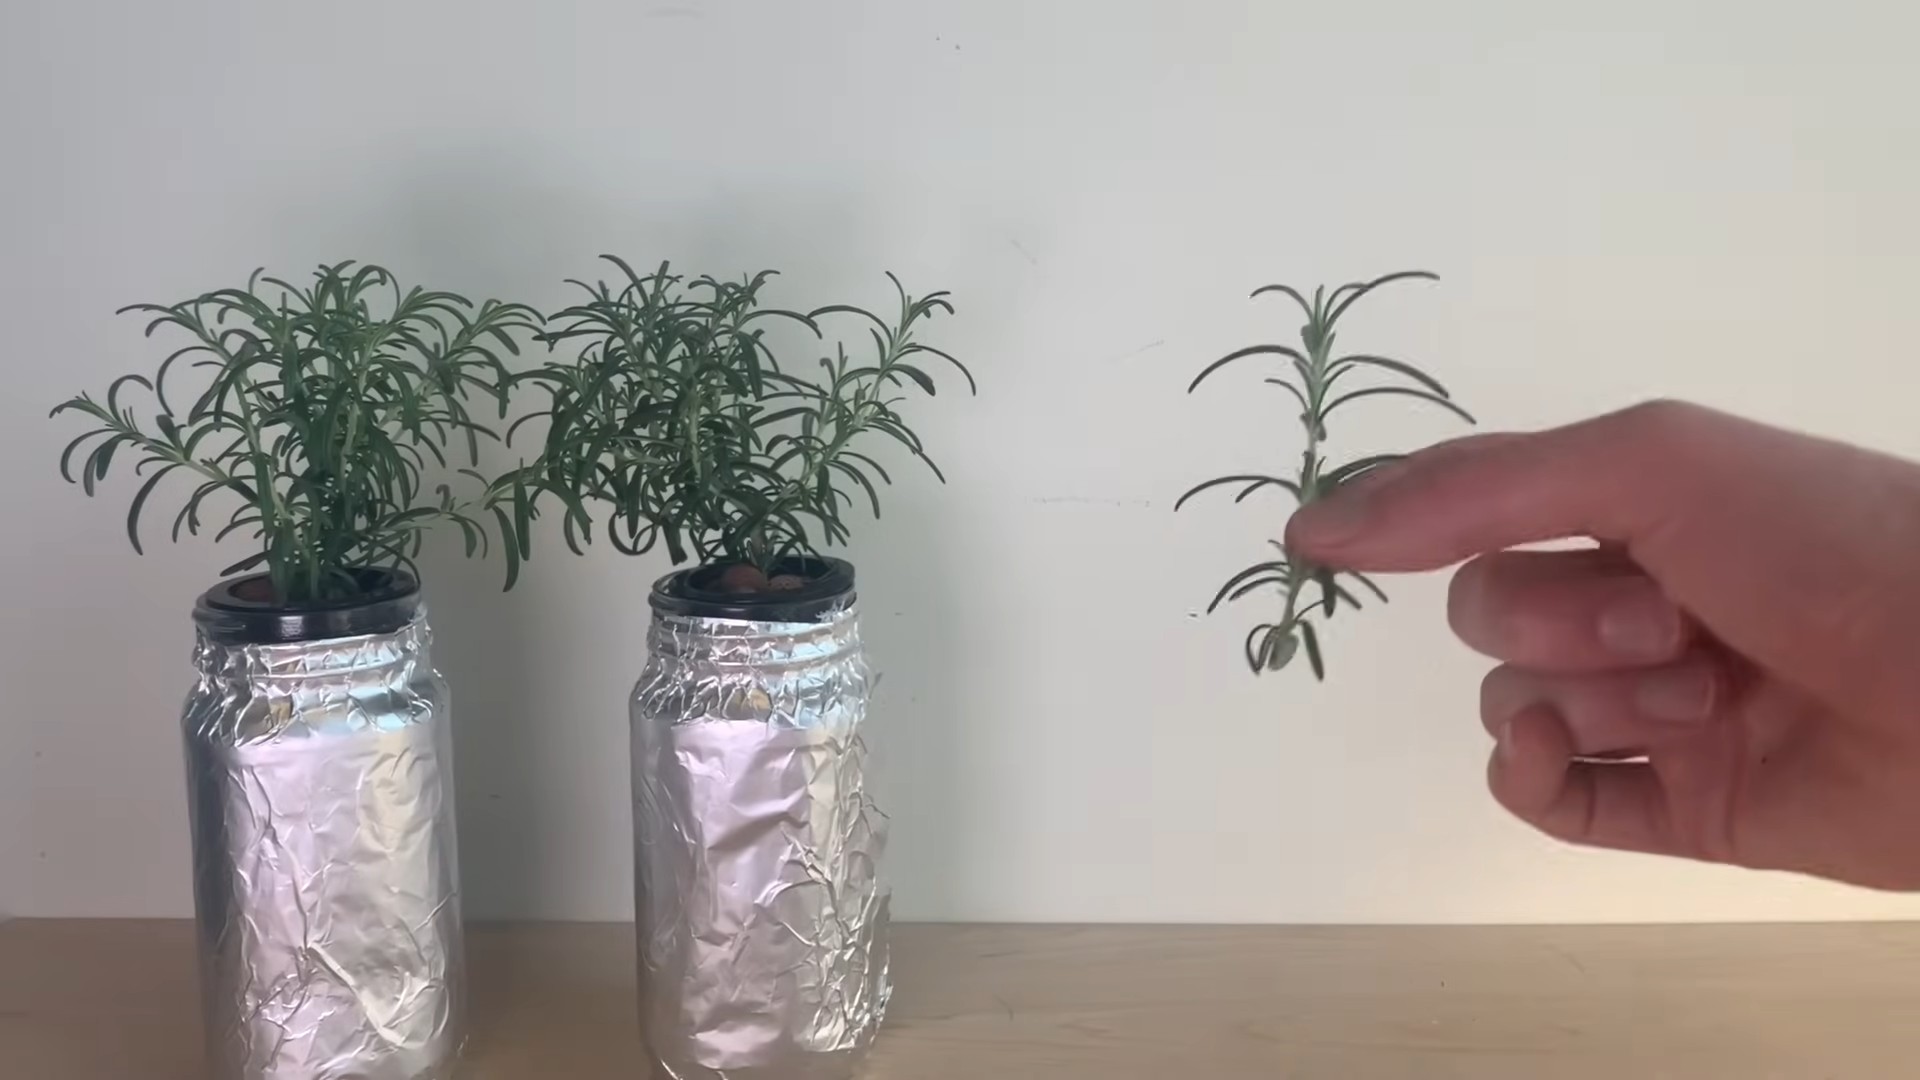
Harvesting Rosemary
One of the best parts of growing your own rosemary is being able to harvest fresh herbs whenever you need them!
* Harvest

Conclusion
So, there you have it! Mastering the art of growing rosemary indoors is not only achievable but also incredibly rewarding. We’ve walked through the essential steps, from selecting the right variety and pot to providing the perfect light and watering conditions. But why is this DIY trick a must-try?
Firstly, having fresh rosemary at your fingertips elevates your cooking to a whole new level. Imagine the aroma of freshly snipped rosemary infusing your roasted chicken, pasta sauces, or even a simple loaf of bread. Store-bought dried rosemary simply can’t compare to the vibrant flavor and fragrance of homegrown herbs.
Secondly, growing rosemary indoors is a sustainable and cost-effective way to enjoy this versatile herb year-round. No more last-minute trips to the grocery store or relying on expensive, often wilted, bunches. You’ll be reducing your carbon footprint and saving money simultaneously.
Thirdly, and perhaps most importantly, nurturing a rosemary plant is a therapeutic and fulfilling experience. The simple act of tending to a living thing, watching it grow, and harvesting its bounty can be incredibly grounding and stress-relieving. It’s a small connection to nature within the comfort of your own home.
But the possibilities don’t stop there! Feel free to experiment with different varieties of rosemary, such as creeping rosemary for hanging baskets or upright varieties for a more traditional look. You can also try propagating new plants from cuttings, expanding your rosemary collection and sharing the joy with friends and family. Consider using different types of pots – terracotta for better drainage or self-watering pots for added convenience. You can even incorporate companion planting by growing rosemary alongside other herbs like thyme or sage in the same container.
Growing rosemary indoors is an adventure waiting to happen. It’s a chance to connect with nature, enhance your culinary creations, and add a touch of beauty to your living space. Don’t be intimidated by the perceived challenges. With a little patience and attention, you’ll be rewarded with a thriving rosemary plant that will bring you joy for years to come.
We encourage you to take the plunge and try growing rosemary indoors. Share your experiences with us! Let us know what varieties you’re growing, what challenges you’ve faced, and what successes you’ve celebrated. Your insights can help other aspiring indoor gardeners and contribute to a thriving community of rosemary enthusiasts. Post your photos and stories on our social media channels using #IndoorRosemary or leave a comment below. We can’t wait to see your green thumbs in action!
Frequently Asked Questions (FAQ)
What is the best type of rosemary to grow indoors?
While most rosemary varieties can be grown indoors, some are better suited than others. Dwarf varieties like ‘Blue Boy’ or ‘Roman Beauty’ are excellent choices because they tend to stay smaller and more compact, making them ideal for container gardening. Upright varieties like ‘Tuscan Blue’ can also be grown indoors, but they may require more pruning to maintain a manageable size. Creeping rosemary, while beautiful, might be more challenging to manage in a small indoor space unless you’re using a hanging basket. Ultimately, the best type of rosemary for you will depend on your personal preferences and the space you have available. Consider the mature size of the plant and its growth habit when making your selection.
How much sunlight does indoor rosemary need?
Rosemary thrives in bright, direct sunlight. Ideally, your indoor rosemary plant should receive at least 6-8 hours of sunlight per day. A south-facing window is usually the best option, but if you don’t have one, an east- or west-facing window can also work. If your plant isn’t getting enough natural light, you may need to supplement with a grow light. Signs of insufficient light include leggy growth (long, spindly stems), pale leaves, and a lack of flowering. Position the grow light a few inches above the plant and keep it on for 12-14 hours per day. Remember to rotate your plant regularly to ensure that all sides receive adequate light.
How often should I water my indoor rosemary plant?
Overwatering is one of the most common mistakes when growing rosemary indoors. Rosemary prefers well-draining soil and doesn’t like to sit in soggy conditions. Water your plant only when the top inch of soil feels dry to the touch. When you do water, water thoroughly until water drains out of the bottom of the pot. Be sure to empty the saucer underneath the pot to prevent the plant from sitting in standing water. During the winter months, when the plant is not actively growing, you may need to water even less frequently. Always check the soil moisture before watering to avoid overwatering.
What kind of soil is best for growing rosemary indoors?
Rosemary needs well-draining soil to thrive. A sandy loam mix is ideal. You can create your own mix by combining equal parts potting soil, perlite, and coarse sand. The perlite and sand will help to improve drainage and prevent the soil from becoming compacted. Avoid using heavy, clay-based soils, as these can retain too much moisture and lead to root rot. You can also purchase a commercially available potting mix specifically formulated for herbs. Make sure the pot you use has drainage holes to allow excess water to escape.
How do I fertilize my indoor rosemary plant?
Rosemary is not a heavy feeder, so you don’t need to fertilize it frequently. Fertilize your plant every 2-3 months during the growing season (spring and summer) with a balanced liquid fertilizer diluted to half strength. Avoid fertilizing during the winter months when the plant is dormant. Over-fertilizing can lead to leggy growth and a buildup of salts in the soil. If you notice a white crust forming on the surface of the soil, it’s a sign of salt buildup. You can flush the soil by watering thoroughly until water drains out of the bottom of the pot several times.
How do I prune my indoor rosemary plant?
Pruning is essential for maintaining the shape and health of your indoor rosemary plant. Prune your plant regularly to encourage bushier growth and prevent it from becoming leggy. The best time to prune is in the spring, after the plant has finished flowering. Use sharp, clean pruning shears to remove any dead, damaged, or diseased branches. You can also prune to shape the plant and control its size. When pruning, cut just above a leaf node (the point where a leaf or branch emerges from the stem). Avoid removing more than one-third of the plant’s foliage at any one time. The pruned stems can be used for cooking or propagating new plants.
Why are the leaves on my rosemary plant turning yellow or brown?
Yellowing or browning leaves can be a sign of several problems, including overwatering, underwatering, nutrient deficiencies, or pest infestations. Check the soil moisture to determine if you’re watering too much or too little. If the soil is consistently soggy, you’re likely overwatering. If the soil is bone dry, you’re likely underwatering. If you suspect a nutrient deficiency, try fertilizing your plant with a balanced liquid fertilizer. Inspect the leaves and stems for signs of pests, such as aphids, spider mites, or whiteflies. If you find pests, treat your plant with an insecticidal soap or neem oil.
How do I propagate rosemary from cuttings?
Propagating rosemary from cuttings is a relatively easy way to create new plants. Take cuttings from healthy, non-flowering stems in the spring or summer. The cuttings should be about 4-6 inches long. Remove the leaves from the bottom inch of the cutting and dip the cut end in rooting hormone. Plant the cutting in a small pot filled with well-draining potting mix. Keep the soil moist but not soggy and place the pot in a warm, bright location out of direct sunlight. It can help to cover the pot with a plastic bag or humidity dome to create a humid environment. Roots should develop in 4-6 weeks. Once the cuttings have rooted, you can transplant them into larger pots.


Leave a Comment