
Grow pineapple indoors? Absolutely! Imagine plucking a sweet, juicy pineapple, not from a tropical plantation, but from your very own living room. Sounds like a dream, right? Well, it’s a dream that can become a reality with a little know-how and a dash of patience. For centuries, pineapples have been symbols of hospitality and luxury, gracing tables and representing warm welcomes. From their origins in South America to their global journey, these spiky fruits have captivated cultures worldwide.
But why bother growing your own pineapple indoors? Well, for starters, it’s incredibly rewarding! There’s something truly special about nurturing a plant from its humble beginnings to a fruit-bearing beauty. Plus, store-bought pineapples can be expensive, and let’s be honest, sometimes they just don’t have that fresh, vibrant flavor you crave. This DIY project not only saves you money but also gives you complete control over the growing process, ensuring a delicious and organic treat. I’m going to guide you through a simple, step-by-step method to grow pineapple indoors, transforming your home into a mini-tropical paradise. Get ready to impress your friends and family with your green thumb and enjoy the sweet taste of success!
Growing Pineapples Indoors: A Tropical Treat in Your Home!
Hey there, fellow plant enthusiasts! Ever dreamt of having your own little slice of the tropics right in your living room? Well, dream no more! Growing a pineapple indoors is totally achievable, and I’m here to guide you through the whole process. It might seem intimidating, but trust me, with a little patience and the right know-how, you’ll be enjoying the sweet taste of homegrown pineapple before you know it.
What You’ll Need:
Before we dive in, let’s gather our supplies. Here’s a checklist of everything you’ll need to embark on this pineapple-growing adventure:
* A Fresh Pineapple: Choose a ripe pineapple from your local grocery store. Look for one with healthy, green leaves and a fragrant aroma. The fruit itself should be slightly soft to the touch.
* A Sharp Knife: A good, sharp knife is essential for removing the pineapple top without damaging it.
* A Pot: Select a pot that’s at least 6 inches in diameter. This will give your pineapple plant enough room to grow. As it matures, you’ll likely need to repot it into a larger container (8-10 inches).
* Potting Mix: Use a well-draining potting mix. A mix specifically designed for cacti and succulents works great, or you can create your own by combining regular potting soil with perlite or sand.
* Water: You’ll need water for planting and regular watering.
* Rooting Hormone (Optional): While not strictly necessary, rooting hormone can help speed up the rooting process.
* A Clear Plastic Bag (Optional): This can help create a humid environment for your pineapple top while it’s rooting.
* Spray Bottle (Optional): For misting the leaves.
Preparing the Pineapple Top: The Foundation for Success
This is arguably the most crucial step, so pay close attention! We need to carefully extract the top of the pineapple in a way that encourages root growth.
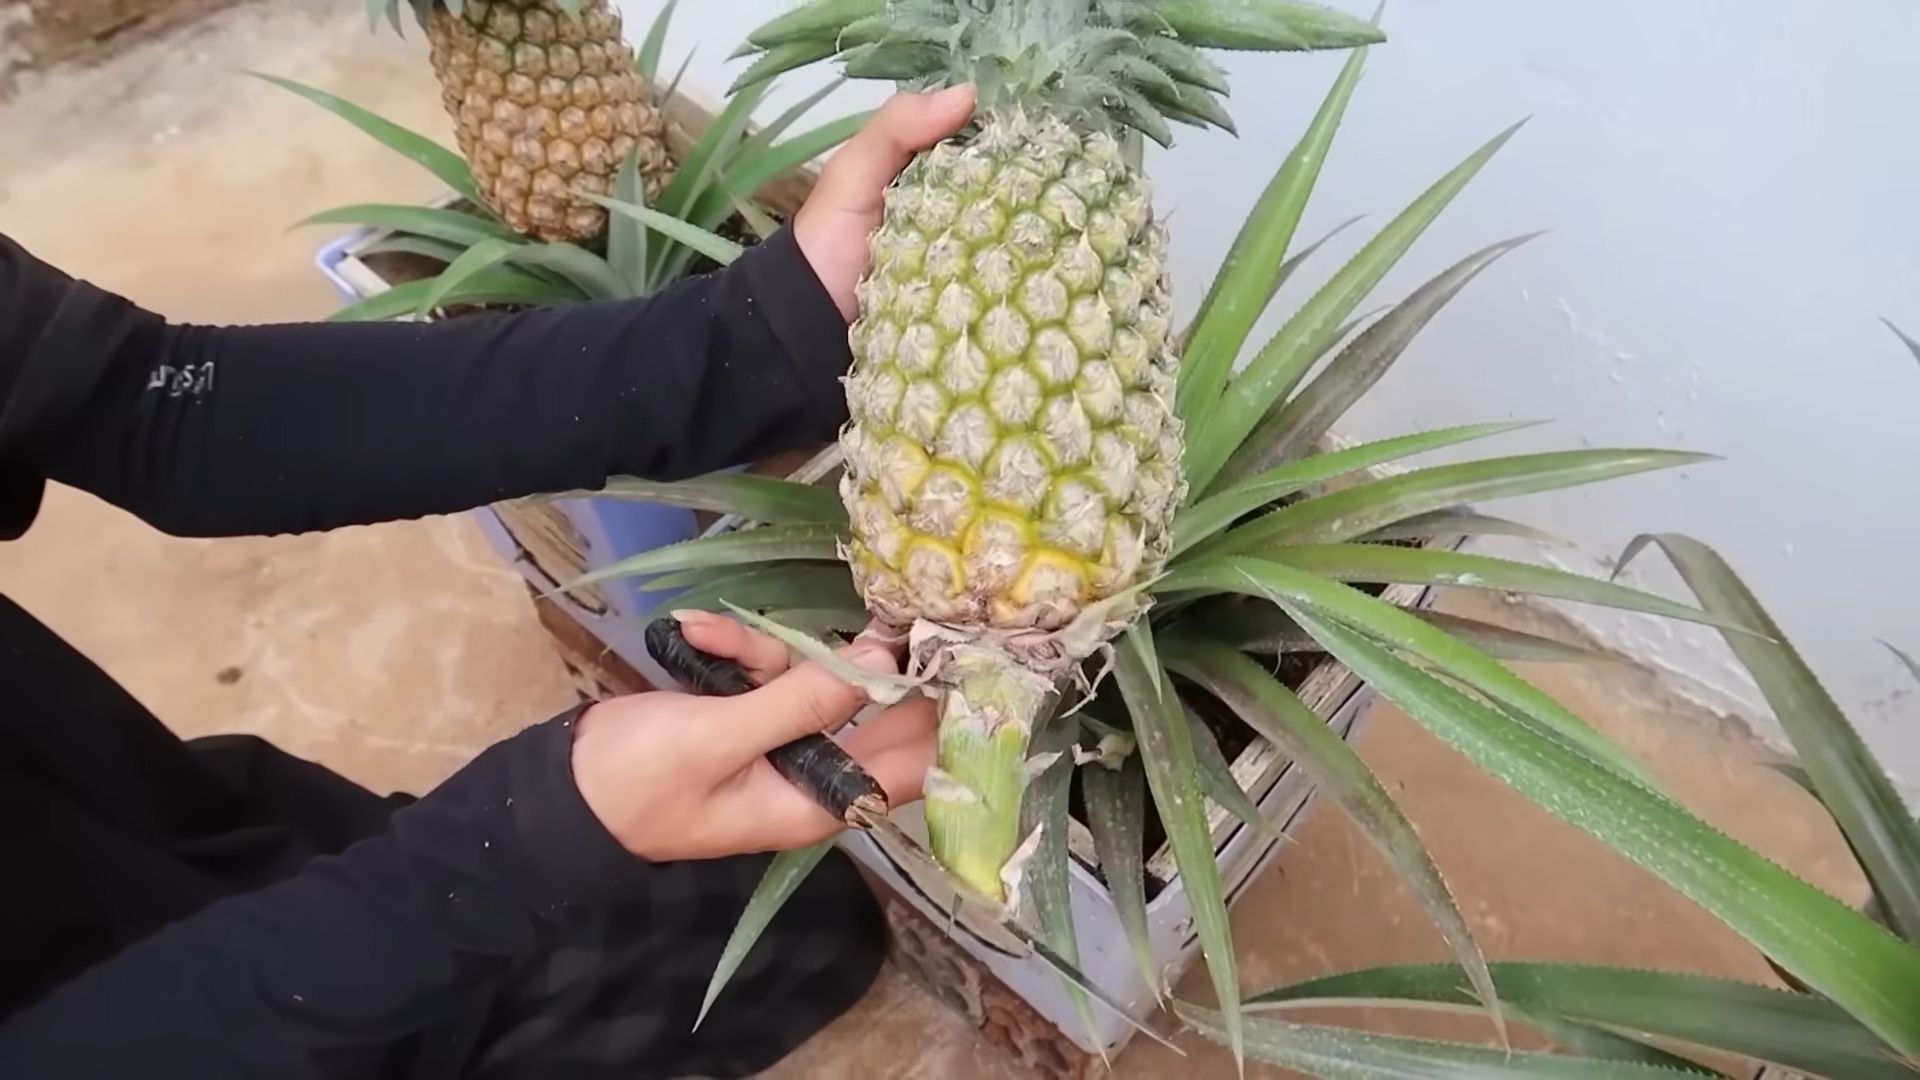
1. Twist and Pull (or Cut): The easiest method is to firmly grasp the leaves of the pineapple top and twist it off the fruit. If it doesn’t come off easily, don’t force it! Instead, use your sharp knife to carefully cut the top off, leaving about an inch of fruit attached.
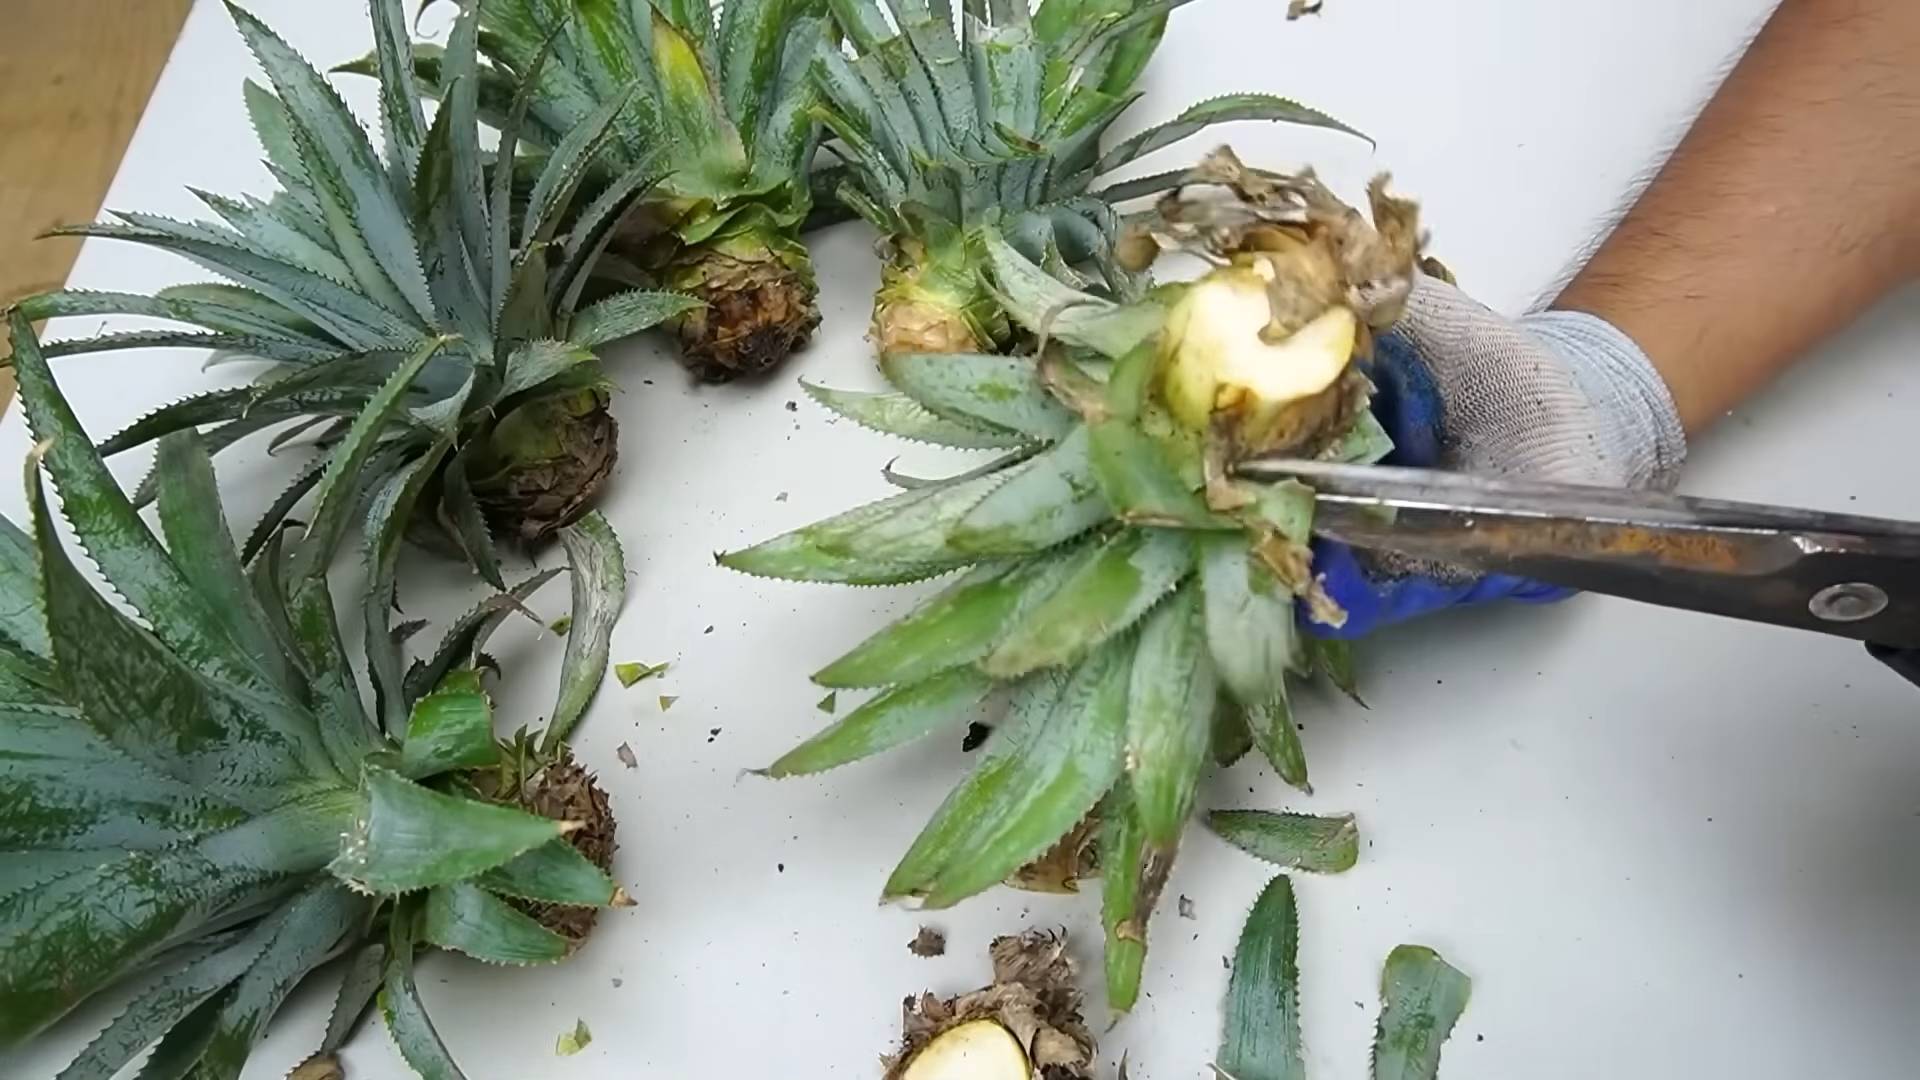
2. Remove the Fruit Flesh: This is important to prevent rotting. Carefully remove any remaining fruit flesh from the base of the pineapple top. You can use your knife to gently scrape it away. Be careful not to damage the base where the roots will eventually emerge.
3. Peel Back the Lower Leaves: Peel off several layers of the lower leaves from the base of the pineapple top. This will expose the stem, where the roots will grow. You should aim to expose about 1-2 inches of the stem.
4. Let it Dry (Important!): This is a crucial step to prevent rot. Place the prepared pineapple top in a cool, dry place for 2-3 days. This allows the cut end to callous over, reducing the risk of fungal infections. I usually just leave mine on a paper towel on the kitchen counter.
Rooting Your Pineapple Top: Giving it a Head Start
Now that our pineapple top is prepped and ready, it’s time to encourage those roots to sprout! You have a couple of options here: rooting in water or directly in soil. I’ve had success with both methods, so choose whichever you prefer.
Rooting in Water (My Preferred Method):
1. Place in Water: Fill a glass or jar with water. Make sure the water level is high enough to submerge the exposed stem of the pineapple top, but not so high that it covers the leaves.
2. Find a Sunny Spot: Place the glass or jar in a warm, sunny location. A windowsill is ideal.
3. Change the Water Regularly: Change the water every 2-3 days to keep it fresh and prevent algae growth.
4. Be Patient: Rooting can take several weeks, so don’t get discouraged if you don’t see roots right away. You should start to see small roots emerging from the stem within 2-4 weeks.
5. Wait for Root Development: Allow the roots to grow to about 2-3 inches long before planting in soil. This will give your pineapple plant a good head start.
Rooting Directly in Soil:
1. Prepare the Pot: Fill your pot with well-draining potting mix.
2. Plant the Pineapple Top: Make a hole in the center of the potting mix and carefully plant the pineapple top, burying the exposed stem.
3. Water Gently: Water the potting mix gently until it’s moist but not soggy.
4. Create a Humid Environment (Optional): Place a clear plastic bag over the pot to create a humid environment. This can help encourage root growth. Make sure to poke a few holes in the bag for ventilation.
5. Find a Sunny Spot: Place the pot in a warm, sunny location.
6. Keep the Soil Moist: Keep the soil consistently moist, but not waterlogged.
7. Check for Roots: After a few weeks, gently tug on the pineapple top. If it resists, it means roots have started to form.
Planting Your Rooted Pineapple: Time to Get Growing!
Once your pineapple top has developed a good root system (whether you rooted it in water or directly in soil), it’s time to plant it in its permanent pot.
1. Choose the Right Pot: If you rooted your pineapple top in water, you’ll need to choose a pot that’s at least 6 inches in diameter. If you rooted it directly in soil, you can continue using the same pot.
2. Prepare the Potting Mix: Fill the pot with well-draining potting mix.
3. Carefully Remove the Pineapple Top: If you rooted your pineapple top in water, carefully remove it from the glass or jar.
4. Plant the Pineapple Top: Make a hole in the center of the potting mix and carefully plant the pineapple top, burying the roots.
5. Water Thoroughly: Water the potting mix thoroughly until water drains out of the bottom of the pot.
Caring for Your Indoor Pineapple Plant: Nurturing Your Tropical Treasure
Now that your pineapple plant is planted, it’s time to provide it with the care it needs to thrive.
* Sunlight: Pineapples love sunlight! Place your plant in a location where it will receive at least 6 hours of direct sunlight per day. A south-facing window is ideal. If you don’t have enough natural light, you can supplement with a grow light.
* Watering: Water your pineapple plant when the top inch of soil feels dry to the touch. Water thoroughly until water drains out of the bottom of the pot. Avoid overwatering, as this can lead to root rot.
* Humidity: Pineapples thrive in humid environments. If your home is dry, you can increase humidity by misting the leaves regularly with a spray bottle, placing a tray of water near the plant, or using a humidifier.
* Temperature: Pineapples prefer temperatures between 65°F and 85°F (18°C and 29°C). Avoid exposing your plant to temperatures below 60°F (15°C).
* Fertilizing: Feed your pineapple plant with a balanced liquid fertilizer every 2-3 months during the growing season (spring and summer). Follow the instructions on the fertilizer label.
* Repotting: As your pineapple plant grows, you’ll need to repot it into a larger container. Repotting is usually necessary every 1-2 years. Choose a pot that’s 2-4 inches larger in diameter than the current pot.
Encouraging Fruiting: The Ultimate Goal!
Getting your indoor pineapple plant to produce fruit can be a bit of a challenge, but it’s definitely possible! Here are a few tips to increase your chances of success:
* Maturity: Pineapple plants typically need to be 2-3 years old before they’re mature enough to produce fruit.
* Ethephon Treatment (Optional): Ethephon is a plant hormone that can stimulate flowering. You can purchase ethephon solutions online or at garden centers. Follow the instructions on the product label carefully.
* Apple Trick (A Natural Alternative): Place a ripe apple near your pineapple plant and cover both with a plastic bag for a week. Apples release ethylene gas, which can also stimulate flowering.
* Patience: Even with these tips, it can still take time for your pineapple plant to fruit. Be patient and continue providing it with the care it needs.
Dealing with Pests and Diseases: Keeping Your Plant Healthy
While pineapple plants are relatively pest-resistant, they can occasionally be affected by pests such as mealybugs and scale
Conclusion
So, there you have it! Growing your own pineapple indoors might seem like a tropical dream reserved for expert gardeners, but with a little patience and this straightforward DIY trick, you can cultivate your very own spiky friend and, eventually, a delicious, homegrown pineapple. Forget those expensive, often bland, store-bought pineapples. Imagine the satisfaction of slicing into a juicy, sweet pineapple that you nurtured from a simple crown.
This isn’t just about saving money; it’s about connecting with nature, learning about the life cycle of a plant, and adding a touch of the exotic to your home. The process itself is incredibly rewarding, offering a unique and engaging project for individuals, families, and even classrooms. It’s a fantastic way to teach children about botany and the origins of their food.
But the benefits extend beyond the educational and economical. A pineapple plant is a beautiful and unusual houseplant, adding a touch of tropical flair to any room. Its spiky leaves and eventual fruit make it a conversation starter and a source of pride. Plus, it’s a natural air purifier, contributing to a healthier indoor environment.
Don’t be afraid to experiment! Once you’ve mastered the basic technique, you can explore different varieties of pineapple. Look for smaller, ornamental varieties if space is a concern, or try a different type of pineapple crown from your local grocery store. Consider using different potting mixes to see which one your pineapple plant thrives in. You can also adjust the amount of sunlight your plant receives to optimize its growth. Some gardeners even swear by adding a diluted fertilizer solution every few weeks to boost growth.
Remember, patience is key. It can take several months, even years, for your pineapple plant to produce fruit. But the journey is just as rewarding as the destination. Watching your pineapple plant grow and develop is a testament to your dedication and a reminder of the power of nature.
We wholeheartedly encourage you to give this DIY trick a try. It’s a fun, educational, and ultimately delicious project that will bring a touch of the tropics to your home. And most importantly, we want to hear about your experience! Share your photos, tips, and stories with us in the comments below. Let’s create a community of indoor pineapple growers and learn from each other’s successes and challenges. Let us know if this **grow pineapple indoors** guide helped you! Happy growing!
Frequently Asked Questions (FAQ)
1. What kind of pineapple should I use for this DIY trick?
The best type of pineapple to use is a fresh, ripe pineapple from your local grocery store. Look for a pineapple with healthy, green leaves and a firm, fragrant body. Avoid pineapples with brown or wilted leaves, as these may not root properly. While different varieties of pineapple can be used, the standard grocery store variety is the easiest to find and generally the most successful for beginners.
2. How long does it take for a pineapple plant to produce fruit indoors?
Patience is crucial! It can take anywhere from 2 to 3 years for a pineapple plant grown from a crown to produce fruit indoors. The exact timeframe depends on several factors, including the variety of pineapple, the amount of sunlight it receives, the temperature, and the overall care it receives. Don’t be discouraged if it takes longer than expected. Just keep providing your plant with the proper care, and eventually, you’ll be rewarded with a delicious, homegrown pineapple.
3. What kind of soil is best for growing a pineapple plant indoors?
Pineapple plants thrive in well-draining soil that is slightly acidic. A good potting mix for pineapples is a combination of equal parts peat moss, perlite, and potting soil. This mixture provides good drainage, aeration, and nutrients for the plant. Avoid using heavy, clay-based soils, as these can retain too much moisture and lead to root rot. You can also purchase specialized potting mixes designed for bromeliads, which are closely related to pineapples, and these will also work well.
4. How much sunlight does a pineapple plant need indoors?
Pineapple plants need plenty of sunlight to thrive. Aim for at least 6 hours of direct sunlight per day. A south-facing window is ideal, but an east- or west-facing window can also work. If you don’t have a sunny window, you can supplement with a grow light. Rotate your pineapple plant regularly to ensure that all sides receive adequate sunlight. Insufficient sunlight can lead to stunted growth and a lack of fruit production.
5. How often should I water my pineapple plant?
Water your pineapple plant thoroughly when the top inch of soil feels dry to the touch. Allow the excess water to drain out of the pot. Avoid overwatering, as this can lead to root rot. During the growing season (spring and summer), you may need to water more frequently than during the dormant season (fall and winter). You can also pour water into the central cup of the plant, as pineapples absorb water through their leaves.
6. What is the ideal temperature for growing a pineapple plant indoors?
Pineapple plants prefer warm temperatures, ideally between 65°F and 85°F (18°C and 29°C). Avoid exposing your plant to temperatures below 60°F (15°C), as this can damage the plant. Keep your pineapple plant away from drafts and cold windows.
7. Do I need to fertilize my pineapple plant?
Yes, fertilizing your pineapple plant can help promote healthy growth and fruit production. Use a balanced liquid fertilizer diluted to half strength every 2-3 weeks during the growing season (spring and summer). Avoid fertilizing during the dormant season (fall and winter). Look for a fertilizer that is specifically formulated for bromeliads or tropical plants.
8. How do I encourage my pineapple plant to fruit?
Getting your pineapple plant to fruit indoors can be a challenge, but there are a few things you can try. One common trick is to expose the plant to ethylene gas. You can do this by placing a ripe apple or banana near the plant and covering both with a plastic bag for a few days. The ripening fruit will release ethylene gas, which can stimulate flowering. You can also purchase ethylene-releasing products specifically designed for this purpose. Make sure your plant is at least 2-3 years old and has reached a mature size before attempting to induce flowering.
9. What are some common problems that can affect pineapple plants grown indoors?
Some common problems that can affect pineapple plants grown indoors include root rot, mealybugs, scale, and spider mites. Root rot is caused by overwatering and can be prevented by using well-draining soil and allowing the soil to dry out between waterings. Mealybugs, scale, and spider mites are common pests that can be controlled with insecticidal soap or neem oil. Regularly inspect your plant for signs of pests or disease and take action promptly to prevent further damage.
10. Can I grow a pineapple plant from a sucker or pup instead of the crown?
Yes, you can also grow a pineapple plant from a sucker or pup, which are small offshoots that grow from the base of the plant. These offshoots will typically root more quickly than a crown and may produce fruit sooner. To propagate from a sucker, carefully remove it from the mother plant and allow it to callous over for a few days. Then, plant it in well-draining soil and water it regularly.
Leave a Comment