
Grow Parsley Indoors Beginner? Absolutely! Imagine stepping into your kitchen and snipping fresh, vibrant parsley to garnish your pasta, brighten your salad, or add a burst of flavor to your favorite soup. No more sad, wilted herbs from the grocery store! For centuries, parsley has been more than just a garnish; it was revered by the ancient Greeks, who crowned victors with it and used it in medicinal remedies. From its symbolic association with spring and rebirth to its culinary versatility, parsley has a rich history that makes growing it even more rewarding.
But let’s be honest, not everyone has a sprawling garden or the perfect outdoor climate to cultivate this delightful herb. That’s where the magic of indoor gardening comes in! This DIY guide is your passport to fresh, flavorful parsley, regardless of your living situation. I’m going to walk you through everything you need to know to successfully grow parsley indoors beginner style, from choosing the right pot and soil to providing the perfect amount of light and water.
Why do you need this DIY trick? Because fresh herbs elevate every meal! Plus, growing your own parsley is not only cost-effective but also incredibly satisfying. You’ll be amazed at how easy it is to bring a touch of green into your home and enjoy the delicious benefits of homegrown herbs. So, grab your gardening gloves, and let’s get started on this exciting journey to fresh, indoor parsley!
Growing Parsley Indoors: A Beginner-Friendly Guide
Hello, fellow gardeners! Are you tired of buying overpriced, wilting herbs at the supermarket? Me too! That’s why today I’m showing you how to easily grow your own parsley at home. It’s easier than you think, and you’ll always have fresh herbs on hand. Let’s get started!
What you need:
Before we begin, here is a list of the things you’ll need:
- Parsley seeds: Organic seeds are best to ensure they are free from pesticides. You can choose flat-leaf or curly parsley, depending on what you prefer.
- Starter pots or trays: Small pots or trays with drainage holes are ideal. You can also use recycled yogurt cups or similar items, as long as you make holes for water drainage.
- Seed-starting mix: This soil is specially formulated for growing seedlings and contains fewer nutrients than regular potting soil, which promotes root growth.
- Potting soil: After the seedlings are a bit larger, they will need more nutrient-rich soil.
- A planter: A pot with at least a 15 cm (6-inch) diameter is ideal for mature parsley.
- A spray bottle: For moistening the soil.
- A sunny location: Parsley needs at least 6 hours of sunlight per day. A south- or east-facing windowsill is perfect.
- Optional: A grow light if you don’t have enough sunlight.
- Optional: Liquid fertilizer for herbs.
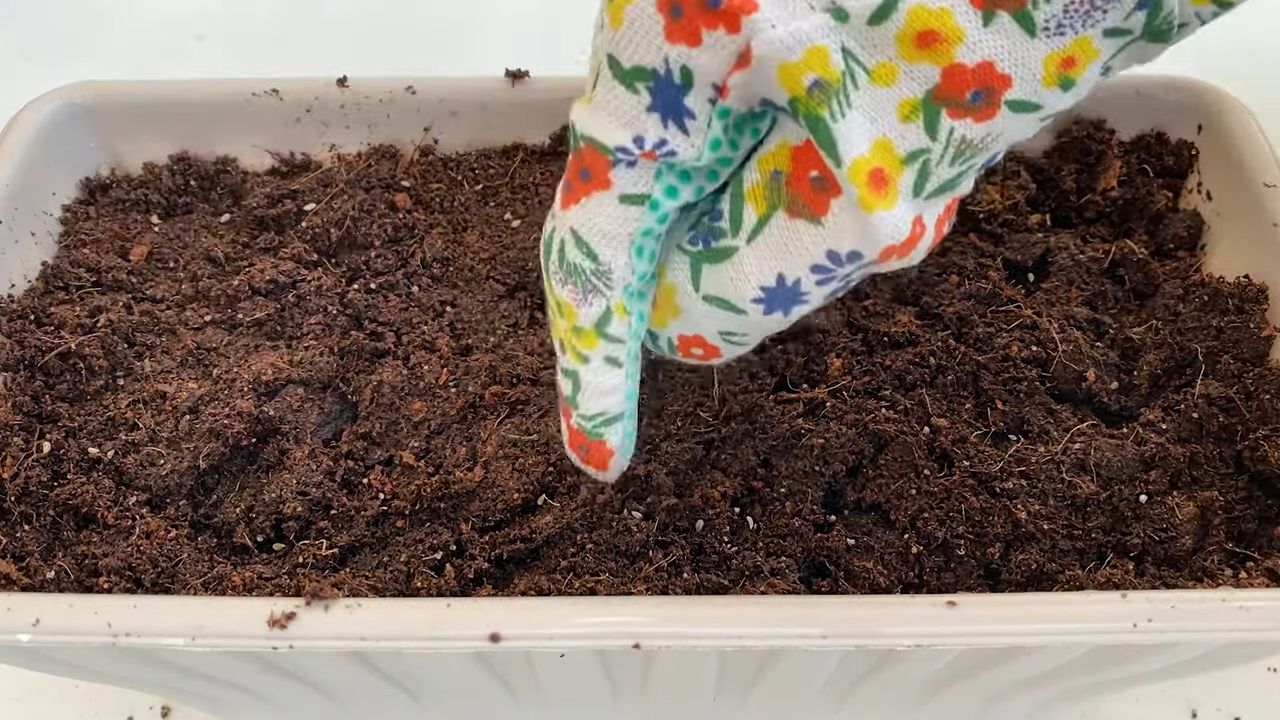
Sowing the Parsley Seeds
This step is crucial for success. Parsley can be a bit finicky when it comes to germinating, but with these tips, it’s sure to work out:
- Prepare the seeds: Parsley seeds have a hard shell that can make germination difficult. To speed up the process, you can soak the seeds in lukewarm water for 24 hours before sowing. This helps to soften the shell.
- Prepare the starter pots: Fill the starter pots or trays with seed-starting mix. Press the soil down lightly, but not too firmly.
- Sow the seeds: Sprinkle the parsley seeds evenly over the soil. Press them down lightly, but don’t cover them too deeply. A thin layer of soil (about 0.5 cm / 0.2 inches) is sufficient.
- Water: Gently moisten the soil with the spray bottle. The soil should be damp, but not wet. Avoid washing the seeds away.
- Keep warm and moist: Cover the starter pots with plastic wrap or a plastic dome to increase humidity. Place them in a warm place (approx. 20-25°C / 68-77°F). A bright location is good, but direct sunlight should be avoided until the seeds have germinated.
- Be patient: Parsley can take a bit longer to germinate than other herbs. It can take up to 3-4 weeks for the first seedlings to appear. Keep the soil moist during this time and ventilate the starter pots regularly to prevent mold.
Transplanting the Seedlings
Once the seedlings are a few centimeters tall and have at least two true leaf pairs, it’s time to transplant them into larger pots.
- Preparation: Fill the planter with potting soil. Leave about 2-3 cm (1 inch) of space at the top.
- Carefully remove the seedlings: Gently loosen the soil around the seedlings with a small spoon or fork. Carefully lift the seedlings out of the starter pots, being careful not to damage the roots.
- Planting: Make a small hole in the potting soil in the planter. Place the seedling inside and fill the hole with soil. Press the soil down lightly.
- Watering: Gently water the seedlings after transplanting.
- Location: Place the planter in a sunny location. Parsley needs at least 6 hours of sunlight per day.
Caring for the Parsley
Proper care is crucial for your parsley to grow healthy and strong.
- Watering: Water the parsley regularly, but avoid waterlogging. The soil should always be slightly moist. Check the soil’s moisture by sticking your finger about 2 cm (1 inch) deep into it. If the soil feels dry, it’s time to water.
- Fertilizing: Fertilize the parsley every 2-4 weeks with a liquid fertilizer for herbs. Follow the instructions on the packaging.
- Pruning: Prune the parsley regularly to encourage growth. Cut the outer leaves so the inner leaves get more light. You can use the cut leaves immediately, or you can freeze or dry them.
- Pests and Diseases: Watch out for pests like aphids or spider mites. If you discover pests, you can combat them with a natural insecticide or a soap solution. Also, watch for signs of diseases like powdery mildew. Ensure good ventilation and avoid wetting the leaves to prevent diseases.
- Overwintering: Parsley is a biennial. This means it produces leaves in the first year and flowers and produces seeds in the second year. After flowering, the plant dies. If you want to overwinter your parsley, you should bring it indoors before the first frost. Place it in a cool, bright spot and water it sparingly.
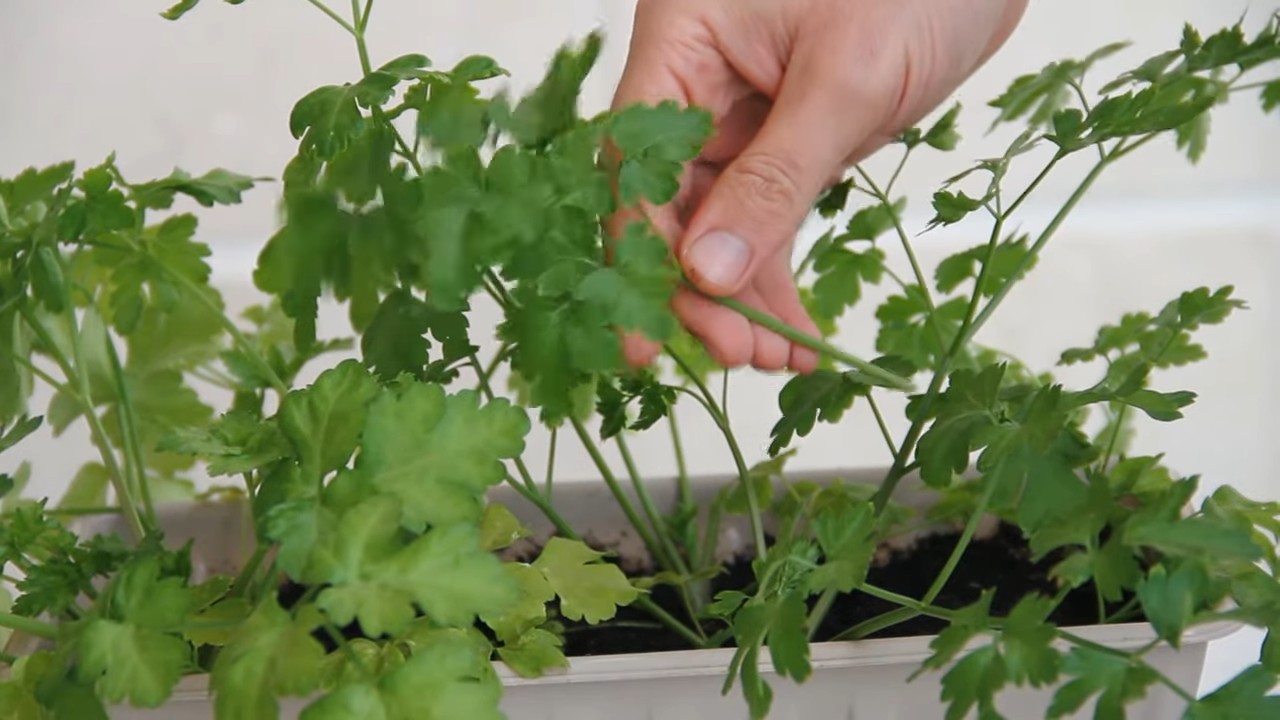
Harvesting the Parsley
The harvest is the best part! You can harvest your parsley as soon as it is large enough.
- When to harvest: You can harvest the parsley as soon as the leaves are large enough to use.
- How to harvest: Cut the outer leaves with scissors or a knife. Cut the stems just above the ground.
- Use: Use the fresh parsley immediately in your favorite dishes. You can also freeze or dry it to make it last longer.
Additional Tips and Tricks
- Seeds from your own harvest: If you let your parsley flower, you can harvest the seeds and sow them again next year.
- Growing parsley in water: You can also grow parsley in water. Simply place a bunch of parsley in a glass of water and change the water regularly. The parsley will form new roots, and you can then plant it in a pot.
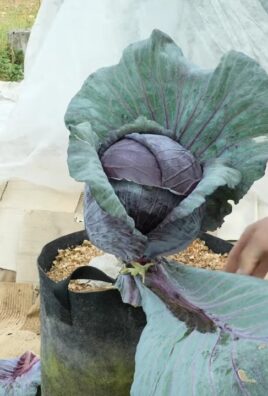
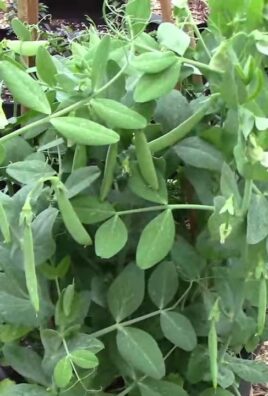
- Parsley as a companion plant: Parsley is a good companion plant for tomatoes, peppers, and roses. It is said to repel pests and promote growth.
I hope this guide helps you grow your own parsley at home. It’s a rewarding project, and you’ll always have fresh herbs on hand. Good luck and have fun gardening
Conclusion
So, there you have it! Growing parsley indoors, even for beginners, is not only achievable but also incredibly rewarding. We’ve walked through the simple steps, from selecting the right container and soil to providing adequate light and water. But why should you bother with this DIY project when you can just buy parsley at the store? The answer is simple: freshness, flavor, and control.
Imagine snipping vibrant, fragrant parsley leaves right from your windowsill whenever you need them. The taste is undeniably superior to the pre-packaged, often wilted, bunches you find at the grocery store. Plus, you know exactly where your parsley is coming from and what (or rather, what isn’t) going into it. No pesticides, no questionable handling – just pure, homegrown goodness.
Beyond the basic method, there’s plenty of room for experimentation. Try different varieties of parsley, such as curly or flat-leaf, to see which you prefer. Consider using a self-watering planter to simplify the watering process, especially if you tend to forget. You can even add a small amount of organic fertilizer every few weeks to boost growth.
Growing parsley indoors is more than just a way to have fresh herbs on hand; it’s a connection to nature, a small act of self-sufficiency, and a delightful addition to your kitchen. It’s a project that’s both easy enough for beginners and satisfying enough for experienced gardeners.
We wholeheartedly encourage you to give this DIY trick a try. Start small, be patient, and don’t be afraid to experiment. Once you taste the difference between store-bought and homegrown parsley, you’ll be hooked!
And most importantly, we want to hear about your experience! Share your tips, successes, and even your challenges in the comments below. Let’s create a community of indoor parsley growers and learn from each other. What variety did you choose? What kind of lighting are you using? What challenges did you face and how did you overcome them? Your insights could be invaluable to other beginners embarking on their own parsley-growing journey. So, grab your seeds, pots, and soil, and let’s get growing!
Frequently Asked Questions (FAQ)
1. What is the best type of parsley to grow indoors?
Both curly and flat-leaf (Italian) parsley grow well indoors. Curly parsley is often preferred for its decorative appearance, while flat-leaf parsley is known for its stronger flavor. Ultimately, the best type depends on your personal preference. Consider trying both to see which you enjoy more. Flat-leaf parsley tends to be a bit more robust and easier to grow, making it a good choice for absolute beginners.
2. How much sunlight does indoor parsley need?
Parsley needs at least 6-8 hours of sunlight per day to thrive. A south-facing window is ideal. If you don’t have enough natural light, consider using a grow light. Fluorescent or LED grow lights are excellent options. Position the light a few inches above the parsley plants and keep it on for 12-14 hours a day. Insufficient light will result in leggy, weak growth.
3. What kind of soil should I use for growing parsley indoors?
Use a well-draining potting mix. Avoid using garden soil, as it can become compacted and doesn’t drain well in containers. A mix of peat moss, perlite, and vermiculite is a good option. You can also find pre-made potting mixes specifically designed for herbs. Make sure the pot has drainage holes to prevent waterlogging.
4. How often should I water my indoor parsley?
Water parsley when the top inch of soil feels dry to the touch. Avoid overwatering, as this can lead to root rot. Water thoroughly until water drains out of the drainage holes. Reduce watering during the winter months when growth slows down. Check the soil moisture regularly, especially during hot weather.
5. How do I harvest parsley from my indoor plant?
Harvest parsley by snipping off the outer stems near the base of the plant. This encourages new growth from the center. Avoid cutting more than one-third of the plant at a time. Regular harvesting will keep your parsley plant productive. You can use scissors or pruning shears for a clean cut.
6. Can I grow parsley from seed indoors?
Yes, you can grow parsley from seed indoors. However, parsley seeds can be slow to germinate. Soak the seeds in water for 24 hours before planting to improve germination rates. Sow the seeds about ¼ inch deep in the potting mix. Keep the soil moist and warm (around 70-75°F). Germination can take 2-3 weeks. Once the seedlings emerge, thin them out to allow for adequate spacing.
7. My parsley plant is turning yellow. What could be the problem?
Yellowing leaves can indicate several issues. Overwatering is a common cause. Make sure the soil is well-draining and allow it to dry out slightly between waterings. Nutrient deficiencies can also cause yellowing. Try fertilizing with a balanced liquid fertilizer. Insufficient light can also contribute to yellowing leaves. Ensure your parsley plant is getting enough sunlight or artificial light. Check for pests, such as aphids or spider mites, which can also cause leaf discoloration.
8. How do I deal with pests on my indoor parsley plant?
Inspect your parsley plant regularly for pests. If you find any, try washing them off with a strong stream of water. You can also use insecticidal soap or neem oil to control pests. Be sure to follow the instructions on the product label. Avoid using harsh chemicals on herbs that you plan to eat.
9. Can I transplant my indoor parsley plant outdoors?
Yes, you can transplant your indoor parsley plant outdoors, but it needs to be acclimated to the outdoor conditions gradually. Start by placing the plant outdoors in a sheltered location for a few hours each day, gradually increasing the amount of time it spends outdoors. This will help it adjust to the sun and wind. Choose a location with well-draining soil and partial shade. Transplant in the spring or fall when the weather is mild.
10. How long will my indoor parsley plant last?
Parsley is a biennial plant, meaning it typically lives for two years. In the first year, it produces foliage. In the second year, it flowers and sets seed, after which it usually dies. To prolong the life of your parsley plant, pinch off any flower buds that appear. This will encourage it to continue producing foliage. You can also start new plants from seed every year to ensure a continuous supply of fresh parsley.
Leave a Comment