
Grow Microgreens at Home – ever dreamt of having a tiny, vibrant garden bursting with flavor right on your kitchen counter? I know I have! Forget those sad, wilted greens from the grocery store; we’re diving headfirst into the wonderful world of microgreens, and trust me, it’s easier than you think!
For centuries, cultures around the globe have cherished sprouts and young greens for their concentrated nutrients and delicious taste. Think of it as a super-powered salad, packed with vitamins and minerals in a tiny, edible package. But beyond their nutritional punch, growing microgreens connects us to a long tradition of nurturing life and enjoying the fruits (or, in this case, the greens!) of our labor.
Why should you learn to grow microgreens at home? Well, for starters, it’s incredibly rewarding! Imagine snipping fresh, flavorful greens to add to your salads, sandwiches, or even as a garnish for your favorite dishes. Plus, it’s a fantastic way to add a touch of green to your indoor space, especially during those long winter months. More importantly, you’ll know exactly where your food comes from and what went into growing it – no pesticides, no questionable additives, just pure, delicious goodness. So, let’s get started and unlock the secrets to a thriving microgreen garden in your very own home!
Grow Your Own Delicious Microgreens: A Beginner’s Guide
Hey there, fellow foodies and green thumbs! Ever wanted to add a burst of fresh flavor and nutrients to your meals without even leaving your house? Well, you’re in the right place! I’m going to walk you through the super simple process of growing your own microgreens at home. Trust me, it’s easier than you think, and the rewards are totally worth it.
What are Microgreens, Anyway?
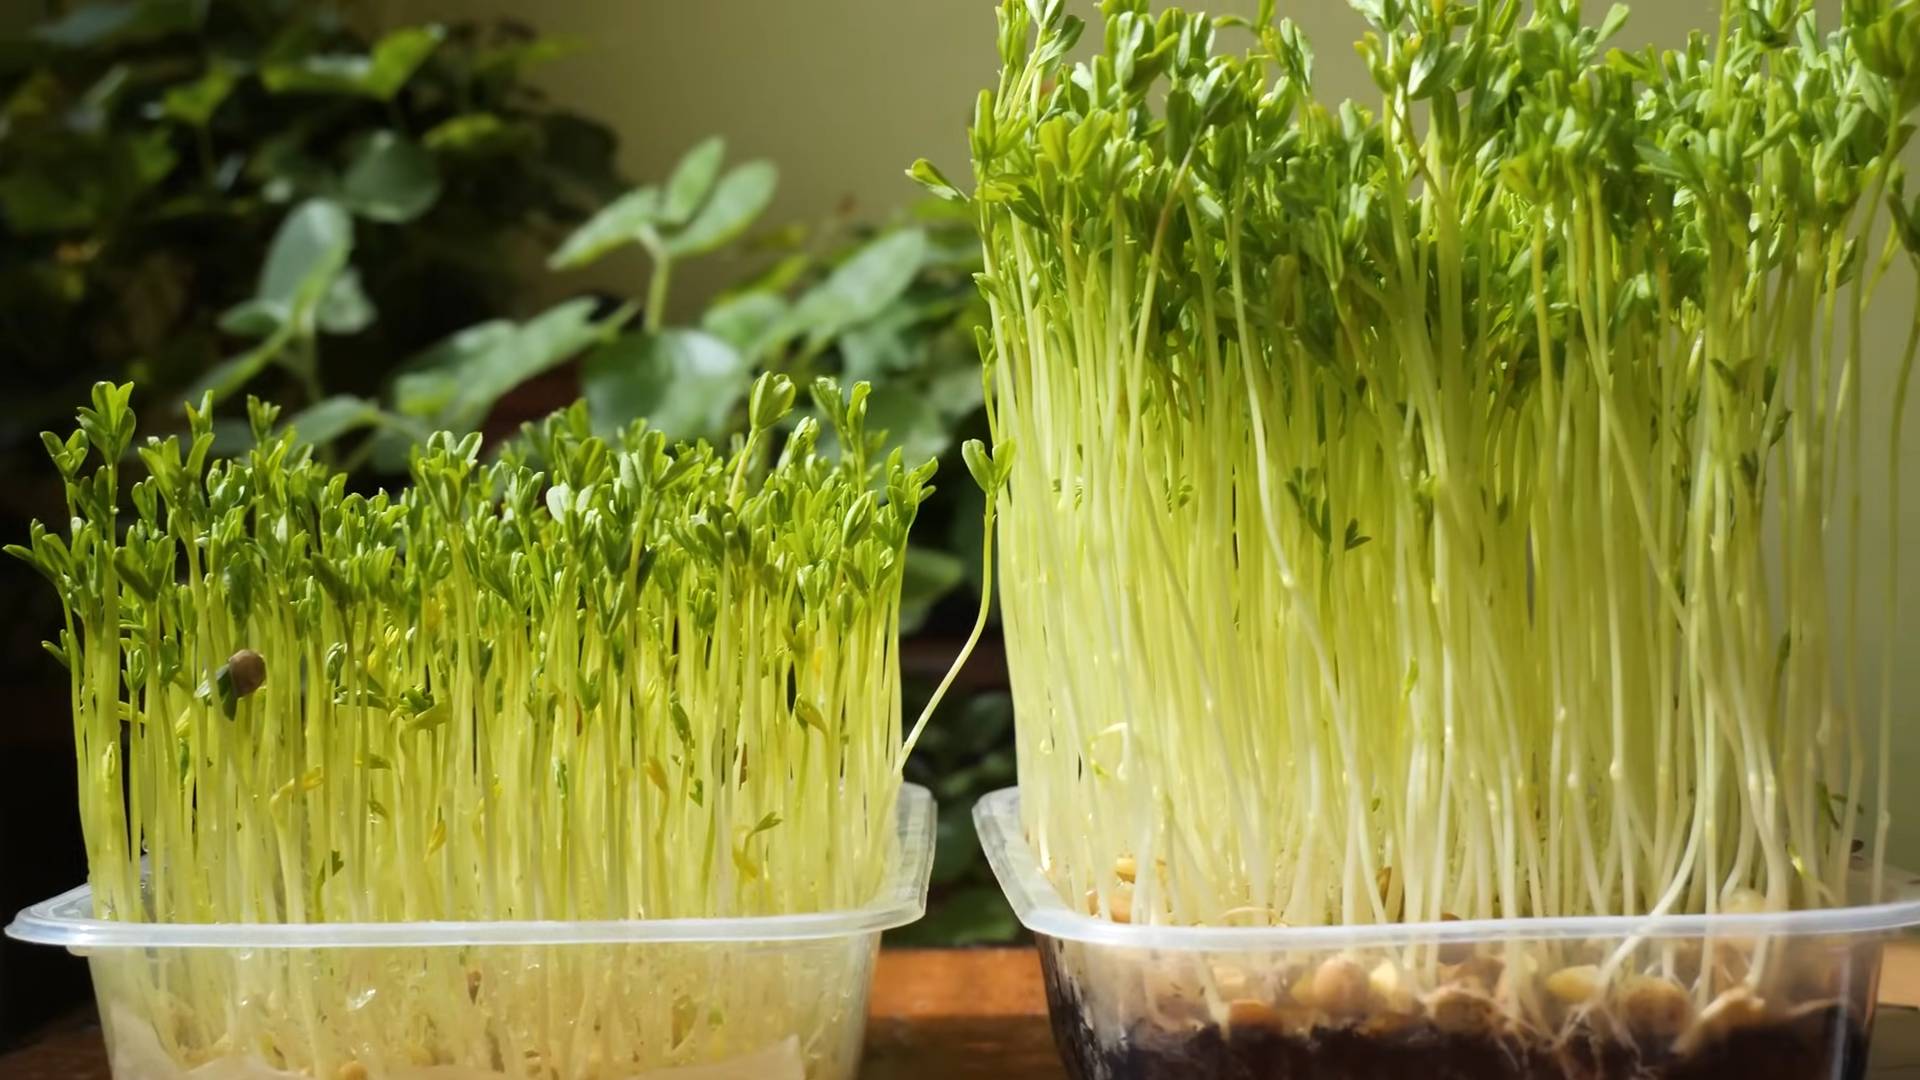
Microgreens are basically baby versions of vegetables and herbs, harvested just a week or two after germination. They’re packed with flavor and nutrients, often even more so than their mature counterparts. Plus, they look gorgeous as a garnish! Think of them as tiny powerhouses of goodness.
Why Grow Your Own?
* Freshness Guaranteed: You can’t beat the freshness of harvesting your microgreens just minutes before you eat them.
* Nutrient-Rich: Microgreens are loaded with vitamins, minerals, and antioxidants.
* Flavor Explosion: They offer intense and unique flavors, adding a gourmet touch to your dishes.
* Cost-Effective: Growing your own is much cheaper than buying them at the store.
* Sustainable: You’re reducing your carbon footprint by growing locally (right in your kitchen!).
* It’s Fun! Seriously, watching these little guys sprout and grow is incredibly satisfying.
What You’ll Need: Your Microgreen Starter Kit
Before we dive in, let’s gather our supplies. Don’t worry, you probably have a lot of this stuff already!
* Seeds: This is the most important part! Choose seeds specifically labeled for microgreens. Some popular options include:
* Radish
* Broccoli
* Sunflower
* Pea shoots
* Arugula
* Mustard
* Kale
* Cress
* Beet
* Avoid using seeds that are treated with fungicides or other chemicals. Organic seeds are always a good choice.
* Growing Trays: You’ll need two trays: one with drainage holes and one without. The tray without holes will act as a water reservoir. You can find these at most garden centers or online. I often reuse plastic takeout containers for this!
* Growing Medium: You have a few options here:
* Seed Starting Mix: This is a lightweight, sterile mix that’s perfect for germination.
* Coco Coir: Made from coconut husks, coco coir is a sustainable and excellent growing medium.
* Soilless Mix: A blend of peat moss, vermiculite, and perlite.
* Avoid using garden soil, as it can contain pests and diseases.
* Spray Bottle: For misting your microgreens.
* Water: Filtered water is best.
* Light Source: Microgreens need light to grow. A sunny windowsill can work, but a grow light will give you more consistent results, especially during the darker months.
* Weight (Optional): A small weight, like a book or a brick wrapped in plastic, can help with germination.
Step-by-Step Guide to Growing Microgreens
Alright, let’s get our hands dirty (well, not really, since we’re using soilless mix!).
Phase 1: Sowing the Seeds
1. Prepare Your Tray: If you’re using a new tray, give it a quick wash with soap and water. This helps prevent any unwanted mold or bacteria.
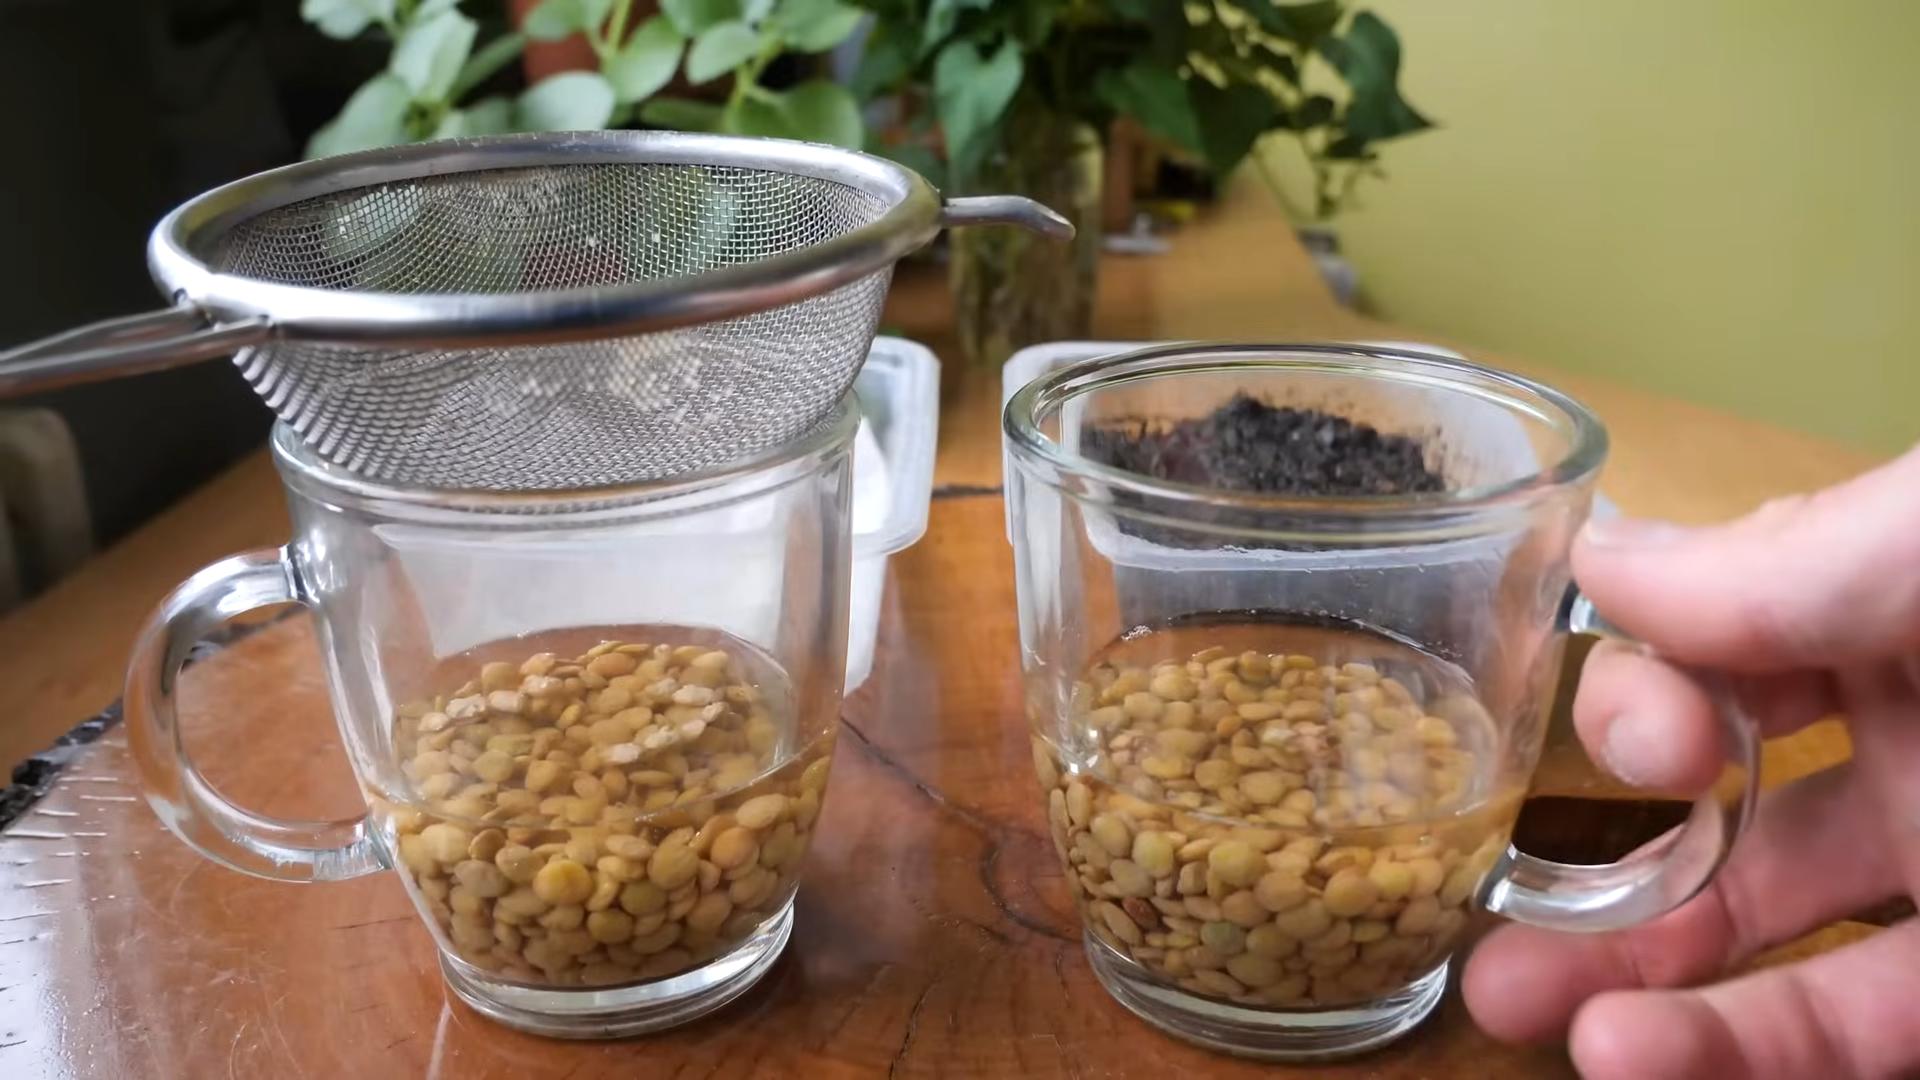
2. Moisten the Growing Medium: Add water to your growing medium until it’s evenly moist but not soggy. You should be able to squeeze it in your hand without water dripping out.
3. Fill the Tray: Fill the tray with drainage holes with your moistened growing medium, leaving about half an inch of space at the top. Gently level the surface.
4. Sow the Seeds: Sprinkle the seeds evenly over the surface of the growing medium. Don’t overcrowd them! A good rule of thumb is to aim for about 75% coverage. For smaller seeds like radish or broccoli, you can sow them more densely. For larger seeds like sunflower or pea shoots, give them a little more space.
5. Gently Press the Seeds: Lightly press the seeds into the growing medium. You don’t need to bury them completely; just make sure they’re making good contact with the moisture.
6. Mist with Water: Use your spray bottle to gently mist the seeds with water. This will help them stay moist and start the germination process.
7. Cover and Weigh (Optional): Cover the tray with a lid or another tray to create a dark, humid environment. This helps with germination. You can also place a light weight on top to encourage even sprouting. I often use a small book wrapped in a plastic bag.
Phase 2: Germination
1. Keep it Dark and Moist: Place the tray in a dark, warm place. A kitchen cabinet or a closet works well.
2. Mist Regularly: Check the tray daily and mist the seeds with water as needed to keep the growing medium moist. You don’t want it to dry out.
3. Monitor for Germination: Most microgreens will start to germinate within 2-4 days. Once you see sprouts emerging, it’s time to move on to the next phase.
Phase 3: Growing Under Light
Hey there, fellow foodies and green thumbs! Ever wanted to add a burst of fresh flavor and nutrients to your meals without even leaving your house? Well, you’re in the right place! I’m going to walk you through the super simple process of growing your own microgreens at home. Trust me, it’s easier than you think, and the rewards are totally worth it.
What are Microgreens, Anyway?
Microgreens are basically baby versions of vegetables and herbs, harvested just a week or two after germination. They’re packed with flavor and nutrients, often even more so than their mature counterparts. Plus, they look gorgeous as a garnish! Think of them as tiny powerhouses of goodness.
Why Grow Your Own?
* Freshness Guaranteed: You can’t beat the freshness of harvesting your microgreens just minutes before you eat them.
* Nutrient-Rich: Microgreens are loaded with vitamins, minerals, and antioxidants.
* Flavor Explosion: They offer intense and unique flavors, adding a gourmet touch to your dishes.
* Cost-Effective: Growing your own is much cheaper than buying them at the store.
* Sustainable: You’re reducing your carbon footprint by growing locally (right in your kitchen!).
* It’s Fun! Seriously, watching these little guys sprout and grow is incredibly satisfying.
What You’ll Need: Your Microgreen Starter Kit
Before we dive in, let’s gather our supplies. Don’t worry, you probably have a lot of this stuff already!
* Seeds: This is the most important part! Choose seeds specifically labeled for microgreens. Some popular options include:
* Radish
* Broccoli
* Sunflower
* Pea shoots
* Arugula
* Mustard
* Kale
* Cress
* Beet
* Avoid using seeds that are treated with fungicides or other chemicals. Organic seeds are always a good choice.
* Growing Trays: You’ll need two trays: one with drainage holes and one without. The tray without holes will act as a water reservoir. You can find these at most garden centers or online. I often reuse plastic takeout containers for this!
* Growing Medium: You have a few options here:
* Seed Starting Mix: This is a lightweight, sterile mix that’s perfect for germination.
* Coco Coir: Made from coconut husks, coco coir is a sustainable and excellent growing medium.
* Soilless Mix: A blend of peat moss, vermiculite, and perlite.
* Avoid using garden soil, as it can contain pests and diseases.
* Spray Bottle: For misting your microgreens.
* Water: Filtered water is best.
* Light Source: Microgreens need light to grow. A sunny windowsill can work, but a grow light will give you more consistent results, especially during the darker months.
* Weight (Optional): A small weight, like a book or a brick wrapped in plastic, can help with germination.
Step-by-Step Guide to Growing Microgreens
Alright, let’s get our hands dirty (well, not really, since we’re using soilless mix!).
Phase 1: Sowing the Seeds
1. Prepare Your Tray: If you’re using a new tray, give it a quick wash with soap and water. This helps prevent any unwanted mold or bacteria.
2. Moisten the Growing Medium: Add water to your growing medium until it’s evenly moist but not soggy. You should be able to squeeze it in your hand without water dripping out.
3. Fill the Tray: Fill the tray with drainage holes with your moistened growing medium, leaving about half an inch of space at the top. Gently level the surface.
4. Sow the Seeds: Sprinkle the seeds evenly over the surface of the growing medium. Don’t overcrowd them! A good rule of thumb is to aim for about 75% coverage. For smaller seeds like radish or broccoli, you can sow them more densely. For larger seeds like sunflower or pea shoots, give them a little more space.
5. Gently Press the Seeds: Lightly press the seeds into the growing medium. You don’t need to bury them completely; just make sure they’re making good contact with the moisture.
6. Mist with Water: Use your spray bottle to gently mist the seeds with water. This will help them stay moist and start the germination process.
7. Cover and Weigh (Optional): Cover the tray with a lid or another tray to create a dark, humid environment. This helps with germination. You can also place a light weight on top to encourage even sprouting. I often use a small book wrapped in a plastic bag.
Phase 2: Germination
1. Keep it Dark and Moist: Place the tray in a dark, warm place. A kitchen cabinet or a closet works well.
2. Mist Regularly: Check the tray daily and mist the seeds with water as needed to keep the growing medium moist. You don’t want it to dry out.
3. Monitor for Germination: Most microgreens will start to germinate within 2-4 days. Once you see sprouts emerging, it’s time to move on to the next phase.
Phase 3: Growing Under Light
1. Remove the Cover: Once the seeds have germinated, remove the cover and weight (if you used one).
2. Introduce Light: Place the tray under a grow light or on a sunny windowsill. If using a grow light, position it a few inches above the microgreens.
3. Water from Below: This is where the second tray comes in handy! Pour water into the tray without drainage holes (the reservoir). Place the tray with the microgreens on top. The growing medium will absorb water from the bottom, preventing the leaves from getting wet and reducing the risk of mold.
4. Rotate Regularly: If you’re using a windowsill, rotate the tray regularly to ensure that all the microgreens get even light. This will prevent them from leaning towards the light source.
5. Monitor and Water: Check the water level in the reservoir daily and refill as needed. Also, keep an eye on the microgreens for any signs of mold or disease. If you see anything suspicious, remove the affected area immediately.
Phase 4: Harvesting and Enjoying
1. Harvest Time: Your microgreens are ready to harvest when they have developed their first set of true leaves (the second set of leaves after the initial seed leaves). This usually takes about 7-14 days, depending on the variety.
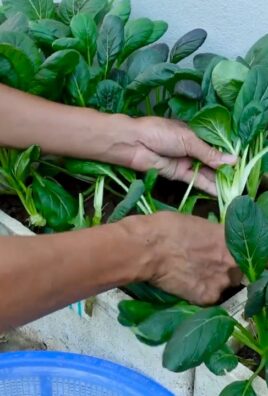
2. Harvesting Technique: Use sharp scissors or a knife to cut the microgreens just above the growing medium.
3. Wash and Dry: Gently wash the harvested microgreens in cool water and pat them dry with a paper towel.
4. Enjoy! Add your fresh microgreens to salads, sandwiches, soups, smoothies, or use them as a garnish for your favorite dishes.
Troubleshooting: Common Issues and Solutions
* Mold: Mold can be a common problem, especially in humid environments. To prevent mold, ensure good air circulation, avoid overwatering, and use a sterile growing medium. If you see mold, remove the affected area immediately and consider spraying the remaining microgreens with a diluted hydrogen peroxide solution.
* Leggy Growth: Leggy microgreens are tall and spindly, usually due to insufficient light. Make sure your microgreens are getting enough light, either from a grow light or a sunny windowsill.
* Uneven Germination: Uneven germination can be caused by uneven sowing, inconsistent moisture, or poor-quality seeds. Try to sow the seeds as evenly as possible, keep the growing medium consistently moist, and use high-quality seeds.
* Slow Growth: Slow growth can be caused by low temperatures, insufficient light, or nutrient deficiencies. Make sure your microgreens are in a warm environment, getting enough light, and that your growing medium is providing adequate nutrients.
Tips and Tricks for Microgreen Success
* Experiment with Different Seeds: Try growing different varieties of microgreens to find your favorites.
* Succession Planting: Sow new seeds every few days to ensure a continuous supply of fresh microgreens.
* Use a Fan: A small fan can help improve air circulation and prevent mold.
* Keep Records: Keep track of which varieties you grow, how long they take to germinate, and any problems you encounter. This will help you improve your microgreen growing skills over time.
* Don’t Give Up! Growing microgreens is a learning process. Don’t be discouraged if you don’t get it right the first time. Just keep experimenting and learning, and you’ll be enjoying fresh,
Conclusion
So, there you have it! Growing microgreens at home is not just a trendy kitchen experiment; it’s a gateway to a healthier, more flavorful, and sustainable lifestyle. We’ve walked you through the simple steps, debunked common myths, and armed you with the knowledge to cultivate your own miniature garden indoors.
Why is this DIY trick a must-try? Because it puts the power of fresh, nutrient-packed greens directly into your hands. Forget those wilted, overpriced containers at the grocery store. With minimal effort and a small investment, you can enjoy a constant supply of vibrant microgreens, bursting with flavor and ready to elevate your meals. Think about it: a sprinkle of spicy radish microgreens on your avocado toast, a handful of sweet pea shoots in your salad, or a vibrant garnish of sunflower sprouts atop your soup. The possibilities are endless!
But the benefits extend beyond just taste and convenience. Growing your own microgreens is an incredibly rewarding experience. It connects you to the natural world, even in the heart of the city. It’s a mindful activity that can reduce stress and promote a sense of accomplishment. And, perhaps most importantly, it’s a sustainable choice that reduces your carbon footprint and supports a more eco-friendly food system.
Looking for variations? Absolutely! Experiment with different types of seeds to discover your favorite flavors. Try mixing and matching varieties for a unique microgreen blend. Consider using different growing mediums, such as coconut coir or hemp mats, to see what works best for you. You can even explore different containers, from repurposed plastic containers to dedicated microgreen trays. The key is to have fun and find what suits your needs and preferences.
Don’t be afraid to get creative! You can even add a diluted liquid fertilizer solution after the first week of growth to boost the nutrient content of your microgreens. Just be sure to use an organic fertilizer and follow the instructions carefully.
We’re confident that once you experience the joy of harvesting your own homegrown microgreens, you’ll be hooked. It’s a simple, satisfying, and incredibly rewarding project that anyone can undertake. So, what are you waiting for? Grab your seeds, your growing medium, and your container, and get ready to embark on your microgreen adventure!
We encourage you to try this DIY trick and share your experience with us. Let us know what varieties you’re growing, what challenges you’ve encountered, and what delicious dishes you’re creating with your microgreens. Share your photos and stories on social media using #HomegrownMicrogreens. We can’t wait to see what you create!
Frequently Asked Questions (FAQ)
What exactly are microgreens, and how are they different from sprouts?
Microgreens are young vegetable greens that are typically harvested 7-21 days after germination, when the first true leaves have emerged. They are larger than sprouts, which are harvested just a few days after germination and consist of the seed, root, and stem. Microgreens offer a more intense flavor and a wider range of nutrients compared to sprouts. They also require a growing medium, while sprouts are typically grown in water.
What types of seeds can I use to grow microgreens?
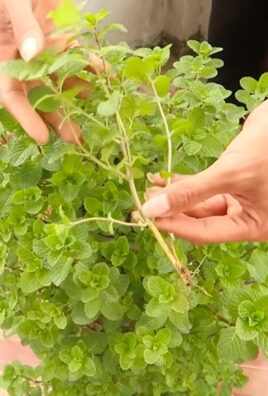
The possibilities are vast! Popular choices include radish, broccoli, kale, arugula, sunflower, pea shoots, mustard, cilantro, and basil. However, it’s crucial to use seeds specifically intended for sprouting or microgreen production. Avoid using seeds that have been treated with fungicides or other chemicals, as these can be harmful to your health. Look for organic, untreated seeds from a reputable source.
What kind of container should I use?
Almost any shallow container with drainage holes will work. Recycled plastic containers, seedling trays, or even repurposed takeout containers can be used. The ideal depth is around 2-3 inches. Make sure the container is clean and sanitized before use to prevent the growth of mold or bacteria. You can also purchase dedicated microgreen trays, which often come with a drainage tray and a humidity dome.
What growing medium is best for microgreens?
A variety of growing mediums can be used, including potting soil, coconut coir, peat moss, and hemp mats. Potting soil is a readily available and affordable option. Coconut coir is a sustainable alternative that retains moisture well. Hemp mats are biodegradable and provide excellent drainage. Experiment with different mediums to see what works best for you and your chosen microgreen varieties.
How much light do microgreens need?
Microgreens need plenty of light to thrive. A sunny windowsill that receives at least 4-6 hours of direct sunlight per day is ideal. If you don’t have access to enough natural light, you can supplement with artificial lighting, such as fluorescent grow lights or LED grow lights. Position the lights a few inches above the microgreens and keep them on for 12-16 hours per day.
How often should I water my microgreens?
Microgreens need to be kept consistently moist, but not waterlogged. Water them gently with a spray bottle or watering can, ensuring that the growing medium is evenly moistened. Water once or twice a day, depending on the humidity and temperature. Avoid overwatering, as this can lead to mold growth.
How do I prevent mold growth?
Mold growth is a common problem when growing microgreens, but it can be prevented with proper ventilation and watering practices. Ensure that your microgreens have adequate airflow by placing them in a well-ventilated area. Avoid overwatering and allow the surface of the growing medium to dry slightly between waterings. If you notice any mold growth, remove the affected area immediately and spray the remaining microgreens with a diluted solution of hydrogen peroxide and water.
When are microgreens ready to harvest?
Microgreens are typically ready to harvest when the first true leaves have emerged, which is usually 7-21 days after germination. The exact timing will depend on the variety of microgreen. Harvest them by snipping the stems just above the growing medium with scissors or a sharp knife.
How long do microgreens last after harvesting?
Microgreens are best consumed fresh, but they can be stored in the refrigerator for up to a week. To store them, gently rinse them with water and pat them dry with a paper towel. Place them in a sealed container or plastic bag and store them in the crisper drawer of your refrigerator.
Are there any microgreens I should avoid growing?
Yes, some plants have toxic leaves and should not be grown as microgreens. Avoid growing microgreens from the nightshade family (tomatoes, potatoes, eggplants, peppers) as their leaves contain solanine, which can be toxic. Also, avoid growing rhubarb leaves as they contain oxalic acid, which is also toxic. Always research the safety of a plant before growing it as a microgreen.
Can I reuse the growing medium?
It’s generally not recommended to reuse the growing medium after harvesting microgreens, as it may contain residual seeds, roots, and potential pathogens. It’s best to start with fresh growing medium for each batch of microgreens. However, you can compost the used growing medium to enrich your garden soil.
What are the nutritional benefits of microgreens?
Microgreens are packed with nutrients, often containing higher concentrations of vitamins, minerals, and antioxidants than their mature counterparts. They are a good source of vitamins A, C, and K, as well as minerals like iron, potassium, and magnesium. The specific nutrient content will vary depending on the variety of microgreen.

Leave a Comment