
Grow Dill Kitchen Garden: Imagine stepping into your kitchen, needing a sprig of fresh dill for that creamy cucumber salad or a flavorful garnish for your salmon, and simply snipping it right from your windowsill. Sounds dreamy, right? Well, it’s absolutely achievable, and I’m here to show you how! For centuries, dill has been more than just a culinary herb; it’s been a symbol of good luck and protection, with roots tracing back to ancient Egypt and Rome. Today, we’re bringing this historical herb into the modern kitchen, making fresh, homegrown dill accessible to everyone, regardless of space or gardening experience.
In this DIY guide, I’ll walk you through the simple steps to cultivate your own thriving dill patch indoors. Why is this so important? Because store-bought herbs can be expensive, often wilt quickly, and lack the vibrant flavor of freshly picked dill. Plus, there’s something incredibly satisfying about nurturing a plant from seed to harvest. Whether you’re a seasoned gardener or a complete beginner, this article will provide you with the knowledge and confidence to grow dill kitchen garden successfully. Get ready to enjoy the unparalleled taste and convenience of homegrown dill – let’s get started!
Your Own Dill Kitchen Garden: It’s That Easy!
I love fresh dill! The scent, the taste – simply unbeatable. And what’s better than having it right in the kitchen, always on hand? No more annoying trips to the supermarket, no more wilted dill from plastic packaging. With this guide, I’ll show you how to easily create your own little dill garden in the kitchen. It’s really child’s play and a lot of fun!
What You Need: The Materials List
Before we get started, here is a list of all the things you’ll need for your indoor dill garden:
- Dill seeds: Preferably organic quality, so you can be sure no harmful pesticides were used. You can find them in any garden center or online.
- Seedling pots or trays: Small pots with a diameter of about 8-10 cm are ideal. You can also use a larger tray and grow several dill plants in it.
- Seed starting mix: Special seed starting mix is loose and low in nutrients, which is ideal for seed germination. Regular potting soil is often too rich.
- Potting soil: When the dill plants get larger, they will need more nutrient-rich soil.
- Drainage material: Expanded clay pellets, gravel, or clay shards are excellent for preventing waterlogging.
- Spray bottle: For moistening the soil.
- Watering can: For watering the plants when they are larger.
- Bright windowsill: Dill needs a lot of light to grow well. A south-facing window is ideal, but an east or west-facing window can also work.
- Optional: A small shovel or spoon for filling the pots.
- Optional: A clear plastic film or a mini-greenhouse to increase humidity during germination.
Step-by-Step Guide: How to Grow Your Dill
Now, let’s get down to it! Follow these steps to start your own dill garden in the kitchen:
1. Preparing the Seedling Pots:
- First, place a layer of drainage material (expanded clay, gravel, or clay shards) at the bottom of the seedling pots or tray. This ensures that excess water can drain away and the roots do not rot.
- Next, fill the pots with seed starting mix. Leave about 1-2 cm of space to the rim.
- Moisten the soil lightly with the spray bottle. It should be damp, but not wet.
2. Sowing the Dill Seeds:
- Distribute the dill seeds evenly on the surface of the soil. Dill is a light germinator, which means it needs light to germinate. Therefore, you should not press the seeds too deep into the soil.
- Press the seeds down lightly so they have good contact with the soil.
- Cover the seeds only very thinly with some seed starting mix or fine sand.
- Moisten the soil again carefully with the spray bottle.
3. Creating an Ideal Germination Climate:
- To increase humidity and speed up germination, you can cover the seedling pots with a clear plastic film or a mini-greenhouse.
- Place the pots in a bright and warm place. The ideal germination temperature for dill is between 18 and 22 degrees Celsius.
- Ventilate the cover briefly every day to prevent mold.
4. Care During Germination:
- Keep the soil evenly moist but not wet during germination. Spray it with the spray bottle as needed.
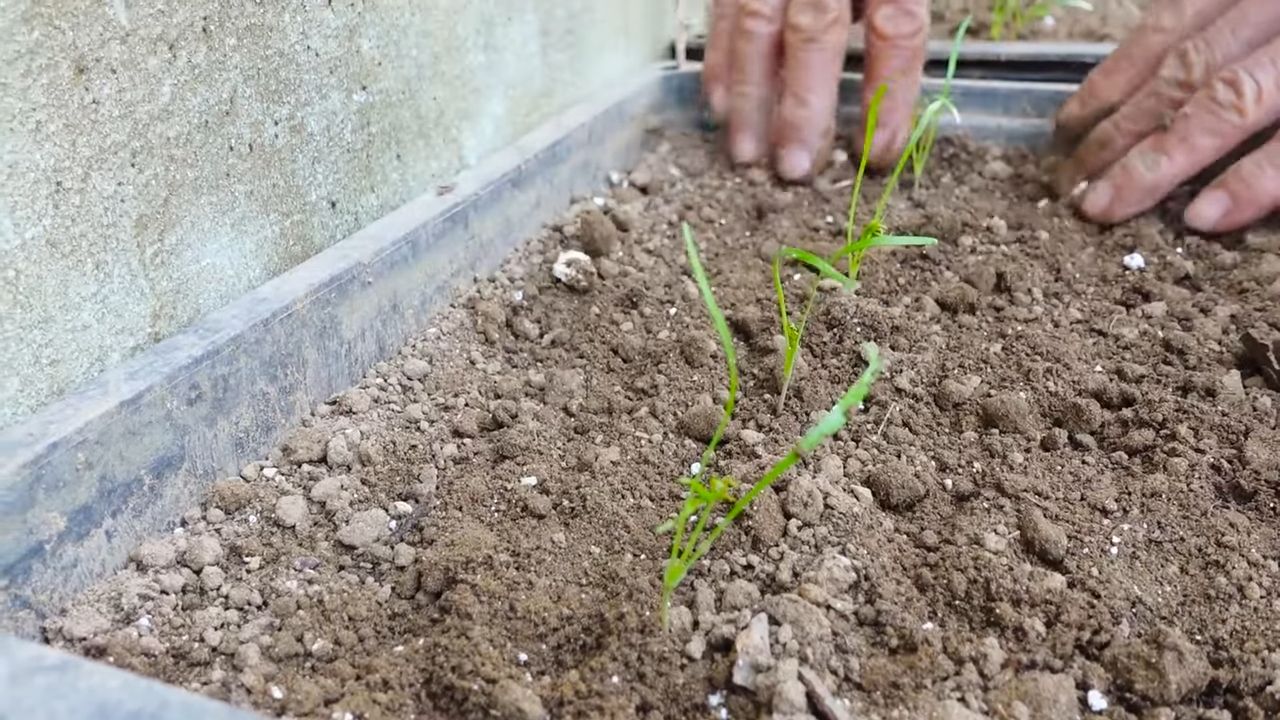
- After about 10-14 days, the first seedlings should be visible.
- Once the seedlings have emerged, you can remove the cover.
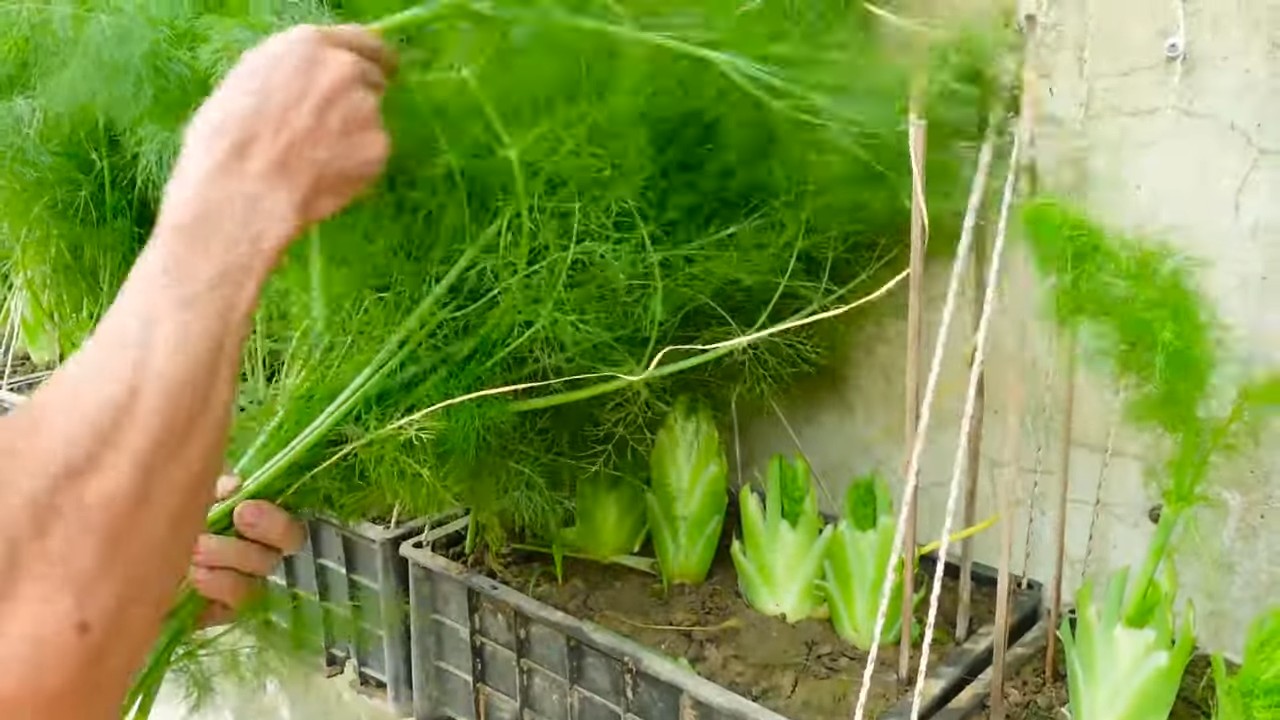
5. Pricking Out the Dill Plants (Optional):
- If you have grown several dill plants in one tray, you should prick them out as soon as they have developed a few leaves. This means you carefully separate them and transplant them into individual pots.
- Carefully lift the dill plants out of the soil with a dibber or a spoon. Be careful not to damage the roots.
- Plant each dill plant in a separate pot with potting soil.
- Water the plants carefully after pricking them out.
6. Caring for the Dill Plants:
- Place the dill plants in a bright and sunny location.
- Water the plants regularly, but avoid waterlogging. The soil should always be slightly moist.
- Fertilize the dill plants every few weeks with an organic liquid fertilizer.
- Regularly remove wilted leaves to encourage the formation of new ones.
7. Harvesting the Dill:
- You can harvest the dill as soon as it is about 15-20 cm high.
- Cut the dill tips with scissors.
- The more often you harvest, the bushier the dill plant will become.
Additional Tips for a Successful Dill Garden
Here are a few more tips that can help you make your kitchen dill garden even more successful:
- Choose the right location: Dill needs a lot of light to grow well. A south-facing window is ideal, but an east or west-facing window can also work. If you don’t have enough natural light, you can use a plant lamp.
- Pay attention to proper watering: Dill likes it moist, but not wet. Water the plants regularly, but avoid waterlogging. Let the soil dry out slightly between waterings.
- Fertilize regularly: Dill is a heavy feeder and needs regular nutrients. Fertilize the plants every few weeks with an organic liquid fertilizer.
- Protect dill from pests: Dill can be infested by aphids or spider mites. Check the plants regularly and combat pests with natural remedies if necessary.
- Use high-quality soil: Use special seed starting mix for germination and potting soil for further care. Make sure the soil is loose and permeable.
- Ensure good ventilation: Dill likes it airy. Ensure good ventilation by opening the windows regularly or setting up a fan.
- Harvest regularly: The more often you harvest, the bushier the dill plant will become and the more dill you will have available.
Common Problems and Solutions
Problems can also arise when growing dill in the kitchen. Here are some common problems and how you can solve them:
Cause: Too little light, nutrient deficiency, pot too small.
Dill does not germinate:
Cause: Seeds too old, soil too dry or too cold.
Solution: Use fresh seeds, keep the soil moist, provide a warm environment.
Dill turns yellow:
Cause: Too little light, too much water, nutrient deficiency.
Solution: Move dill to a brighter location, water less, fertilize.
Dill is infested with pests:
Cause: Pests like aphids or spider mites.
Solution: Combat pests with natural remedies (e.g., with a soap solution).
Dill does not grow:
Conclusion
So, there you have it! Cultivating your own dill, right in your kitchen, is not only achievable but also incredibly rewarding. This simple DIY trick transforms your windowsill into a miniature herb garden, providing you with a constant supply of fresh, fragrant dill whenever you need it. Forget those sad, wilted bunches from the grocery store – imagine the vibrant flavor of freshly snipped dill enhancing your favorite dishes.
Why is this a must-try? Because it’s about more than just saving money (though that’s a definite perk!). It’s about connecting with your food, understanding where it comes from, and experiencing the satisfaction of nurturing something from seed to table. It’s about adding a touch of green to your indoor space and infusing your kitchen with the delightful aroma of dill. And let’s be honest, it’s just plain fun!
Beyond the basic method, there’s plenty of room for experimentation. Try different varieties of dill to discover your favorite flavor profile. Some gardeners swear by ‘Bouquet’ dill for its prolific growth, while others prefer ‘Fernleaf’ for its compact size and feathery foliage. You can also experiment with different containers – from repurposed yogurt containers to stylish terracotta pots – to find what works best for your space and aesthetic. Consider companion planting your dill with other herbs like parsley or chives in a larger container for a mini kitchen garden ecosystem.
Don’t be intimidated if you’ve never grown anything before. Growing dill is surprisingly forgiving, and even a novice gardener can achieve success with a little patience and attention. The key is to provide adequate sunlight, well-draining soil, and consistent moisture.
We wholeheartedly encourage you to give this DIY trick a try. Start small, learn as you go, and don’t be afraid to make mistakes. The journey of growing your own food is just as rewarding as the final harvest. And most importantly, we want to hear about your experience! Share your photos, tips, and challenges in the comments below. Let’s create a community of indoor gardeners, all enjoying the fresh, flavorful benefits of homegrown dill. Let us know what you think of this method to grow dill in your kitchen. We are confident that you will love it.
Now, let’s address some frequently asked questions to ensure your dill-growing journey is a smooth and successful one.
Frequently Asked Questions (FAQ)
What kind of soil should I use for growing dill indoors?
Dill thrives in well-draining soil that is rich in organic matter. A good starting point is a standard potting mix amended with compost or aged manure. Avoid using garden soil, as it can be too heavy and may contain pests or diseases. Look for a potting mix specifically formulated for herbs or vegetables, as these often contain the right balance of nutrients for optimal growth. You can also create your own mix by combining equal parts potting soil, perlite, and vermiculite. This will provide excellent drainage and aeration, which are crucial for healthy dill growth. Remember to choose a soil that retains moisture but doesn’t become waterlogged.
How much sunlight does dill need when grown indoors?
Dill requires at least 6 hours of direct sunlight per day to thrive. A south-facing window is ideal, but an east- or west-facing window can also work if it provides sufficient light. If you don’t have access to a sunny window, you can supplement with a grow light. Position the grow light a few inches above the dill seedlings and keep it on for 12-14 hours per day. Rotate the pot regularly to ensure that all sides of the plant receive equal light exposure. Insufficient sunlight can lead to leggy growth and reduced flavor.
How often should I water my indoor dill plant?
Water your dill plant when the top inch of soil feels dry to the touch. Avoid overwatering, as this can lead to root rot. Water deeply until the water drains out of the bottom of the pot. Allow the excess water to drain away completely. During the warmer months, you may need to water more frequently. Check the soil moisture regularly and adjust your watering schedule accordingly. A good rule of thumb is to water thoroughly but infrequently, allowing the soil to dry out slightly between waterings.
When and how should I harvest dill from my indoor garden?
You can start harvesting dill leaves once the plant is about 6-8 inches tall. Use scissors or pruning shears to snip off the leaves as needed. Avoid removing more than one-third of the plant at a time, as this can stunt its growth. For the best flavor, harvest dill in the morning after the dew has dried. Dill flowers are also edible and can be used to add a delicate flavor to salads and other dishes. To harvest dill seeds, allow the flower heads to dry completely on the plant. Once the seeds are brown and dry, you can collect them and store them in an airtight container.
My dill plant is turning yellow. What could be the problem?
Yellowing leaves can be a sign of several problems, including overwatering, underwatering, nutrient deficiencies, or pest infestations. Check the soil moisture to ensure that you are not overwatering or underwatering. If the soil is consistently wet, allow it to dry out completely before watering again. If the soil is dry, water deeply. Yellowing leaves can also indicate a nutrient deficiency. Fertilize your dill plant with a balanced liquid fertilizer every 2-4 weeks. Finally, inspect the plant for pests such as aphids or spider mites. If you find any pests, treat the plant with an insecticidal soap or neem oil.
Can I grow dill from seed indoors?
Yes, growing dill from seed indoors is a great way to start your kitchen garden. Sow the seeds directly into your chosen container, about ¼ inch deep. Keep the soil moist but not waterlogged. Dill seeds typically germinate in 7-14 days. Once the seedlings emerge, thin them out to allow for adequate spacing. Provide plenty of sunlight or a grow light to encourage healthy growth. Starting dill from seed indoors allows you to control the growing environment and ensures a continuous supply of fresh dill.
What are some common pests and diseases that affect dill?
Dill is generally resistant to pests and diseases, but it can be susceptible to aphids, spider mites, and powdery mildew. Aphids are small, sap-sucking insects that can cause yellowing and distorted growth. Spider mites are tiny pests that create webs on the leaves. Powdery mildew is a fungal disease that causes a white, powdery coating on the leaves. To prevent pests and diseases, provide good air circulation, avoid overwatering, and inspect your plants regularly. If you find any pests or diseases, treat them promptly with an appropriate insecticide or fungicide.
How long does it take for dill to grow indoors?
From seed to harvest, dill typically takes about 6-8 weeks to mature indoors. The exact time will depend on the growing conditions, such as sunlight, temperature, and soil quality. With proper care, you can enjoy a continuous supply of fresh dill throughout the growing season. Remember to harvest regularly to encourage new growth and prevent the plant from bolting (going to seed).
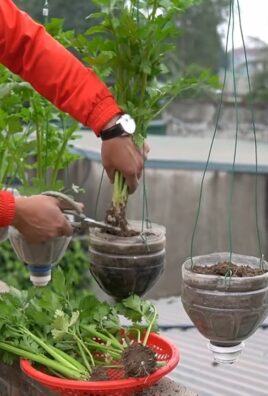
Can I transplant dill seedlings from outdoors to indoors?
While it’s possible to transplant dill seedlings from outdoors to indoors, it’s generally not recommended. Dill has a taproot, which can be easily damaged during transplanting. If you do decide to transplant, choose young seedlings and carefully dig them up, taking care to preserve as much of the root system as possible. Transplant them into a pot with well-draining soil and water thoroughly. Keep the seedlings in a shaded area for a few days to help them adjust to their new environment. However, starting dill from seed directly indoors is usually a more successful approach.
How do I prevent dill from bolting indoors?
Bolting, or going to seed prematurely, can be a problem with dill, especially in hot weather. To prevent bolting indoors, keep the temperature cool and provide adequate moisture. Avoid letting the soil dry out completely. Harvest dill leaves regularly to encourage new growth and prevent the plant from focusing on seed production. If your dill plant does start to bolt, you can still use the flowers and seeds in your cooking.
Leave a Comment