
Grow Dill Indoors? Absolutely! Imagine fresh, fragrant dill readily available right in your kitchen, ready to elevate your culinary creations. No more last-minute dashes to the grocery store or settling for dried herbs that lack that vibrant, fresh flavor. For centuries, cultivating herbs indoors has been a practice cherished across cultures, from ancient Egyptians growing medicinal plants to medieval monks tending their monastery gardens.
I know, I know, the thought of indoor gardening might seem daunting, but trust me, it’s easier than you think! In today’s busy world, finding time for a traditional garden can be a challenge. That’s where this DIY guide comes in. I’m going to show you simple, effective tricks and hacks to successfully grow dill indoors, regardless of your experience level. We’ll cover everything from choosing the right container and soil to providing the perfect amount of light and water.
Think of the possibilities! Fresh dill for your creamy dips, flavorful sauces, and perfectly seasoned fish dishes. Plus, nurturing a little bit of green indoors can be incredibly therapeutic, bringing a touch of nature and tranquility into your home. So, let’s get started and transform your windowsill into a thriving herb garden!

Growing Dill Indoors: A Beginner’s Guide
Hey there, fellow plant enthusiasts! Ever dreamt of having fresh, fragrant dill right at your fingertips, no matter the season? Well, you’re in luck! Growing dill indoors is surprisingly easy, and I’m here to walk you through every step of the process. Get ready to enjoy the delightful aroma and flavor of homegrown dill in your favorite recipes!
What You’ll Need
Before we dive in, let’s gather our supplies. Here’s a checklist of everything you’ll need to successfully grow dill indoors:
* **Dill Seeds:** Choose a variety specifically suited for containers, like ‘Dwarf Fernleaf’ or ‘Bush’ dill. These tend to stay compact and are perfect for indoor growing.
* **Potting Mix:** Use a high-quality, well-draining potting mix. Avoid using garden soil, as it can compact and hinder drainage.
* **Containers:** Select pots that are at least 6-8 inches in diameter and depth. Dill has a taproot, so it needs room to grow. Make sure your pots have drainage holes!
* **Grow Lights (Optional but Recommended):** Dill needs plenty of light, so if you don’t have a sunny windowsill, invest in a grow light.
* **Watering Can or Spray Bottle:** For gentle watering.
* **Small Shovel or Trowel:** For planting the seeds.
* **Seed Starting Tray (Optional):** If you prefer to start your seeds indoors before transplanting.
Getting Started: Planting Your Dill Seeds
Now for the fun part! Let’s get those dill seeds planted. You have two options here: direct sowing into your final container or starting the seeds in a seed starting tray. I personally prefer direct sowing, as it avoids transplant shock, but both methods work just fine.
Direct Sowing (My Preferred Method)
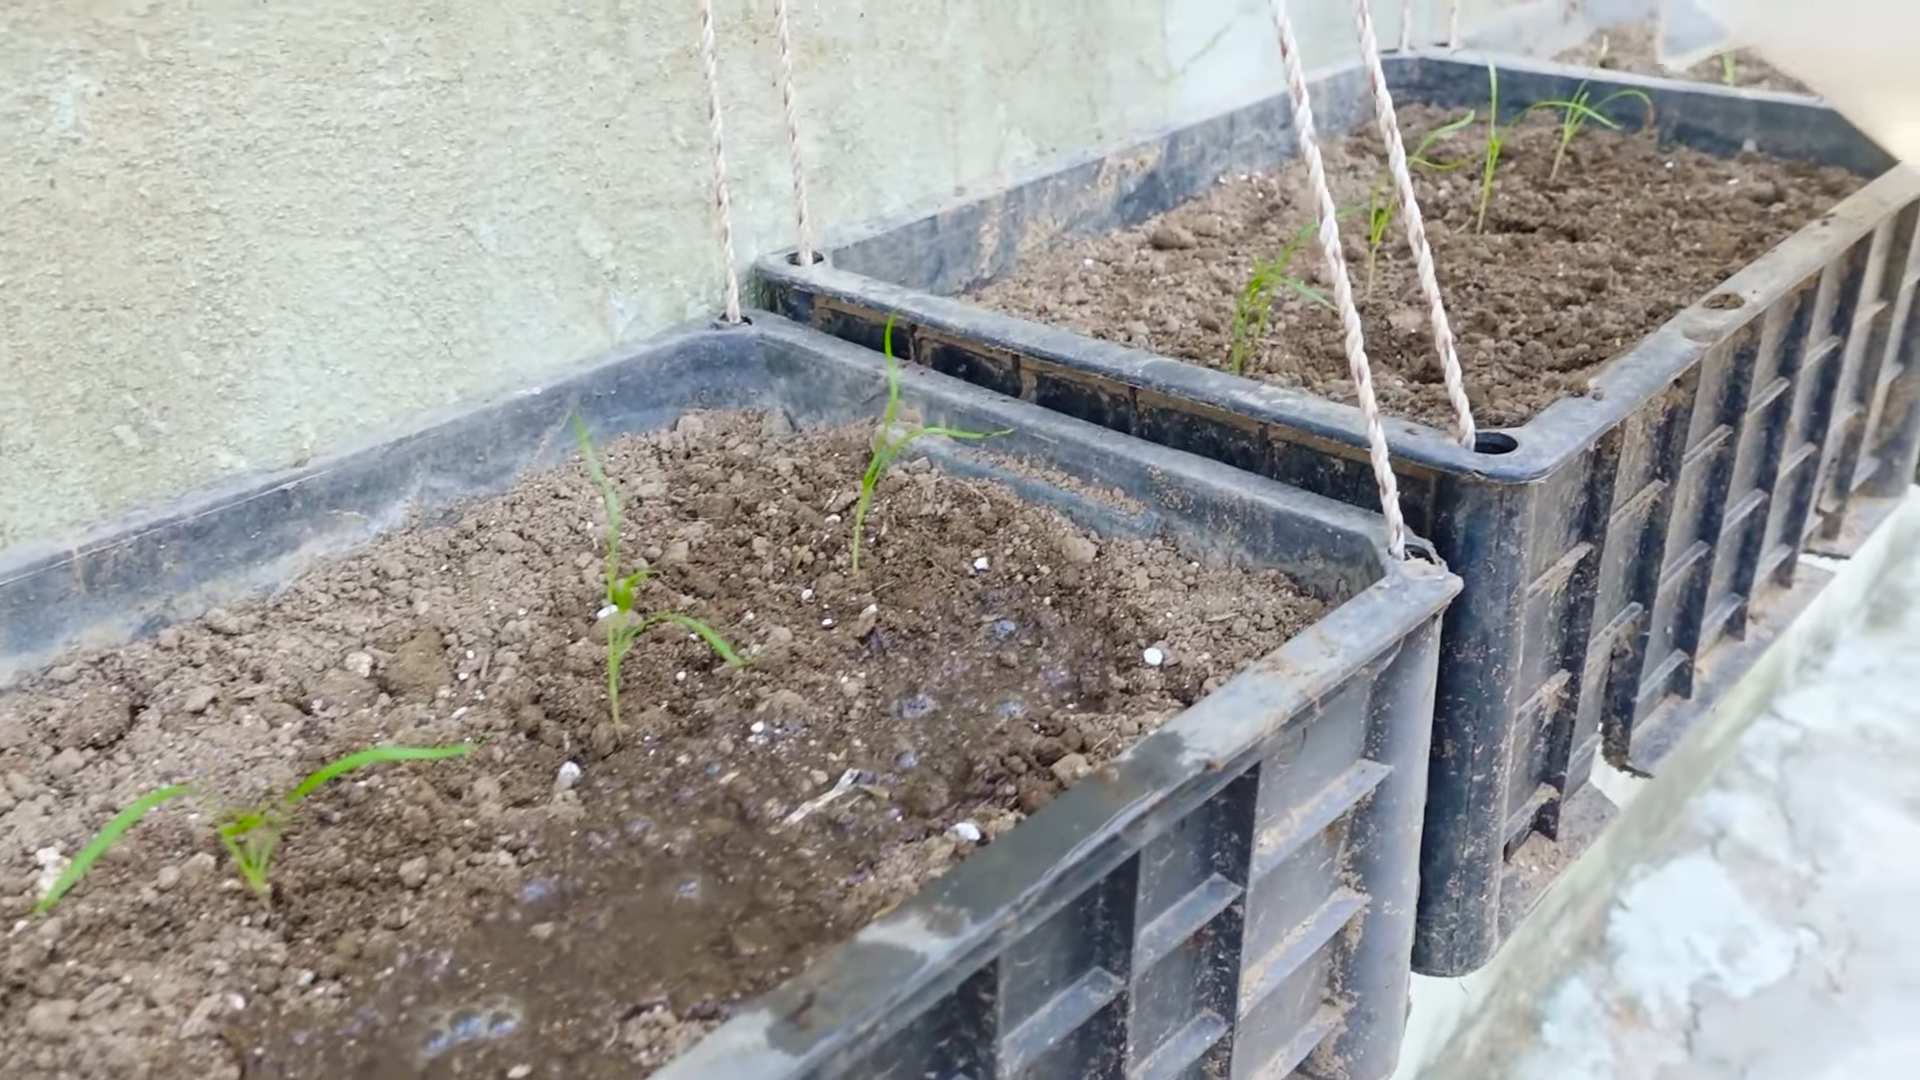
1. Prepare Your Pot: Fill your chosen container with potting mix, leaving about an inch of space at the top. Gently pat down the soil to remove any large air pockets.
2. Sow the Seeds: Sprinkle the dill seeds evenly over the surface of the soil. You can sow a few extra seeds to ensure germination.
3. Cover the Seeds: Lightly cover the seeds with a thin layer of potting mix (about ¼ inch).
4. Water Gently: Use a watering can or spray bottle to gently moisten the soil. Be careful not to dislodge the seeds. The soil should be damp but not soggy.
5. Provide Light and Warmth: Place the pot in a warm location (around 70°F or 21°C) with plenty of light. If you’re using a grow light, position it a few inches above the soil surface.
6. Maintain Moisture: Keep the soil consistently moist but not waterlogged. Check the soil moisture daily and water as needed.
Starting Seeds in a Tray (Alternative Method)
1. Fill the Seed Starting Tray: Fill each cell of the seed starting tray with potting mix.
2. Sow the Seeds: Place 2-3 dill seeds in each cell.
3. Cover the Seeds: Lightly cover the seeds with a thin layer of potting mix.
4. Water Gently: Water the tray gently until the soil is moist.
5. Provide Light and Warmth: Place the tray in a warm location with plenty of light.
6. Maintain Moisture: Keep the soil consistently moist.
7. Transplant Seedlings: Once the seedlings have developed a few sets of true leaves (usually after a few weeks), carefully transplant them into your chosen containers. Be gentle when handling the delicate roots.
Caring for Your Dill Plants
Once your dill seeds have germinated and your seedlings are growing, it’s time to focus on providing them with the care they need to thrive.
1. Light: Dill needs at least 6 hours of direct sunlight per day. If you don’t have a sunny windowsill, use a grow light. Position the light a few inches above the plants and adjust as they grow.
2. Watering: Water your dill plants regularly, keeping the soil consistently moist but not waterlogged. Overwatering can lead to root rot, so be sure to let the top inch of soil dry out slightly between waterings. I usually check the soil moisture every day or two.
3. Temperature: Dill prefers temperatures between 60°F and 70°F (15°C and 21°C). Avoid placing your plants near drafts or extreme temperature fluctuations.
4. Fertilizing: Dill doesn’t need a lot of fertilizer, but a light feeding every few weeks can help promote healthy growth. Use a balanced liquid fertilizer diluted to half strength. I like to use a fish emulsion fertilizer.
5. Pinching and Pruning: Pinch off the flower heads as they appear to encourage more leaf production. You can also prune your dill plants to maintain their shape and prevent them from becoming too leggy.
6. Air Circulation: Good air circulation is important for preventing fungal diseases. Make sure your plants have enough space between them and that the air is circulating freely. A small fan can help improve air circulation.
Dealing with Pests and Diseases
While dill is relatively pest-resistant, it can occasionally be affected by aphids, spider mites, or fungal diseases.
* Aphids: These tiny pests can suck the sap from your dill plants, causing them to become weak and stunted. You can control aphids by spraying them with a strong stream of water or by using insecticidal soap.
* Spider Mites: These tiny pests can cause yellowing and stippling on the leaves of your dill plants. You can control spider mites by increasing humidity and spraying them with insecticidal soap.
* Fungal Diseases: Fungal diseases, such as powdery mildew, can occur if your dill plants are grown in humid conditions with poor air circulation. You can prevent fungal diseases by providing good air circulation and avoiding overwatering. If you notice signs of fungal disease, remove the affected leaves and spray the plants with a fungicide.
Harvesting Your Dill
The best part of growing dill indoors is, of course, harvesting it! You can start harvesting dill leaves as soon as the plants are about 6-8 inches tall.
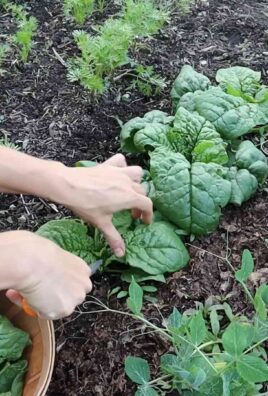
1. Harvesting Leaves: Use scissors or your fingers to snip off the leaves as needed. Start by harvesting the outer leaves, leaving the inner leaves to continue growing.
2. Harvesting Seeds: If you want to harvest dill seeds, allow the flower heads to mature and dry on the plant. Once the seeds are dry and brown, you can harvest them and store them in an airtight container.
3. Using Your Harvest: Fresh dill leaves can be used in a variety of dishes, such as salads, soups, sauces, and dips. Dill seeds can be used to flavor pickles, breads, and other savory dishes.
Troubleshooting
Even with the best care, you might encounter some challenges when growing dill indoors. Here are a few common problems and how to solve them:
* Yellowing Leaves: This could be a sign of overwatering, underwatering, nutrient deficiency, or pest infestation. Check the soil moisture, fertilize if necessary, and inspect the plants for pests.
* Leggy Growth: This is usually caused by insufficient light. Move your plants to a sunnier location or use a grow light.
* Slow Growth: This could be due to a variety of factors, such as poor soil, insufficient light, or low temperatures. Make sure your plants have well-draining soil, plenty of light, and a warm environment.
* No Germination: This could be due to old seeds, poor soil, or insufficient moisture. Use fresh seeds, plant them in well-draining soil, and keep the soil consistently moist.
Choosing the Right Dill Variety
As I mentioned earlier, selecting the right dill variety is crucial for indoor growing. Here are a few of my favorites:
* ‘Dwarf Fernleaf’: This compact variety is perfect for containers and has a delicate, fern-like foliage.
* ‘Bush’: Another compact variety that produces a bushy growth habit.
* ‘Long Island Mammoth’: While this variety can grow quite tall outdoors, it can be managed in a larger indoor container with regular pruning.
Extending Your Harvest
To enjoy a continuous supply of fresh dill, consider succession planting. Sow a new batch of seeds every few weeks to ensure a steady harvest.
Final Thoughts
Growing dill indoors is a rewarding experience that allows you to enjoy fresh herbs year-round. With a little bit of care and attention, you can have a thriving dill plant that provides you with a constant supply of flavorful leaves and seeds. So, go ahead and give it a try! I’m confident that you’ll be enjoying the taste of homegrown dill in no time. Happy gardening!
Conclusion
So, there you have it! Growing dill indoors is not only achievable, but it’s also a rewarding experience that brings a touch of freshness and flavor right into your home. Forget those sad, wilted bunches of dill at the grocery store – with a little effort, you can have a constant supply of vibrant, aromatic dill ready to elevate your culinary creations.
Why is this DIY trick a must-try? Because it empowers you to control the quality and freshness of your herbs. You know exactly where your dill is coming from, what it’s been exposed to, and how it’s been cared for. This is especially important if you’re conscious about organic gardening or simply want to avoid pesticides and herbicides. Plus, let’s be honest, there’s something incredibly satisfying about nurturing a plant from seed to harvest. It connects you to nature, even when you’re indoors.
Beyond the practical benefits, growing dill indoors adds a touch of greenery and life to your living space. It’s a simple way to brighten up a windowsill or add a pop of color to your kitchen. And the aroma? Oh, the aroma! The delicate, anise-like scent of fresh dill is simply intoxicating and can instantly uplift your mood.
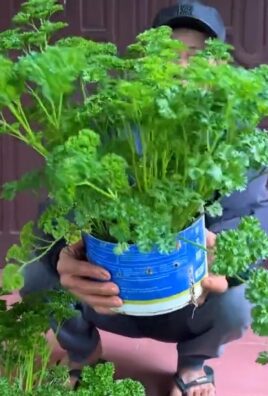
Looking for variations? Consider experimenting with different varieties of dill. ‘Bouquet’ dill is a popular choice for its compact size and abundant foliage, making it ideal for indoor growing. ‘Fernleaf’ dill is another great option, known for its feathery leaves and slow-bolting nature. You can also try growing dill alongside other herbs that thrive in similar conditions, such as parsley, chives, or cilantro, to create a mini indoor herb garden. Think about using a self-watering planter to simplify the watering process, especially if you tend to forget. You can also use grow lights to supplement natural light, particularly during the darker winter months.
Don’t be intimidated if you’ve never grown herbs indoors before. Growing dill indoors is surprisingly easy, even for beginners. With the right setup and a little bit of attention, you’ll be harvesting fresh dill in no time.
We encourage you to give this DIY trick a try. Start small, with just a few seeds or a single plant, and see how it goes. Once you get the hang of it, you can expand your indoor herb garden and enjoy a constant supply of fresh, flavorful dill.
And most importantly, we want to hear about your experience! Share your tips, tricks, and photos with us in the comments below. Let us know what worked for you, what challenges you faced, and what delicious dishes you’ve created with your homegrown dill. Your feedback will not only help other readers but also inspire us to continue sharing helpful gardening tips and tricks. So, go ahead, get your hands dirty, and discover the joy of growing dill indoors!
FAQ: Growing Dill Indoors
What kind of pot should I use for growing dill indoors?
The ideal pot for growing dill indoors should be at least 6-8 inches in diameter and depth. This allows sufficient space for the roots to develop properly. Choose a pot made of terracotta or plastic, ensuring it has drainage holes to prevent waterlogging. Terracotta pots are porous, which helps with aeration and prevents root rot, but they also dry out faster, requiring more frequent watering. Plastic pots retain moisture better, but it’s crucial to monitor the soil moisture levels to avoid overwatering. Consider using a self-watering pot to simplify the watering process and maintain consistent moisture levels.
How much sunlight does indoor dill need?
Dill requires at least 6 hours of direct sunlight per day to thrive indoors. Place your dill plant near a south-facing window where it can receive ample sunlight. If you don’t have access to a sunny window, you can supplement with artificial grow lights. Fluorescent or LED grow lights are excellent options. Position the grow light a few inches above the plant and keep it on for 12-14 hours per day. Rotate the plant regularly to ensure all sides receive adequate light, preventing it from leaning towards the light source. Insufficient light can lead to leggy growth and reduced flavor.
What type of soil is best for growing dill indoors?
Dill prefers well-draining, slightly acidic soil with a pH between 6.0 and 7.0. A good potting mix for dill consists of equal parts of potting soil, perlite, and compost. The potting soil provides essential nutrients, perlite improves drainage and aeration, and compost enriches the soil with organic matter. Avoid using garden soil, as it can be too heavy and may contain pests or diseases. You can also add a slow-release fertilizer to the potting mix to provide a steady supply of nutrients to the plant.
How often should I water my indoor dill plant?
Water your dill plant when the top inch of soil feels dry to the touch. Avoid overwatering, as dill is susceptible to root rot. Water thoroughly until excess water drains out of the drainage holes. Empty the saucer beneath the pot to prevent the plant from sitting in water. During the warmer months, you may need to water more frequently. Check the soil moisture levels regularly and adjust your watering schedule accordingly. Consider using a moisture meter to accurately gauge the soil moisture levels.
How do I harvest dill from my indoor plant?
You can start harvesting dill leaves once the plant is about 6-8 inches tall. Snip off the leaves with scissors or pruning shears, cutting them close to the stem. Harvest the outer leaves first, allowing the inner leaves to continue growing. Regular harvesting encourages the plant to produce more leaves. You can also harvest the dill seeds once the plant flowers and the seeds turn brown. Cut the entire flower head and hang it upside down in a paper bag to dry. Once the seeds are dry, you can collect them and store them in an airtight container.
Why is my indoor dill plant turning yellow?
Yellowing leaves on your indoor dill plant can be caused by several factors, including overwatering, underwatering, nutrient deficiencies, or pests. Check the soil moisture levels to ensure you are not overwatering or underwatering. If the soil is consistently wet, reduce your watering frequency. If the soil is dry, water more thoroughly. Yellowing leaves can also indicate a nutrient deficiency. Fertilize your dill plant with a balanced liquid fertilizer every 2-4 weeks. Inspect the plant for pests, such as aphids or spider mites, and treat accordingly. Ensure the plant is receiving adequate sunlight, as insufficient light can also cause yellowing leaves.
How do I prevent dill from bolting indoors?
Bolting, or premature flowering, can occur when dill is exposed to high temperatures or stress. To prevent bolting indoors, keep the plant in a cool location with temperatures between 60-70°F (15-21°C). Provide adequate sunlight or artificial grow lights to prevent stress. Water regularly to maintain consistent soil moisture levels. Harvest the leaves frequently to encourage vegetative growth and delay flowering. Choose slow-bolting varieties of dill, such as ‘Fernleaf’ dill. If your dill plant starts to bolt, you can still harvest the leaves, but they may have a slightly bitter taste.
Can I grow dill from seed indoors?
Yes, you can easily grow dill from seed indoors. Start by sowing the seeds in a seed-starting tray or small pots filled with seed-starting mix. Lightly cover the seeds with soil and water gently. Keep the soil moist but not waterlogged. Place the tray or pots in a warm location with temperatures between 70-75°F (21-24°C). The seeds should germinate in 7-14 days. Once the seedlings have developed a few sets of true leaves, you can transplant them into larger pots. Provide adequate sunlight or artificial grow lights and water regularly.
What are some common pests and diseases that affect indoor dill plants?
Common pests that can affect indoor dill plants include aphids, spider mites, and whiteflies. Inspect your plants regularly for signs of infestation, such as sticky residue, webbing, or visible insects. Treat infestations with insecticidal soap or neem oil. Overwatering can lead to fungal diseases, such as root rot. Ensure your dill plant is planted in well-draining soil and avoid overwatering. Provide good air circulation to prevent fungal diseases. Remove any infected leaves or stems to prevent the spread of disease.
Leave a Comment