
Grow Collard Greens Easily, even if you think you don’t have a green thumb! Have you ever dreamt of stepping into your backyard and harvesting vibrant, leafy greens for a delicious and nutritious meal? It’s more attainable than you think, and I’m here to show you how. For generations, collard greens have been a staple in Southern cuisine, symbolizing prosperity and good health. Their rich history is intertwined with resilience and resourcefulness, as they were often a vital source of nutrients for families.
But beyond their cultural significance, why should you learn to grow collard greens easily? Well, store-bought greens can be expensive and sometimes lack the freshness and flavor of homegrown produce. Plus, knowing exactly where your food comes from and how it’s grown is incredibly rewarding. Imagine the satisfaction of serving a dish made with collard greens you nurtured from seed to table!
This DIY guide is packed with simple, effective tricks and hacks that will empower you to cultivate a thriving collard green patch, regardless of your gardening experience. We’ll cover everything from choosing the right seeds and preparing your soil to warding off pests and harvesting your bountiful crop. Get ready to unlock the secrets to growing these amazing greens and enjoy fresh, flavorful collards all season long!
Growing Collard Greens: A Beginner-Friendly DIY Guide
Hey there, fellow gardening enthusiasts! I’m so excited to share my tried-and-true method for growing collard greens. These leafy greens are not only delicious and packed with nutrients, but they’re also surprisingly easy to cultivate, even if you’re a complete beginner. I’ve had great success with this method, and I’m confident you will too. Let’s get started!
Choosing the Right Collard Green Variety
Before we dive into the nitty-gritty, let’s talk about choosing the right collard green variety for your garden. There are tons of options out there, each with its own unique characteristics. Here are a few of my favorites:
- Georgia Southern: This is a classic variety known for its large, slightly crumpled leaves and mild flavor. It’s a reliable choice for most climates.
- Vates: A compact variety that’s perfect for smaller gardens. It’s also cold-hardy, making it a great option for cooler regions.
- Champion: This variety is known for its disease resistance and fast growth. It’s a good choice if you’re looking for a quick harvest.
- Top Bunch: Another excellent choice for smaller gardens, Top Bunch produces uniform, upright plants.
Consider your climate, garden size, and personal taste when making your selection. Don’t be afraid to experiment with different varieties to find your favorite!
Preparing Your Garden Bed
Collard greens thrive in well-drained soil that’s rich in organic matter. Before planting, it’s essential to prepare your garden bed properly. Here’s what I do:
- Choose a sunny location: Collard greens need at least 6 hours of sunlight per day.
- Test your soil: A soil test will tell you the pH level and nutrient content of your soil. Collard greens prefer a pH between 6.0 and 6.8. You can buy a soil test kit at most garden centers.
- Amend your soil: Based on your soil test results, you may need to amend your soil with compost, aged manure, or other organic matter. This will improve drainage, fertility, and overall soil health. I usually add a generous amount of compost to my garden bed before planting.
- Till or dig the soil: Loosen the soil to a depth of at least 12 inches. This will make it easier for the collard green roots to grow.
- Remove any rocks or debris: Clear the area of any rocks, weeds, or other debris that could hinder growth.
Planting Your Collard Greens
You can start collard greens from seed or purchase transplants from a local nursery. I’ve done both, and both methods work well. If you’re starting from seed, you’ll need to start them indoors about 6-8 weeks before the last expected frost.
Starting from Seed Indoors:
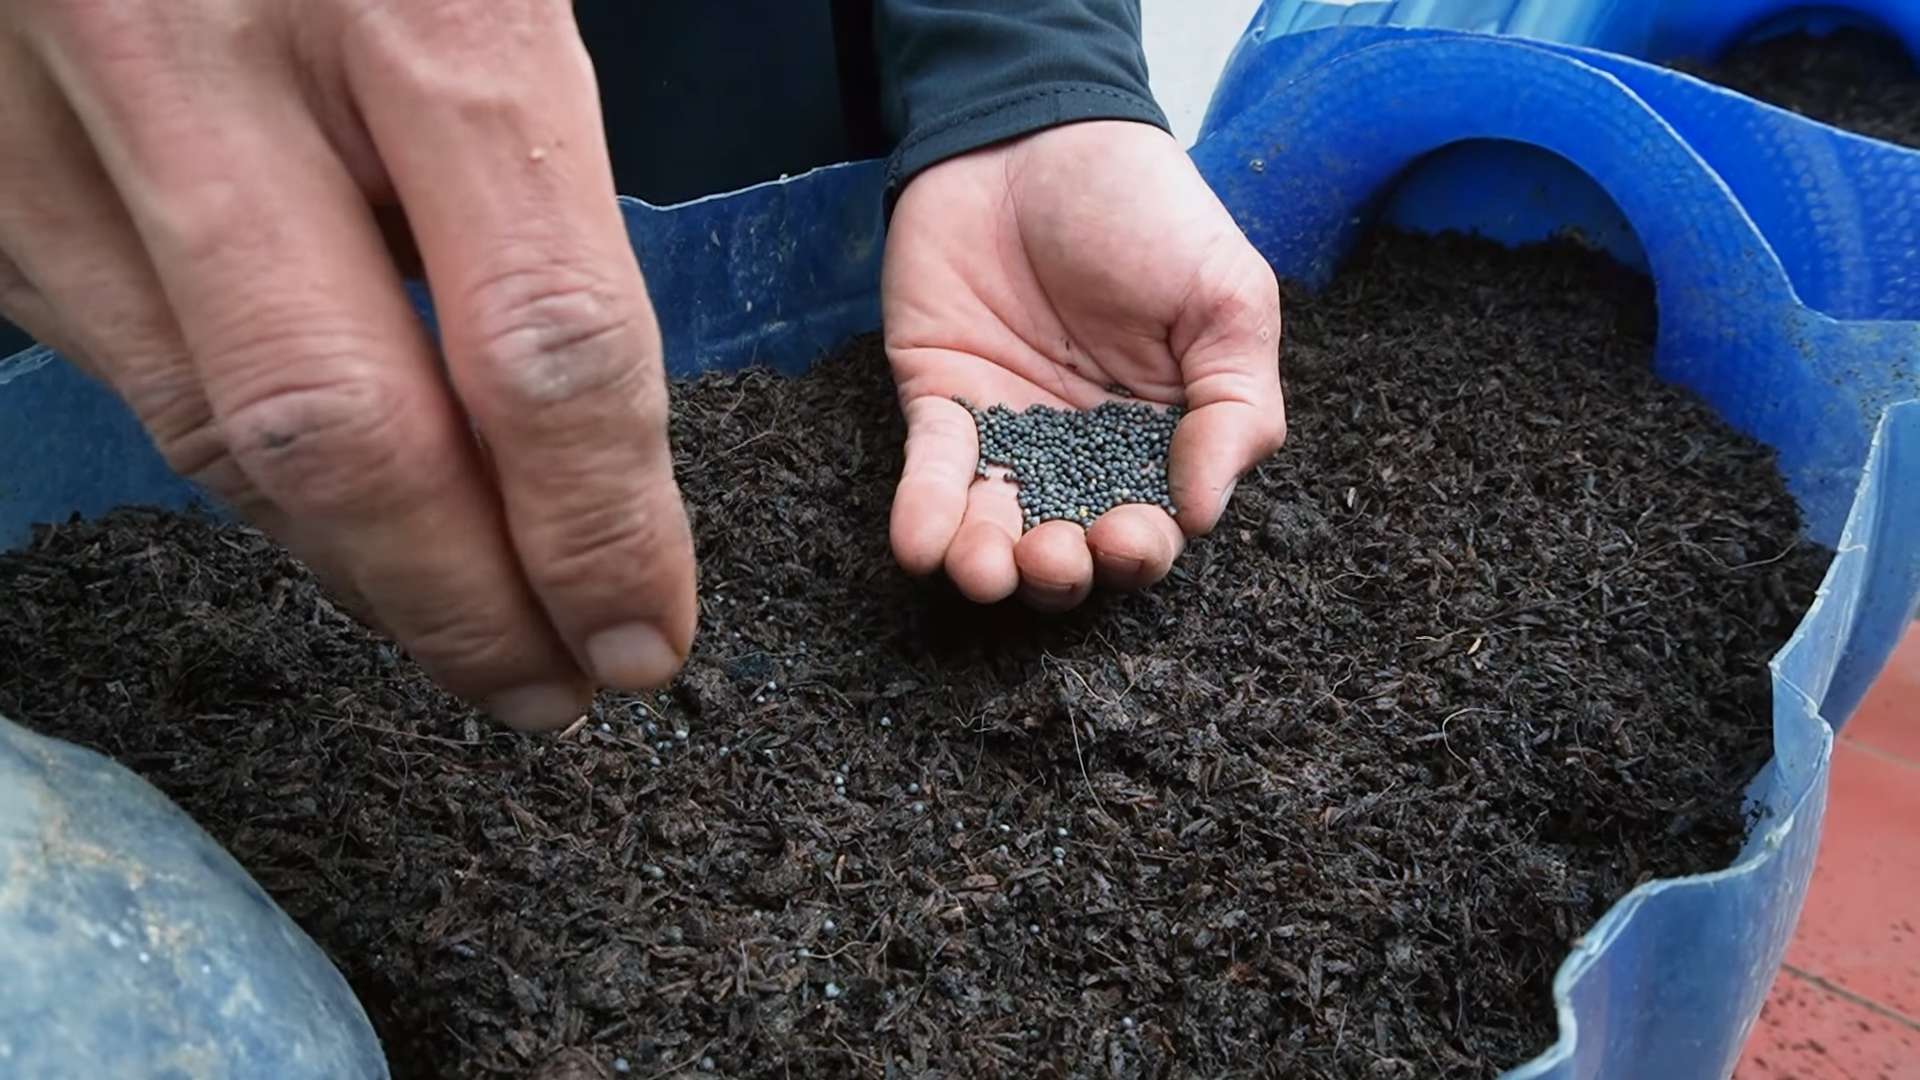
1. Sow the seeds: Fill seed trays or small pots with a seed-starting mix. Sow the seeds about 1/4 inch deep and gently water them.
2. Provide warmth and light: Keep the seed trays in a warm location (around 70-75°F) and provide plenty of light. A grow light is ideal, but a sunny windowsill can also work.
3. Keep the soil moist: Water the seedlings regularly to keep the soil moist but not soggy.
4. Harden off the seedlings: Before transplanting the seedlings outdoors, you’ll need to harden them off. This means gradually exposing them to outdoor conditions over a period of about a week. Start by placing them outside for a few hours each day, gradually increasing the amount of time they spend outdoors.
Transplanting Seedlings or Planting Transplants:
1. Prepare the planting holes: Dig holes that are slightly larger than the root balls of your seedlings or transplants. Space the holes about 12-18 inches apart.
2. Plant the seedlings or transplants: Gently remove the seedlings or transplants from their containers and place them in the planting holes. Make sure the top of the root ball is level with the soil surface.
3. Fill in the holes: Fill in the holes with soil and gently firm the soil around the plants.
4. Water thoroughly: Water the plants thoroughly after planting.
Caring for Your Collard Greens
Once your collard greens are planted, it’s important to provide them with the care they need to thrive. Here’s what I do to keep my collard greens happy and healthy:
- Water regularly: Collard greens need consistent moisture, especially during hot, dry weather. Water deeply whenever the top inch of soil feels dry.
- Fertilize: Fertilize your collard greens every few weeks with a balanced fertilizer. I like to use a liquid fertilizer diluted according to the package directions.
- Weed regularly: Keep your garden bed free of weeds, which can compete with your collard greens for nutrients and water.
- Mulch: Apply a layer of mulch around your collard greens to help retain moisture, suppress weeds, and regulate soil temperature. I like to use straw or shredded leaves as mulch.
- Pest control: Collard greens can be susceptible to pests such as aphids, cabbage worms, and flea beetles. Inspect your plants regularly for signs of pests and take action if necessary. I prefer to use organic pest control methods, such as insecticidal soap or neem oil. You can also handpick pests off the plants.
Dealing with Common Collard Green Problems
Even with the best care, you may encounter some problems when growing collard greens. Here are a few common issues and how to address them:
- Aphids: These tiny insects can suck the sap from your collard green leaves, causing them to become distorted and yellow. Spray the plants with insecticidal soap or neem oil to control aphids.
- Cabbage worms: These green caterpillars can devour your collard green leaves. Handpick them off the plants or use a biological insecticide such as Bacillus thuringiensis (Bt).
- Flea beetles: These small, jumping beetles can create small holes in your collard green leaves. Cover the plants with row covers to prevent flea beetles from reaching them. You can also use insecticidal soap or neem oil.
- Downy mildew: This fungal disease can cause yellow spots on the upper surfaces of collard green leaves and a white, downy growth on the undersides. Improve air circulation around the plants and avoid overhead watering to prevent downy mildew. You can also use a fungicide if necessary.
Harvesting Your Collard Greens
You can start harvesting collard greens when the leaves are about 10-12 inches long. I usually harvest the outer leaves first, leaving the inner leaves to continue growing.
1. Choose the leaves: Select the largest, most mature leaves.
2. Cut the leaves: Use a sharp knife or scissors to cut the leaves off the plant, near the base of the stem.
3. Wash the leaves: Wash the harvested leaves thoroughly to remove any dirt or debris.
4. Store the leaves: Store the harvested leaves in the refrigerator for up to a week.
Enjoying Your Homegrown Collard Greens
Now for the best part – enjoying the fruits (or rather, leaves!) of your labor. Collard greens are incredibly versatile and can be used in a variety of dishes. Here are a few of my favorite ways to enjoy them:
- Southern-style collard greens: This is a classic dish that’s often cooked with ham hocks or bacon.
- Collard green salad: Chop the collard greens and toss them with your favorite salad dressing.
- Collard green smoothies: Add a handful of collard greens to your favorite smoothie for a boost of nutrients.
- Collard green chips: Bake the collard green leaves in the oven for a healthy and delicious snack.
- Stir-fries: Add chopped collard greens to your favorite stir-fry recipe.
Growing collard greens is a rewarding experience that allows you to enjoy fresh, healthy, and delicious greens right from your own backyard. With a little bit of care and attention, you can have a bountiful harvest of collard greens all season long. Happy gardening!
Conclusion
So, there you have it! Growing collard greens doesn’t have to be a daunting task reserved for seasoned gardeners. With this simple DIY trick, you can unlock a bountiful harvest of these nutritious and delicious leafy greens, even if you’re a complete beginner. We’ve shown you how to bypass the often-tricky seedling stage and get straight to enjoying the fruits (or rather, the leaves!) of your labor.
Why is this a must-try? Because it’s efficient, cost-effective, and significantly increases your chances of success. Forget about worrying whether your tiny seedlings will survive the transplant shock or succumb to pests. This method gives your collard greens a head start, allowing them to establish strong roots and thrive from the get-go. Plus, there’s a certain satisfaction that comes from nurturing your own food from seed to table, and this trick makes that process even more accessible.
But don’t stop there! Feel free to experiment with different varieties of collard greens. Try growing Georgia Southern, Champion, or even the slightly more peppery Vates. You can also adjust the size of your container depending on your space and desired yield. If you’re short on space, consider using a vertical planter to maximize your growing area. Another variation is to use different types of soil mixes. While we recommend a well-draining potting mix, you can also incorporate compost or other organic matter to further enrich the soil and provide your collard greens with the nutrients they need to flourish.
And remember, the key to successful **grow collard greens easily** is consistent watering and adequate sunlight. Keep the soil moist but not waterlogged, and ensure your plants receive at least six hours of direct sunlight per day. With a little care and attention, you’ll be enjoying fresh, homegrown collard greens in no time.
We’re confident that this DIY trick will revolutionize your collard green growing experience. But don’t just take our word for it – try it out for yourself! We encourage you to give this method a shot and see the amazing results firsthand. And most importantly, we want to hear about your experience! Share your photos, tips, and stories in the comments below. Let’s build a community of collard green enthusiasts and learn from each other’s successes (and even the occasional setback!). Happy growing!
Frequently Asked Questions (FAQ)
What exactly are the benefits of starting collard greens this way instead of buying seedlings?
Starting collard greens from seed using this DIY method offers several advantages over purchasing pre-grown seedlings. Firstly, it’s often more cost-effective, especially if you plan to grow a large quantity of collard greens. A packet of seeds is significantly cheaper than buying individual seedlings. Secondly, you have more control over the variety of collard greens you grow. Nurseries may only offer a limited selection, while you can find a wider range of seeds online or at specialty garden stores. Thirdly, this method reduces the risk of transplant shock, which can sometimes stunt the growth of seedlings. By starting the seeds in a controlled environment and allowing them to develop a strong root system before transplanting, you increase their chances of survival and vigorous growth. Finally, it’s simply more rewarding to nurture your plants from seed to harvest, knowing that you’ve played an active role in their development.
How long does it take for collard greens to be ready for harvest using this method?
The time it takes for collard greens to be ready for harvest depends on several factors, including the variety of collard greens you’re growing, the growing conditions (sunlight, temperature, soil quality), and your desired leaf size. Generally, you can expect to start harvesting collard greens about 55 to 75 days after planting the seeds. However, you don’t have to wait until the entire plant is mature. You can begin harvesting individual leaves as soon as they reach a usable size, typically around 6-8 inches long. This “cut-and-come-again” method allows you to enjoy a continuous harvest over a longer period. Remember to harvest the outer leaves first, leaving the inner leaves to continue growing.
What kind of container should I use for starting the seeds?
The ideal container for starting collard green seeds is one that is clean, provides adequate drainage, and is large enough to accommodate the growing seedlings for a few weeks. You can use a variety of containers, such as plastic seedling trays, peat pots, or even repurposed containers like yogurt cups or plastic takeout containers. Just make sure the container has drainage holes to prevent waterlogging. The size of the container should be at least 2-3 inches deep and wide enough to allow the seedlings to develop a healthy root system. If you’re using a larger container, you can sow multiple seeds in the same container, but be sure to thin them out later to prevent overcrowding.
What type of soil is best for growing collard greens?
Collard greens thrive in well-draining soil that is rich in organic matter. A good potting mix is essential for starting the seeds, as it provides the necessary nutrients and drainage for healthy seedling growth. When transplanting the seedlings to your garden or a larger container, amend the soil with compost or other organic matter to improve its fertility and drainage. Collard greens prefer a slightly acidic to neutral soil pH, ideally between 6.0 and 7.0. You can test your soil pH using a soil testing kit and adjust it accordingly if necessary.
How often should I water my collard greens?
Collard greens need consistent moisture to thrive, but they don’t like to be waterlogged. Water your collard greens regularly, especially during hot and dry weather. The frequency of watering will depend on the weather conditions, the type of soil you’re using, and the size of your plants. A good rule of thumb is to water when the top inch of soil feels dry to the touch. When watering, water deeply and thoroughly, ensuring that the water reaches the roots. Avoid overhead watering, as this can increase the risk of fungal diseases.
What are some common pests and diseases that affect collard greens, and how can I prevent them?
Collard greens are susceptible to a variety of pests and diseases, including aphids, cabbage worms, flea beetles, and fungal diseases like downy mildew and black rot. To prevent pest and disease problems, start by choosing disease-resistant varieties of collard greens. Practice good garden hygiene by removing any dead or diseased leaves and debris from around the plants. Use row covers to protect your plants from pests. Inspect your plants regularly for signs of pests or diseases and take action promptly if you notice any problems. You can use organic pest control methods, such as insecticidal soap or neem oil, to control pests. To prevent fungal diseases, ensure good air circulation around your plants and avoid overhead watering.
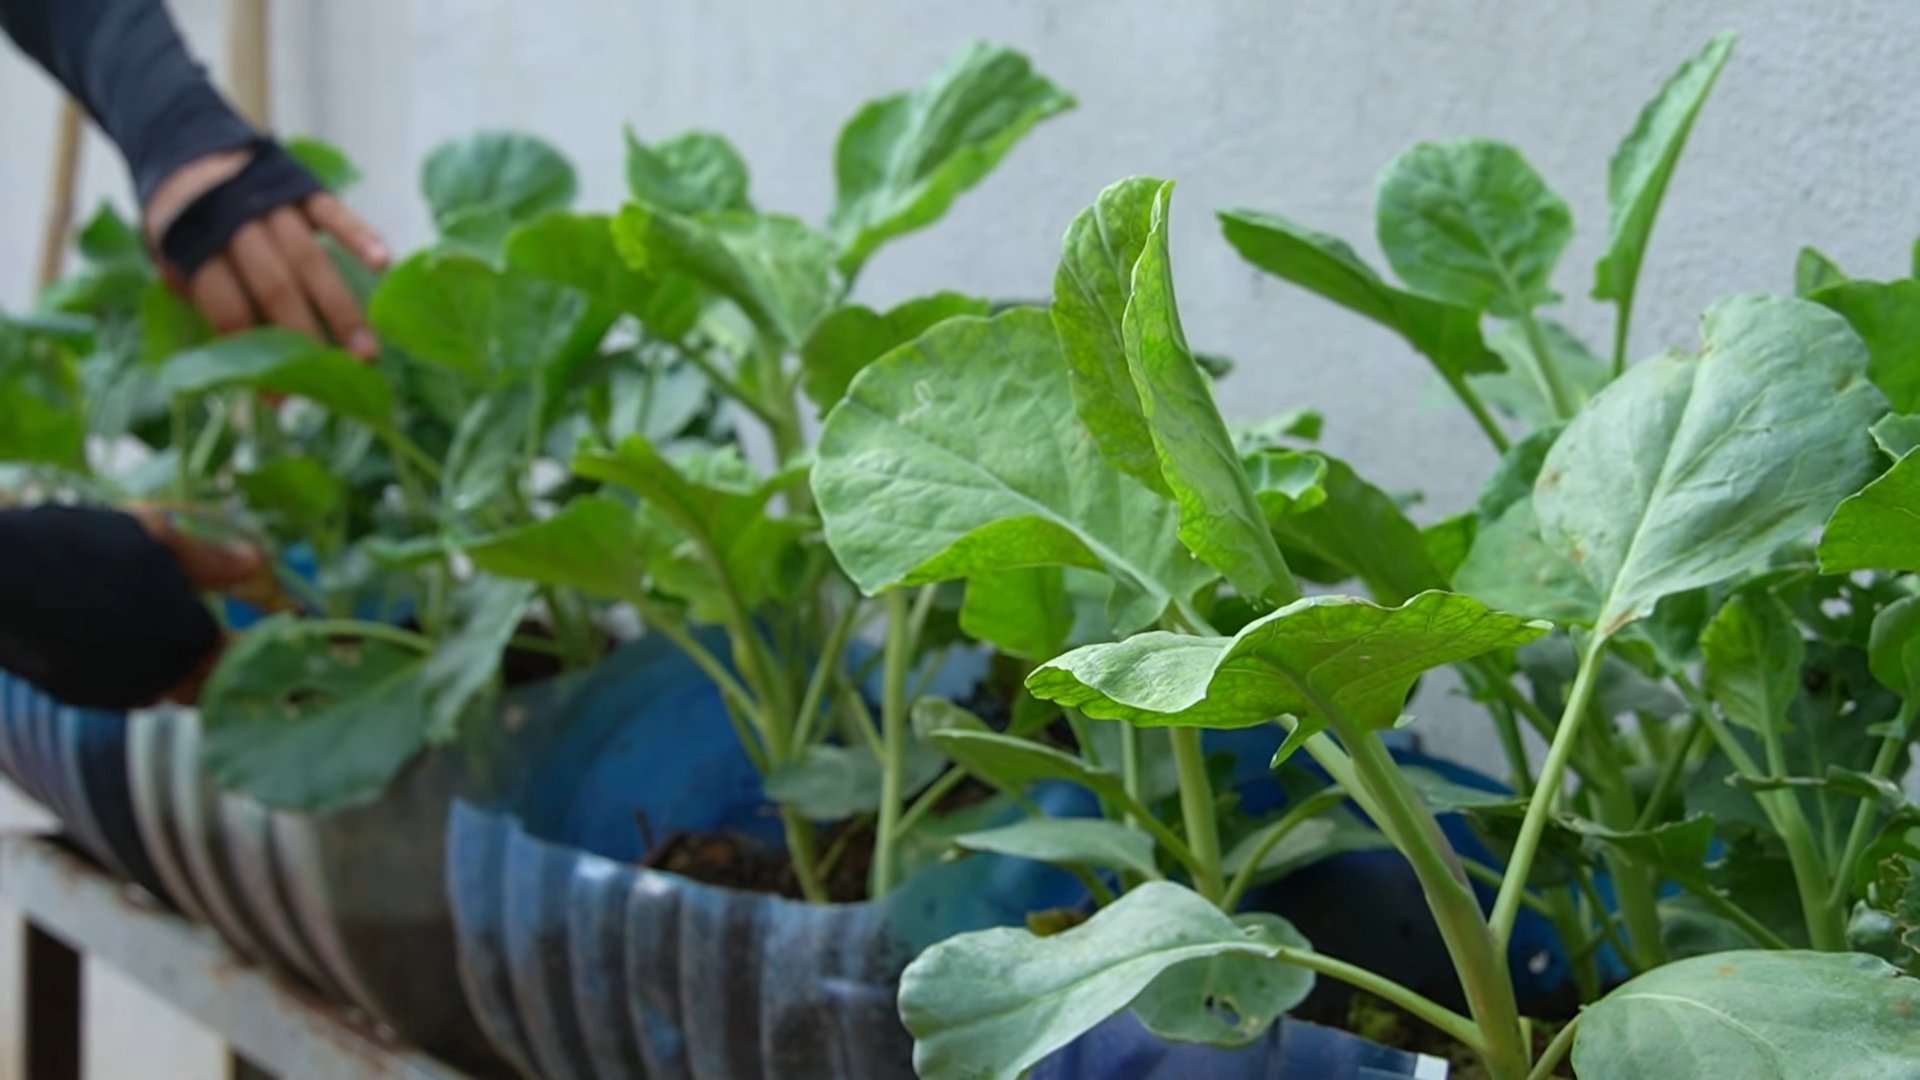
Can I grow collard greens in containers?
Yes, collard greens can be successfully grown in containers, making them a great option for gardeners with limited space. Choose a container that is at least 12 inches deep and wide to allow the plants to develop a healthy root system. Use a well-draining potting mix and amend it with compost or other organic matter. Place the container in a location that receives at least six hours of direct sunlight per day. Water regularly and fertilize every few weeks with a balanced fertilizer.
How do I know when my collard greens are ready to harvest?
Collard greens are ready to harvest when the leaves are large enough to use, typically around 6-8 inches long. The leaves should be firm and dark green in color. Avoid harvesting leaves that are yellowed, damaged, or infested with pests. Harvest the outer leaves first, leaving the inner leaves to continue growing. You can harvest collard greens multiple times throughout the growing season.
Can I freeze collard greens for later use?
Yes, collard greens can be frozen for later use. To freeze collard greens, wash them thoroughly and remove any tough stems or ribs. Blanch the leaves in boiling water for 2-3 minutes, then immediately transfer them to an ice bath to stop the cooking process. Drain the leaves well and pack them into freezer bags or containers. Remove as much air as possible from the bags or containers before sealing them. Frozen collard greens can be stored in the freezer for up to 12 months.
Leave a Comment