
Grow Choi Sum at Home: Imagine stepping into your backyard and harvesting fresh, vibrant Choi Sum for your dinner, knowing exactly where it came from and how it was grown. Sounds idyllic, right? Well, it’s more achievable than you think! For centuries, cultivating your own food has been a cornerstone of self-sufficiency and a connection to nature. In many Asian cultures, leafy greens like Choi Sum hold a special place, symbolizing prosperity and good health.
But let’s be honest, in today’s busy world, the idea of starting a garden can feel overwhelming. That’s where these simple, effective DIY tricks come in. I’m here to show you that you don’t need a sprawling farm or years of experience to grow Choi Sum at home successfully. Whether you have a spacious garden, a small balcony, or even just a sunny windowsill, these hacks will empower you to cultivate your own delicious and nutritious Choi Sum.
Why is this important? Because knowing how to grow your own food, even just a little bit, gives you control over what you eat. You can avoid harmful pesticides, reduce your carbon footprint, and enjoy the unparalleled flavor of freshly picked produce. Plus, there’s something incredibly rewarding about nurturing a plant from seed to harvest. So, let’s dive in and discover the secrets to growing beautiful, bountiful Choi Sum right in your own home!
Choi Sum zu Hause anbauen: Dein DIY-Gartenprojekt
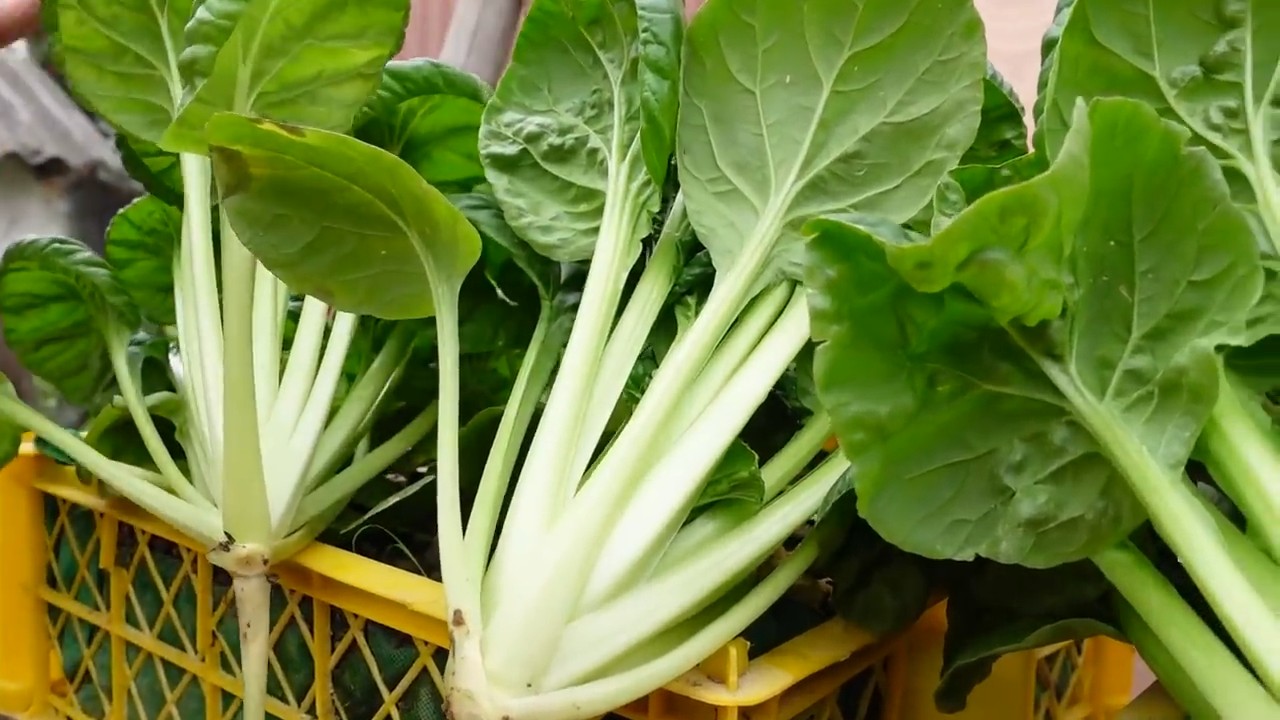
Hallo Gartenfreunde! Habt ihr Lust, frisches, knackiges Choi Sum direkt vor eurer Haustür zu ernten? Choi Sum, auch bekannt als Chinesischer Blätterkohl, ist super einfach anzubauen und eine tolle Ergänzung für eure Küche. Ich zeige euch, wie ihr das ganz einfach selbst machen könnt. Los geht’s!
Was du brauchst: Die Materialliste
Bevor wir loslegen, hier eine Liste mit allem, was du für dein Choi Sum-Projekt benötigst:
* Choi Sum Samen: Am besten Bio-Samen, um sicherzustellen, dass du gesunde Pflanzen bekommst.
* Anzuchterde: Spezielle Erde für die Anzucht von Sämlingen ist locker und nährstoffreich.
* Anzuchttöpfe oder -schalen: Kleine Behälter, in denen du die Samen vorziehen kannst.
* Gartenerde: Hochwertige Erde für das Beet oder den Topf, in dem die Pflanzen später wachsen sollen.
* Kompost oder organischer Dünger: Um den Boden mit Nährstoffen anzureichern.
* Gießkanne oder Sprühflasche: Zum Bewässern der Pflanzen.
* Gartengeräte: Spaten, Harke, Pflanzkelle.
* Pflanzschilder und Stift: Um die Pflanzen zu kennzeichnen.
* (Optional) Vlies oder Netz: Zum Schutz vor Schädlingen.
Phase 1: Die Anzucht der Samen
Die Anzucht ist der erste Schritt zu deinem eigenen Choi Sum. Ich finde, es ist immer wieder faszinierend, wie aus so kleinen Samen etwas so Großes entstehen kann!
1. Vorbereitung der Anzuchttöpfe: Fülle die Anzuchttöpfe oder -schalen mit Anzuchterde. Drücke die Erde leicht an, aber nicht zu fest.
2. Aussaat der Samen: Verteile die Choi Sum Samen gleichmäßig auf der Erde. Ich säe meistens 2-3 Samen pro Topf, um sicherzugehen, dass mindestens einer keimt.
3. Bedecken der Samen: Bedecke die Samen mit einer dünnen Schicht Anzuchterde (ca. 0,5 cm).
4. Bewässerung: Befeuchte die Erde vorsichtig mit einer Sprühflasche. Die Erde sollte feucht, aber nicht nass sein.
5. Standort: Stelle die Anzuchttöpfe an einen hellen, warmen Ort. Eine Fensterbank ist ideal. Die optimale Keimtemperatur liegt bei 15-20°C.
6. Feuchtigkeit halten: Achte darauf, dass die Erde während der Keimung nicht austrocknet. Besprühe sie bei Bedarf regelmäßig mit Wasser.
7. Geduld haben: Die Samen keimen in der Regel innerhalb von 5-10 Tagen.
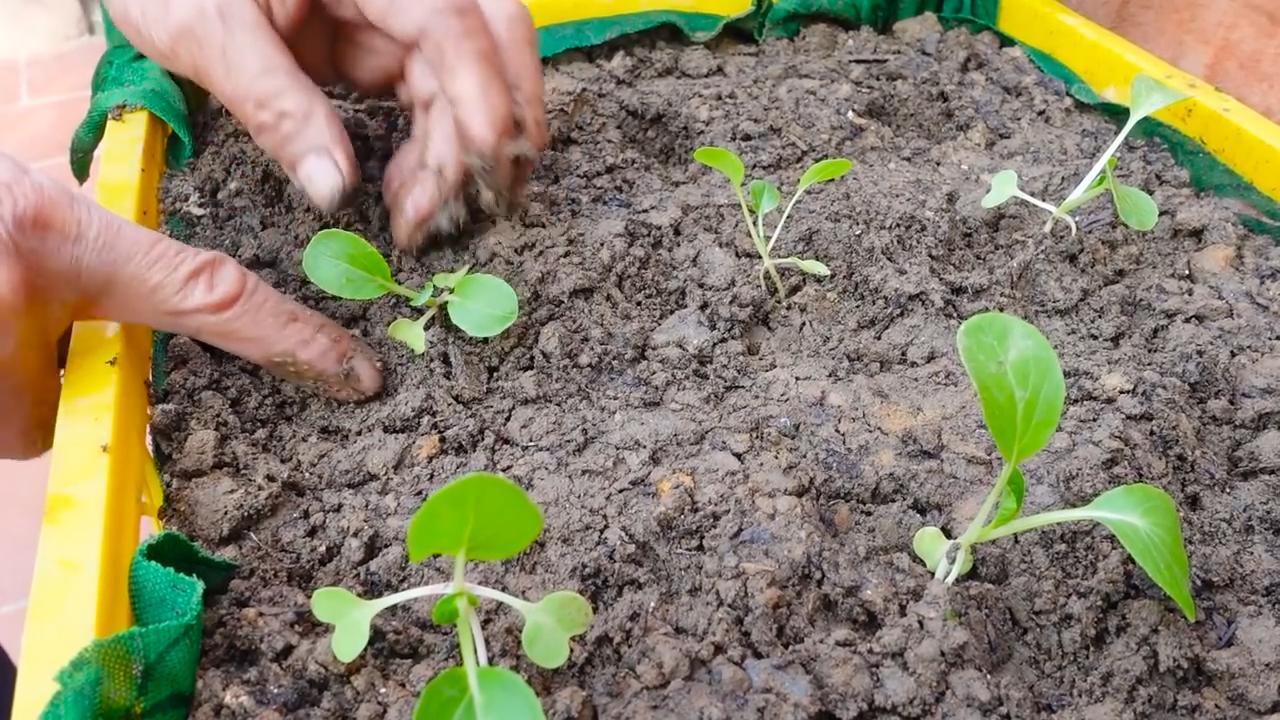
Phase 2: Die Jungpflanzenpflege
Sobald die ersten kleinen Pflänzchen aus der Erde sprießen, beginnt die Jungpflanzenpflege. Jetzt heißt es, gut aufpassen und die kleinen Dinger verwöhnen!
1. Ausdünnen: Wenn mehrere Samen in einem Topf gekeimt sind, solltest du die schwächsten Pflänzchen entfernen, damit die stärksten genug Platz zum Wachsen haben.
2. Licht: Sorge für ausreichend Licht. Wenn die Pflanzen zu wenig Licht bekommen, werden sie lang und dünn.
3. Bewässerung: Gieße die Jungpflanzen regelmäßig, aber vermeide Staunässe. Die Erde sollte immer leicht feucht sein.
4. Düngen: Nach etwa zwei Wochen kannst du die Jungpflanzen das erste Mal mit einem milden organischen Dünger düngen.
5. Umtopfen (optional): Wenn die Jungpflanzen zu groß für die Anzuchttöpfe werden, kannst du sie in größere Töpfe umtopfen.
Phase 3: Das Auspflanzen ins Beet oder in den Topf
Nach einigen Wochen sind die Jungpflanzen stark genug, um ins Beet oder in einen größeren Topf umzuziehen. Das ist immer ein spannender Moment!
1. Vorbereitung des Beets oder Topfes: Lockere die Erde im Beet oder Topf auf und entferne Unkraut. Mische Kompost oder organischen Dünger unter die Erde, um sie mit Nährstoffen anzureichern.
2. Abhärten: Bevor du die Jungpflanzen auspflanzt, solltest du sie einige Tage lang abhärten. Stelle sie dazu tagsüber ins Freie und hole sie abends wieder rein. So gewöhnen sie sich langsam an die Bedingungen im Freien.
3. Auspflanzen: Hebe kleine Löcher im Beet oder Topf aus, die groß genug für die Wurzelballen der Jungpflanzen sind. Setze die Jungpflanzen vorsichtig in die Löcher und fülle sie mit Erde auf. Drücke die Erde leicht an.
4. Pflanzabstand: Achte auf einen ausreichenden Pflanzabstand. Choi Sum braucht etwa 20-30 cm Platz zwischen den Pflanzen.
5. Bewässerung: Gieße die ausgepflanzten Jungpflanzen gründlich an.
6. Schutz vor Schädlingen: Wenn du Probleme mit Schädlingen hast, kannst du die Pflanzen mit einem Vlies oder Netz schützen.
Phase 4: Die Pflege im Beet oder Topf
Jetzt, wo die Choi Sum Pflanzen im Beet oder Topf stehen, geht es darum, sie gut zu pflegen, damit sie prächtig wachsen und gedeihen.
1. Bewässerung: Gieße die Pflanzen regelmäßig, besonders bei trockenem Wetter. Die Erde sollte immer leicht feucht sein.
2. Düngen: Dünge die Pflanzen alle paar Wochen mit einem organischen Dünger.
3. Unkraut entfernen: Entferne regelmäßig Unkraut, damit die Choi Sum Pflanzen nicht um Nährstoffe und Wasser konkurrieren müssen.
4. Schädlinge kontrollieren: Kontrolliere die Pflanzen regelmäßig auf Schädlinge. Bei Bedarf kannst du biologische Schädlingsbekämpfungsmittel einsetzen.
5. Boden lockern: Lockere den Boden regelmäßig auf, damit die Wurzeln ausreichend Sauerstoff bekommen.
Phase 5: Die Ernte
Nach etwa 4-6 Wochen kannst du deinen eigenen Choi Sum ernten! Das ist der Lohn für deine Mühe!
1. Erntezeitpunkt: Choi Sum kann geerntet werden, sobald die Stängel und Blätter die gewünschte Größe erreicht haben. Ich ernte meistens, wenn die Pflanzen etwa 20-30 cm hoch sind.
2. Erntemethode: Schneide die Stängel mit einem scharfen Messer oder einer Schere knapp über dem Boden ab.
3. Nachwachsen: Wenn du nur die äußeren Blätter erntest, können die Pflanzen weiterwachsen und du kannst mehrmals ernten.
4. Verwendung: Choi Sum kann roh in Salaten gegessen oder gekocht, gedünstet oder gebraten werden. Es ist eine vielseitige Zutat für viele Gerichte.
Tipps und Tricks für den erfolgreichen Anbau
Hier noch ein paar zusätzliche Tipps, die dir helfen können, deinen Choi Sum Anbau noch erfolgreicher zu gestalten:
* Standort: Choi Sum bevorzugt einen sonnigen bis halbschattigen Standort.
* Boden: Der Boden sollte locker, humusreich und gut durchlässig sein.
* Fruchtfolge: Baue Choi Sum nicht jedes Jahr am selben Standort an, um Krankheiten und Schädlingen vorzubeugen.
* Sortenwahl: Es gibt verschiedene Choi Sum Sorten. Wähle eine Sorte, die für dein Klima und deine Bedürfnisse geeignet ist.
* Schutz vor Frost: Choi Sum ist nicht frosthart. Bei Frostgefahr solltest du die Pflanzen mit einem Vlies schützen.
* Regelmäßige Kontrolle: Kontrolliere die Pflanzen regelmäßig auf Schädlinge und Krankheiten, um frühzeitig Maßnahmen ergreifen zu können.
Ich hoffe, diese Anleitung hilft dir dabei, deinen eigenen Choi Sum erfolgreich anzubauen. Viel Spaß beim Gärtnern und guten Appetit!
Conclusion
So, there you have it! Growing your own Choi Sum at home isn’t just a fun gardening project; it’s a gateway to consistently fresh, flavorful, and nutritious greens right at your fingertips. Forget those wilted, overpriced bunches at the supermarket. With a little effort and the simple steps outlined, you can cultivate a thriving patch of this delicious vegetable, ready to be harvested whenever your culinary inspiration strikes.
Why is this DIY trick a must-try? Because it empowers you to control the quality of your food, reduces your carbon footprint by minimizing transportation, and connects you to the natural world in a deeply satisfying way. Imagine the pride you’ll feel serving a stir-fry featuring Choi Sum you nurtured from seed to table. It’s an experience that transcends mere cooking; it’s about creating a sustainable and delicious lifestyle.
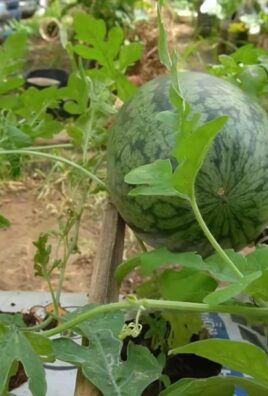
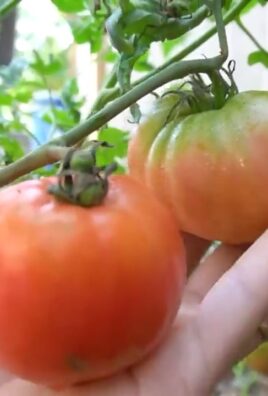
Beyond the basic method, there’s plenty of room for experimentation. Try different varieties of Choi Sum, such as the flowering type for an extra burst of color and flavor. Consider companion planting with herbs like dill or chamomile to deter pests naturally. You can even adapt the container gardening method for smaller spaces, bringing the joy of homegrown Choi Sum to balconies and patios.
Don’t be afraid to get your hands dirty and embrace the learning process. Gardening is a journey, and every mistake is an opportunity to grow (pun intended!). The satisfaction of harvesting your own fresh produce is well worth the effort.
We wholeheartedly encourage you to try growing Choi Sum at home. It’s easier than you might think, and the rewards are immeasurable. Once you’ve experienced the taste of homegrown Choi Sum, you’ll never look at store-bought greens the same way again.
And most importantly, we want to hear about your experiences! Share your tips, tricks, and triumphs in the comments below. Let us know what worked for you, what challenges you faced, and any creative variations you discovered along the way. Together, we can build a community of home gardeners, sharing our knowledge and inspiring others to embrace the joy of growing their own food. Let’s cultivate a greener, healthier, and more delicious world, one Choi Sum plant at a time!
Frequently Asked Questions (FAQ)
What is the best time of year to plant Choi Sum?
Choi Sum thrives in cooler weather, making spring and fall the ideal planting seasons. In warmer climates, you can also grow it during the winter months. Avoid planting during the peak of summer, as the heat can cause the plants to bolt (go to seed prematurely), resulting in a bitter taste. Aim for temperatures between 50°F and 75°F (10°C and 24°C) for optimal growth. If you live in an area with hot summers, consider providing shade during the hottest part of the day.
How much sunlight does Choi Sum need?
Choi Sum requires at least 6 hours of direct sunlight per day. However, in hotter climates, providing some afternoon shade can prevent the leaves from scorching. If you’re growing Choi Sum indoors, use grow lights to supplement natural sunlight and ensure adequate light exposure. Insufficient sunlight can lead to leggy growth and reduced yields.
What type of soil is best for growing Choi Sum?
Choi Sum prefers well-draining, fertile soil with a pH between 6.0 and 7.5. Amend your soil with compost or other organic matter to improve drainage and nutrient content. Avoid heavy clay soils, as they can become waterlogged and hinder root growth. If you’re growing in containers, use a high-quality potting mix specifically formulated for vegetables.
How often should I water my Choi Sum plants?
Water Choi Sum regularly, keeping the soil consistently moist but not waterlogged. Water deeply whenever the top inch of soil feels dry to the touch. Avoid overhead watering, as it can promote fungal diseases. Use a soaker hose or drip irrigation to deliver water directly to the roots. During hot, dry weather, you may need to water more frequently.
How do I fertilize Choi Sum?
Choi Sum is a fast-growing vegetable and benefits from regular fertilization. Apply a balanced fertilizer (e.g., 10-10-10) every 2-3 weeks, following the instructions on the fertilizer package. You can also use organic fertilizers, such as compost tea or fish emulsion. Avoid over-fertilizing, as it can lead to excessive leaf growth and reduced flowering.
When is Choi Sum ready to harvest?
Choi Sum is typically ready to harvest 40-50 days after planting. Harvest when the flower stalks are still tender and the buds are unopened. You can harvest the entire plant at once or harvest individual leaves as needed. Regular harvesting encourages continued production.
What are some common pests and diseases that affect Choi Sum?
Common pests that affect Choi Sum include aphids, cabbage worms, and flea beetles. You can control these pests with organic methods, such as handpicking, insecticidal soap, or neem oil. Common diseases include downy mildew and clubroot. Prevent these diseases by providing good air circulation, avoiding overhead watering, and practicing crop rotation.
Can I grow Choi Sum in containers?
Yes, Choi Sum grows well in containers. Choose a container that is at least 6 inches deep and wide. Use a high-quality potting mix and ensure that the container has good drainage. Water and fertilize regularly. Container-grown Choi Sum may need more frequent watering than plants grown in the ground.
How do I prevent Choi Sum from bolting?
Bolting is when a plant prematurely flowers and goes to seed, often due to stress from heat or lack of water. To prevent bolting, plant Choi Sum during cooler weather, provide shade during hot weather, and water regularly. Choose bolt-resistant varieties if you live in a warm climate.
What are some ways to use Choi Sum in cooking?
Choi Sum is a versatile vegetable that can be used in a variety of dishes. It can be stir-fried, steamed, boiled, or added to soups and stews. It pairs well with garlic, ginger, soy sauce, and other Asian flavors. You can also use it in salads or as a side dish.
How can I save seeds from my Choi Sum plants?
Saving seeds from Choi Sum requires allowing the plants to bolt and produce seed pods. Once the seed pods are dry and brown, you can harvest them and extract the seeds. Store the seeds in a cool, dry place. Keep in mind that Choi Sum is an open-pollinated plant, so the seeds may not produce plants that are exactly like the parent plant.
Is growing Choi Sum at home worth the effort?
Absolutely! Growing your own Choi Sum allows you to enjoy fresh, flavorful, and nutritious greens that are free from pesticides and herbicides. It’s also a rewarding and enjoyable experience that connects you to the natural world. Plus, you’ll save money on groceries and reduce your carbon footprint. Give it a try and see for yourself!
Leave a Comment