
Grow Chili Peppers at Home and ignite your culinary adventures! Have you ever dreamed of plucking fiery peppers straight from your own garden, adding a burst of fresh, homegrown heat to your favorite dishes? Forget those bland, store-bought chilies – I’m here to show you how incredibly easy and rewarding it is to cultivate your own vibrant chili pepper plants, even if you have limited space or gardening experience.
For centuries, chili peppers have been cherished across cultures, not just for their flavor, but also for their medicinal properties and symbolic significance. From the ancient Aztecs using them in rituals to the vibrant spice markets of Asia, chilies have always held a special place in our hearts (and on our palates!).
But why should you bother learning to grow chili peppers at home? Well, imagine the satisfaction of knowing exactly where your food comes from, free from harmful pesticides and bursting with flavor. Plus, growing your own chilies is a fantastic way to save money, reduce your carbon footprint, and impress your friends with your green thumb. In this article, I’m going to share my favorite DIY tricks and hacks that will help you cultivate a thriving chili pepper garden, no matter your skill level. Get ready to spice up your life!

Grow Fiery Chili Peppers Right in Your Kitchen!
Okay, chili lovers, gather ’round! I’m going to show you how to cultivate your very own supply of spicy goodness right in the comfort of your home. Forget those bland, store-bought peppers – we’re talking about vibrant, flavorful chilies that’ll add a kick to any dish. This guide will walk you through every step, from seed to sizzling harvest.
Choosing Your Chili Pepper Variety
Before we get our hands dirty, let’s talk peppers! The world of chili peppers is vast and exciting. Consider these factors when choosing your variety:
* Heat Level: This is the most important factor! Do you crave the scorching heat of a habanero or ghost pepper, or prefer the milder warmth of a jalapeño or poblano? Research the Scoville Heat Units (SHU) of different varieties to find your perfect match.
* Size and Shape: Chili peppers come in all shapes and sizes, from tiny bird’s eye chilies to long, slender cayenne peppers. Think about how you plan to use them. Smaller peppers are great for adding whole to dishes, while larger peppers are better for stuffing or making sauces.
* Growing Conditions: Some chili peppers are more tolerant of certain climates and growing conditions than others. Check the seed packet or online resources to ensure your chosen variety is suitable for your indoor environment.
* Color: From vibrant reds and oranges to deep purples and yellows, chili peppers offer a rainbow of colors. Choose a variety that appeals to your aesthetic sense!
Some popular and relatively easy-to-grow indoor chili pepper varieties include:
* Jalapeño
* Serrano
* Thai Chili
* Cayenne
* Poblano
What You’ll Need
Here’s a list of everything you’ll need to embark on your chili pepper growing adventure:
* Chili Pepper Seeds: Purchase high-quality seeds from a reputable source.
* Seed Starting Tray or Small Pots: These will be used to germinate your seeds.
* Seed Starting Mix: A light, well-draining mix specifically designed for starting seeds.
* Larger Pots (at least 5 gallons): For transplanting your seedlings once they’ve grown.
* Potting Soil: A good quality potting mix that retains moisture but also drains well.
* Grow Lights (optional but recommended): Especially if you don’t have a sunny windowsill.
* Watering Can or Spray Bottle: For gentle watering.
* Fertilizer: A balanced fertilizer specifically formulated for vegetables.
* Small Shovel or Trowel: For transplanting.
* Gloves (optional): To protect your hands.
* Heat Mat (optional): To speed up germination.
* Spray Bottle with Water: For misting seedlings.
Germinating Your Chili Pepper Seeds
This is where the magic begins! Germination is the process of your seeds sprouting and developing into seedlings.
1. Prepare Your Seed Starting Tray: Fill your seed starting tray or small pots with seed starting mix. Moisten the mix thoroughly with water, ensuring it’s damp but not soggy.
2. Sow Your Seeds: Make a small indentation (about ¼ inch deep) in the center of each cell or pot. Place one or two chili pepper seeds in each indentation and gently cover them with seed starting mix.
3. Water Gently: Lightly water the surface of the mix with a spray bottle or watering can. Avoid overwatering, as this can cause the seeds to rot.
4. Provide Warmth: Chili pepper seeds germinate best in warm conditions (around 75-85°F). Place your seed starting tray on a heat mat or in a warm location.
5. Maintain Moisture: Keep the seed starting mix consistently moist by misting it with water as needed. Cover the tray with a clear plastic lid or plastic wrap to help retain moisture.
6. Be Patient: Germination can take anywhere from 7 to 21 days, depending on the variety of chili pepper and the growing conditions. Don’t give up if you don’t see sprouts right away!
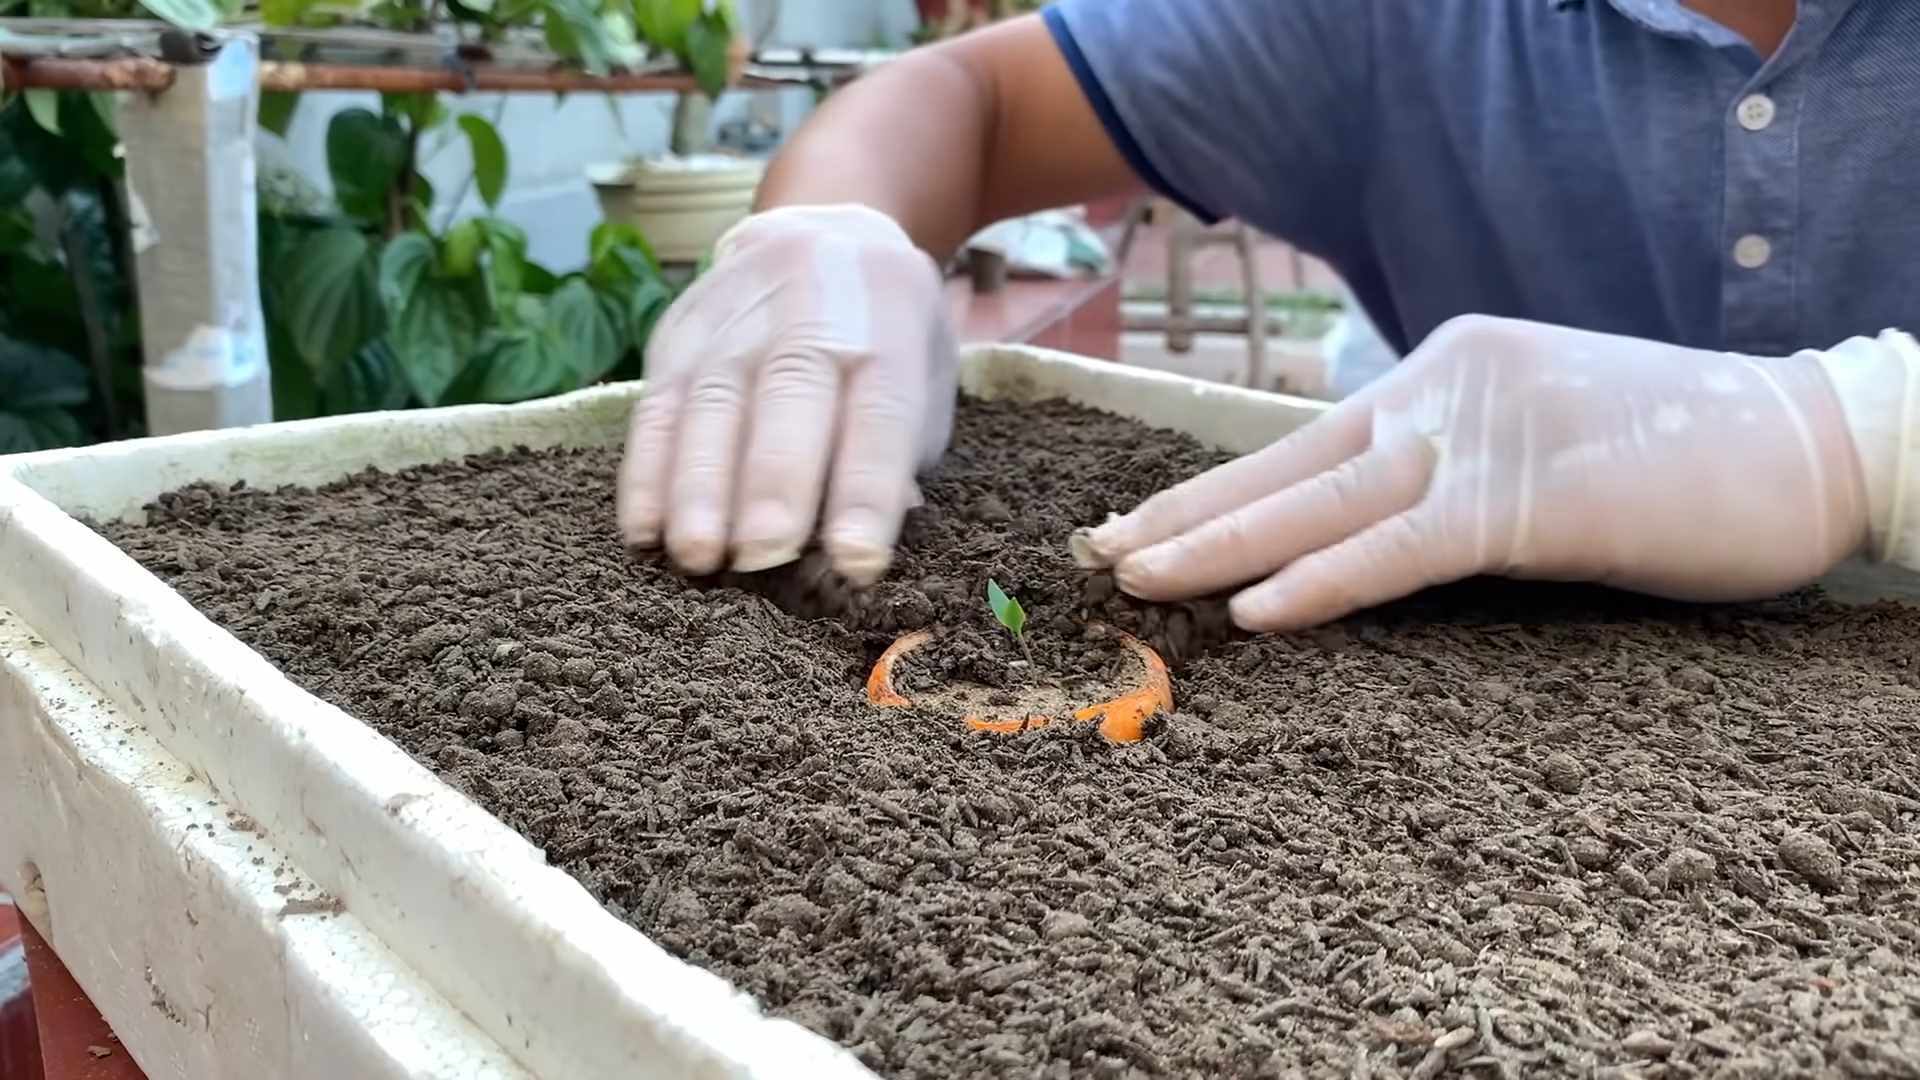
Transplanting Your Seedlings
Once your seedlings have developed a few sets of true leaves (the leaves that look like miniature versions of the adult plant’s leaves), it’s time to transplant them into larger pots.
1. Prepare Your Larger Pots: Fill your larger pots (at least 5 gallons) with potting soil. Make a well in the center of each pot that’s large enough to accommodate the root ball of your seedling.
2. Carefully Remove Seedlings: Gently loosen the soil around the seedlings in the seed starting tray. Carefully lift each seedling out of its cell or pot, being careful not to damage the roots.
3. Transplant Seedlings: Place each seedling into the prepared well in the larger pot. Make sure the top of the root ball is level with the surface of the potting soil.
4. Fill and Water: Fill in the remaining space around the seedling with potting soil. Gently pat down the soil to secure the seedling in place. Water thoroughly.
Caring for Your Chili Pepper Plants
Now that your chili pepper plants are in their permanent homes, it’s time to provide them with the care they need to thrive.
1. Light: Chili pepper plants need plenty of light to grow and produce fruit. Aim for at least 6-8 hours of direct sunlight per day. If you don’t have a sunny windowsill, consider using grow lights. Place the grow lights a few inches above the plants and adjust the height as they grow.
2. Watering: Water your chili pepper plants regularly, allowing the soil to dry out slightly between waterings. Avoid overwatering, as this can lead to root rot. Check the soil moisture by sticking your finger into the soil. If the top inch of soil is dry, it’s time to water.
3. Fertilizing: Feed your chili pepper plants with a balanced fertilizer every 2-3 weeks. Follow the instructions on the fertilizer packaging. You can also use a fertilizer specifically formulated for tomatoes or peppers.
4. Temperature: Chili pepper plants thrive in warm temperatures (around 70-85°F). Avoid exposing them to temperatures below 60°F.
5. Humidity: Chili pepper plants prefer moderate humidity levels. If the air in your home is dry, you can increase the humidity by placing a tray of water near the plants or using a humidifier.
6. Pruning: Pruning can help to improve air circulation and encourage bushier growth. Remove any yellowing or dead leaves. You can also pinch off the tips of the branches to encourage branching.
7. Pollination: Chili pepper plants are self-pollinating, but you can help them along by gently shaking the plants or using a small paintbrush to transfer pollen from one flower to another. This is especially important for indoor plants, as they may not be exposed to natural pollinators like bees and butterflies.
8. Pest Control: Keep an eye out for pests like aphids, spider mites, and whiteflies. If you notice any pests, treat them with an insecticidal soap or neem oil.
Harvesting Your Chili Peppers
The moment you’ve been waiting for! Harvesting your chili peppers is the most rewarding part of the process.
1. Maturity: Chili peppers are typically ready to harvest when they reach their mature size and color. The exact time will vary depending on the variety.
2. Harvesting: Use a sharp knife or scissors to cut the peppers from the plant. Be careful not to damage the plant.
3. Enjoy: Now you can enjoy your homegrown chili peppers in your favorite dishes! You can use them fresh, dried, or pickled.
Troubleshooting
Even with the best care, you may encounter some challenges along the way. Here are some common problems and how to address them:
* Yellowing Leaves: This can be caused by overwatering, underwatering, nutrient deficiencies, or pests. Adjust your watering schedule, fertilize your plants, and check for pests.
* Dropping Flowers: This can be caused by temperature fluctuations, lack of pollination, or stress. Maintain consistent temperatures, hand-pollinate your plants, and avoid overwatering or underwatering.
* Lack of Fruit: This can be caused by insufficient light, lack of pollination, or nutrient deficiencies. Provide more light, hand-pollinate your plants, and fertilize them regularly.
* Pests: Treat pests with insecticidal soap or neem oil.
Extra Tips for Success
* Rotate Your Plants: Rotate your chili pepper plants regularly to ensure they receive even light exposure.
* Provide Support: As your chili pepper plants grow, they may need support to prevent them from falling over. Use stakes or cages to support the plants.
* Save Your Seeds: If you want to grow the same variety of chili
Conclusion
So, there you have it! Growing chili peppers at home is not only achievable, but it’s also incredibly rewarding. Imagine the satisfaction of plucking vibrant, fiery peppers from your own plant, knowing you nurtured them from seed to spice. This DIY trick, focusing on creating the perfect microclimate and providing consistent care, unlocks a world of flavor and freshness that store-bought peppers simply can’t match.
Why is this a must-try? Because it puts you in control. You dictate the level of spice, the variety of pepper, and the growing conditions, ensuring a harvest that perfectly suits your culinary desires. Forget bland, mass-produced peppers; with this method, you’ll be enjoying the intense heat and unique flavor profiles of homegrown chilies in no time. Plus, it’s a fantastic way to reduce your carbon footprint and connect with nature, even if you only have a small balcony or windowsill.
But the adventure doesn’t stop there! Feel free to experiment with different varieties of chili peppers. From the mild jalapeño to the scorching habanero, the possibilities are endless. Try using different soil mixes to see how they affect the pepper’s flavor and heat. Consider companion planting with herbs like basil or oregano, which can help deter pests and enhance the overall health of your chili pepper plants.
Variations to consider:
* Hydroponics: For a more advanced approach, explore hydroponic systems for growing chili peppers. This method can lead to faster growth and higher yields.
* Container Gardening: If you’re short on space, container gardening is an excellent option. Choose pots that are at least 5 gallons in size to provide ample room for root growth.
* Indoor Growing: Even without a garden, you can grow chili peppers indoors using grow lights. This allows you to enjoy fresh chilies year-round, regardless of the weather.
We wholeheartedly encourage you to give this DIY trick a try. It’s easier than you might think, and the rewards are well worth the effort. Don’t be afraid to get your hands dirty, experiment with different techniques, and learn from your experiences.
Most importantly, we want to hear about your journey! Share your successes, your challenges, and your tips with us in the comments below. Let’s create a community of chili pepper enthusiasts who are passionate about growing their own spice. What variety did you choose? What challenges did you face? What did you learn? Your insights can help others embark on their own chili-growing adventures. So, grab your seeds, prepare your soil, and get ready to experience the joy of growing chili peppers at home!
Frequently Asked Questions (FAQ)
What is the best time of year to start growing chili peppers?
The best time to start growing chili peppers depends on your climate. In general, you should start seeds indoors 6-8 weeks before the last expected frost. This allows the seedlings to develop a strong root system before being transplanted outdoors. If you live in a warmer climate with a longer growing season, you can start seeds directly outdoors after the last frost. However, starting indoors provides a head start and ensures a more successful harvest.
What kind of soil is best for chili peppers?
Chili peppers thrive in well-draining soil that is rich in organic matter. A good potting mix for chili peppers should consist of equal parts of compost, peat moss, and perlite or vermiculite. This combination provides the necessary nutrients, moisture retention, and drainage for healthy growth. Avoid using heavy clay soils, as they can become waterlogged and lead to root rot. You can also amend your garden soil with compost and other organic matter to improve its drainage and fertility.
How much sunlight do chili peppers need?
Chili peppers require at least 6-8 hours of direct sunlight per day to thrive. Insufficient sunlight can result in stunted growth, reduced yields, and less flavorful peppers. If you are growing chili peppers indoors, you will need to supplement with grow lights to provide adequate light. Position the grow lights about 6-12 inches above the plants and ensure they are on for at least 14-16 hours per day.
How often should I water my chili pepper plants?
Water chili pepper plants deeply and regularly, allowing the soil to dry out slightly between waterings. Overwatering can lead to root rot, while underwatering can stress the plants and reduce yields. Check the soil moisture by inserting your finger about an inch deep. If the soil feels dry, it’s time to water. During hot weather, you may need to water more frequently. Mulching around the base of the plants can help retain moisture and reduce the need for frequent watering.
What are some common pests and diseases that affect chili peppers?
Chili peppers can be susceptible to various pests and diseases, including aphids, spider mites, whiteflies, and fungal diseases like powdery mildew and blossom end rot. Regularly inspect your plants for signs of infestation or disease. Treat infestations with insecticidal soap or neem oil. Prevent fungal diseases by providing good air circulation, avoiding overhead watering, and using a fungicide if necessary. Blossom end rot is caused by calcium deficiency and can be prevented by ensuring the soil is rich in calcium and maintaining consistent watering.
How do I fertilize my chili pepper plants?
Fertilize chili pepper plants regularly with a balanced fertilizer that is specifically formulated for vegetables. Start fertilizing seedlings a few weeks after they emerge and continue throughout the growing season. Use a fertilizer with a higher phosphorus content to promote flowering and fruit production. Avoid over-fertilizing, as this can lead to excessive foliage growth and reduced yields. You can also supplement with organic fertilizers like compost tea or fish emulsion.
When are chili peppers ready to harvest?
Chili peppers are typically ready to harvest when they reach their mature color and size. The exact time will vary depending on the variety of pepper. Gently twist or cut the peppers from the plant, being careful not to damage the stems. You can harvest chili peppers at different stages of ripeness, depending on your preference. Green chili peppers are typically milder in flavor, while red chili peppers are hotter and more flavorful.
How can I increase the heat of my chili peppers?
Several factors can influence the heat of chili peppers, including genetics, growing conditions, and stress. To increase the heat of your chili peppers, ensure they receive plenty of sunlight, water, and nutrients. Stressing the plants slightly by withholding water for short periods can also increase the heat. However, avoid stressing the plants too much, as this can reduce yields.
Can I grow chili peppers indoors year-round?
Yes, you can grow chili peppers indoors year-round with the help of grow lights. Choose a sunny location or supplement with artificial lighting to provide at least 14-16 hours of light per day. Maintain a consistent temperature and humidity level. Pollinate the flowers manually using a small brush or cotton swab. With proper care, you can enjoy fresh chili peppers year-round, regardless of the weather.
How do I store chili peppers after harvesting?
There are several ways to store chili peppers after harvesting. You can dry them, freeze them, pickle them, or make hot sauce. To dry chili peppers, string them together and hang them in a well-ventilated area until they are completely dry. You can also dry them in a dehydrator or oven. To freeze chili peppers, wash and dry them thoroughly, then place them in freezer bags. Pickled chili peppers can be stored in the refrigerator for several months. Hot sauce can be stored in the refrigerator for up to a year.
Leave a Comment