
Grow Celery Fast? Absolutely! Imagine harvesting crisp, crunchy celery from your own backyard, ready to be dipped in peanut butter or tossed into a vibrant salad. No more limp, store-bought stalks! This isn’t just a dream; it’s an achievable reality with a few clever tricks and DIY hacks. For centuries, celery has been cultivated, prized not only for its refreshing taste but also for its medicinal properties. Ancient Greeks even used it to crown victors in athletic games!
But let’s be honest, growing celery can sometimes feel like a slow and frustrating process. That’s where this article comes in. I’m going to share my favorite, tried-and-true methods to help you grow celery fast and efficiently. Whether you’re a seasoned gardener or just starting out, these tips will empower you to enjoy a bountiful celery harvest sooner than you ever thought possible. We’ll cover everything from seed starting to soil preparation, ensuring you have all the knowledge you need to succeed. So, grab your gardening gloves, and let’s get growing!
Grow Celery From Kitchen Scraps: A DIY Guide
Hey there, fellow gardening enthusiasts! Ever find yourself tossing out the base of a celery stalk after using the stalks in a recipe? Well, stop right there! I’m going to show you how to regrow celery from that seemingly useless scrap, saving you money and giving you a fresh supply of this crunchy veggie. It’s easier than you think, and incredibly rewarding. Let’s get started!
What You’ll Need
Before we dive in, let’s gather our supplies. This is a pretty low-key project, so you probably have most of this stuff already:
* The base of a celery stalk (about 2 inches from the bottom, where the stalks are connected)
* A shallow dish or bowl
* Water (tap water is fine)
* A sunny windowsill or grow light
* Potting soil
* A pot or container (at least 6 inches in diameter)
* A spray bottle (optional, but helpful)
Phase 1: Rooting Your Celery Base
This is where the magic begins! We’re going to coax those dormant cells in the celery base to start growing roots.
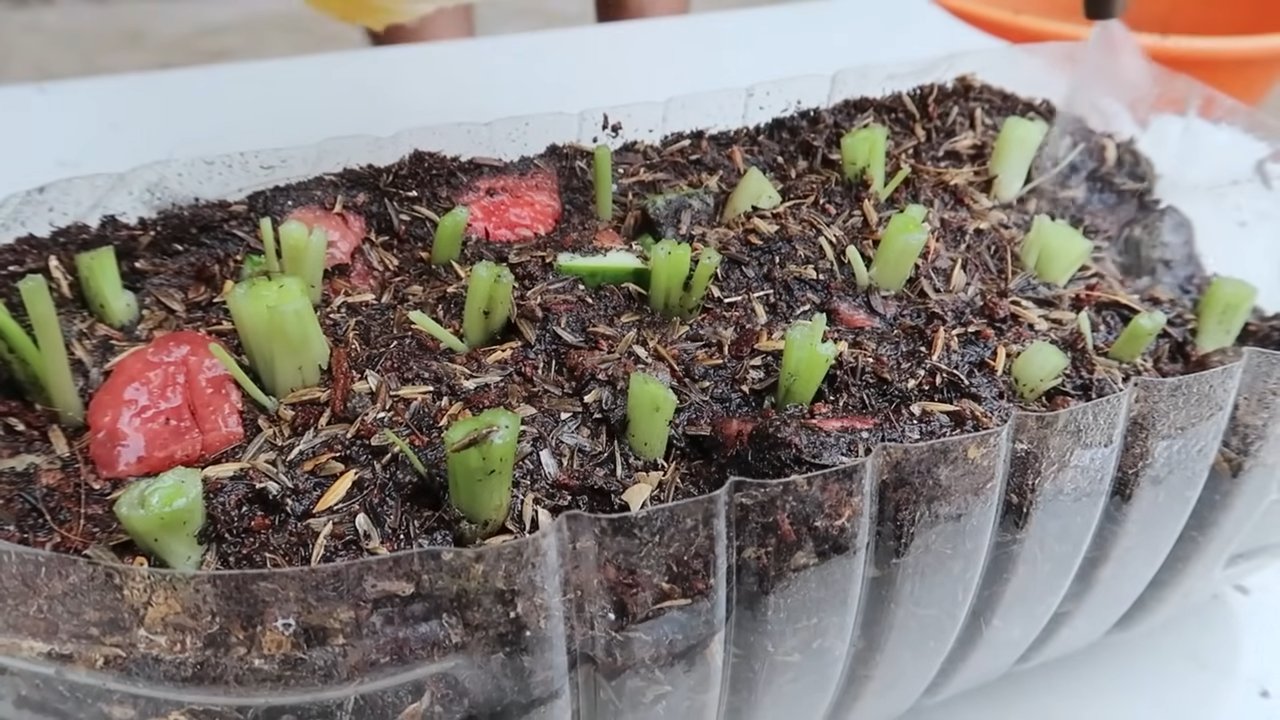
1. Prepare the Celery Base: After you’ve used the celery stalks, carefully cut off the base, leaving about 2 inches of the bottom intact. Make sure the cut is clean and even. Remove any loose or damaged outer stalks.
2. Place in Water: Fill your shallow dish or bowl with about an inch of water. Place the celery base, cut-side up, in the water. The water level should reach about halfway up the base.
3. Find a Sunny Spot: Place the dish on a sunny windowsill or under a grow light. Celery needs plenty of light to thrive, even in this early stage. A south-facing window is ideal.
4. Change the Water Regularly: This is crucial! Change the water every 1-2 days to prevent bacteria growth and keep the water fresh. This will encourage root development.
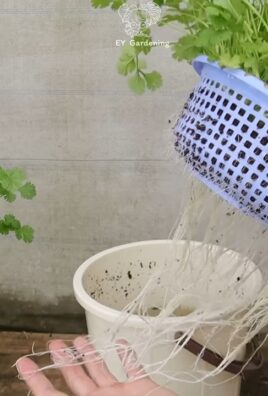
5. Observe and Wait: Over the next few days, you should start to see small roots emerging from the bottom of the celery base. You’ll also notice new green leaves sprouting from the center. This is a sign that your celery is happy and healthy! It usually takes about 5-7 days to see significant root growth. Be patient!
Phase 2: Planting Your Celery
Once your celery base has developed a good network of roots (about an inch or two long), it’s time to plant it in soil.
1. Prepare the Pot: Fill your pot or container with good-quality potting soil. Make sure the pot has drainage holes to prevent waterlogging. Waterlogging can lead to root rot, which is a big no-no for celery.
2. Create a Hole: Use your finger or a small trowel to create a hole in the center of the pot, large enough to accommodate the celery base and its roots.
3. Carefully Plant the Celery: Gently remove the celery base from the water and carefully place it in the hole. Make sure the roots are spread out and not bunched together.
4. Cover with Soil: Fill the hole with soil, gently pressing down around the base of the celery to secure it in place. Leave the top of the celery base (where the new leaves are growing) exposed.
5. Water Thoroughly: Water the soil thoroughly until water drains out of the drainage holes. This will help settle the soil and ensure the roots are properly hydrated.
Phase 3: Caring for Your Growing Celery
Now that your celery is planted, it’s time to provide it with the care it needs to thrive.
1. Sunlight: Celery needs at least 6 hours of sunlight per day. Continue to keep your pot on a sunny windowsill or under a grow light. If you’re growing it outdoors, choose a location that receives plenty of sunlight.
2. Watering: Celery needs consistent moisture to grow well. Water your plant whenever the top inch of soil feels dry to the touch. Avoid overwatering, as this can lead to root rot. A good rule of thumb is to water deeply but infrequently.
3. Fertilizing: Celery is a heavy feeder, meaning it needs plenty of nutrients to grow. Fertilize your plant every 2-3 weeks with a balanced liquid fertilizer. Follow the instructions on the fertilizer package. You can also use compost tea as a natural fertilizer.
4. Pest Control: Keep an eye out for pests such as aphids, spider mites, and slugs. If you notice any pests, you can try spraying your plant with insecticidal soap or neem oil. You can also hand-pick pests off the plant.
5. Blanching (Optional): Blanching celery stalks makes them more tender and less bitter. To blanch your celery, you can wrap the stalks with newspaper or cardboard a few weeks before harvesting. This will block sunlight from reaching the stalks, causing them to turn white.
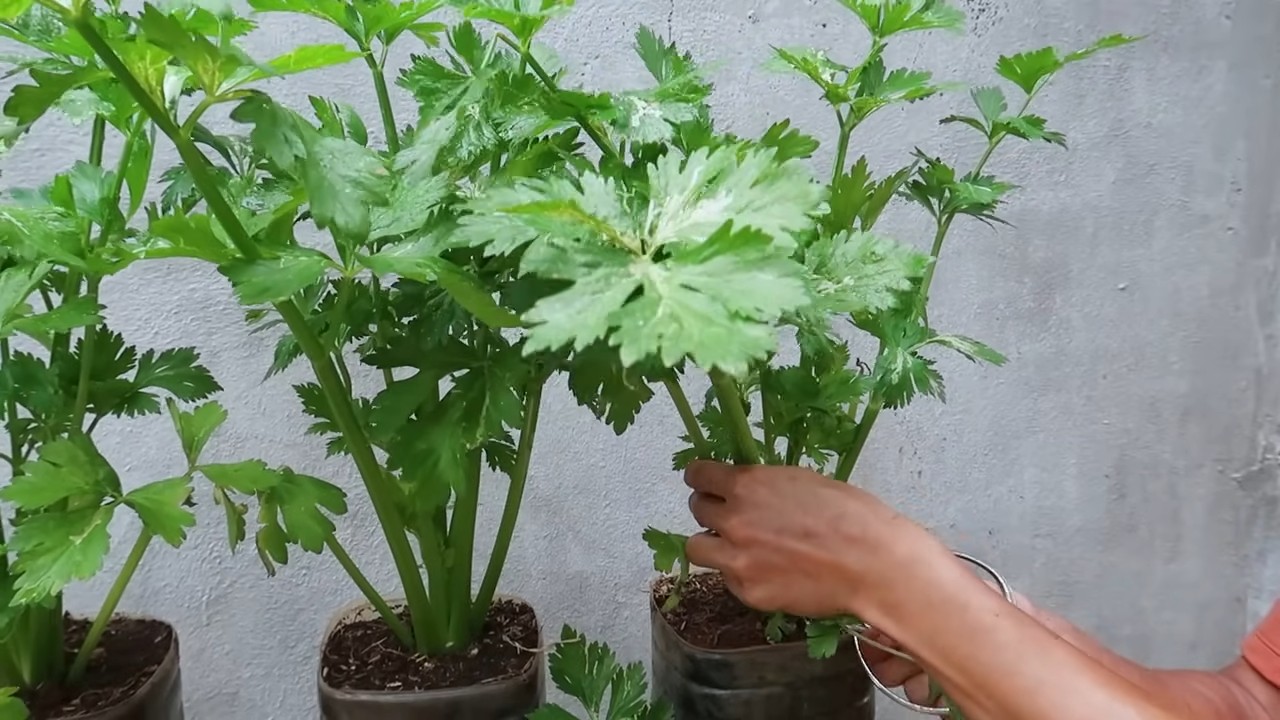
6. Harvesting: You can start harvesting your celery when the stalks are about 6-8 inches tall. Simply cut off the stalks you need, leaving the base of the plant intact. The plant will continue to produce new stalks. You can also harvest the entire plant at once.
Troubleshooting Tips
Sometimes, things don’t go exactly as planned. Here are a few common problems you might encounter and how to fix them:
* Celery base isn’t growing roots: Make sure you’re changing the water regularly and that the celery base is getting enough sunlight. You can also try adding a small amount of rooting hormone to the water.
* Celery leaves are turning yellow: This could be a sign of overwatering or underwatering. Check the soil moisture and adjust your watering accordingly. Yellowing leaves can also indicate a nutrient deficiency. Try fertilizing your plant with a balanced fertilizer.
* Celery stalks are thin and weak: This could be due to lack of sunlight or nutrients. Make sure your plant is getting enough sunlight and fertilize it regularly.
* Pests are attacking my celery: Inspect your plant regularly for pests and take action as soon as you notice them. Insecticidal soap and neem oil are effective treatments for many common celery pests.
Extra Tips for Success
* Choose a healthy celery stalk: The fresher the celery base, the better your chances of success. Look for a stalk that is firm and crisp, with no signs of wilting or browning.
* Use filtered water: If your tap water is heavily chlorinated, it’s best to use filtered water for rooting your celery base.
* Be patient: Regrowing celery takes time and patience. Don’t get discouraged if you don’t see results immediately. Just keep providing your plant with the care it needs, and it will eventually thrive.
* Experiment with different varieties: There are many different varieties of celery, each with its own unique flavor and texture. Try regrowing different varieties to see which ones you like best.
* Enjoy the process! Gardening is a rewarding hobby, so take the time to enjoy the process of regrowing your own celery.
Why This Works
The reason this works is because the celery base contains dormant buds that are capable of producing new roots and shoots. By providing the right conditions (water, sunlight, and nutrients), we can stimulate these buds to grow and develop into a new celery plant. It’s a simple and effective way to propagate celery and reduce food waste.
I hope this guide has inspired you to try regrowing celery from kitchen scraps. It’s a fun and easy project that anyone can do, and it’s a great way to save money and enjoy fresh, homegrown celery. Happy gardening!
Conclusion
So, there you have it! Mastering the art of growing celery fast isn’t some gardener’s myth; it’s an achievable reality with a little know-how and the right techniques. We’ve explored the secrets to accelerating celery growth, from selecting the right variety and preparing nutrient-rich soil to optimizing sunlight and water. But the real magic lies in the simple yet powerful DIY trick we’ve unveiled: the strategic use of a DIY celery collar.
This isn’t just about getting celery to grow; it’s about getting it to grow *faster* and *better*. The collar provides a microclimate that encourages blanching, resulting in sweeter, more tender stalks. It also protects the base of the plant from pests and diseases, giving your celery a significant head start.
Why is this DIY trick a must-try? Because it’s a game-changer. It’s the difference between waiting months for a mediocre harvest and enjoying crisp, flavorful celery in a fraction of the time. It’s about maximizing your garden’s potential and reaping the rewards of your efforts sooner rather than later. Plus, it’s incredibly satisfying to see the tangible results of your ingenuity.
Consider these variations to personalize your celery-growing experience:
* Experiment with different collar materials: While cardboard is a readily available and biodegradable option, you could also try using plastic sheeting (recycled, of course!) for increased water retention in drier climates. Just be sure to provide adequate ventilation to prevent fungal growth.
* Incorporate companion planting: Surround your celery with beneficial herbs like chamomile or marigolds to deter pests naturally.
* Adjust watering based on your climate: In hotter, drier regions, you might need to water more frequently, even with the collar in place. Monitor the soil moisture regularly.
* Try different celery varieties: While we’ve focused on general principles, some celery varieties are naturally faster-growing than others. Do some research to find the best fit for your local climate and growing conditions.
Growing celery fast is not just a possibility; it’s a promise. A promise of fresh, homegrown goodness gracing your table sooner than you ever thought possible. It’s a promise of a more bountiful harvest and a more rewarding gardening experience.
We wholeheartedly encourage you to try this DIY trick. Don’t be intimidated by the prospect of gardening; celery is a surprisingly resilient plant, and with a little care and attention, you’ll be amazed at what you can achieve.
And most importantly, we want to hear about your experiences! Share your successes, your challenges, and your variations on this DIY celery collar technique. Let’s build a community of celery enthusiasts, sharing tips and tricks to help each other grow the best celery possible. Post your photos and stories on social media using #GrowCeleryFast and let’s learn together. Happy gardening!
Frequently Asked Questions (FAQ)
What exactly is a “celery collar” and why is it important for growing celery fast?
A celery collar is a simple, cylindrical structure placed around the base of the celery plant. Its primary purpose is to blanch the stalks, which means excluding light to make them paler, sweeter, and more tender. Blanching also helps to reduce the bitterness often associated with celery. By creating a microclimate around the plant, the collar also helps retain moisture, protect against pests, and provide a more stable growing environment, all of which contribute to faster and healthier growth.
What materials can I use to make a celery collar?
The most common and readily available material is cardboard. You can use cardboard boxes, cereal boxes, or even thick paper. Other options include plastic sheeting (recycled is best), burlap, or even newspaper. The key is to choose a material that is opaque enough to block out light and durable enough to withstand the elements for a few weeks. Ensure that whatever material you choose is free from harmful chemicals that could leach into the soil.
How tall should the celery collar be?
The height of the collar should be approximately two-thirds to three-quarters of the height of the celery plant. As the plant grows, you may need to adjust the height of the collar or replace it with a taller one. The goal is to blanch the lower portion of the stalks while still allowing the top leaves to receive sunlight.
When should I put the celery collar on my plants?
The best time to apply the celery collar is when the plants are about 6-8 inches tall. This allows them to establish a strong root system before blanching begins. Applying the collar too early can stunt growth, while waiting too long will result in tougher, more bitter stalks.
How long should I leave the celery collar on the plants?
The duration depends on the variety of celery and your desired level of blanching. Generally, leave the collar on for about 2-3 weeks before harvesting. Check the stalks periodically to assess their color and tenderness. If they are sufficiently blanched, you can harvest them.
Will the celery collar attract pests or diseases?
If not properly managed, the collar can create a humid environment that attracts slugs, snails, and fungal diseases. To mitigate this risk, ensure adequate ventilation by leaving a small gap at the top of the collar or using a breathable material like burlap. Regularly inspect the plants for signs of pests or diseases and take appropriate action if necessary. Companion planting with pest-repelling herbs can also help.
How often should I water my celery plants with the collar on?
The frequency of watering depends on your climate and soil type. However, the collar will help retain moisture, so you may need to water less frequently than you would without it. Check the soil moisture regularly and water when the top inch feels dry to the touch. Avoid overwatering, as this can lead to root rot.
Can I reuse the celery collar?
If you use a durable material like plastic sheeting, you can certainly reuse the collar for multiple seasons. However, cardboard collars will likely degrade over time and may need to be replaced. Regardless of the material, be sure to clean and disinfect the collar before reusing it to prevent the spread of diseases.
What if I don’t want to use a collar? Are there other ways to blanch celery?
Yes, there are other methods for blanching celery. You can mound soil around the base of the plants, wrap the stalks with newspaper or burlap, or even plant them closely together to create a self-blanching effect. However, the celery collar is a simple, effective, and relatively low-maintenance option.
What are some common problems I might encounter when growing celery, and how can I fix them?
Some common problems include bolting (premature flowering), pest infestations (aphids, celery leaf miners), and diseases (celery blight, pink rot). Bolting can be prevented by choosing bolt-resistant varieties and avoiding stress to the plants. Pests can be controlled with insecticidal soap or neem oil. Diseases can be prevented by ensuring good air circulation, avoiding overhead watering, and using disease-resistant varieties. If you encounter any problems, research the specific issue and take appropriate action promptly.

Leave a Comment