
Grow Celery at Home? Absolutely! Imagine stepping into your backyard and snipping fresh, crisp celery stalks for your salad, soup, or that perfect afternoon snack. No more wilted, store-bought celery – just vibrant, homegrown goodness. For centuries, celery has been cultivated for its medicinal properties and culinary uses, dating back to ancient Greece and Rome where it was initially valued more for its leaves and seeds than its stalks.
But let’s be honest, buying celery from the grocery store can be a gamble. Sometimes it’s fresh, other times it’s… well, less than ideal. Plus, think of all the plastic packaging! That’s where this DIY guide comes in. I’m going to show you some simple, effective tricks to grow celery at home, even if you don’t have a sprawling garden.
This isn’t just about saving money (though that’s a definite perk!). It’s about connecting with nature, enjoying the satisfaction of nurturing your own food, and having access to the freshest, most flavorful celery imaginable. Ready to ditch the grocery store celery and embark on this exciting gardening adventure with me? Let’s get started!
Grow Your Own Celery: A Beginner’s Guide
Hey there, fellow gardening enthusiasts! Ever thought about growing your own celery? It’s surprisingly easy and rewarding, and nothing beats the fresh, crisp taste of homegrown celery. I’m going to walk you through the whole process, from starting seeds to harvesting your crunchy stalks. Let’s get started!
Choosing Your Celery Variety
Before we dive in, let’s talk about celery varieties. There are a few popular choices, each with its own characteristics:
* ‘Utah Improved’: This is a classic, reliable variety known for its tall, crisp stalks and good flavor. It’s a great choice for beginners.
* ‘Golden Self-Blanching’: As the name suggests, this variety tends to blanch (turn pale) more easily, resulting in sweeter, more tender stalks. It’s a bit more sensitive to temperature fluctuations.
* ‘Giant Red’: If you’re looking for something a little different, try ‘Giant Red’. It has beautiful reddish-purple stalks and a slightly stronger flavor.
I personally prefer ‘Utah Improved’ for its ease of growth and consistent results. But feel free to experiment and find your favorite!
Starting Celery from Seed: The Patient Gardener’s Route
Celery can be a bit slow to germinate, so starting from seed requires a little patience. But trust me, it’s worth it!
1. Gather Your Supplies: You’ll need:
* Celery seeds
* Seed starting trays or small pots
* Seed starting mix (a fine, well-draining mix is best)
* A spray bottle filled with water
* A heat mat (optional, but helpful)
* A grow light (optional, but recommended)
2. Sow the Seeds: Celery seeds are tiny, so handle them carefully.
* Moisten the seed starting mix thoroughly.
* Sprinkle the seeds thinly over the surface of the mix.
* Gently press the seeds into the mix – don’t bury them too deep, as they need light to germinate.
* Lightly mist the surface with water.
3. Create a Humid Environment: Celery seeds need consistent moisture to germinate.
* Cover the seed trays or pots with a clear plastic dome or plastic wrap. This will help retain humidity.
* Place the trays or pots in a warm location, ideally around 70-75°F (21-24°C). A heat mat can be very helpful for maintaining this temperature.
4. Provide Light: Once the seeds germinate (usually in 2-3 weeks, but sometimes longer), they’ll need plenty of light.
* Remove the plastic dome or wrap.
* Place the seedlings under a grow light or in a very bright, sunny window.
* If using a grow light, keep it a few inches above the seedlings and provide 14-16 hours of light per day.
5. Water Carefully: Keep the soil consistently moist, but not soggy.
* Water from the bottom by placing the trays or pots in a shallow tray of water and allowing the soil to absorb the moisture.
* Avoid overhead watering, as this can damage the delicate seedlings.
6. Thin the Seedlings: Once the seedlings have a few true leaves (the second set of leaves that appear after the initial seed leaves), thin them out so that they’re spaced about 1-2 inches apart.
* Use small scissors to snip off the weaker seedlings at the soil line.
* Be careful not to disturb the roots of the remaining seedlings.
7. Harden Off the Seedlings: Before transplanting the seedlings outdoors, you’ll need to harden them off. This process gradually acclimates them to outdoor conditions.
* Start by placing the seedlings outdoors in a sheltered location for a few hours each day.
* Gradually increase the amount of time they spend outdoors over the course of a week or two.
* Protect them from strong winds and direct sunlight during the hardening-off process.
Transplanting Celery Seedlings: Giving Them Room to Grow
Once your seedlings are hardened off and the danger of frost has passed, it’s time to transplant them into your garden.
1. Prepare the Soil: Celery needs rich, well-drained soil.
* Amend the soil with plenty of compost or well-rotted manure.
* Celery prefers a slightly acidic soil pH of around 6.0-6.8. You can test your soil pH with a soil testing kit.
2. Choose a Sunny Location: Celery needs at least 6 hours of sunlight per day.
3. Space the Seedlings: Space the seedlings about 6-8 inches apart in rows that are 18-24 inches apart.
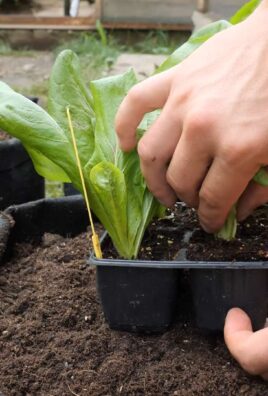
4. Plant Carefully:
* Dig a hole that’s large enough to accommodate the root ball.
* Gently remove the seedling from its pot or tray.
* Place the seedling in the hole and backfill with soil.
* Water thoroughly.
5. Mulch Around the Plants: Mulching helps retain moisture, suppress weeds, and regulate soil temperature.
* Use organic mulch such as straw, hay, or shredded leaves.
Caring for Your Celery Plants: Keeping Them Happy and Healthy
Celery needs consistent care to thrive. Here’s what you need to do:
1. Water Regularly: Celery needs consistent moisture, especially during hot, dry weather.
* Water deeply and regularly, aiming for about 1-2 inches of water per week.
* Avoid letting the soil dry out completely.
2. Fertilize: Celery is a heavy feeder, so it needs regular fertilization.
* Apply a balanced fertilizer every 2-3 weeks.
* You can also side-dress the plants with compost or well-rotted manure.
3. Weed Regularly: Weeds can compete with celery for nutrients and water.
* Hand-pull weeds regularly.
* Mulching can also help suppress weeds.
4. Blanching (Optional): Blanching is the process of excluding light from the stalks to make them paler and more tender. While not strictly necessary, it can improve the flavor and texture of your celery.
* About 2-3 weeks before harvest, you can blanch the stalks by wrapping them with newspaper, cardboard, or soil.
* Leave the tops of the stalks exposed to sunlight.
* Be careful not to wrap the stalks too tightly, as this can restrict air circulation and lead to rot.
Dealing with Pests and Diseases: Keeping Your Celery Safe
Celery can be susceptible to a few pests and diseases. Here’s what to watch out for:
* Celery Leaf Tier: These caterpillars can damage the leaves of celery plants.
* Hand-pick the caterpillars off the plants.
* Use Bacillus thuringiensis (Bt), a biological insecticide, to control infestations.
* Aphids: These small, sap-sucking insects can weaken celery plants.
* Spray the plants with a strong stream of water to dislodge the aphids.
* Use insecticidal soap or neem oil to control infestations.
* Celery Blight: This fungal disease can cause brown spots on the leaves and stalks.
* Provide good air circulation around the plants.
* Avoid overhead watering.
* Use a copper-based fungicide to control the disease.
Harvesting Your Celery: The Sweet Reward
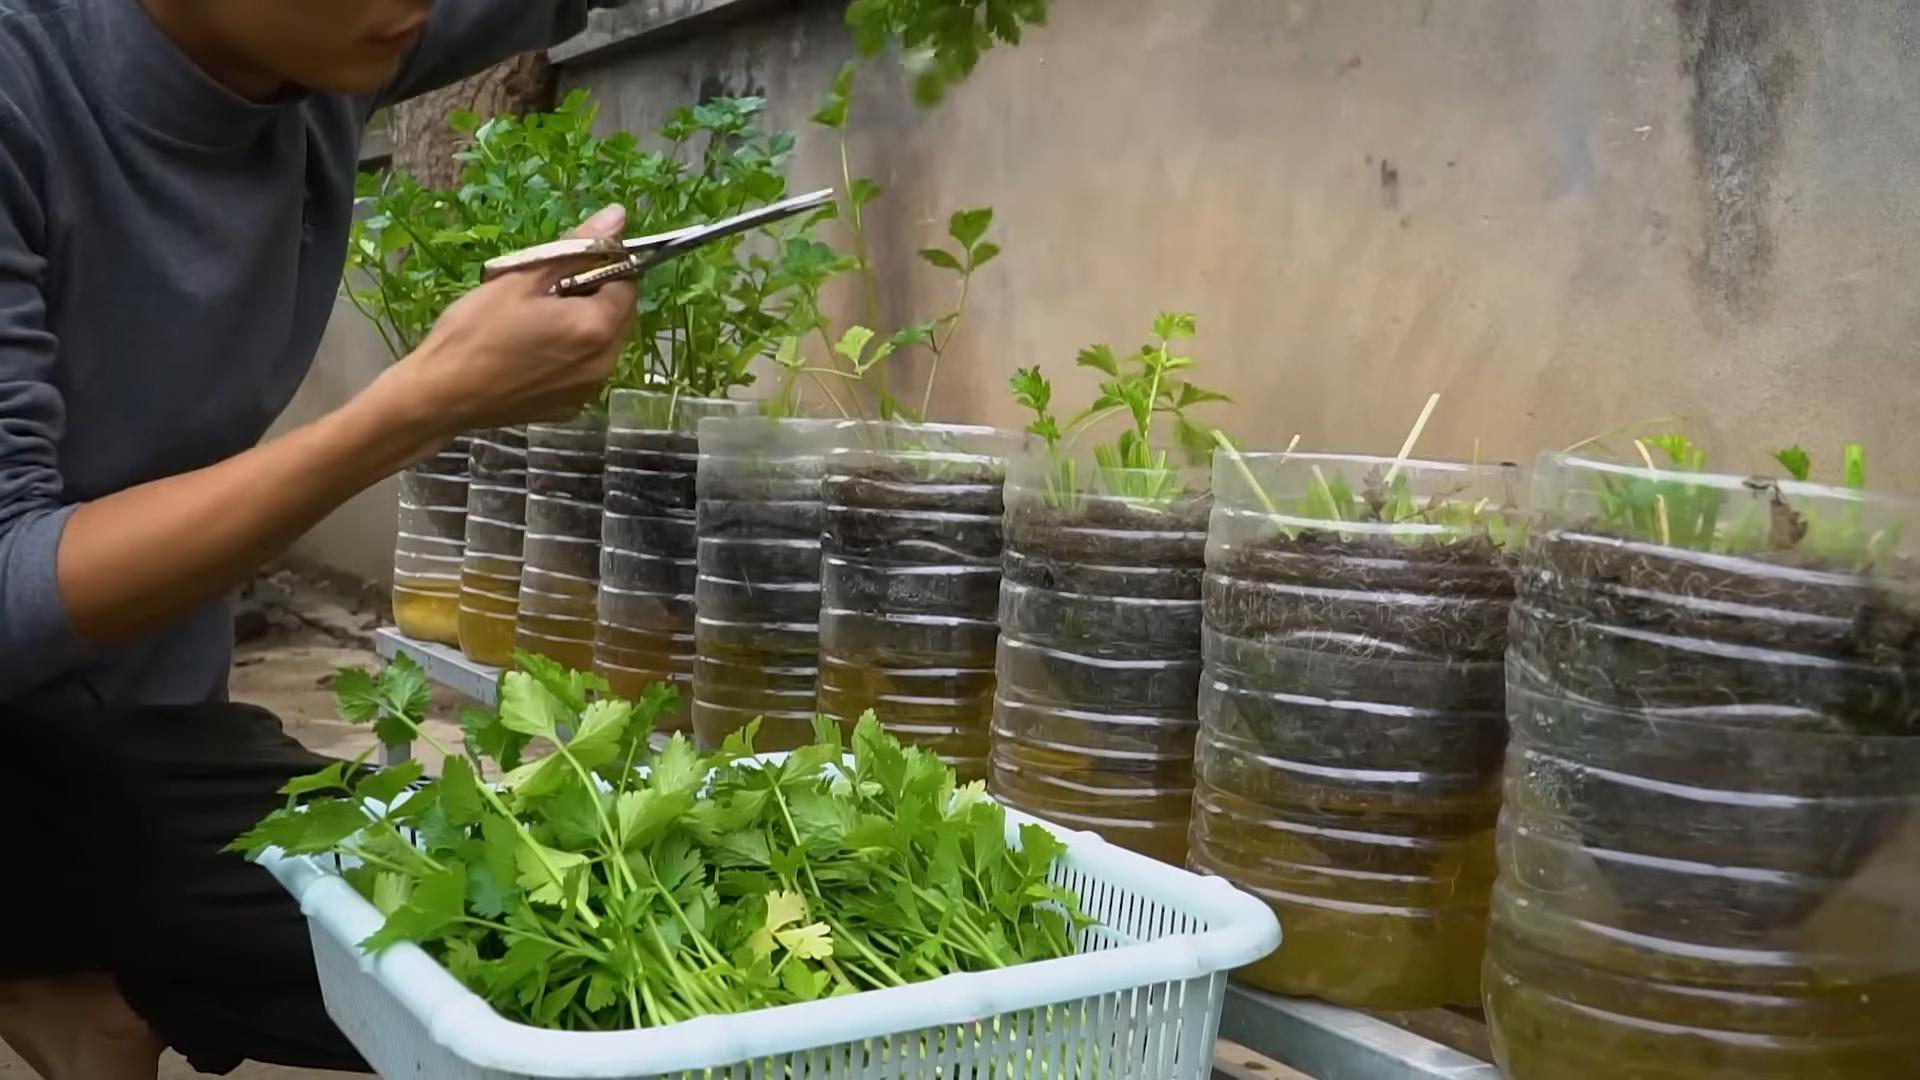
You can start harvesting celery when the stalks are at least 6 inches tall.
1. Harvest Individual Stalks: You can harvest individual stalks as needed by cutting them off at the base of the plant.
2. Harvest the Entire Plant: To harvest the entire plant, cut it off at the base with a sharp knife.
3. Store Your Celery: Celery can be stored in the refrigerator for up to 2 weeks.
* Wrap the celery in a damp paper towel and place it in a plastic bag.
Growing Celery from a Celery Base: The Recycling Gardener’s Trick
Did you know you can regrow celery from the base you usually throw away? It’s a fun and easy way to get a head start on your celery crop.
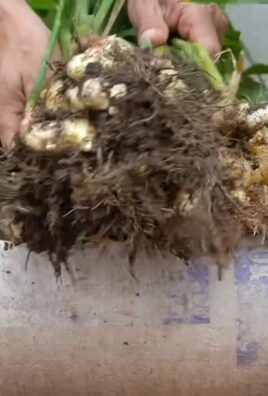
1. Save the Base: After using celery, save the base (the bottom 2 inches or so) with the roots attached.
2. Place in Water: Put the celery base in a shallow dish of water, with the cut side facing up.
3. Provide Sunlight: Place the dish in a sunny location.
4. Change the Water Regularly: Change the water every day or two to prevent it from getting cloudy.
5
Conclusion
So, there you have it! Growing celery at home from scraps isn’t just a fun experiment; it’s a genuinely rewarding way to reduce food waste, enjoy fresh, flavorful celery, and connect with the natural world. Forget those limp, store-bought stalks that lack vibrancy. With a little patience and minimal effort, you can cultivate crisp, aromatic celery right in your own kitchen or garden.
This DIY trick is a must-try for several reasons. First and foremost, it’s incredibly economical. Instead of tossing the celery base into the compost bin, you’re essentially getting a free head of celery. Second, it’s environmentally friendly. By regrowing celery, you’re reducing your reliance on commercially grown produce, which often involves significant transportation and packaging. Third, it’s a fantastic learning experience, especially for children. Watching a discarded celery base sprout and grow into a new plant is a tangible lesson in sustainability and the power of nature.
But the benefits don’t stop there. Homegrown celery boasts a flavor that far surpasses its store-bought counterpart. The taste is brighter, cleaner, and more intensely celery-like. Imagine adding that vibrant flavor to your soups, salads, stir-fries, or even enjoying it as a healthy snack with your favorite dip.
Looking for variations? Absolutely! Once your celery has established itself, consider transplanting it into a larger pot or directly into your garden. This will allow it to grow to its full potential and produce even more stalks. You can also experiment with different varieties of celery. While the method remains the same, the flavor and texture of the resulting celery may vary. Try growing Pascal celery for its classic flavor or experimenting with a pink or red variety for a unique twist.
Another fun variation is to use the celery leaves in your cooking. Celery leaves are often discarded, but they are packed with flavor and nutrients. Add them to soups, stews, salads, or use them to make a flavorful pesto. They can also be dried and used as a seasoning.
Don’t be discouraged if your first attempt isn’t perfect. Growing celery from scraps is a learning process, and it may take a few tries to get it right. The key is to be patient, provide adequate water and sunlight, and observe your plant closely.
We wholeheartedly encourage you to try this DIY trick. It’s a simple, sustainable, and satisfying way to enjoy fresh, flavorful celery. And most importantly, we want to hear about your experience! Share your photos, tips, and stories with us in the comments below. Let’s create a community of home gardeners who are passionate about reducing food waste and growing their own food. Let us know if you have any questions about how to **grow celery at home**! We can’t wait to see your celery growing success!
FAQ
Frequently Asked Questions About Growing Celery at Home
1. What part of the celery do I need to regrow it?
You’ll need the base of the celery stalk, the part that’s usually discarded. This is the section where the stalks are connected at the bottom. Make sure it’s a healthy-looking base, free from any signs of rot or mold. Cut off the stalks about 2 inches from the base.
2. How long does it take for celery to regrow?
You should start to see new growth within 5-7 days. Small leaves will begin to sprout from the center of the base. It will take several weeks for the celery to grow into a substantial plant that can be transplanted. Be patient; the process takes time.
3. What kind of water should I use?
Tap water is generally fine, but if your tap water is heavily chlorinated, let it sit out for 24 hours before using it to allow the chlorine to dissipate. Filtered water is also a good option. Change the water every 1-2 days to prevent bacterial growth.
4. How much sunlight does the celery base need?
The celery base needs bright, indirect sunlight. Avoid placing it in direct sunlight, which can scorch the new leaves. A windowsill that receives morning sun or a spot near a bright window is ideal.
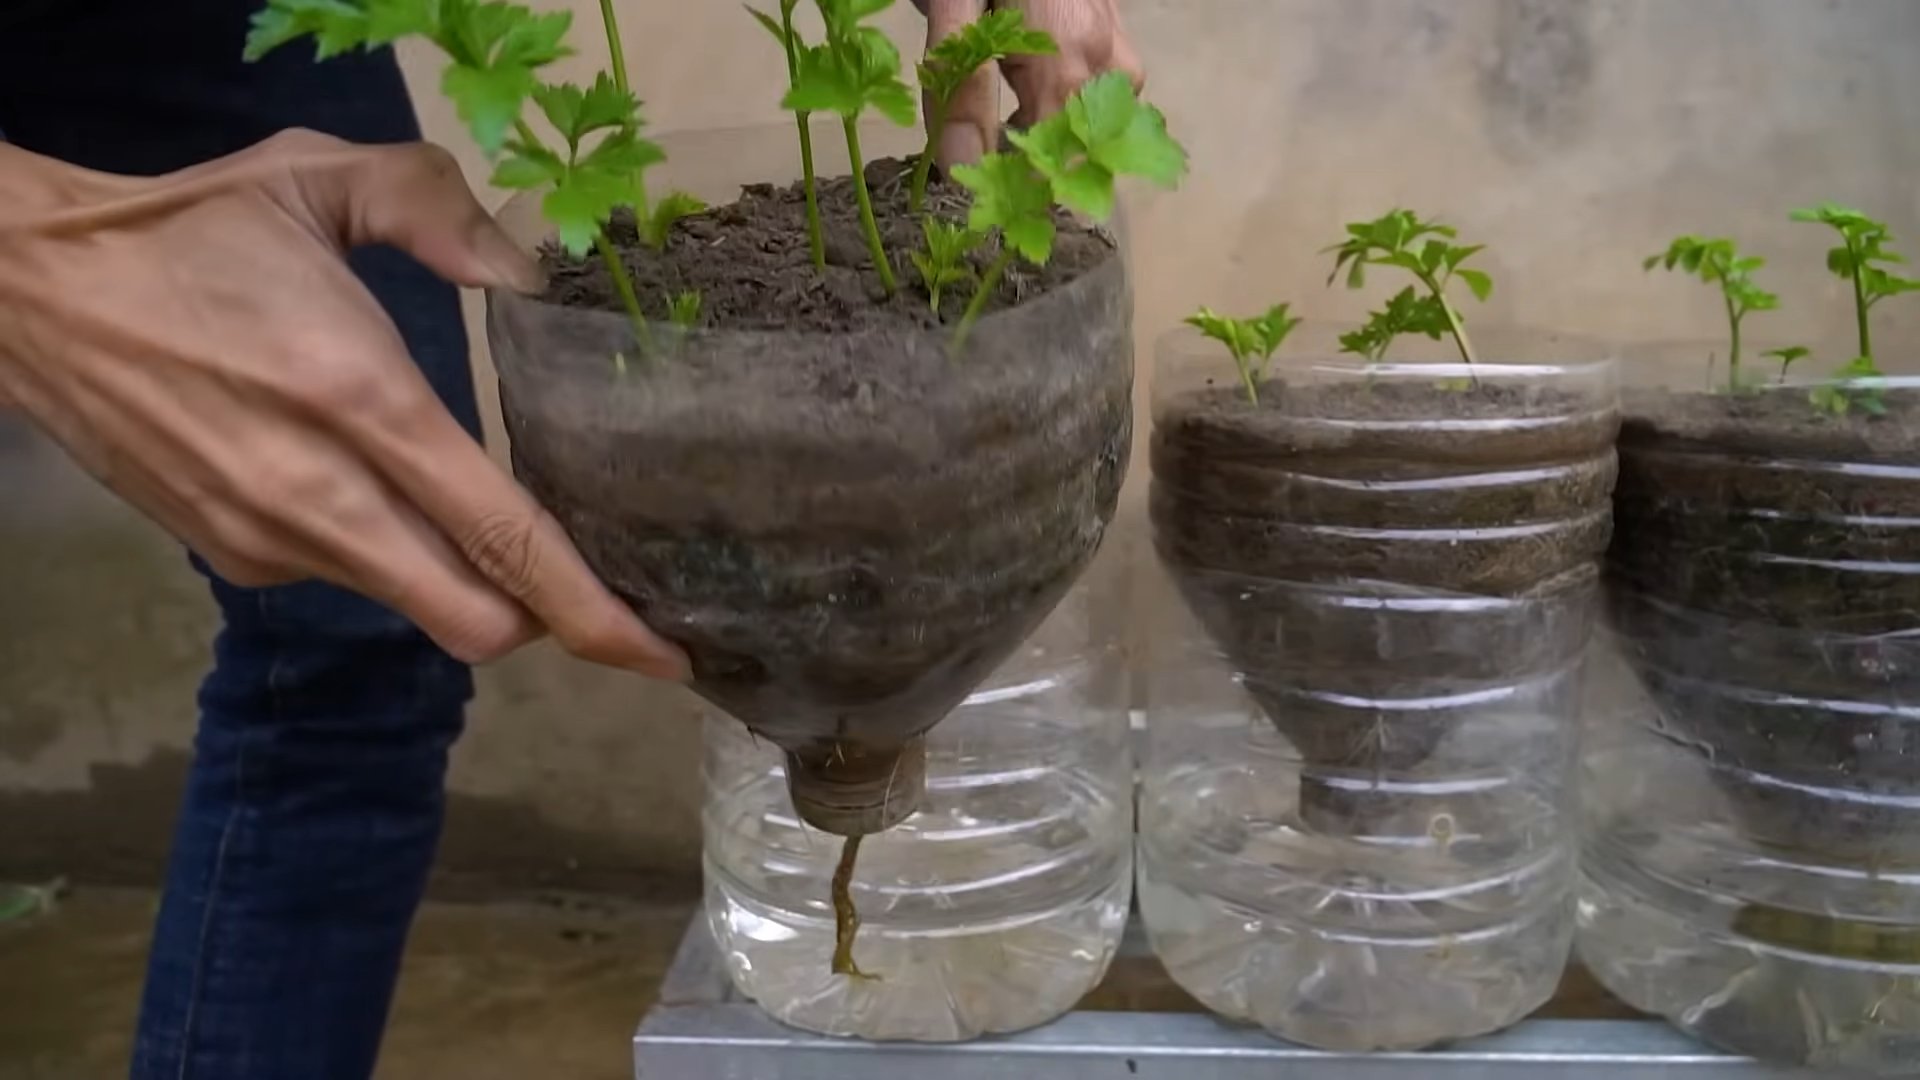
5. When should I transplant the celery to soil?
Once the celery base has developed a good root system (about 2-3 inches long) and has several new leaves, it’s ready to be transplanted to soil. This usually takes about 1-2 weeks.
6. What kind of soil should I use?
Use a well-draining potting mix. You can also amend your garden soil with compost or other organic matter to improve drainage and fertility. Celery prefers soil that is rich in nutrients.
7. How often should I water the transplanted celery?
Keep the soil consistently moist, but not waterlogged. Water when the top inch of soil feels dry to the touch. Celery needs plenty of water to thrive.
8. Can I grow celery indoors permanently?
Yes, you can grow celery indoors permanently, but it may not grow as large as it would outdoors. Make sure it receives plenty of light and is fertilized regularly. You may need to use grow lights to supplement natural light, especially during the winter months.
9. What are some common problems when growing celery?
Some common problems include:
* **Yellowing leaves:** This can be caused by overwatering, underwatering, or nutrient deficiencies.
* **Rotting:** This is usually caused by overwatering or poor drainage.
* **Pests:** Celery can be susceptible to pests such as aphids and slugs.
10. How do I harvest the celery?
You can harvest individual stalks as needed, or you can harvest the entire plant at once. To harvest individual stalks, simply cut them off at the base of the plant. To harvest the entire plant, cut it off at the soil level.
11. Can I regrow celery multiple times from the same base?
While you can sometimes get a second small growth from the same base, the resulting celery will likely be weaker and less productive. It’s best to start with a fresh celery base each time for optimal results.
12. What if my celery base starts to rot?
If your celery base starts to rot, it’s likely due to overwatering or poor drainage. Discard the rotting base and start with a fresh one. Make sure to change the water frequently and avoid letting the base sit in standing water.
13. Can I use fertilizer to help my celery grow?
Yes, you can use a balanced liquid fertilizer to help your celery grow. Dilute the fertilizer according to the package instructions and apply it every 2-3 weeks.
14. Is it better to grow celery in a pot or in the ground?
Celery can be grown successfully in both pots and in the ground. If you’re growing celery in a pot, make sure it’s large enough to accommodate the plant’s root system. If you’re growing celery in the ground, choose a location that receives plenty of sunlight and has well-draining soil.
15. Can I grow celery from seed instead of regrowing from a base?
Yes, you can grow celery from seed. However, growing celery from seed can be more challenging and time-consuming than regrowing from a base. Celery seeds are very small and require specific conditions to germinate.

Leave a Comment