
Grow Bush Beans like a pro, even if you’ve never touched a trowel before! Imagine stepping outside your back door and harvesting a bowlful of fresh, crisp bush beans, bursting with flavor. Sounds dreamy, right? Well, it doesn’t have to be just a dream. This article is your ultimate guide to unlocking the secrets of successful bush bean cultivation, packed with easy DIY tricks and hacks that will transform your garden into a bean-growing paradise.
Bush beans, a staple in gardens worldwide, have a rich history. They’ve been cultivated for centuries, providing essential nutrients and delicious meals. From humble beginnings in Central and South America, they’ve spread across the globe, becoming a beloved vegetable for home gardeners and commercial farmers alike.
But why should you bother to grow bush beans yourself? In today’s world, where grocery store produce can be expensive and lack that garden-fresh taste, growing your own food is more appealing than ever. Plus, there’s something incredibly satisfying about nurturing a plant from seed to harvest. This DIY guide will show you how to avoid common pitfalls, maximize your yield, and enjoy the freshest, most flavorful bush beans imaginable. Get ready to roll up your sleeves and discover the joy of homegrown goodness!
DIY: From Seed to Supper – Growing Bush Beans in Your Backyard!
Hey there, fellow garden enthusiasts! I’m so excited to share my tried-and-true method for growing bush beans. They’re a fantastic addition to any garden, big or small, and the satisfaction of harvesting your own fresh beans is simply unbeatable. Plus, they’re relatively easy to grow, making them perfect for beginners. Let’s dive in!
What You’ll Need:
Before we get our hands dirty, let’s gather everything we need. This will make the whole process smoother and more enjoyable.
* Bush Bean Seeds: Choose your favorite variety! I personally love Blue Lake and Contender beans for their flavor and productivity.
* Gardening Gloves: Protect those precious hands!
* Hand Trowel or Garden Shovel: For digging those perfect little planting holes.
* Measuring Tape or Ruler: To ensure proper spacing.
* Watering Can or Hose: Essential for keeping your beans hydrated.
* Well-Draining Soil: Bush beans aren’t fans of soggy feet. Amend your soil with compost if needed.
* Compost or Aged Manure (Optional): To enrich the soil and give your beans a boost.
* Mulch (Optional): Helps retain moisture and suppress weeds. Straw, wood chips, or shredded leaves work great.
* Row Covers (Optional): To protect seedlings from pests and frost, especially during the early stages.
* Fertilizer (Optional): A balanced fertilizer can help with growth, but it’s not always necessary if your soil is healthy.
Choosing the Right Location:
Location, location, location! Just like real estate, the right spot is crucial for happy bean plants.
* Sunlight: Bush beans need at least 6-8 hours of direct sunlight per day. Choose a sunny spot in your garden.
* Soil: Well-draining soil is a must. Avoid areas where water tends to pool after rain.
* Protection from Wind: While bush beans are relatively sturdy, strong winds can damage them. If your garden is exposed, consider planting them near a fence or other windbreak.
* Crop Rotation: Avoid planting beans in the same spot year after year to prevent soilborne diseases.
Preparing the Soil:
Happy soil, happy beans! Taking the time to prepare the soil properly will pay off in the long run.
1. Clear the Area: Remove any weeds, rocks, or debris from the planting area.
2. Loosen the Soil: Use a garden fork or tiller to loosen the soil to a depth of at least 6-8 inches. This will allow the roots to penetrate easily.
3. Amend the Soil: If your soil is heavy clay or sandy, amend it with compost or aged manure. This will improve drainage, fertility, and overall soil structure. I usually add a generous layer, about 2-3 inches thick, and mix it in thoroughly.
4. Level the Surface: Rake the soil to create a smooth, even surface.
Planting the Seeds:
Now for the fun part – getting those seeds in the ground!
1. Timing is Key: Bush beans are warm-season crops, so wait until the danger of frost has passed before planting. Soil temperature should be at least 60°F (16°C). I usually plant mine about two weeks after the last expected frost.
2. Spacing: Plant seeds 1-2 inches deep and 2-4 inches apart in rows that are 18-24 inches apart. I like to use a measuring tape to ensure consistent spacing.
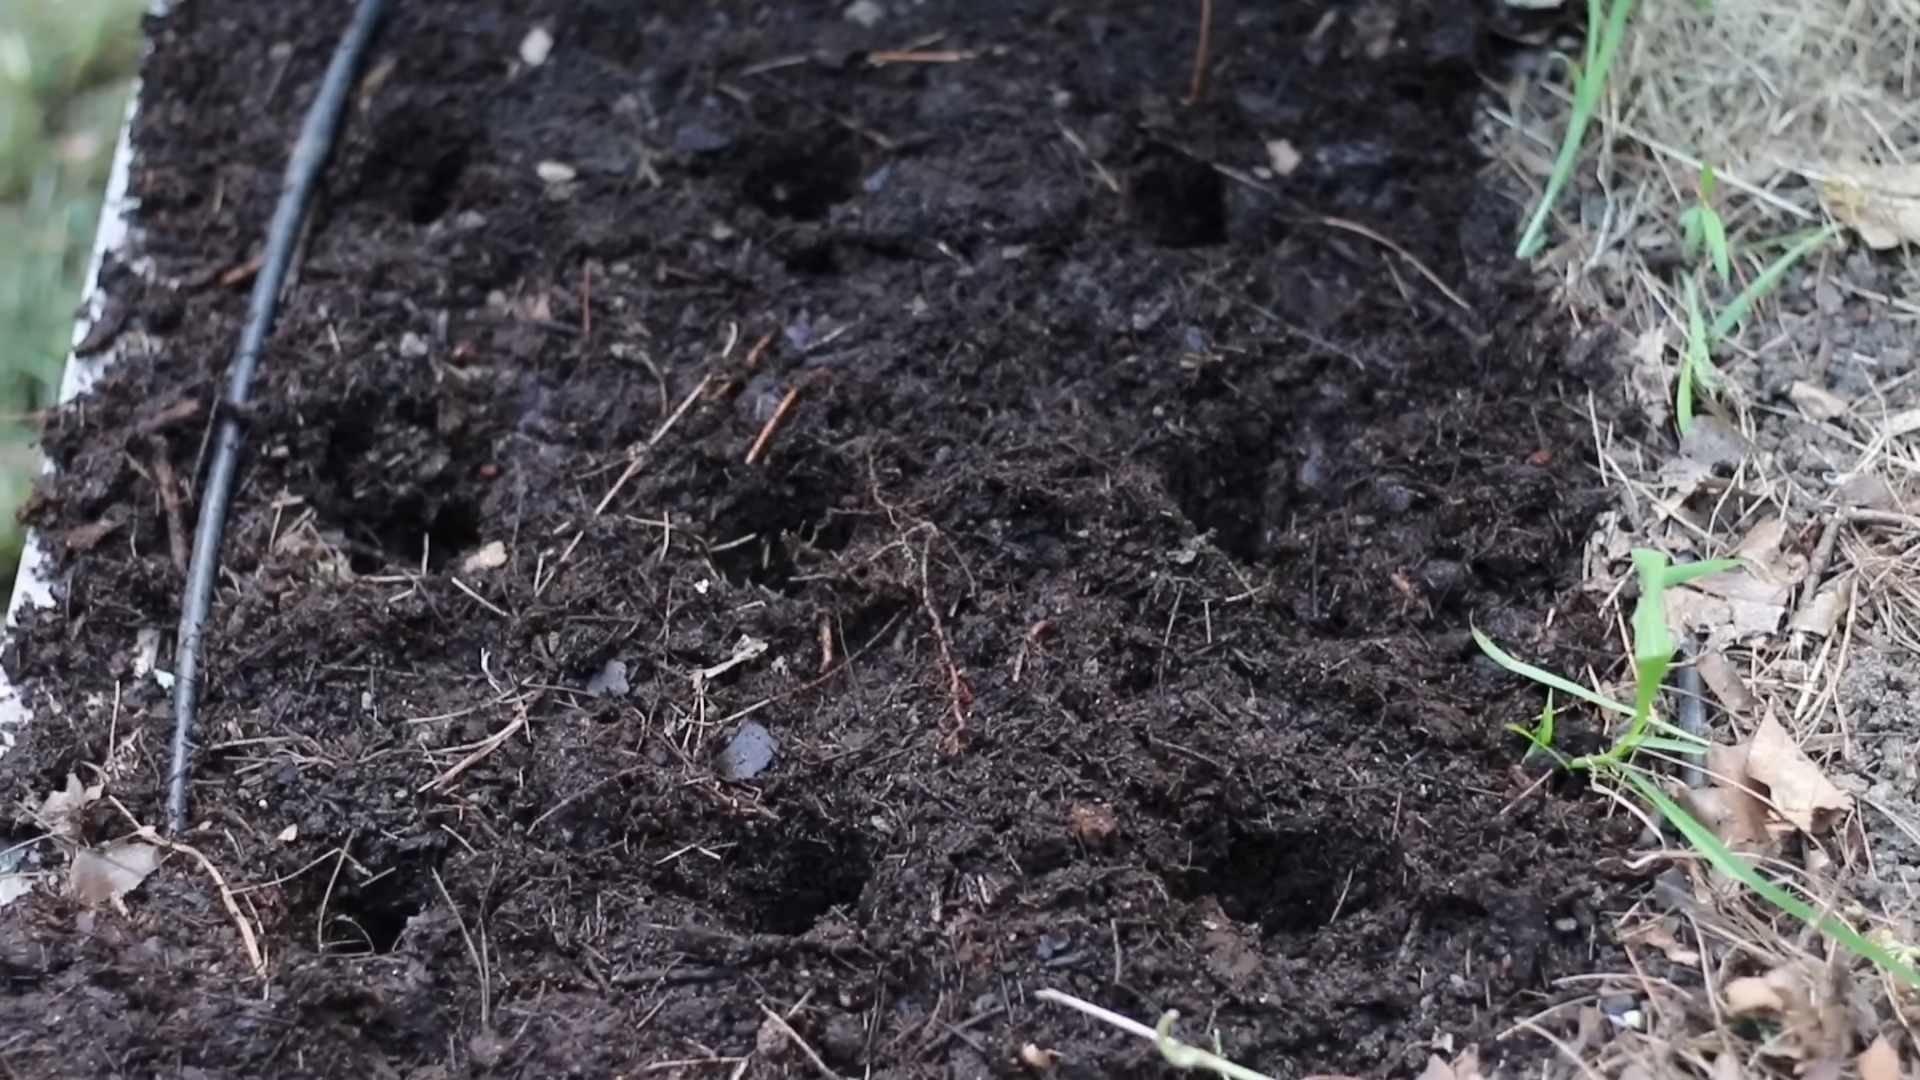
3. Planting Method: You can either plant in rows or use the “hill” method. For rows, create a shallow trench with your trowel and sow the seeds along the trench. For the hill method, create small mounds of soil and plant 4-6 seeds on each mound.
4. Cover and Water: Gently cover the seeds with soil and water thoroughly. Be careful not to wash away the seeds.
5. Optional: Row Covers: If you’re concerned about pests or a late frost, cover the planting area with row covers.
Caring for Your Bush Beans:
Once your beans are planted, it’s time to provide them with the care they need to thrive.
1. Watering: Keep the soil consistently moist, but not waterlogged. Water deeply whenever the top inch of soil feels dry. Avoid overhead watering, as this can promote fungal diseases. Drip irrigation or soaker hoses are ideal.
2. Weeding: Regularly remove weeds from the planting area. Weeds compete with your beans for nutrients and water. Hand-pulling is usually the best method, especially when the beans are young.
3. Mulching: Apply a layer of mulch around the plants to help retain moisture, suppress weeds, and regulate soil temperature.
4. Fertilizing (Optional): If your soil is poor, you can fertilize your beans with a balanced fertilizer. Follow the instructions on the fertilizer package. Avoid over-fertilizing, as this can lead to excessive foliage growth and fewer beans. I usually side-dress with a little compost tea every few weeks.
5. Pest and Disease Control: Keep an eye out for common bean pests like aphids, bean beetles, and spider mites. You can control these pests with insecticidal soap or neem oil. Also, watch for diseases like powdery mildew and bean rust. Ensure good air circulation and avoid overhead watering to prevent these diseases. If you spot any infected leaves, remove them immediately.
Harvesting Your Bounty:
The moment you’ve been waiting for – harvesting those delicious beans!
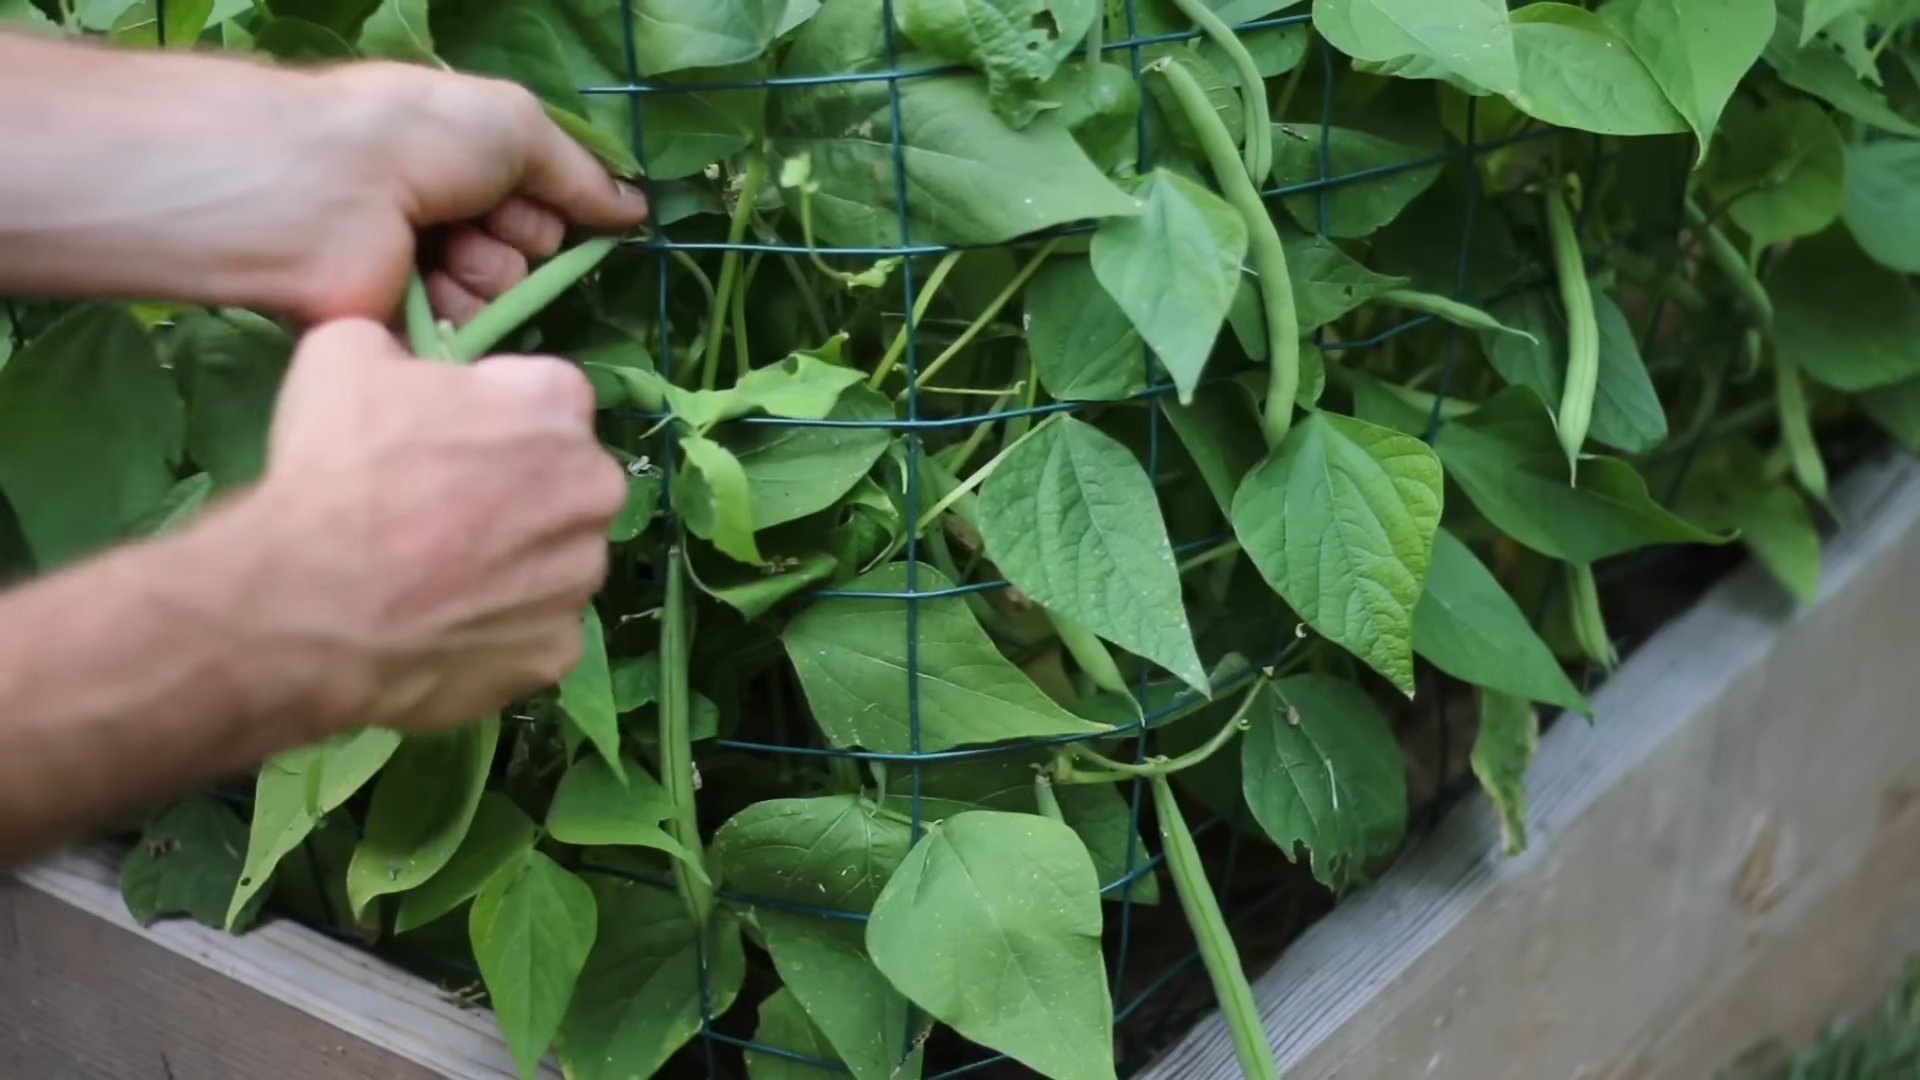
1. Timing: Bush beans are typically ready to harvest 50-60 days after planting. The pods should be firm, plump, and snap easily when bent.
2. Harvesting Technique: Gently snap the beans off the plant, being careful not to damage the stems. Harvest regularly to encourage continued production. Overripe beans will become tough and stringy.
3. Storage: Freshly harvested beans can be stored in the refrigerator for up to a week. For longer storage, you can blanch and freeze them.
Troubleshooting: Common Problems and Solutions
Even with the best care, you might encounter a few challenges along the way. Here are some common problems and how to address them:
* Poor Germination: If your seeds aren’t germinating, it could be due to cold soil, poor-quality seeds, or overwatering. Make sure the soil temperature is at least 60°F (16°C) before planting. Use fresh, high-quality seeds. Avoid overwatering, as this can cause the seeds to rot.
* Yellowing Leaves: Yellowing leaves can be a sign of nutrient deficiency, overwatering, or disease. Check the soil drainage and adjust your watering accordingly. If the soil is lacking nutrients, fertilize with a balanced fertilizer.
* Pest Infestations: As mentioned earlier, aphids, bean beetles, and spider mites are common bean pests. Control them with insecticidal soap or neem oil.
* Disease Problems: Powdery mildew and bean rust are common fungal diseases. Ensure good air circulation and avoid overhead watering to prevent these diseases. Remove any infected leaves immediately.
Extending the Harvest: Succession Planting
Want to enjoy fresh bush beans all season long? Try succession planting!
* What is Succession Planting? Succession planting involves planting new crops every few weeks to ensure a continuous harvest.
* How to Do It: Plant a new batch of bush bean seeds every 2-3 weeks throughout the growing season. This will provide you with a steady supply of fresh beans.
Enjoying Your Harvest: Delicious Bean Recipes
Now that you’ve harvested your bounty, it’s time to enjoy the fruits (or rather, vegetables) of your labor! Here are a few of my favorite bush bean recipes:
* Simple Sautéed Green Beans: Sauté fresh green beans with garlic, olive oil, and a pinch of salt and pepper.
* Green Bean Salad: Blanch green beans and toss them with a vinaigrette dressing, chopped tomatoes, and red onion.
* Three-Bean Salad: Combine green beans, kidney beans, and wax beans with a sweet and tangy dressing.
* Green Bean Casserole: A classic comfort food dish made with green beans, cream of mushroom soup, and crispy fried onions.
Saving Seeds for Next Year:
If you want to save seeds from your bush beans for next year, here’s how:
1. Choose Healthy Plants: Select healthy, disease-free plants to save seeds from.
2. Allow Pods to Dry: Allow the bean pods to dry completely on the plant. They should turn brown and brittle.
3. Harvest the Seeds: Remove the seeds from the dried pods.
4. Dry the Seeds
Conclusion
So, there you have it! Growing bush beans doesn’t have to be a daunting task. With a little preparation, the right conditions, and this simple DIY trick, you can enjoy a bountiful harvest of fresh, delicious beans right from your own backyard. This method is a game-changer, especially for those with limited space or those just starting out with gardening. It’s efficient, cost-effective, and incredibly rewarding to watch your little seeds transform into thriving plants laden with tasty beans.
Why is this DIY trick a must-try? Because it simplifies the entire process. It eliminates the guesswork, minimizes common problems like overcrowding and poor drainage, and maximizes your yield. You’ll be amazed at how much easier and more successful your bush bean growing experience will be. Plus, there’s nothing quite like the satisfaction of eating vegetables you’ve grown yourself.
But don’t stop there! Feel free to experiment with different varieties of bush beans. Try planting different colors, shapes, and flavors to add variety to your meals. You can also adjust the spacing slightly depending on the specific variety you choose. Some bush beans might benefit from a little extra room to spread out.
Consider companion planting as well. Marigolds, for example, are known to deter pests and can be planted alongside your bush beans to protect them from unwanted visitors. Basil is another great companion plant that can improve the flavor of your beans.
If you live in an area with particularly hot summers, you might want to provide some afternoon shade for your bush beans to prevent them from getting scorched. A simple shade cloth can make a big difference.
And if you’re feeling adventurous, try succession planting. Plant a new batch of bush beans every few weeks to ensure a continuous harvest throughout the growing season. This way, you’ll always have fresh beans on hand for your favorite recipes.
The key to success with this DIY trick is observation. Pay close attention to your plants and adjust your watering and fertilizing schedule as needed. If you notice any signs of pests or diseases, take action immediately to prevent them from spreading.
Ultimately, growing bush beans is a journey of learning and discovery. Don’t be afraid to experiment and try new things. The more you learn about your plants, the better you’ll become at growing them.
We are confident that this DIY trick will revolutionize your bush bean growing experience. It’s a simple, effective, and rewarding way to enjoy fresh, homegrown beans. So, grab your seeds, gather your supplies, and get ready to grow!
We encourage you to try this DIY trick for growing bush beans and share your experience with us. Let us know how it worked for you, what challenges you faced, and what tips you have to offer. We’d love to hear your stories and see your photos! Share your successes (and even your failures – we all learn from them!) in the comments below or on our social media pages. Together, we can create a community of passionate gardeners who are dedicated to growing their own food. Happy gardening!
Frequently Asked Questions (FAQ)
What exactly *is* the DIY trick you’re referring to?
While the specific trick isn’t detailed in this conclusion, it implies a simplified method for growing bush beans, likely focusing on efficient planting, spacing, or support. The article itself would elaborate on the specifics. However, based on the context, it likely involves a method that addresses common challenges like overcrowding, poor drainage, and maximizing yield, possibly through a specific planting technique or container gardening approach.
How much space do bush beans really need?
Bush beans are relatively compact, making them ideal for smaller gardens or even container gardening. Generally, you should aim for about 2-3 inches between seeds when planting in rows, and about 18-24 inches between rows. If you’re using a raised bed or container, ensure it’s at least 6-8 inches deep to accommodate the root system. Overcrowding can lead to reduced yields and increased susceptibility to diseases, so proper spacing is crucial. The specific spacing might vary slightly depending on the variety of bush bean you’re growing, so always check the seed packet for recommendations.
What kind of soil is best for growing bush beans?
Bush beans thrive in well-drained soil that is rich in organic matter. A slightly acidic to neutral pH (around 6.0 to 7.0) is ideal. Before planting, amend your soil with compost or well-rotted manure to improve its fertility and drainage. Avoid heavy clay soils, as they can become waterlogged and hinder root development. If you have clay soil, consider adding sand and organic matter to improve its texture. A soil test can help you determine the pH and nutrient levels of your soil, allowing you to make necessary adjustments before planting.
How often should I water my bush beans?
Bush beans need consistent moisture, especially during germination and pod development. Water deeply whenever the top inch of soil feels dry to the touch. Avoid overwatering, as this can lead to root rot. A good rule of thumb is to water thoroughly every 2-3 days, depending on the weather conditions. Mulching around your plants can help retain moisture and suppress weeds. During hot, dry periods, you may need to water more frequently. Use a soaker hose or drip irrigation to deliver water directly to the roots, minimizing water loss through evaporation.
Do bush beans need fertilizer?
While bush beans are relatively low-maintenance, they can benefit from a balanced fertilizer, especially if your soil is lacking in nutrients. Apply a fertilizer with a ratio of 5-10-10 (nitrogen-phosphorus-potassium) before planting or shortly after seedlings emerge. Avoid over-fertilizing with nitrogen, as this can promote excessive foliage growth at the expense of pod production. You can also side-dress your plants with compost tea or liquid seaweed fertilizer every few weeks to provide them with a boost of nutrients. A soil test can help you determine the specific nutrient needs of your soil.
What are common pests and diseases that affect bush beans?
Common pests that can affect bush beans include aphids, bean beetles, and spider mites. Regularly inspect your plants for signs of infestation and take action promptly to prevent them from spreading. Insecticidal soap, neem oil, or hand-picking can be effective methods for controlling these pests. Common diseases include bean rust, powdery mildew, and anthracnose. To prevent these diseases, ensure good air circulation around your plants, avoid overhead watering, and choose disease-resistant varieties. If you notice signs of disease, remove affected leaves or plants immediately to prevent the spread.
When is the best time to harvest bush beans?
Bush beans are typically ready to harvest about 50-60 days after planting. Harvest them when the pods are firm, plump, and snap easily. Avoid letting the pods become too large or tough, as this can affect their flavor and texture. Harvest regularly to encourage continued production. The best time to harvest is in the morning, when the pods are cool and crisp. Use scissors or pruning shears to cut the pods from the plant, being careful not to damage the stems.
Can I grow bush beans in containers?
Yes, bush beans are well-suited for container gardening. Choose a container that is at least 6-8 inches deep and has drainage holes. Use a high-quality potting mix that is well-draining and rich in organic matter. Water regularly and fertilize as needed. Place the container in a sunny location that receives at least 6-8 hours of sunlight per day. Container-grown bush beans may require more frequent watering and fertilizing than those grown in the ground.
How can I save seeds from my bush bean plants?
To save seeds from your bush bean plants, allow some of the pods to mature completely on the plant. The pods will turn brown and dry out. Once the pods are completely dry, harvest them and shell the beans. Spread the beans out on a tray to dry completely for a few weeks. Store the dried beans in an airtight container in a cool, dry place. Label the container with the variety and date. Saved seeds can be used to plant next year’s crop.
What are some good companion plants for bush beans?
Good companion plants for bush beans include marigolds, basil, carrots, cucumbers, and rosemary. Marigolds deter pests, basil improves the flavor of the beans, carrots repel bean beetles, cucumbers provide shade, and rosemary repels bean flies. Avoid planting bush beans near onions or garlic, as they can inhibit growth. Companion planting can help improve the health and yield of your bush bean plants.


Leave a Comment