
Grow bag potatoes: Imagine harvesting a bounty of delicious, homegrown potatoes right from your patio or balcony! No sprawling garden needed. I’m so excited to share a simple, space-saving secret that will transform your potato-growing game. For centuries, humans have cultivated potatoes, a staple crop that originated in the Andes Mountains. From humble peasant fare to gourmet delights, potatoes have nourished and sustained communities worldwide. But what if you lack the space for a traditional potato patch? That’s where the magic of grow bags comes in!
In this DIY guide, I’ll walk you through the easy steps of growing your own potatoes in grow bags. This method is perfect for urban gardeners, apartment dwellers, or anyone looking for a convenient and efficient way to enjoy fresh, homegrown produce. Forget digging and weeding endless rows; with grow bag potatoes, you can control the soil, drainage, and sunlight, ensuring a successful harvest. Plus, the process is incredibly rewarding, offering a tangible connection to nature and a delicious reward for your efforts. So, grab your grow bags, some seed potatoes, and let’s get started on this exciting gardening adventure!
Growing Potatoes in Grow Bags: A Bountiful Harvest on Your Patio!
Hey there, fellow gardening enthusiasts! Are you dreaming of freshly dug potatoes but short on garden space? Well, I’ve got the perfect solution for you: growing potatoes in grow bags! It’s a fantastic way to enjoy a homegrown harvest, even if you only have a balcony or patio. I’ve been doing this for years, and trust me, it’s easier than you think and incredibly rewarding. Let’s dive in!
What You’ll Need
Before we get our hands dirty, let’s gather our supplies. Here’s a list of everything you’ll need to successfully grow potatoes in grow bags:
* Grow Bags: I recommend using fabric grow bags that are at least 10 gallons in size. 15-20 gallon bags are even better for larger harvests. Fabric bags allow for good drainage and aeration, which are crucial for healthy potato growth.
* Seed Potatoes: These aren’t seeds, but rather small potatoes specifically grown for planting. You can find them at your local garden center or online. Choose a variety that suits your taste and climate. I personally love Yukon Gold for their creamy texture and all-purpose use.
* Potting Mix: A good quality potting mix is essential. Avoid using garden soil, as it can compact in the grow bag and hinder drainage. Look for a mix that’s well-draining and contains perlite or vermiculite.
* Compost: Compost adds valuable nutrients to the soil and improves its structure. I like to mix in a generous amount of compost with my potting mix.
* Fertilizer: A balanced fertilizer, such as a 10-10-10 or a fertilizer specifically formulated for potatoes, will provide the necessary nutrients for healthy growth and abundant tuber production.
* Watering Can or Hose: You’ll need a way to water your potato plants regularly.
* Gardening Gloves: Protect your hands from dirt and potential irritants.
* Optional: Straw or mulch to help retain moisture and suppress weeds.
Preparing Your Seed Potatoes
Okay, let’s get those seed potatoes ready for planting! This step is important for maximizing your yield.
1. Chitting (Optional but Recommended): Chitting, or pre-sprouting, your seed potatoes can give them a head start. About 2-3 weeks before planting, place your seed potatoes in a cool, bright location (but not direct sunlight). You’ll notice small sprouts, or “eyes,” developing on the potatoes. This process encourages early growth.
2. Cutting (If Necessary): If your seed potatoes are larger than an egg, you can cut them into smaller pieces. Make sure each piece has at least one or two “eyes.” Let the cut pieces dry for a day or two to allow the cut surfaces to callous over. This helps prevent rot. I usually don’t cut mine unless they are very large.
Planting Your Potatoes
Now for the fun part – planting! This is where we start to see our potato dreams take shape.
1. Fill the Grow Bag: Fill the grow bag with about 4-6 inches of your potting mix and compost mixture.
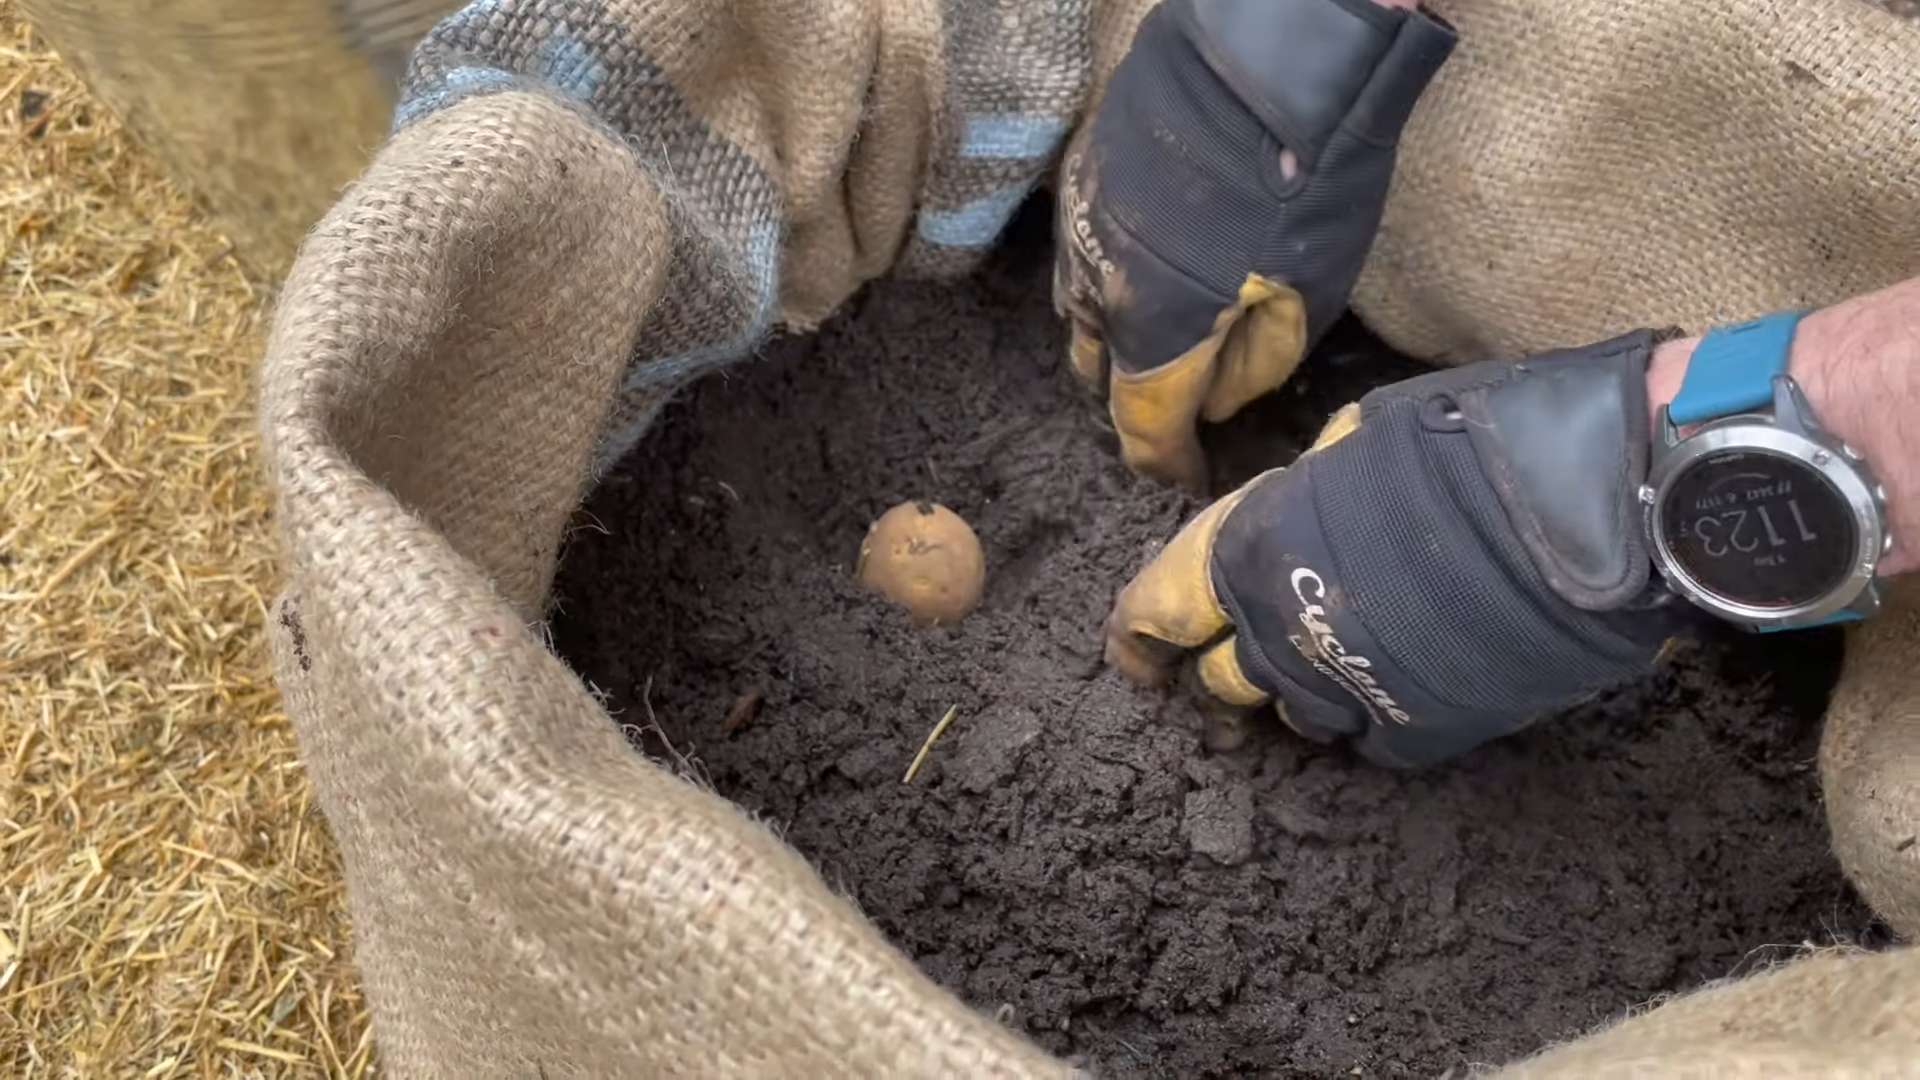
2. Plant the Seed Potatoes: Place the seed potatoes, with the “eyes” facing up, on top of the soil. Space them evenly if you’re planting multiple potatoes in one bag. I usually plant 2-3 seed potatoes in a 15-gallon bag.
3. Cover the Potatoes: Cover the seed potatoes with another 4-6 inches of potting mix and compost.
4. Water Thoroughly: Water the grow bag thoroughly until the water drains out of the bottom.
“Hilling” Your Potatoes: The Key to a Big Harvest
This is where the magic happens! “Hilling” is the process of adding more soil to the grow bag as the potato plants grow. This encourages the plants to produce more potatoes along the buried stem.
1. Wait for Growth: Once the potato plants have grown about 6-8 inches tall, it’s time to start hilling.
2. Add More Soil: Add another 4-6 inches of potting mix and compost to the grow bag, burying the lower part of the stems. Leave the top few inches of the plant exposed.
3. Repeat the Process: Continue hilling every 2-3 weeks as the plants grow, until you’ve filled the grow bag almost to the top.
Caring for Your Potato Plants
Consistent care is essential for a healthy and productive potato crop.
1. Watering: Water your potato plants regularly, especially during dry periods. The soil should be consistently moist, but not waterlogged. Check the soil moisture by sticking your finger into the soil. If it feels dry an inch or two below the surface, it’s time to water.
2. Fertilizing: Fertilize your potato plants every 2-3 weeks with a balanced fertilizer or a fertilizer specifically formulated for potatoes. Follow the instructions on the fertilizer package.
3. Sunlight: Potato plants need at least 6-8 hours of sunlight per day. Place your grow bags in a sunny location.
4. Pest Control: Keep an eye out for pests, such as aphids, potato beetles, and flea beetles. If you notice any pests, take action to control them. You can use insecticidal soap, neem oil, or other organic pest control methods. I always prefer organic options whenever possible.
5. Weed Control: Remove any weeds that may grow in the grow bag. Weeds can compete with your potato plants for nutrients and water. Mulching with straw can help suppress weed growth.
Harvesting Your Potatoes
The moment we’ve all been waiting for! Harvesting your homegrown potatoes is incredibly satisfying.
1. Timing: You can start harvesting “new potatoes” (small, immature potatoes) about 2-3 weeks after the plants flower. For mature potatoes, wait until the foliage starts to die back and turn yellow or brown. This usually takes about 80-100 days from planting.
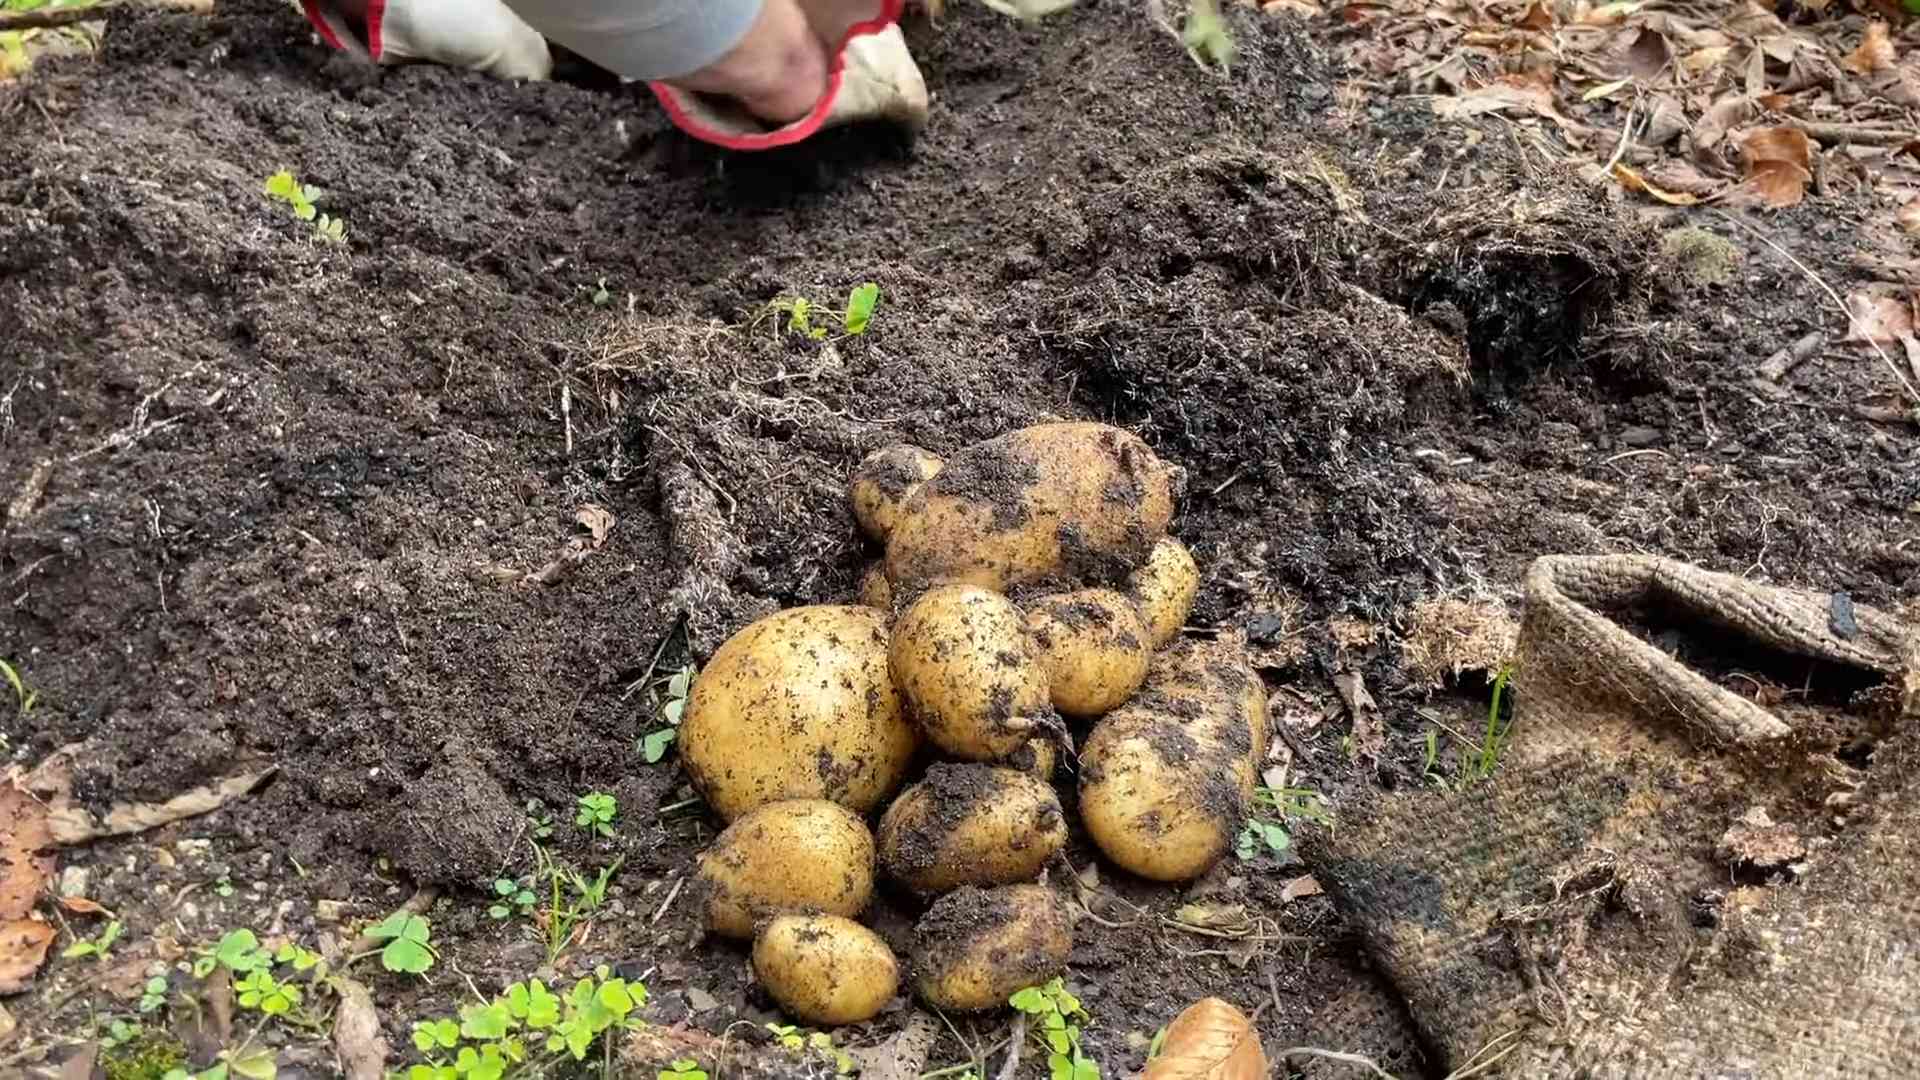
2. Harvesting: To harvest, simply tip the grow bag over and gently sift through the soil to find the potatoes. You can also reach into the bag and carefully dig around the plants to harvest the potatoes.
3. Curing (For Long-Term Storage): If you plan to store your potatoes for a long time, you’ll need to cure them. After harvesting, brush off any excess soil and let the potatoes dry in a cool, dark, and well-ventilated place for about a week. This allows the skins to harden, which helps prevent rot.
Troubleshooting
Even with the best care, you might encounter some challenges along the way. Here are a few common problems and how to address them:
* Potato Scab: This is a common disease that causes rough, scabby patches on the potato skins. It’s more common in alkaline soils. To prevent potato scab, make sure your soil is slightly acidic (pH 6.0-6.5). You can also add sulfur to the soil to lower the pH.
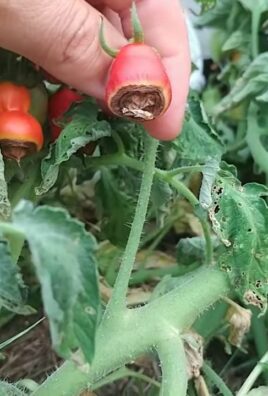
* Early Blight: This fungal disease causes dark, circular spots on the leaves. To prevent early blight, provide good air circulation around the plants and avoid overhead watering. If you notice early blight, remove the affected leaves and spray the plants with a fungicide.
* Potato Beetles: These pests can quickly defoliate your potato plants. Handpick the beetles and larvae off the plants or spray them with insecticidal soap or neem oil.
* Poor Drainage: If your grow bag doesn’t drain well, the potatoes can rot. Make sure you’re using a well-draining potting mix and that the grow bag has drainage holes.
Choosing the Right Potato Variety
Selecting the right potato variety is crucial for success. Consider your climate, growing season, and personal preferences. Here are a few popular varieties:
* Yukon Gold: A versatile, all-purpose potato with a creamy texture and buttery flavor.
* Red Pontiac: A red-skinned potato with a waxy texture, perfect for boiling and salads.
* Russet Burbank: A classic baking potato with a fluffy texture.
* Fingerling Potatoes: These small, elongated potatoes have a unique flavor and texture.
Tips for Success
Here are a few extra tips to help you grow the best potatoes possible:
* Rotate Your Crops: Avoid planting potatoes in the same grow bag year after year. This can help prevent soilborne diseases.
* Use a Soil Thermometer: Potatoes grow best when the soil temperature is between 60-70°F. Use a soil thermometer to monitor the soil temperature and plant your potatoes when the soil is warm enough.
* Don’t Overwater: Overwatering can lead to root rot. Water your potato plants only when the soil is dry to the touch.
* Harvest Carefully: Be careful when harvesting your potatoes to avoid bruising
Conclusion
So, there you have it! Growing your own potatoes in grow bags is not just a gardening trend; it’s a game-changer for anyone, regardless of space or experience. We’ve walked you through the simple steps, highlighting the ease and efficiency of this method. But why is this DIY trick a must-try? It boils down to control, convenience, and, of course, the unparalleled taste of homegrown potatoes.
Imagine harvesting fresh, earthy potatoes right from your patio or balcony. No more guessing where your produce comes from or worrying about harmful pesticides. With grow bag potatoes, you’re in charge of the entire process, from choosing the variety to controlling the soil quality. This translates to healthier, more flavorful potatoes that are bursting with nutrients.
Beyond the basic method, there’s a world of variations to explore. Experiment with different potato varieties, from classic Russets to vibrant fingerlings or creamy Yukon Golds. Consider adding companion plants like marigolds or basil to deter pests and enhance growth. You can even try vertical gardening techniques by stacking grow bags for an even more space-efficient potato patch.
Don’t be afraid to get creative! The beauty of grow bag potatoes lies in their adaptability. You can tailor the process to suit your specific needs and preferences. Live in a hot climate? Choose a heat-tolerant variety and provide extra shade. Limited on space? Opt for smaller grow bags and dwarf potato varieties.
But the real magic happens when you finally harvest your potatoes. The feeling of digging into the soil and unearthing those golden nuggets is incredibly rewarding. And the taste? Simply divine. Whether you roast them, mash them, fry them, or bake them, homegrown potatoes offer a flavor that you just can’t find in store-bought varieties.
We wholeheartedly encourage you to give this DIY trick a try. It’s a fun, educational, and ultimately delicious way to connect with nature and enjoy the fruits (or rather, tubers) of your labor. And once you’ve experienced the joy of growing your own grow bag potatoes, we’re confident that you’ll be hooked.
So, grab some grow bags, some seed potatoes, and get ready to embark on a gardening adventure. And don’t forget to share your experience with us! We’d love to hear about your successes, your challenges, and your favorite ways to enjoy your homegrown potatoes. Share your photos, tips, and recipes in the comments below. Let’s build a community of grow bag potato enthusiasts and inspire others to discover the joys of homegrown goodness. Happy gardening!
Frequently Asked Questions (FAQ)
What size grow bag is best for potatoes?
The ideal size for a potato grow bag is typically between 10 and 20 gallons. A 10-gallon bag is suitable for smaller potato varieties or if you’re limited on space. A 20-gallon bag provides ample room for larger varieties and allows for a more substantial harvest. The key is to provide enough space for the potato plants to develop a healthy root system and produce plenty of tubers. Smaller bags can restrict growth and reduce your yield. Consider the mature size of the potato variety you’re planting when choosing your grow bag size.
What type of soil should I use in my potato grow bag?
Potatoes thrive in well-draining, slightly acidic soil. A good mix consists of equal parts compost, potting soil, and perlite or vermiculite. Compost provides essential nutrients, potting soil offers a good base for root growth, and perlite or vermiculite improves drainage and aeration. Avoid using heavy clay soil, as it can become waterlogged and hinder potato development. You can also amend your soil with a slow-release fertilizer specifically formulated for vegetables to provide a steady supply of nutrients throughout the growing season. Ensure the pH of your soil is between 6.0 and 6.5 for optimal potato growth.
How often should I water my potato grow bag?
Watering frequency depends on several factors, including the weather, the size of your grow bag, and the type of soil you’re using. Generally, you should water your potato grow bag whenever the top inch of soil feels dry to the touch. During hot, dry weather, you may need to water daily. In cooler, wetter weather, you may only need to water every few days. Avoid overwatering, as this can lead to root rot. Ensure the grow bag has adequate drainage to prevent water from pooling at the bottom. A good rule of thumb is to water deeply and less frequently, rather than shallowly and more often.
How do I “hill” potatoes in a grow bag?
“Hilling” is the process of adding more soil around the potato stems as they grow. This encourages the plant to produce more potatoes along the buried stems. In a grow bag, you start by planting your seed potatoes a few inches below the surface. As the stems emerge, gradually add more soil to the bag, covering the lower portion of the stems. Continue this process until the bag is nearly full. This provides ample space for the potatoes to develop and maximizes your yield. Hilling also helps to protect the developing potatoes from sunlight, which can cause them to turn green and produce solanine, a toxic compound.
When is the best time to harvest my grow bag potatoes?
The harvest time for potatoes depends on the variety and the growing conditions. Generally, you can start harvesting “new potatoes” (small, immature potatoes) about 7-8 weeks after planting. These potatoes have thin skins and a delicate flavor. For mature potatoes, wait until the foliage starts to die back and turn yellow or brown. This usually takes around 10-12 weeks. To harvest, simply tip the grow bag over and gently sift through the soil to collect the potatoes. Be careful not to damage the potatoes during harvesting.
Can I reuse the soil from my potato grow bag?
Yes, you can reuse the soil from your potato grow bag, but it’s important to amend it before planting again. Potatoes are heavy feeders and deplete the soil of nutrients. Before reusing the soil, remove any remaining potato debris and add fresh compost, fertilizer, and other amendments to replenish the nutrients. You can also sterilize the soil by baking it in the oven or solarizing it to kill any potential pests or diseases. Consider rotating your crops and planting a different type of vegetable in the grow bag the following season to further improve soil health.
What are some common pests and diseases that affect grow bag potatoes?
Some common pests that can affect grow bag potatoes include aphids, potato beetles, and wireworms. Diseases include blight, scab, and root rot. To prevent pests and diseases, choose disease-resistant potato varieties, practice good sanitation, and monitor your plants regularly. Use organic pest control methods, such as insecticidal soap or neem oil, to control pests. Ensure the grow bag has good drainage to prevent root rot. If you notice signs of disease, remove the affected foliage immediately and treat the plant with an appropriate fungicide.
Can I grow potatoes in grow bags indoors?
Yes, you can grow potatoes in grow bags indoors, but you’ll need to provide them with adequate light. Potatoes require at least 6-8 hours of direct sunlight per day. If you don’t have a sunny window, you’ll need to supplement with grow lights. Choose a well-ventilated location and monitor the soil moisture carefully. Indoor growing can be a great option for those who live in colder climates or have limited outdoor space. However, be aware that indoor-grown potatoes may not produce as large of a harvest as outdoor-grown potatoes.
What are the benefits of growing potatoes in grow bags compared to traditional gardening?
Growing potatoes in grow bags offers several advantages over traditional gardening. Grow bags are portable, allowing you to move your plants to the best location for sunlight and temperature. They also provide excellent drainage, which is crucial for potato growth. Grow bags are ideal for those with limited space, such as apartment dwellers or those with small yards. They also make it easier to control the soil quality and prevent soilborne diseases. Harvesting is also much easier with grow bags, as you can simply tip the bag over to collect the potatoes. Finally, grow bags can extend the growing season, as you can start your potatoes indoors and move them outdoors when the weather warms up.
Leave a Comment