
Grape harvest increase backyard dreams are within your reach! Imagine stepping into your own backyard, not to just a few meager bunches, but to a bountiful cascade of juicy, sun-ripened grapes. For centuries, cultivating grapes has been a symbol of abundance and prosperity, deeply woven into the fabric of cultures around the world, from ancient Roman vineyards to the sprawling estates of Napa Valley. But you don’t need rolling hills or a professional vineyard to enjoy a thriving grape harvest.
I know, the thought of maximizing your grape yield might seem daunting, especially if you’ve struggled in the past. Maybe your vines produce only a handful of grapes, or perhaps they’re small and lack that intense flavor you crave. That’s where these DIY tricks and hacks come in! We’re going to unlock the secrets to a truly impressive grape harvest increase backyard potential, even in the smallest of spaces.
This article is packed with easy-to-follow tips and techniques that will transform your grape-growing game. From simple pruning methods to soil amendments and clever pest control strategies, I’ll guide you through every step of the process. Get ready to impress your friends and family with your green thumb and enjoy the sweet rewards of your own backyard vineyard!
DIY Grape Harvest Booster: A Backyard Gardener’s Secret
Okay, grape lovers! Let’s talk about maximizing your grape harvest. I’ve been tinkering in my backyard vineyard (okay, it’s more like a few vines, but still!) for years, and I’ve learned a few tricks to coax those sweet little grapes into plump, juicy abundance. This isn’t about harsh chemicals or complicated techniques. It’s about understanding your vines and giving them what they need to thrive. Get ready to boost your grape yield!
Understanding Grape Needs: The Foundation for Success
Before we dive into the DIY hacks, let’s quickly cover the basics. Grapes are like us – they need the right environment to flourish. Think of it as setting the stage for a stellar performance.
* Sunlight: Grapes crave sunshine! Aim for at least 6-8 hours of direct sunlight per day. This is non-negotiable for optimal fruit production.
* Soil: Well-draining soil is crucial. Grapes hate soggy feet! Amend your soil with compost and other organic matter to improve drainage and fertility. A slightly acidic to neutral pH (around 6.0-7.0) is ideal.
* Water: Consistent watering is important, especially during dry spells and when the grapes are developing. However, avoid overwatering, which can lead to root rot.
* Nutrients: Grapes need a balanced diet of nutrients, including nitrogen, phosphorus, and potassium. We’ll talk about fertilization later.
* Pruning: Proper pruning is essential for grape production. It controls the shape of the vine, promotes airflow, and encourages fruit-bearing shoots.
* Support: Grape vines need a strong trellis or support system to climb and spread.
Hack #1: The Power of Pruning (Timing is Everything!)
Pruning is arguably the most important factor in grape production. It might seem counterintuitive to cut back your vines, but trust me, it’s the key to a bountiful harvest. I’ve seen firsthand how proper pruning can transform a lackluster vine into a grape-producing machine.
* Why Prune? Pruning removes excess growth, allowing the vine to focus its energy on producing fewer, but larger and sweeter grapes. It also improves airflow, reducing the risk of fungal diseases.
* When to Prune: The best time to prune grapes is during the dormant season, typically late winter or early spring, before the buds begin to swell. I usually aim for late February or early March in my area.
* Types of Pruning: There are two main types of pruning: cane pruning and spur pruning. The best method depends on the grape variety.
* Cane Pruning: This method involves removing most of the previous year’s growth, leaving only a few canes (long, slender shoots) with a specific number of buds.
* Spur Pruning: This method involves cutting back the previous year’s growth to short spurs (short, stubby shoots) with only a few buds each.
Step-by-Step Pruning Guide (Cane Pruning Example):
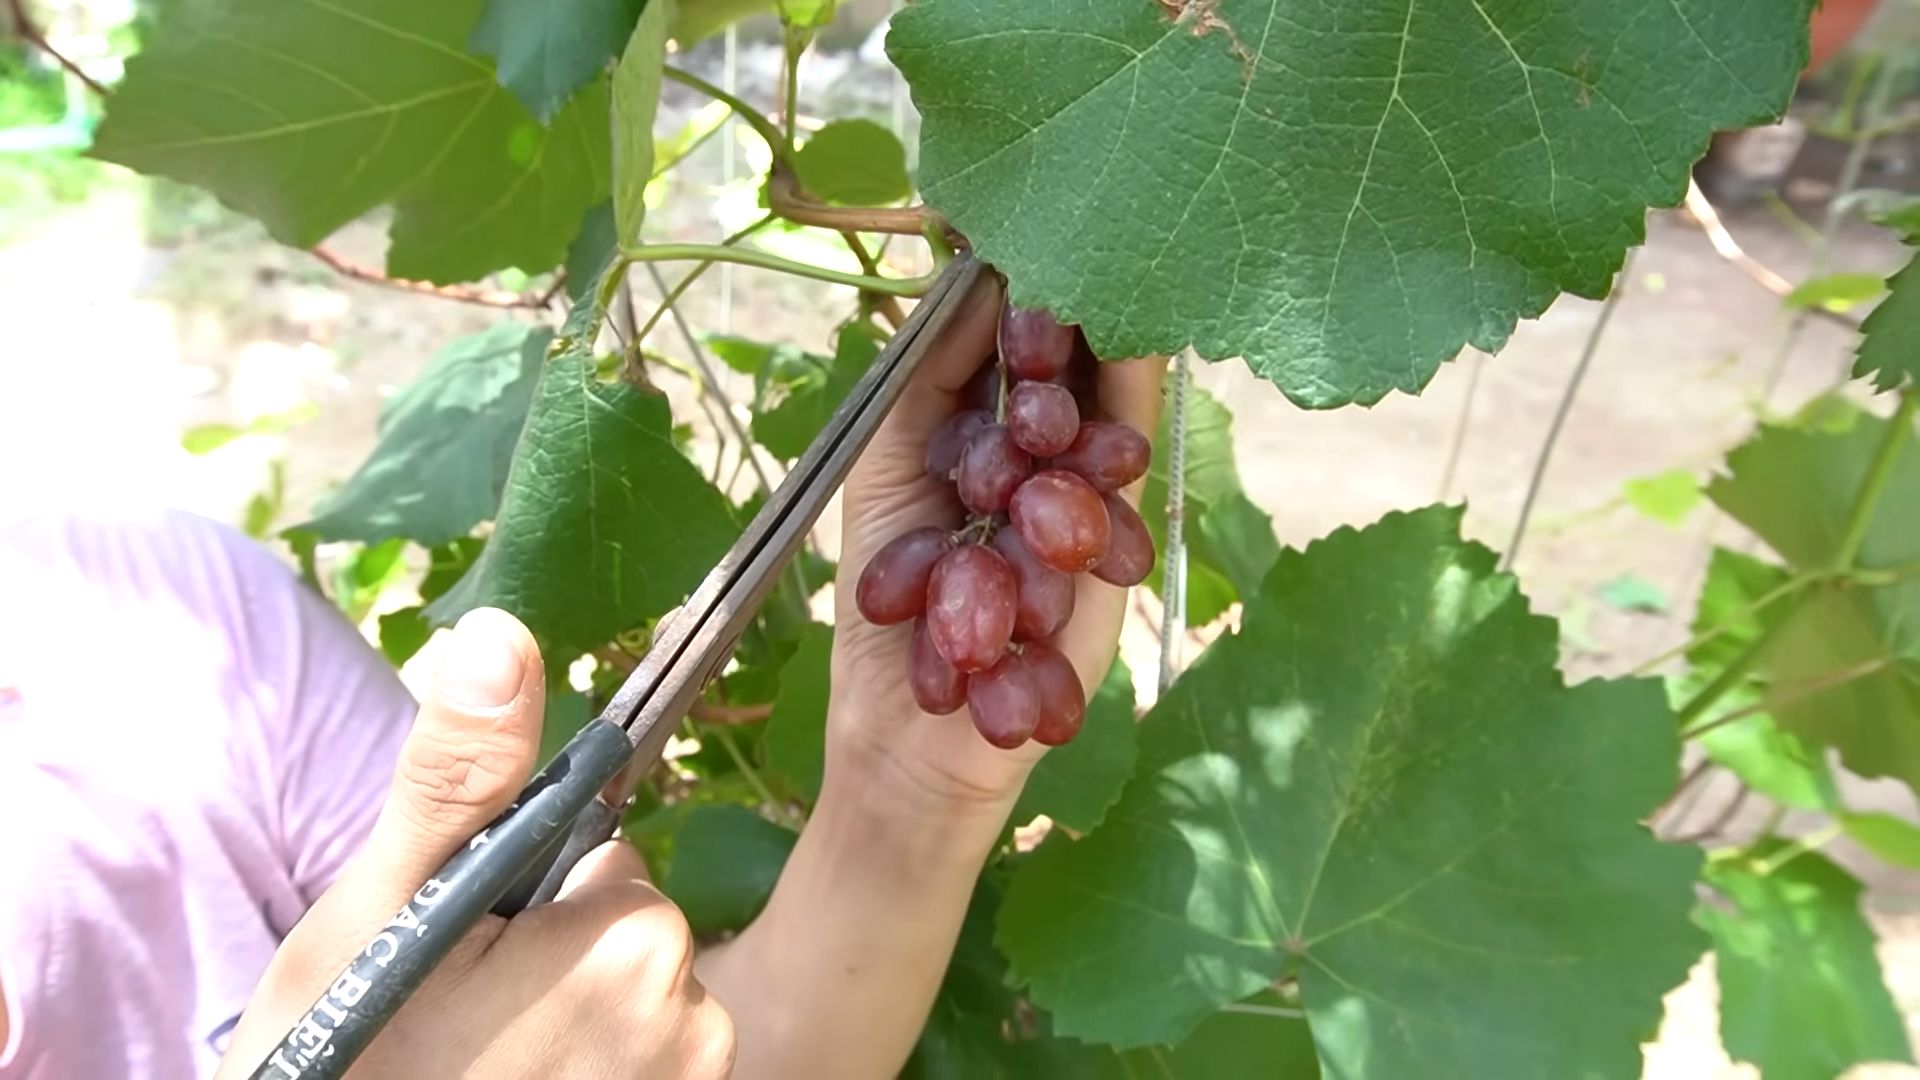
1. Gather Your Tools: You’ll need sharp pruning shears or loppers. Make sure they’re clean and sanitized to prevent the spread of disease.
2. Identify the Canes: Look for healthy, one-year-old canes that are about the thickness of a pencil. These are the canes that will produce fruit.
3. Remove Unwanted Growth: Cut away any dead, diseased, or damaged wood. Also, remove any suckers (shoots that grow from the base of the vine) and water sprouts (vigorous, non-fruiting shoots).
4. Select the Best Canes: Choose 2-4 healthy canes that are well-positioned on the trellis. These will be your fruiting canes.
5. Cut Back the Canes: Cut back the selected canes to a length of about 8-12 buds each. Make the cuts at a slight angle, about 1/4 inch above a bud.
6. Tie the Canes to the Trellis: Secure the canes to the trellis using twine or plant ties. Make sure they’re evenly spaced and well-supported.
Important Note: Research your specific grape variety to determine the best pruning method and the optimal number of buds to leave on each cane or spur.
Hack #2: Soil Secrets: Feeding Your Grapes for Success
Healthy soil is the foundation of a healthy grape vine. Think of it as providing a nutritious meal for your plants.
* Soil Testing: Before you start adding anything to your soil, it’s a good idea to get it tested. This will tell you the pH level and the nutrient content. You can purchase a soil testing kit online or at your local garden center.
* Amendments: Based on your soil test results, you may need to amend your soil with compost, manure, or other organic matter. This will improve drainage, fertility, and water retention.
* Fertilizing: Grapes need a balanced fertilizer to thrive. I like to use a fertilizer that is specifically formulated for grapes or fruit trees. Apply the fertilizer in early spring, before the buds begin to swell. Follow the instructions on the fertilizer package carefully.
* Mulching: Mulching around your grape vines helps to retain moisture, suppress weeds, and regulate soil temperature. I like to use organic mulches such as straw, wood chips, or shredded leaves.
Step-by-Step Soil Improvement Guide:
1. Test Your Soil: Collect a soil sample from several different locations around your grape vines. Follow the instructions on your soil testing kit to submit the sample for analysis.
2. Analyze the Results: Once you receive your soil test results, carefully review them to determine the pH level and the nutrient content.
3. Amend the Soil: If your soil is too acidic, add lime to raise the pH. If it’s too alkaline, add sulfur to lower the pH. Amend the soil with compost, manure, or other organic matter to improve drainage and fertility.
4. Fertilize Your Vines: Apply a balanced fertilizer in early spring, before the buds begin to swell. Follow the instructions on the fertilizer package carefully.
5. Mulch Around the Vines: Spread a layer of mulch around your grape vines, keeping it a few inches away from the trunk.
Hack #3: Water Wisely: The Right Amount at the Right Time
Water is essential for grape growth, but too much or too little can be detrimental. Finding the right balance is key.
* Watering Schedule: Water your grape vines deeply and regularly, especially during dry spells and when the grapes are developing. Aim for about 1-2 inches of water per week.
* Watering Method: Drip irrigation is the most efficient way to water grape vines. It delivers water directly to the roots, minimizing water loss through evaporation.
* Monitor Soil Moisture: Check the soil moisture regularly to ensure that your vines are getting enough water. You can use a soil moisture meter or simply stick your finger into the soil. If the soil is dry to the touch, it’s time to water.
* Avoid Overwatering: Overwatering can lead to root rot, which can kill your grape vines. Make sure your soil is well-draining and avoid wateringlog the soil.
Step-by-Step Watering Guide:
1. Install Drip Irrigation: If possible, install a drip irrigation system to deliver water directly to the roots of your grape vines.
2. Water Deeply: Water your grape vines deeply and slowly, allowing the water to soak into the soil.
3. Monitor Soil Moisture: Check the soil moisture regularly to ensure that your vines are getting enough water.
4. Adjust Watering Schedule: Adjust your watering schedule based on the weather conditions and the needs of your grape vines.
Hack #4: Sun’s Out, Grapes Out: Optimizing Sunlight Exposure
As I mentioned earlier, sunlight is crucial for grape production. Here’s how to maximize sunlight exposure for your vines.
* Planting Location: Choose a planting location that receives at least 6-8 hours of direct sunlight per day.
* Trellis Design: Design your trellis system to maximize sunlight exposure. A vertical trellis with rows running north to south is ideal.
* Leaf Removal: Remove some of the leaves around the grape clusters to improve sunlight penetration. This will help the grapes ripen more evenly and develop better color and flavor. Be careful not to remove too many leaves, as they are needed for photosynthesis.
Step-by-Step Sunlight Optimization Guide:
1. Choose a Sunny Location: Plant your grape vines in a location that receives at least 6-8 hours of direct sunlight per day.
2. Design an Effective Trellis: Design your trellis system to maximize sunlight exposure.
3. Remove Excess Leaves: Carefully remove some of the leaves around the grape clusters to improve sunlight penetration.
Hack #
Conclusion
So, there you have it! This simple, yet incredibly effective DIY trick is a game-changer for anyone looking to maximize their grape harvest right in their own backyard. We’ve walked you through the process, highlighting the ease and affordability of this method, and demonstrated how it can significantly boost your yield. Forget expensive fertilizers or complicated pruning techniques – this is a straightforward solution that delivers real results.
Why is this a must-try? Because it’s about working *with* nature, not against it. By understanding the grape vine’s natural growth patterns and providing it with the support and resources it needs, you’re creating an environment where it can thrive and produce an abundance of delicious grapes. This method is particularly beneficial for those with limited space, as it encourages vertical growth and maximizes the use of available sunlight.
But the beauty of this DIY trick lies in its adaptability. Feel free to experiment with different materials for your support structure. Bamboo stakes, repurposed metal rods, or even sturdy branches can all work wonders. Consider adding companion plants around the base of your grapevines to further enrich the soil and attract beneficial insects. Marigolds, basil, and clover are all excellent choices. You can also tailor the watering schedule to your specific climate and soil conditions. Remember, observation is key! Pay attention to your grapevines and adjust your approach as needed.
Don’t be afraid to get creative with your pruning techniques as well. While we’ve outlined a basic approach, there are many different pruning methods you can explore to further optimize your grape harvest. Research different techniques and find one that works best for your specific grape variety and growing conditions.
Ultimately, the goal is to create a healthy and productive grapevine that provides you with a bountiful harvest year after year. This DIY trick is a fantastic starting point, but it’s just the beginning of your journey as a grape grower.
We are confident that this method will help you achieve a more abundant grape harvest. We encourage you to give it a try and see the difference for yourself. The satisfaction of harvesting your own homegrown grapes is truly unparalleled.
And most importantly, we want to hear about your experience! Share your photos, tips, and stories in the comments below. Let us know what worked for you, what challenges you faced, and any variations you tried. Your feedback will not only help us improve this guide but also inspire other grape growers to embark on their own successful journeys. Let’s build a community of thriving backyard vineyards! So go ahead, get your hands dirty, and prepare to be amazed by the results. This DIY trick is your secret weapon to a truly impressive grape harvest.
Frequently Asked Questions (FAQ)
What type of grapes does this DIY trick work best for?
This DIY trick is generally effective for most common grape varieties grown in home gardens, including Concord, Thompson Seedless, Niagara, and Cabernet Sauvignon. However, the specific needs of each variety may vary slightly. Research your specific grape variety to understand its unique requirements for sunlight, soil, and pruning. For example, some varieties may be more susceptible to certain diseases or pests, so you’ll need to take extra precautions to protect them. Also, some varieties are more vigorous growers than others, so you may need to adjust the size and strength of your support structure accordingly.
How often should I water my grapevines after implementing this DIY trick?
Watering frequency depends on several factors, including your climate, soil type, and the age of your grapevines. As a general rule, young grapevines need more frequent watering than established vines. In hot, dry climates, you may need to water your grapevines every few days, while in cooler, wetter climates, you may only need to water them once a week or even less. The best way to determine if your grapevines need water is to check the soil moisture. Stick your finger into the soil a few inches deep. If the soil feels dry to the touch, it’s time to water. When you do water, water deeply, soaking the entire root zone. Avoid frequent, shallow watering, as this can encourage shallow root growth and make your grapevines more susceptible to drought stress.
What kind of fertilizer should I use for my grapevines?
Grapevines benefit from a balanced fertilizer that contains nitrogen, phosphorus, and potassium. A 10-10-10 fertilizer is a good starting point. However, it’s important to test your soil to determine its specific nutrient deficiencies. A soil test will tell you exactly what nutrients your grapevines need and in what amounts. You can purchase a soil test kit at most garden centers or online. Apply fertilizer in the spring, just before the growing season begins. Follow the instructions on the fertilizer package carefully, and avoid over-fertilizing, as this can damage your grapevines. Organic fertilizers, such as compost and manure, are also excellent choices for grapevines. They provide a slow-release source of nutrients and improve soil health.
How do I protect my grapes from pests and diseases?
Grapevines are susceptible to a variety of pests and diseases, including aphids, Japanese beetles, powdery mildew, and black rot. Regular monitoring is key to preventing and controlling these problems. Inspect your grapevines regularly for signs of pests or diseases. If you spot any problems, take action immediately. There are many organic and conventional pesticides and fungicides available for grapevines. Choose a product that is specifically labeled for use on grapes and follow the instructions carefully. You can also take preventative measures to reduce the risk of pests and diseases. These include pruning your grapevines to improve air circulation, removing weeds and debris from around the base of your vines, and choosing disease-resistant grape varieties.
How long does it take to see results from this DIY trick?
You should start to see results from this DIY trick within a few weeks of implementing it. You’ll notice that your grapevines are growing more vigorously and producing more leaves and shoots. You may also see an increase in the number of flower clusters. However, it typically takes a few years for grapevines to reach their full production potential. Be patient and continue to care for your grapevines properly, and you’ll be rewarded with a bountiful harvest in the years to come. Remember that factors like weather conditions and soil quality can also affect the timing of your grape harvest.
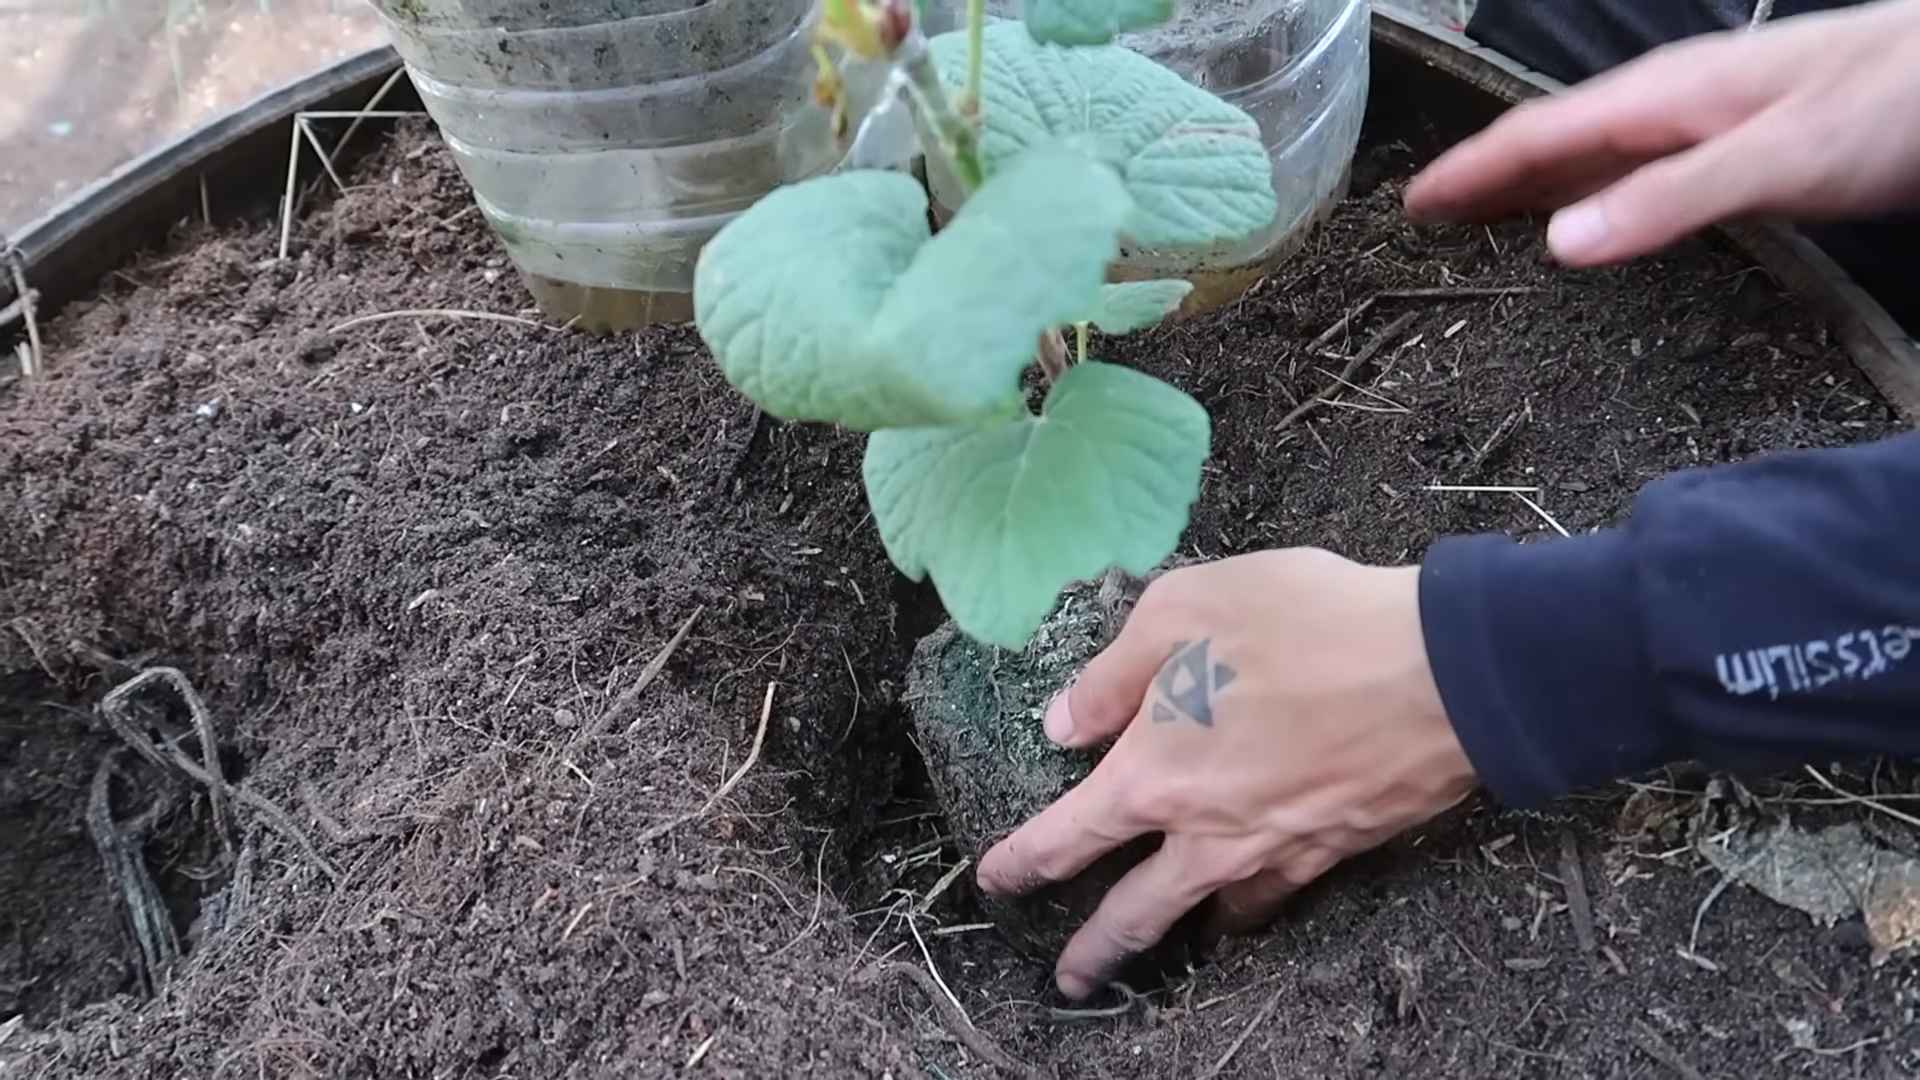
Can I use this trick for grapevines in containers?
Yes, this DIY trick can be adapted for grapevines grown in containers. Choose a large container that is at least 24 inches in diameter and depth. Make sure the container has drainage holes to prevent waterlogging. Use a well-draining potting mix that is specifically formulated for containers. Provide a support structure for your grapevine to climb on, such as a trellis or stake. Water your container-grown grapevines more frequently than grapevines grown in the ground, as the soil in containers tends to dry out more quickly. Fertilize your container-grown grapevines regularly with a balanced fertilizer.
What if my grapevines don’t produce any grapes even after trying this trick?
There are several reasons why your grapevines may not be producing grapes, even after implementing this DIY trick. One possibility is that your grapevines are not getting enough sunlight. Grapevines need at least six hours of direct sunlight per day to produce fruit. Another possibility is that your grapevines are not being properly pollinated. Some grape varieties are self-pollinating, while others require cross-pollination from another grape variety. If your grapevines are not being pollinated properly, you may need to hand-pollinate them. You can do this by using a small paintbrush to transfer pollen from one flower to another. Finally, it’s possible that your grapevines are simply too young to produce fruit. Grapevines typically don’t start producing fruit until they are three to five years old. Be patient and continue to care for your grapevines properly, and they will eventually start producing grapes.
Leave a Comment