
Easy watermelon growing tips are what every gardener dreams of, especially when summer rolls around! Imagine biting into a juicy, homegrown watermelon, bursting with flavor – a far cry from the bland, store-bought variety. But let’s be honest, growing watermelons can seem intimidating. They’re big, they need space, and sometimes, they just don’t cooperate.
Watermelons have a rich history, dating back thousands of years to Africa, where they originated. They were even found in King Tut’s tomb! Over time, different cultures have embraced watermelons, developing unique varieties and growing techniques. Now, you can join this long tradition of watermelon cultivation, right in your own backyard!
That’s where this DIY guide comes in. I’m here to share some simple, yet effective, easy watermelon growing tips and hacks that will transform your gardening experience. Forget complicated methods and endless research. I’ll show you how to choose the right variety for your climate, prepare your soil like a pro, and tackle common problems with ease. Whether you’re a seasoned gardener or just starting out, these tips will help you achieve watermelon success. Get ready to impress your friends and family with the sweetest, most delicious watermelons they’ve ever tasted!
Grow the Sweetest Watermelons: My Foolproof DIY Guide
Hey there, fellow gardening enthusiasts! I’m so excited to share my tried-and-true method for growing incredibly sweet and juicy watermelons right in your own backyard. Forget those bland, store-bought melons – with a little planning and effort, you can be enjoying homegrown goodness all summer long. This guide is packed with all the tips and tricks I’ve learned over the years, so let’s get started!
Choosing the Right Watermelon Variety
Before you even think about planting, it’s crucial to pick the right watermelon variety for your climate and space. Some varieties are better suited for shorter growing seasons, while others need plenty of room to sprawl.
* Consider your climate: If you live in a cooler region with a shorter summer, opt for early-maturing varieties like ‘Sugar Baby’ or ‘Bush Sugar Baby’. For warmer climates with longer growing seasons, you have more options, such as ‘Crimson Sweet’, ‘Jubilee’, or even the novelty ‘Yellow Crimson’.
* Think about space: Watermelons are vining plants that need a lot of room to spread. If you have a small garden, consider bush varieties like ‘Bush Sugar Baby’ or ‘Spacemaster’, which are more compact. You can also train vining varieties to grow vertically on a trellis, but this requires extra support and pruning.
* Flavor preferences: Do you prefer a classic red watermelon, or are you feeling adventurous? There are yellow, orange, and even seedless varieties to choose from. Read descriptions carefully to find a flavor profile that appeals to you. I personally love the classic sweetness of ‘Crimson Sweet’.
* Disease resistance: Look for varieties that are resistant to common watermelon diseases like Fusarium wilt and Anthracnose. This can save you a lot of headaches down the road.
Preparing the Soil: The Foundation for Success
Watermelons are heavy feeders, meaning they need nutrient-rich soil to thrive. Proper soil preparation is essential for a bountiful harvest.
* Sunlight is key: Watermelons need at least 6-8 hours of direct sunlight per day. Choose a location in your garden that gets plenty of sun.
* Well-draining soil: Watermelons don’t like soggy feet. Make sure your soil drains well to prevent root rot. If your soil is heavy clay, amend it with plenty of organic matter like compost or well-rotted manure.
* Soil pH: Watermelons prefer a slightly acidic soil pH between 6.0 and 6.8. You can test your soil pH with a home test kit or send a sample to your local extension office for professional testing. Amend the soil as needed to achieve the ideal pH.
* Adding organic matter: This is where the magic happens! Incorporate a generous amount of compost, well-rotted manure, or other organic matter into the soil. This will improve drainage, aeration, and nutrient content. I usually add a 3-4 inch layer of compost and work it into the top 6-8 inches of soil.
* Fertilizing: Before planting, I like to add a slow-release fertilizer that’s high in phosphorus and potassium. These nutrients are essential for root development and fruit production. Follow the instructions on the fertilizer package for application rates.
Starting Watermelon Seeds: Indoors or Out?
You can either start watermelon seeds indoors or direct sow them in the garden. Starting seeds indoors gives you a head start, especially in cooler climates.
* Starting seeds indoors:
* Start seeds about 4-6 weeks before the last expected frost.
* Use peat pots or biodegradable pots to avoid disturbing the roots when transplanting.
* Fill the pots with a seed-starting mix.
* Sow 2-3 seeds per pot, about 1 inch deep.
* Keep the soil moist but not soggy.
* Provide bottom heat with a heat mat to speed up germination.
* Once the seedlings emerge, provide plenty of light with a grow light or a sunny window.
* Thin to one seedling per pot once they have a few true leaves.
* Direct sowing:
* Wait until the soil has warmed up to at least 70°F (21°C).
* Sow seeds about 1 inch deep and 2-3 feet apart.
* Keep the soil moist until the seeds germinate.
* Thin to one plant per hill once they have a few true leaves.
Transplanting Watermelon Seedlings: Handle with Care
Transplanting watermelon seedlings requires a gentle touch, as their roots are delicate.
* Harden off seedlings: Before transplanting, gradually acclimate the seedlings to outdoor conditions by exposing them to increasing amounts of sunlight and wind over a period of 7-10 days.
* Choose a cloudy day: Transplant on a cloudy day or in the late afternoon to minimize stress on the seedlings.
* Dig a hole: Dig a hole that’s slightly larger than the root ball of the seedling.
* Carefully remove the seedling: Gently remove the seedling from the pot, being careful not to damage the roots. If you used peat pots, you can plant the entire pot directly into the ground.
* Plant the seedling: Place the seedling in the hole and backfill with soil. Gently firm the soil around the base of the plant.
* Water thoroughly: Water the seedling thoroughly after transplanting.
* Mulch: Apply a layer of mulch around the plant to help retain moisture and suppress weeds. I like to use straw or shredded leaves.
Watering and Fertilizing: Keeping Your Watermelons Happy
Watermelons need consistent watering and fertilization to produce large, sweet fruits.
* Watering: Water deeply and regularly, especially during hot, dry weather. Aim for about 1-2 inches of water per week. Avoid overhead watering, as this can promote fungal diseases. Drip irrigation or soaker hoses are ideal.
* Fertilizing: Side-dress the plants with a balanced fertilizer every 2-3 weeks. You can also use a liquid fertilizer diluted according to the package instructions. Once the fruits start to develop, switch to a fertilizer that’s higher in potassium to promote sweetness. I use a fertilizer with an NPK ratio of 5-10-10.
* Avoid over-fertilizing: Too much nitrogen can lead to excessive vine growth and fewer fruits.
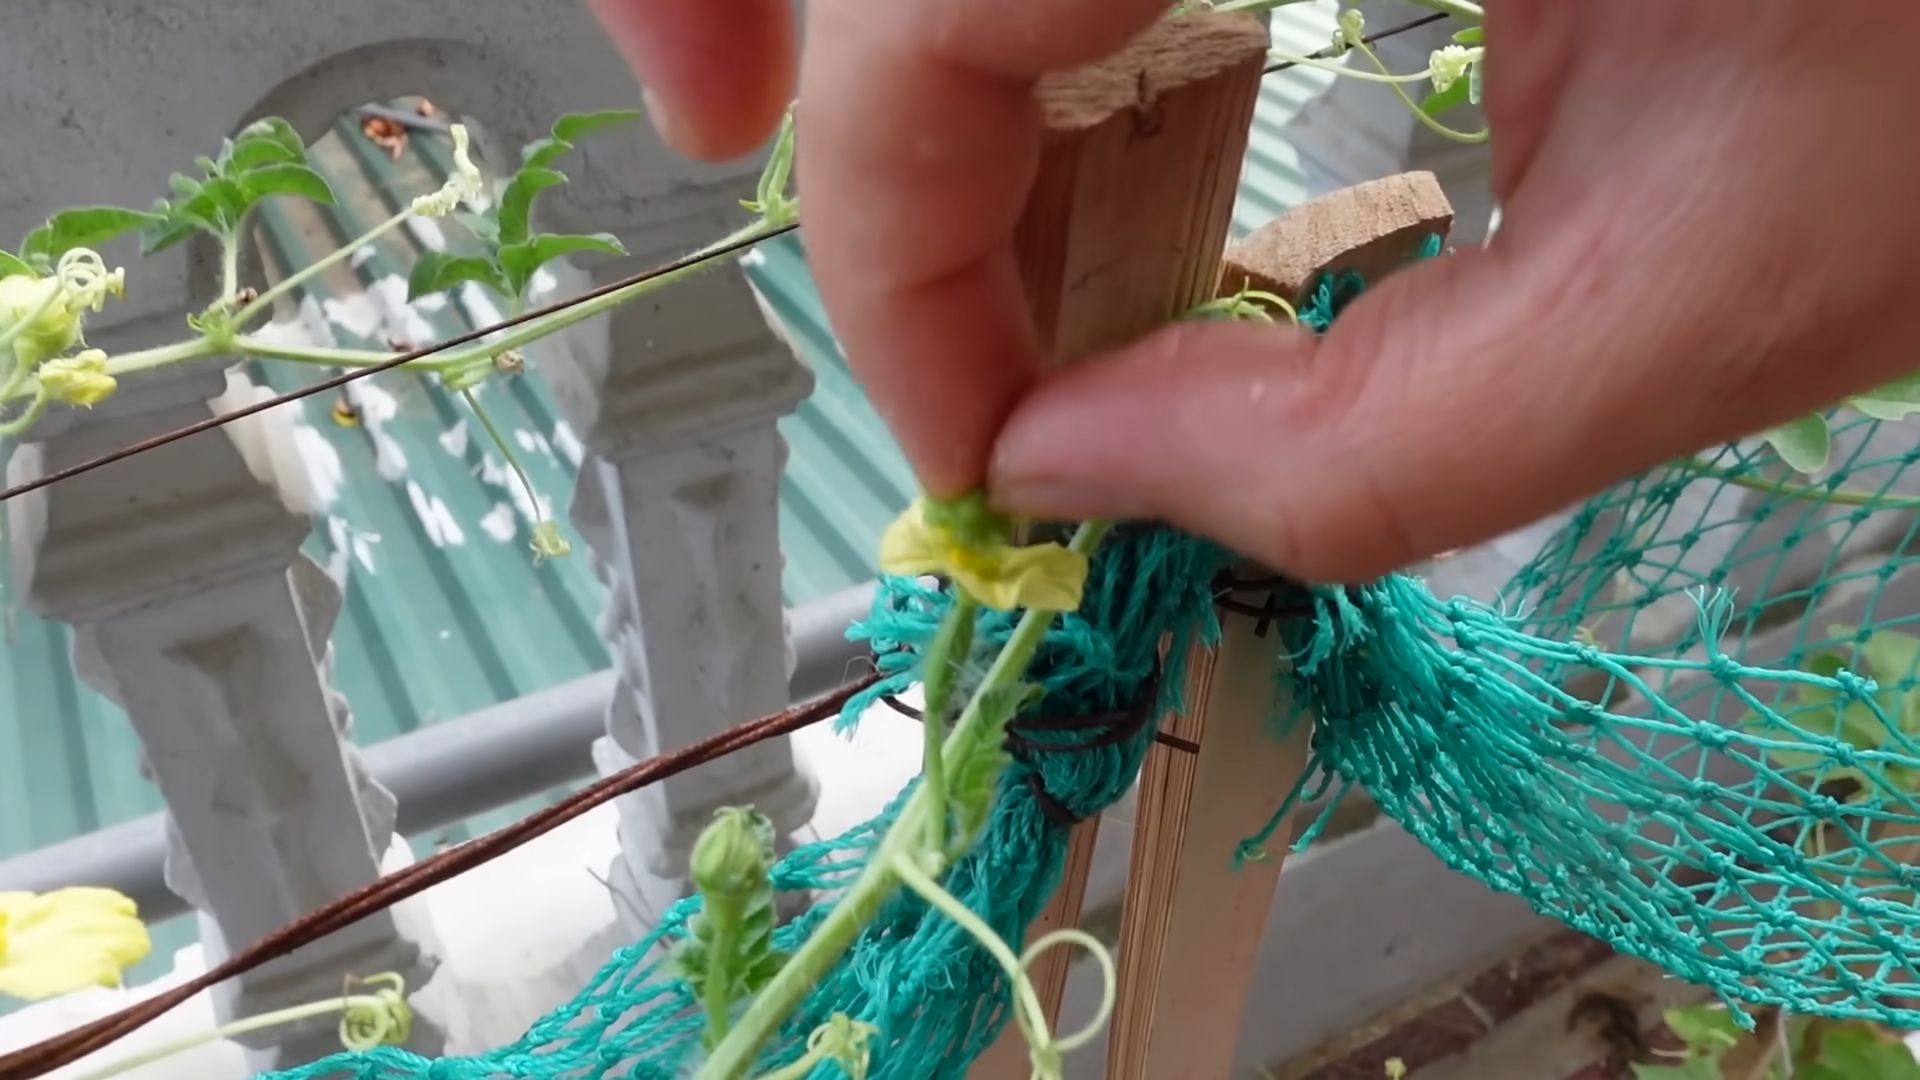
Pollination: Ensuring Fruit Set
Watermelons are pollinated by bees, so it’s important to attract pollinators to your garden.
* Plant pollinator-friendly flowers: Plant flowers like sunflowers, zinnias, and lavender near your watermelon patch to attract bees and other pollinators.
* Avoid using pesticides: Pesticides can harm pollinators. If you need to use pesticides, choose organic options and apply them in the evening when bees are less active.
* Hand-pollination (if needed): If you’re not seeing a lot of bee activity, you can hand-pollinate the flowers yourself. Use a small paintbrush to transfer pollen from the male flowers to the female flowers. Female flowers have a small fruit at the base of the flower, while male flowers do not.
Protecting Your Watermelons: Pests and Diseases
Watermelons are susceptible to a few pests and diseases, but with proper care, you can minimize problems.
* Common pests:
* Aphids: These tiny insects suck sap from the leaves and can weaken the plant. Control aphids with insecticidal soap or neem oil.
* Cucumber beetles: These beetles can damage leaves and spread diseases. Control cucumber beetles with row covers or insecticides.
* Squash vine borers: These borers tunnel into the stems of the plant and can kill it. Prevent squash vine borers by wrapping the base of the stems with aluminum foil or using row covers.
* Common diseases:
* Fusarium wilt: This fungal disease causes the plant to wilt and die. Choose disease-resistant varieties and practice crop rotation to prevent Fusarium wilt.
* Anthracnose: This fungal disease causes dark spots on the leaves and fruits. Control Anthracnose with fungicides.
* Powdery mildew: This fungal disease causes a white, powdery coating on the leaves. Control powdery mildew with fungicides or by improving air circulation around the plants.
* Prevention is key:
* Choose disease-resistant varieties.
* Practice crop rotation.
* Provide good air circulation.
* Water at the base of the plants.
* Remove diseased leaves promptly.
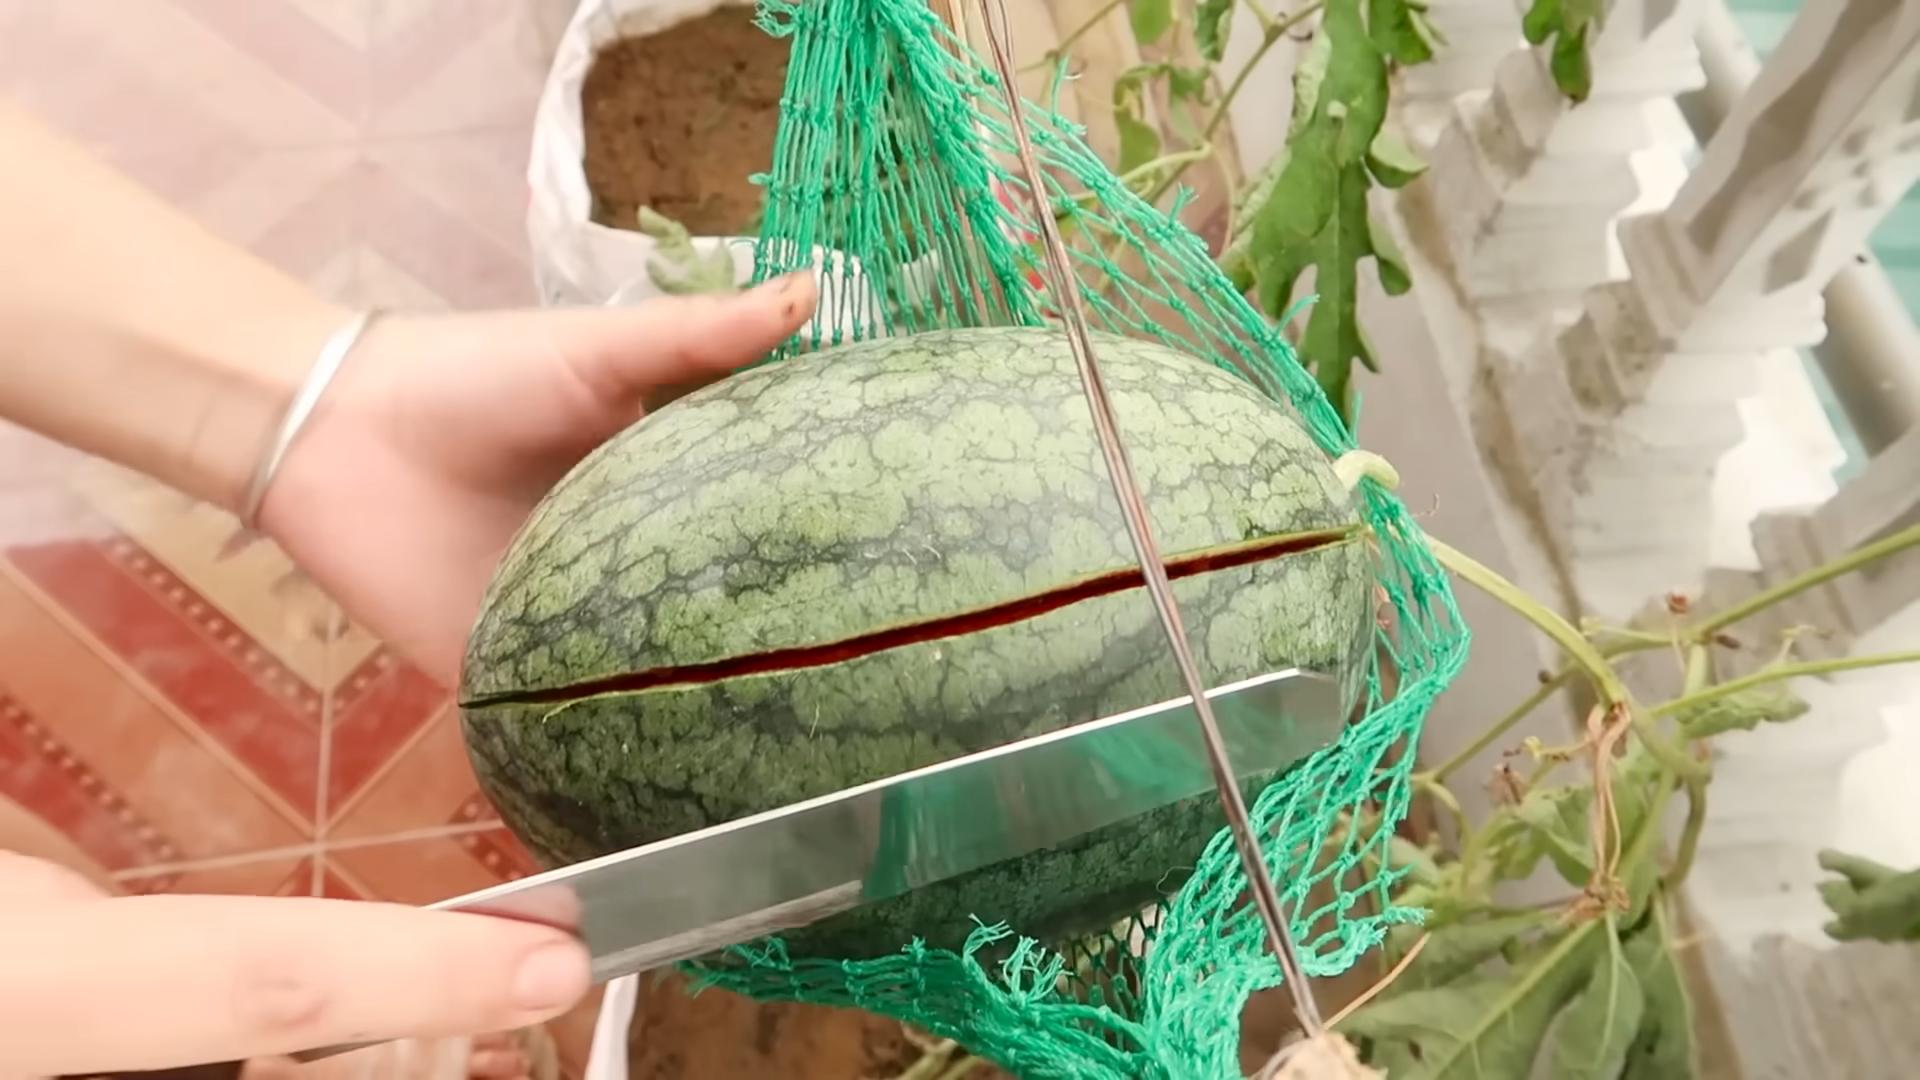
Harvesting Your Watermelons: The Sweet Reward
Knowing when to harvest a watermelon can be tricky, but here are a few signs to look for:
* The tendril closest to the fruit turns brown and dry: This is a reliable indicator that the watermelon is ripe.
* The bottom of the watermelon (where it
Conclusion
So, there you have it! Mastering the art of growing watermelons doesn’t require a green thumb blessed by the gardening gods. It’s about understanding the plant’s needs, providing the right environment, and employing a few clever DIY tricks to boost your chances of a juicy, sweet harvest. We’ve covered everything from seed selection and soil preparation to pollination assistance and pest control, all with an emphasis on simple, accessible methods that anyone can implement.
The DIY tricks we’ve highlighted, like using black plastic mulch to warm the soil or creating homemade fertilizer blends, are game-changers. They’re not just about saving money; they’re about taking control of your garden and tailoring your approach to your specific climate and soil conditions. Think of it as personalized watermelon care!
But don’t stop there! Experiment with different varieties of watermelons. Try growing smaller, personal-sized melons in containers if you’re short on space. Explore companion planting to deter pests naturally. Consider using vertical gardening techniques to maximize your yield in a limited area. The possibilities are endless!
For example, if you live in a cooler climate, consider starting your watermelon seeds indoors a few weeks before the last expected frost. This will give your seedlings a head start and increase their chances of survival once transplanted outdoors. You could also try building a mini-greenhouse or cold frame to protect your young plants from the elements.
Another variation is to experiment with different types of organic fertilizers. Compost tea, fish emulsion, and seaweed extract are all excellent options that can provide your watermelons with the nutrients they need to thrive. Just be sure to follow the instructions carefully and avoid over-fertilizing, which can lead to problems.
Growing watermelons is a rewarding experience, and the satisfaction of biting into a homegrown melon is unparalleled. It’s a testament to your hard work and dedication, and a delicious reminder of the power of nature.
We wholeheartedly encourage you to try these DIY tricks and embark on your own watermelon-growing adventure. Don’t be afraid to get your hands dirty, experiment with different techniques, and learn from your mistakes. Gardening is a journey, not a destination.
And most importantly, we want to hear about your experiences! Share your successes, your challenges, and your own DIY tips in the comments below. Let’s create a community of watermelon enthusiasts who are passionate about growing their own food and sharing their knowledge with others. Together, we can make the world a sweeter place, one watermelon at a time. So, get out there, plant those seeds, and get ready for a summer of juicy, delicious watermelons!
Frequently Asked Questions (FAQ)
Q: What is the best time to plant watermelon seeds?
A: The ideal time to plant watermelon seeds is when the soil temperature consistently reaches 70°F (21°C) or higher. This typically occurs 2-3 weeks after the last expected frost in your area. Planting too early in cold soil can lead to poor germination and stunted growth. If you live in a cooler climate, consider starting your seeds indoors 3-4 weeks before the last frost and transplanting them outdoors once the weather warms up.
Q: How much space do watermelons need?
A: Watermelons are sprawling plants that require a significant amount of space. Allow at least 3-4 feet between plants in a row and 6-8 feet between rows. If you’re growing watermelons in containers, choose a large pot that is at least 24 inches in diameter and 18 inches deep. Smaller, bush-type varieties are better suited for container gardening. Vertical gardening techniques, such as trellising, can also help save space.
Q: What kind of soil is best for watermelons?
A: Watermelons thrive in well-drained, sandy loam soil that is rich in organic matter. The soil pH should be between 6.0 and 6.8. Before planting, amend the soil with compost, aged manure, or other organic materials to improve drainage and fertility. Avoid heavy clay soils, as they can retain too much moisture and lead to root rot.
Q: How often should I water my watermelons?
A: Watermelons need consistent moisture, especially during fruit development. Water deeply and regularly, aiming for about 1-2 inches of water per week. Avoid overhead watering, as this can promote fungal diseases. Instead, use a soaker hose or drip irrigation system to deliver water directly to the roots. Reduce watering as the fruits begin to ripen to prevent them from splitting.
Q: How do I know when my watermelon is ripe?
A: Determining when a watermelon is ripe can be tricky, but there are a few telltale signs to look for. First, check the underside of the melon where it rests on the ground. This spot, known as the ground spot, should turn from white to a creamy yellow color. Second, thump the melon with your knuckles. A ripe watermelon will sound hollow and deep. Finally, examine the tendril closest to the stem. If it’s brown and dry, the watermelon is likely ripe.
Q: What are some common watermelon pests and diseases?
A: Watermelons are susceptible to a variety of pests and diseases, including aphids, squash bugs, vine borers, powdery mildew, and fusarium wilt. Regularly inspect your plants for signs of infestation or disease. Use organic pest control methods, such as insecticidal soap or neem oil, to control pests. Practice good sanitation by removing diseased leaves and vines. Choose disease-resistant varieties to minimize the risk of disease.
Q: Can I grow watermelons in containers?
A: Yes, you can grow watermelons in containers, but it’s important to choose the right variety and provide adequate support. Select smaller, bush-type varieties that are specifically bred for container gardening. Use a large pot that is at least 24 inches in diameter and 18 inches deep. Fill the pot with a well-draining potting mix that is rich in organic matter. Provide a trellis or other support structure for the vines to climb. Water regularly and fertilize every 2-3 weeks with a balanced fertilizer.
Q: How can I improve watermelon pollination?
A: Watermelons require pollination to produce fruit. If you’re not seeing many bees in your garden, you may need to hand-pollinate the flowers. To do this, use a small paintbrush to transfer pollen from the male flowers to the female flowers. Male flowers have a long, thin stem, while female flowers have a small, immature watermelon at the base. Pollinate the flowers in the morning, when the pollen is most viable. You can also attract more bees to your garden by planting bee-friendly flowers, such as sunflowers, lavender, and zinnias.
Q: What are some tips for growing sweeter watermelons?
A: Several factors can influence the sweetness of watermelons. First, choose a variety that is known for its sweetness. Second, provide adequate sunlight and warmth. Watermelons need at least 6-8 hours of direct sunlight per day. Third, fertilize regularly with a balanced fertilizer that is rich in potassium. Fourth, reduce watering as the fruits begin to ripen. Finally, harvest the watermelons at the peak of ripeness.
Q: How do I store watermelons after harvesting?
A: Whole watermelons can be stored at room temperature for up to two weeks. However, they will last longer if stored in a cool, dry place, such as a basement or garage. Cut watermelons should be stored in the refrigerator in an airtight container. They will last for about 3-5 days.


Leave a Comment