
Easy Cleaning Routine for Your Home Garden
I’ve always loved the idea of a thriving home garden, but let’s be honest, the reality often involves more weeding than relaxing. That’s why I’ve developed an Easy Cleaning Routine specifically designed to make maintaining your garden a breeze, not a burden. This isn’t just about tidying up; it’s about creating a sustainable and efficient system that allows you to truly enjoy the fruits (and vegetables!) of your labor.
Gardening, throughout history, has been a source of sustenance and solace. From ancient civilizations cultivating crops to modern-day urban farmers, the connection between humans and the land remains powerful. But with the demands of modern life, finding time for consistent garden maintenance can be challenging. That’s where my Easy Cleaning Routine comes in.
Why You Need This Easy Cleaning Routine
This isn’t your grandmother’s gardening advice (though we owe her a debt of gratitude!). This Easy Cleaning Routine is a practical, step-by-step guide designed for the busy gardener. It focuses on simple, effective techniques that minimize time spent on chores and maximize time spent enjoying your beautiful, productive garden. We’ll cover everything from quick daily checks to more thorough seasonal cleanups, all while emphasizing sustainable practices that are good for your garden and the environment.
Imagine spending less time scrubbing and more time harvesting! This Easy Cleaning Routine will help you achieve that dream. Let’s get started and transform your gardening experience from a chore into a joyful, rewarding pastime.
My Super-Simple, Totally Effective Cleaning Routine
I’m all about efficiency, and cleaning shouldn’t take up my whole weekend! This routine is designed to be quick, easy, and effective, keeping your home sparkling without the overwhelm. I’ve broken it down into manageable chunks, so you can tackle it bit by bit or do the whole thing in one go. Let’s get started!
Phase 1: The 15-Minute Tidy
This is your daily blitz – a quick sweep to prevent things from getting out of control. Think of it as preventative maintenance for your home!
- Clear surfaces: Put away anything that’s out of place. Mail, books, remotes – everything goes back where it belongs. This takes just a few minutes but makes a huge difference.
- Quick wipe-down: Grab a damp cloth and wipe down kitchen counters and the bathroom sink. Focus on high-traffic areas.
- Sweep or vacuum high-traffic areas: A quick sweep of the kitchen floor or a vacuum of the living room rug will remove loose dirt and debris.
- Empty trash cans: This is a small task that prevents overflowing bins and potential odors.
- Step 1: Set a timer for 15 minutes. This helps keep you focused and prevents the task from dragging on.
- Step 2: Start with the area that bothers you the most. Tackling the most visually cluttered area first gives you a sense of accomplishment early on.
- Step 3: Work your way through the bullet points above, focusing on speed and efficiency. Don’t worry about perfection, just get the basics done.
- Step 4: Once the timer goes off, stop! You’ve successfully completed your 15-minute tidy.
Phase 2: The Weekly Deep Clean
This is where we tackle the more thorough cleaning tasks. I break this down by room to make it less daunting.
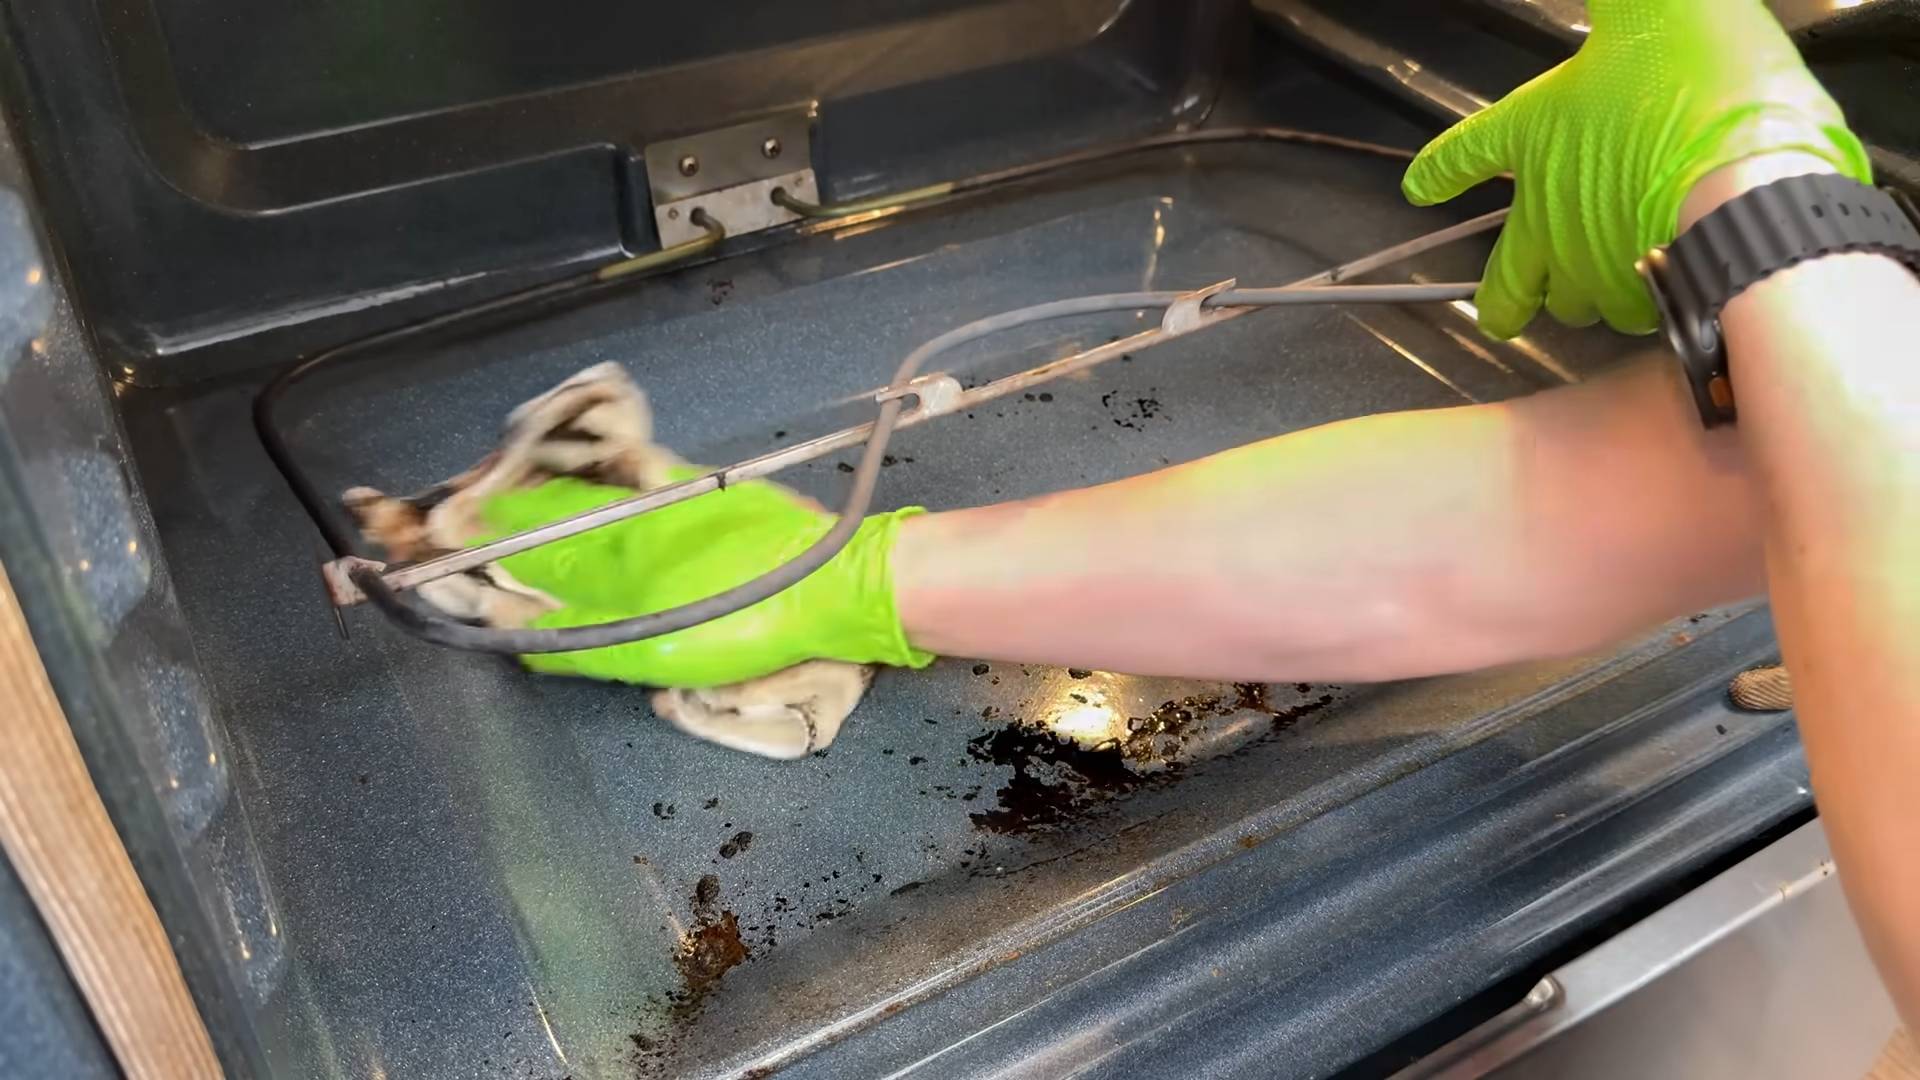
- Kitchen: Clean the stovetop, oven (if needed), microwave, and sink thoroughly. Wipe down cabinets and countertops. Empty the dishwasher and load it with dirty dishes.
- Bathroom: Clean the toilet, shower, and bathtub. Wipe down the sink and mirror. Sweep or mop the floor.
- Bedrooms: Make the beds, tidy up surfaces, and vacuum or sweep the floors. Change bed linens if needed.
- Living Areas: Dust furniture, vacuum or sweep floors, and tidy up any clutter. Empty any wastebaskets.
- Step 1: Choose one room to focus on. I usually start with the kitchen, as it tends to get the dirtiest.
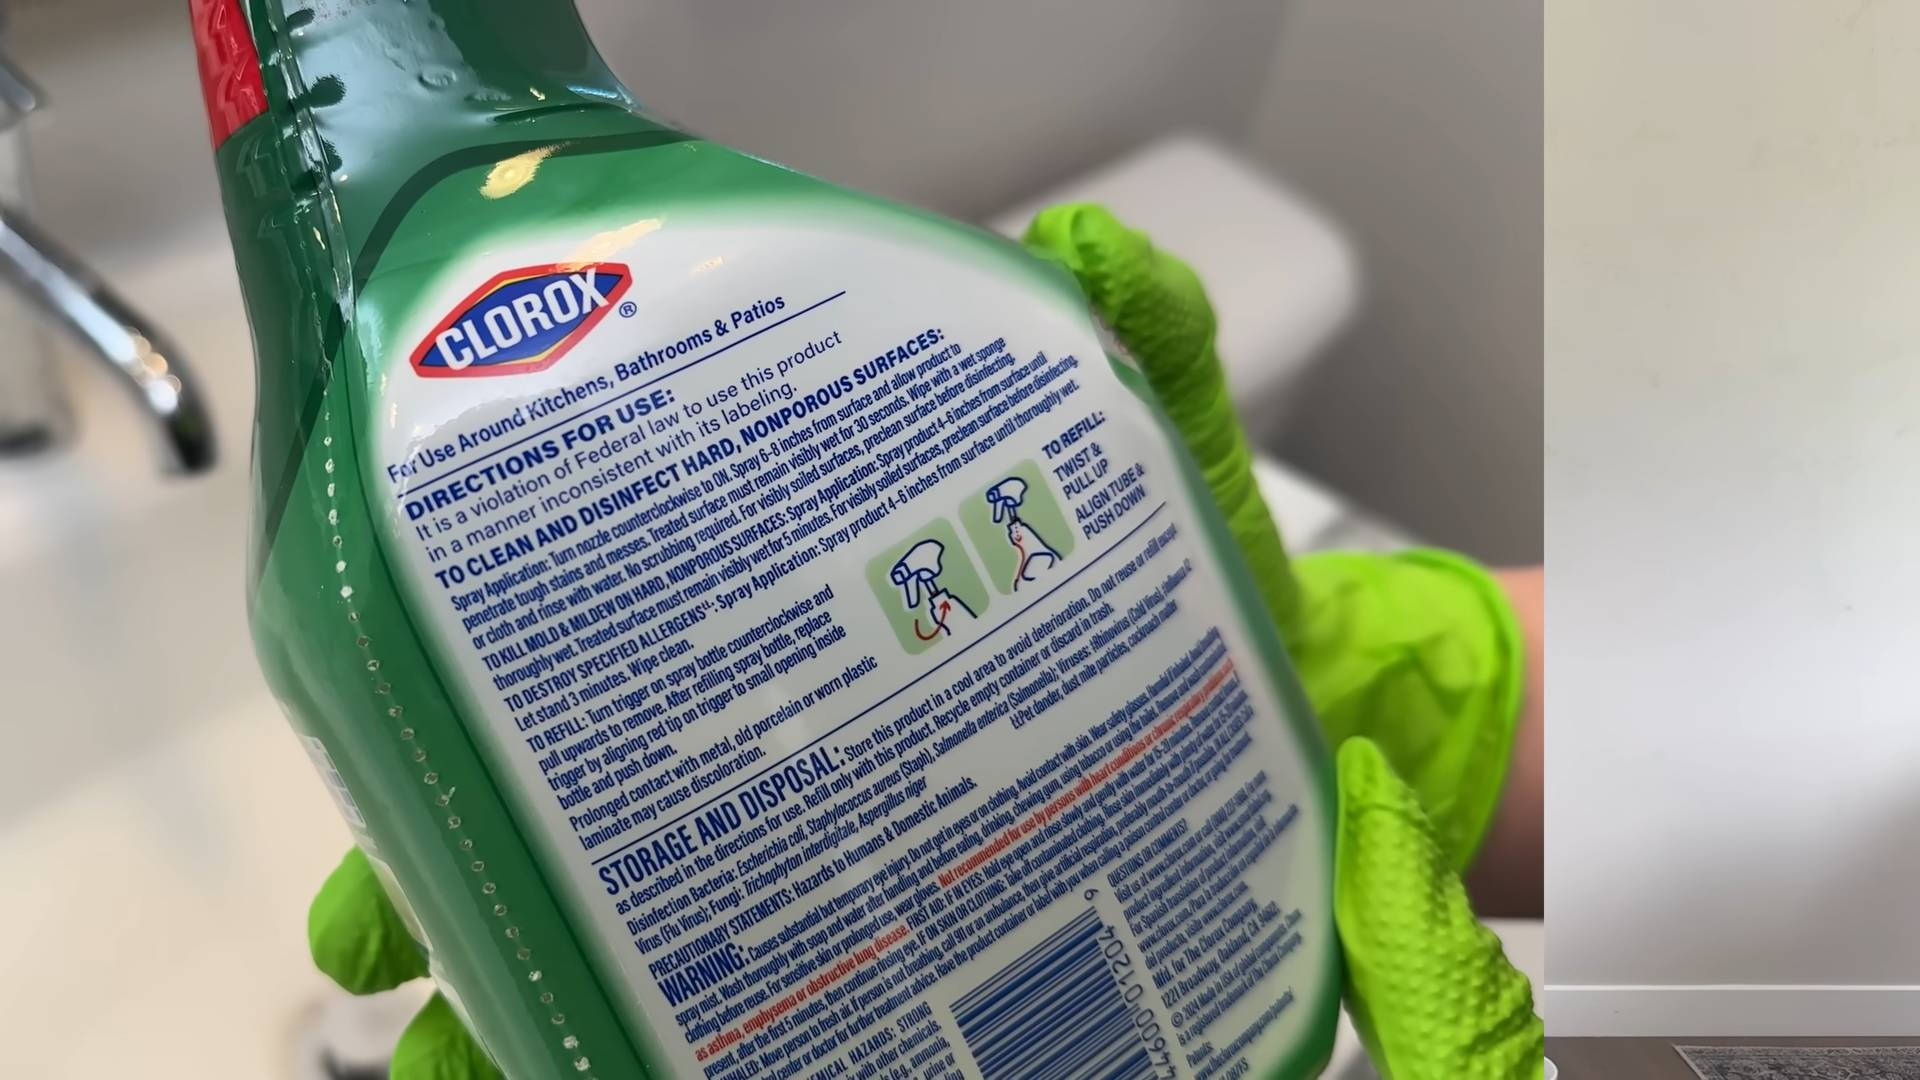
- Step 2: Gather your cleaning supplies: all-purpose cleaner, disinfecting wipes, sponges, cloths, vacuum cleaner or broom, and mop (if needed).
- Step 3: Work systematically through the room, tackling one area at a time. For example, in the kitchen, I’d start with the stovetop, then the sink, then the counters, and so on.
- Step 4: Don’t forget to clean hard-to-reach areas. Pay attention to details like light switches and doorknobs.
- Step 5: Once you’ve finished one room, move on to the next. Take breaks as needed to avoid burnout.
- Step 6: Put away all your cleaning supplies when you’re finished.
Phase 3: The Monthly Deep Dive
This is for those tasks that don’t need to be done every week. Think of it as a preventative measure to keep your home in tip-top shape.
- Clean windows and mirrors: Use a glass cleaner and a microfiber cloth for streak-free results.
- Clean light fixtures: Dust or wipe down light fixtures to improve brightness and remove grime.
- Clean baseboards: Wipe down baseboards to remove dust and dirt buildup.
- Wash curtains or blinds: Depending on the material, you can wash curtains in the washing machine or wipe down blinds with a damp cloth.
- Deep clean carpets and rugs: Rent a carpet cleaner or hire a professional for a thorough cleaning.
- Declutter and organize: Go through closets, drawers, and cabinets to remove unwanted items and organize what remains.
- Step 1: Schedule a specific day for your monthly deep clean. This helps make it a regular part of your routine.
- Step
I’m all about efficiency, and cleaning shouldn’t take up my whole weekend! This routine is designed to be quick, easy, and effective, keeping your home sparkling without the overwhelm. I’ve broken it down into manageable chunks, so you can tackle it bit by bit or do the whole thing in one go. Let’s get started!
Phase 1: The 15-Minute Tidy
This is your daily blitz – a quick sweep to prevent things from getting out of control. Think of it as preventative maintenance for your home!
- Clear surfaces: Put away anything that’s out of place. Mail, books, remotes – everything goes back where it belongs. This takes just a few minutes but makes a huge difference.
- Quick wipe-down: Grab a damp cloth and wipe down kitchen counters and the bathroom sink. Focus on high-traffic areas.
- Sweep or vacuum high-traffic areas: A quick sweep of the kitchen floor or a vacuum of the living room rug will remove loose dirt and debris.
- Empty trash cans: This is a small task that prevents overflowing bins and potential odors.
- Step 1: Set a timer for 15 minutes. This helps keep you focused and prevents the task from dragging on.
- Step 2: Start with the area that bothers you the most. Tackling the most visually cluttered area first gives you a sense of accomplishment early on.
- Step 3: Work your way through the bullet points above, focusing on speed and efficiency. Don’t worry about perfection, just get the basics done.
- Step 4: Once the timer goes off, stop! You’ve successfully completed your 15-minute tidy.
Phase 2: The Weekly Deep Clean
This is where we tackle the more thorough cleaning tasks. I break this down by room to make it less daunting.
- Kitchen: Clean the stovetop, oven (if needed), microwave, and sink thoroughly. Wipe down cabinets and countertops. Empty the dishwasher and load it with dirty dishes.
- Bathroom: Clean the toilet, shower, and bathtub. Wipe down the sink and mirror. Sweep or mop the floor.
- Bedrooms: Make the beds, tidy up surfaces, and vacuum or sweep the floors. Change bed linens if needed.
- Living Areas: Dust furniture, vacuum or sweep floors, and tidy up any clutter. Empty any wastebaskets.
- Step 1: Choose one room to focus on. I usually start with the kitchen, as it tends to get the dirtiest.
- Step 2: Gather your cleaning supplies: all-purpose cleaner, disinfecting wipes, sponges, cloths, vacuum cleaner or broom, and mop (if needed).
- Step 3: Work systematically through the room, tackling one area at a time. For example, in the kitchen, I’d start with the stovetop, then the sink, then the counters, and so on.
- Step 4: Don’t forget to clean hard-to-reach areas. Pay attention to details like light switches and doorknobs.
- Step 5: Once you’ve finished one room, move on to the next. Take breaks as needed to avoid burnout.
- Step 6: Put away all your cleaning supplies when you’re finished.
Phase 3: The Monthly Deep Dive
This is for those tasks that don’t need to be done every week. Think of it as a preventative measure to keep your home in tip-top shape.
- Clean windows and mirrors: Use a glass cleaner and a microfiber cloth for streak-free results.
- Clean light fixtures: Dust or wipe down light fixtures to improve brightness and remove grime.
- Clean baseboards: Wipe down baseboards to remove dust and dirt buildup.
- Wash curtains or blinds: Depending on the material, you can wash curtains in the washing machine or wipe down blinds with a damp cloth.
- Deep clean carpets and rugs: Rent a carpet cleaner or hire a professional for a thorough cleaning.
- Declutter and organize: Go through closets, drawers, and cabinets to remove unwanted items and organize what remains.
- Step 1: Schedule a specific day for your monthly deep clean. This helps make it a regular part of your routine.
- Step 2: Prioritize the tasks based on your needs. If your windows are particularly dirty, focus on that first.
- Step 3: Break down the tasks into smaller, more manageable chunks. Instead of trying to clean all the baseboards in one go, focus on one room at a time.
- Step 4: Take your time and don’t rush. This is a chance to thoroughly clean areas that often get neglected.
- Step 5: Enjoy the feeling of accomplishment once you’ve completed your monthly deep clean!
Phase 4: The “As Needed” Tasks
These are tasks that you’ll do as needed, depending on your lifestyle and the condition of your home.
- Laundry: Do laundry as needed, separating whites and colors.
- Dishwashing: Wash dishes after each meal or load the dishwasher regularly.
- Spot cleaning: Address spills and stains immediately to prevent them from setting.
- Vacuuming or sweeping: Vacuum or sweep high-traffic areas as needed, especially if you have pets.
Remember: Consistency is key! Even a few minutes of cleaning each day can make a big difference in keeping your home clean and organized. Don’t be afraid to adjust this routine to fit your own needs and preferences. The most important thing is to find a system that works for you and stick with it!
Conclusion
This easy cleaning routine isn’t just about sparkling surfaces; it’s about reclaiming your time and energy. By implementing these simple, yet effective, strategies, you’ll find that maintaining a clean home becomes less of a daunting chore and more of a manageable, even enjoyable, part of your daily life. The key is consistency and the smart use of readily available tools and products. This DIY approach to cleaning is a must-try because it empowers you to take control of your cleaning schedule, personalize your methods, and ultimately, achieve a cleaner, healthier home without breaking the bank or spending hours scrubbing. You’ll be amazed at how much you can accomplish with a little planning and the right techniques. The satisfaction of a sparkling clean space achieved through your own efforts is incredibly rewarding.
Beyond the core routine outlined, there are countless ways to personalize this approach. For example, you can incorporate essential oils into your cleaning solutions for a pleasant aroma. Experiment with different microfiber cloths – some are better suited for specific surfaces. If you have pets, consider adding a pet-specific cleaning step to your routine, focusing on areas where fur tends to accumulate. For those with allergies, using hypoallergenic cleaning products is crucial. Consider investing in a good quality vacuum cleaner with HEPA filtration for superior dust and allergen removal. Remember, this is your cleaning routine; adapt it to fit your lifestyle and the specific needs of your home. Don’t be afraid to experiment and find what works best for you. Perhaps you’ll discover a new favorite cleaning hack along the way! The beauty of this easy cleaning routine lies in its flexibility and adaptability.
We strongly encourage you to try this easy cleaning routine and share your experience with us! Let us know what modifications you made, what worked best for you, and any tips you’ve discovered along the way. Your feedback will help others create their own personalized cleaning systems and contribute to a community of efficient and effective cleaning enthusiasts. Join the conversation and let’s make cleaning easier and more enjoyable for everyone! Share your before-and-after photos on social media using #EasyCleaningRoutine – we can’t wait to see your sparkling results! Remember, a clean home is a happy home, and this easy cleaning routine is your key to unlocking that happiness.
Frequently Asked Questions
What if I don’t have much time for cleaning?
This easy cleaning routine is designed to be adaptable to busy schedules. The key is to break down cleaning tasks into smaller, more manageable chunks. Instead of tackling the entire house at once, focus on one area each day or even just 15-20 minutes of cleaning at a time. Consistency is more important than spending hours cleaning at once. Even short bursts of cleaning can make a significant difference over time. Prioritize the areas that are most visible or used frequently.
What are the best cleaning products to use?
The best cleaning products are those that are effective, safe, and environmentally friendly. Look for products that are specifically designed for the surface you’re cleaning. Many effective cleaning solutions can be made at home using simple ingredients like vinegar, baking soda, and lemon juice. These natural cleaners are often gentler on surfaces and better for the environment than harsh chemical cleaners. Always test any new cleaning solution on a small, inconspicuous area first to ensure it doesn’t damage the surface.
How often should I do this cleaning routine?
The frequency of your cleaning routine will depend on your lifestyle and the size of your home. However, a good starting point is to aim for a daily quick clean (15-20 minutes) focusing on high-traffic areas and a more thorough weekly clean. Adjust the schedule based on your needs and preferences. The goal is to maintain a consistently clean home without feeling overwhelmed.
What if I have pets or children?
Having pets or children requires a slightly modified approach. You may need to incorporate additional cleaning steps, such as vacuuming more frequently to remove pet hair or wiping down surfaces more often to remove fingerprints and spills. Consider using pet-safe cleaning products and keeping cleaning supplies out of reach of children. Involving children in age-appropriate cleaning tasks can also be a great way to teach responsibility and make cleaning a family affair.
Can I adapt this routine to different types of homes?
Absolutely! This easy cleaning routine is adaptable to various home types, from apartments to large houses. The key is to adjust the scope of the cleaning tasks to match the size and layout of your home. For example, a smaller apartment might require less time for cleaning than a larger house. Focus on prioritizing the areas that are most important to you and adjust the frequency of cleaning tasks accordingly. The principles of the routine – breaking down tasks, using efficient methods, and maintaining consistency – remain the same regardless of the size or type of your home. Remember, the goal is to create a cleaning system that works for you and your specific living space.

Leave a Comment