
DIY Wall Washing: Freshen Up Your Home with Easy Techniques
I love the feeling of a freshly cleaned home, but let’s be honest, professional cleaning services can be expensive. That’s why I’m so excited to share my favorite DIY wall washing techniques with you! This isn’t just about sparkling walls; it’s about reclaiming control over your home’s cleanliness and saving money in the process. For centuries, people have found creative ways to clean their homes, often using readily available ingredients. Think about the old-fashioned methods our grandmothers used – simple solutions that were both effective and environmentally friendly. This article is a modern take on that tradition, offering practical and easy-to-follow DIY wall washing solutions for every homeowner.
Whether you’re dealing with stubborn scuff marks from playful children, greasy fingerprints in the kitchen, or just the general dust accumulation of everyday life, clean walls instantly elevate the look and feel of any room. Dirty walls can make a space feel drab and uninviting, while clean walls contribute to a brighter, more welcoming atmosphere. That’s why mastering the art of DIY wall washing is a valuable skill for any homeowner. This article will guide you through various methods, from simple solutions for everyday cleaning to more intensive techniques for tackling tougher stains. Get ready to transform your home with these easy and effective DIY wall washing hacks!
Why DIY Wall Washing Matters
Beyond the cost savings, DIY wall washing allows you to control the cleaning products used in your home, ensuring a healthier environment for you and your family. You can avoid harsh chemicals and opt for eco-friendly alternatives, making your cleaning routine both effective and sustainable.

DIY Wall Washing: A Sparkling Clean Home, Effortlessly!
I love a clean home, but let’s be honest, scrubbing walls can be a real chore. That’s why I’ve perfected my DIY wall-washing technique, and I’m excited to share it with you! This method is gentle enough for delicate surfaces yet powerful enough to tackle even stubborn grime. Let’s get started!
Gathering Your Supplies
- Two buckets: One for your cleaning solution and one for rinsing.
- Microfiber cloths: These are my absolute favorite for wall cleaning – they’re super absorbent and gentle. Get at least three or four; you’ll want some clean ones on hand.
- A sponge mop: This is optional, but it’s a game-changer for larger walls. Make sure it’s a good quality one that won’t scratch your paint.
- Warm water: Hot water can damage some paint types, so stick to warm.
- Mild dish soap: A small amount goes a long way. Avoid harsh chemicals, especially on delicate surfaces.
- All-purpose cleaner (optional): For extra cleaning power on particularly grimy areas. Again, choose a mild formula.
- Step ladder or stool: Safety first! Make sure you can reach all areas comfortably.
- Squeegee (optional): This helps prevent streaks, especially on glossy surfaces.
Preparing Your Walls
- Clear the area: Remove any pictures, shelves, or other items from the walls you’ll be cleaning. This gives you a clear workspace and prevents accidental damage.
- Dust first: Use a dry microfiber cloth or a feather duster to remove loose dust and cobwebs. This prevents the dust from mixing with your cleaning solution and creating a muddy mess.
- Test your cleaning solution: Before applying your cleaning solution to the entire wall, test it on a small, inconspicuous area. This helps you check for any adverse reactions, like discoloration or paint damage. I usually test on a spot behind a piece of furniture.
Mixing Your Cleaning Solution
- Fill your cleaning bucket: Fill one bucket with warm water. The amount depends on the size of the area you’re cleaning; you want enough to comfortably clean without refilling constantly.
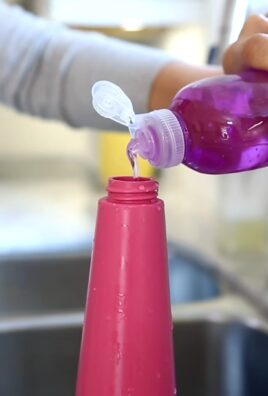
- Add dish soap: Add a small squirt of mild dish soap to the water. A few drops are usually sufficient. Too much soap can leave a residue.
- Optional: Add all-purpose cleaner: If you’re dealing with particularly stubborn stains or grease, add a small amount of all-purpose cleaner. Always follow the product instructions.
- Mix well: Stir the solution gently to ensure the soap is evenly distributed.
Washing Your Walls
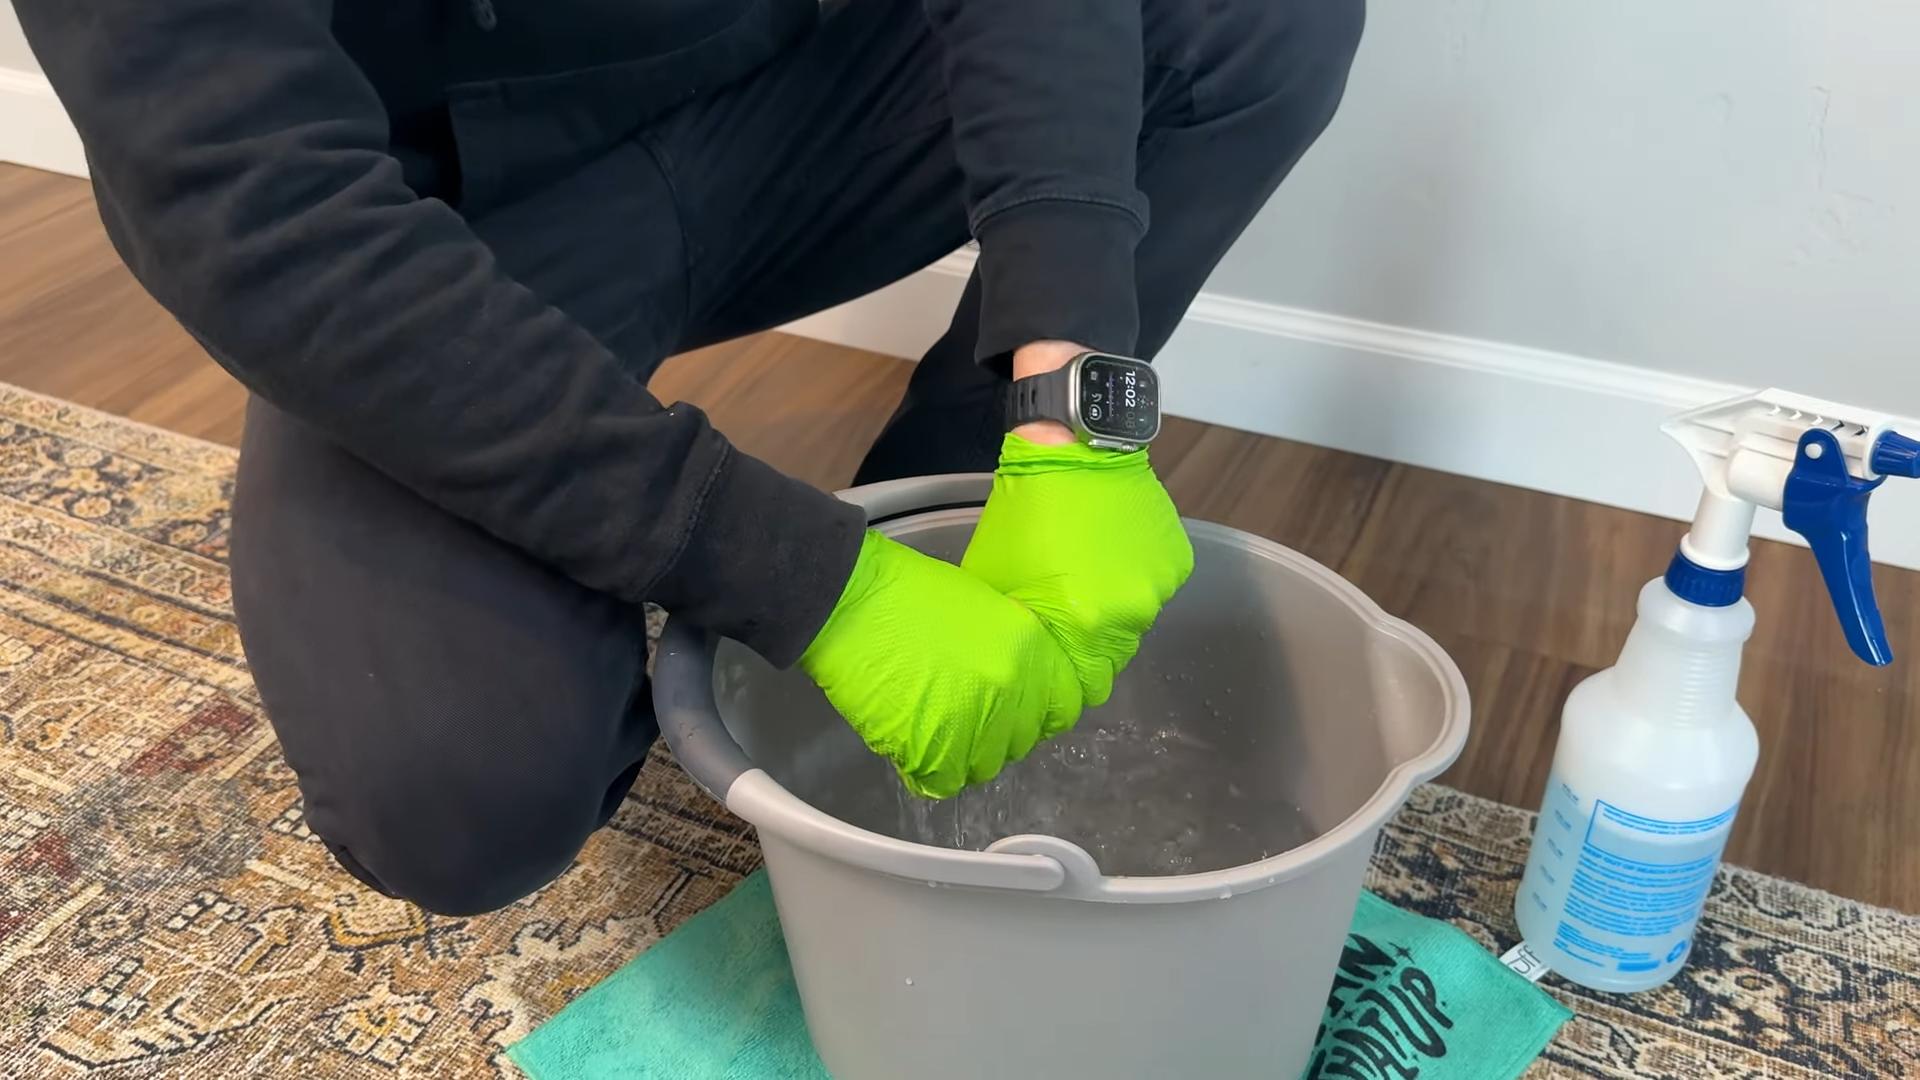
- Dip your cloth or mop: Dip your microfiber cloth or sponge mop into the cleaning solution. Make sure it’s damp, not soaking wet. A dripping wet cloth can cause water damage to your walls.
- Wipe in sections: Work in small sections, wiping the wall in an up-and-down motion. Overlapping your strokes slightly ensures even coverage.
- Rinse frequently: Rinse your cloth or mop frequently in the clean water
I love a clean home, but let’s be honest, scrubbing walls can be a real chore. That’s why I’ve perfected my DIY wall-washing technique, and I’m excited to share it with you! This method is gentle enough for delicate surfaces yet powerful enough to tackle even stubborn grime. Let’s get started!
Gathering Your Supplies
- Two buckets: One for your cleaning solution and one for rinsing.
- Microfiber cloths: These are my absolute favorite for wall cleaning – they’re super absorbent and gentle. Get at least three or four; you’ll want some clean ones on hand.
- A sponge mop: This is optional, but it’s a game-changer for larger walls. Make sure it’s a good quality one that won’t scratch your paint.
- Warm water: Hot water can damage some paint types, so stick to warm.
- Mild dish soap: A small amount goes a long way. Avoid harsh chemicals, especially on delicate surfaces.
- All-purpose cleaner (optional): For extra cleaning power on particularly grimy areas. Again, choose a mild formula.
- Step ladder or stool: Safety first! Make sure you can reach all areas comfortably.
- Squeegee (optional): This helps prevent streaks, especially on glossy surfaces.
Preparing Your Walls
- Clear the area: Remove any pictures, shelves, or other items from the walls you’ll be cleaning. This gives you a clear workspace and prevents accidental damage.
- Dust first: Use a dry microfiber cloth or a feather duster to remove loose dust and cobwebs. This prevents the dust from mixing with your cleaning solution and creating a muddy mess.
- Test your cleaning solution: Before applying your cleaning solution to the entire wall, test it on a small, inconspicuous area. This helps you check for any adverse reactions, like discoloration or paint damage. I usually test on a spot behind a piece of furniture.
Mixing Your Cleaning Solution
- Fill your cleaning bucket: Fill one bucket with warm water. The amount depends on the size of the area you’re cleaning; you want enough to comfortably clean without refilling constantly.
- Add dish soap: Add a small squirt of mild dish soap to the water. A few drops are usually sufficient. Too much soap can leave a residue.
- Optional: Add all-purpose cleaner: If you’re dealing with particularly stubborn stains or grease, add a small amount of all-purpose cleaner. Always follow the product instructions.
- Mix well: Stir the solution gently to ensure the soap is evenly distributed.
Washing Your Walls
- Dip your cloth or mop: Dip your microfiber cloth or sponge mop into the cleaning solution. Make sure it’s damp, not soaking wet. A dripping wet cloth can cause water damage to your walls.
- Wipe in sections: Work in small sections, wiping the wall in an up-and-down motion. Overlapping your strokes slightly ensures even coverage.
- Rinse frequently: Rinse your cloth or mop frequently in the clean water bucket. This prevents you from spreading dirt around the wall. Change the rinse water as needed.
- Pay attention to trouble spots: For stubborn stains, gently scrub with a clean section of your cloth or use a soft-bristled brush. Avoid scrubbing too hard, as this could damage the paint.
- Use a squeegee (optional): If you’re using a squeegee, wipe it down after each section to prevent streaks. Overlap your squeegee strokes slightly.
Drying Your Walls
- Allow to air dry: For most walls, simply allowing them to air dry is sufficient. This is generally the best method to avoid streaks.
- Use a dry cloth (optional): If you’re concerned about streaks or want to speed up the drying process, gently wipe the walls with a clean, dry microfiber cloth. Work in the same up-and-down motion as before.
Cleaning Up
- Empty your buckets: Dispose of the dirty water properly.
- Rinse your cloths and mop: Thoroughly rinse your cleaning tools and allow them to air dry.
- Admire your sparkling clean walls!
Tips for Different Wall Types
Painted Walls: Use a gentle touch to avoid damaging the paint. For glossy paint, a squeegee can help prevent streaks. For textured walls, a soft-bristled brush might be helpful for cleaning crevices.
Wallpapered Walls: Always test your cleaning solution in an inconspicuous area first. Avoid using harsh chemicals or scrubbing too hard, as this can damage the wallpaper. A damp cloth is usually sufficient.
Tile Walls: Tile walls are generally easy to clean. You can use a slightly stronger cleaning solution if needed, but always rinse thoroughly.
Troubleshooting
Streaks:
Streaks are often caused by using too much cleaning solution or not rinsing thoroughly. Try using a squeegee or wiping the walls with a clean, dry cloth after rinsing.
Watermarks:
Watermarks can be caused by hard water or not drying the walls properly. Try using distilled water or wiping the walls with a dry cloth after rinsing.
Scuff Marks:
For scuff marks, try a magic eraser or a specialized cleaning product designed for removing scuffs. Always test it in an inconspicuous area first.
Conclusion
So there you have it – your comprehensive guide to mastering the art of DIY wall washing! This isn’t just about cleaning; it’s about transforming your living space. By following these simple steps, you’ll not only achieve a sparkling clean finish, but you’ll also save money and reduce the environmental impact associated with hiring professional cleaners or using harsh chemical-laden products. This DIY wall washing technique is a must-try for anyone looking to refresh their home without breaking the bank or compromising on quality. The satisfaction of seeing your walls gleaming, knowing you accomplished it yourself, is truly rewarding.
The beauty of this method lies in its adaptability. Feel free to experiment with different cleaning solutions tailored to your specific wall type and the level of grime you’re tackling. For stubborn stains, consider pre-treating them with a gentle solution of baking soda and water before applying your chosen cleaning mixture. If you have delicate wallpaper, opt for a milder approach, perhaps using just warm water and a soft sponge. For those with textured walls, a soft-bristled brush can help to reach into the crevices and remove embedded dirt. Remember, patience and gentle pressure are key to avoiding damage. Don’t be afraid to test your chosen solution on an inconspicuous area first to ensure it doesn’t affect the paint or wallpaper.
Beyond the practical benefits, this DIY approach empowers you to take control of your home’s cleanliness. It’s a simple yet effective way to enhance your living environment and boost your sense of accomplishment. It’s a project that’s perfect for a weekend afternoon, allowing you to combine cleaning with a touch of self-care. Imagine the feeling of pride as you admire your freshly cleaned walls, knowing you achieved a professional-looking result without the hefty price tag. This DIY wall washing technique isn’t just about cleaning; it’s about reclaiming your space and taking ownership of your home’s upkeep.
We strongly encourage you to try this DIY wall washing technique and share your experience with us! Post your before-and-after photos on social media using #DIYWallWashing and tag us – we’d love to see the amazing results you achieve. Let’s build a community of DIY enthusiasts who are passionate about creating clean, beautiful, and sustainable homes. Your feedback and experiences will help inspire others to embark on their own DIY wall washing adventures. Don’t hesitate to share your tips and tricks – the more we learn from each other, the better we can all become at maintaining our homes.
Frequently Asked Questions
Q: What types of walls is this DIY wall washing method suitable for?
A: This method is generally suitable for most painted walls, but always test a small, inconspicuous area first. It’s particularly effective on walls with light to moderate soiling. However, it’s crucial to avoid using harsh chemicals or excessive scrubbing on delicate surfaces like wallpaper or certain types of textured paint. For these surfaces, a gentler approach with warm water and a soft cloth is recommended.
Q: What cleaning solutions are best for DIY wall washing?
A: A simple solution of warm water and mild dish soap is often sufficient for most walls. For tougher stains, you can add a small amount of white vinegar or baking soda to the mixture. Always avoid using abrasive cleaners or bleach, as these can damage the paint or wallpaper. Remember to test any cleaning solution on a hidden area before applying it to the entire wall.
Q: How often should I wash my walls?
A: The frequency of wall washing depends on several factors, including the amount of traffic in the room, the presence of pets, and the type of wall covering. As a general guideline, washing your walls once or twice a year is usually sufficient for most homes. However, you may need to clean them more frequently if they become visibly dirty or stained.
Q: What tools do I need for DIY wall washing?
A: You’ll need a bucket, warm water, a mild cleaning solution (dish soap, vinegar, or baking soda), soft cloths or sponges, a soft-bristled brush (optional, for textured walls), and a ladder or step stool (if necessary). Protecting your floors with drop cloths or old towels is also a good idea.
Q: What should I do if I accidentally damage my walls during the cleaning process?
A: Accidents can happen, but careful and gentle cleaning techniques can minimize the risk of damage. If you do accidentally damage your walls, the best course of action is to assess the extent of the damage. Minor scratches or scuffs might be easily touched up with paint, while more significant damage may require professional repair. Always test any repair solutions on a hidden area first.
Q: Can I use this method on different types of wall finishes, like textured walls or wallpaper?
A: Yes, but you need to adjust your approach. For textured walls, a soft-bristled brush can help to reach into the crevices and remove embedded dirt. For wallpaper, use a very gentle approach with warm water and a soft sponge. Always test your cleaning solution on a small, inconspicuous area first to ensure it doesn’t damage the finish.
Q: Are there any safety precautions I should take when DIY wall washing?
A: Always ensure adequate ventilation in the room you are cleaning. Wear appropriate clothing and gloves to protect yourself from any cleaning solutions. Use a sturdy ladder or step stool if you need to reach high areas, and always have someone assist you if possible. Be mindful of electrical outlets and avoid getting cleaning solutions on electrical components.
Leave a Comment