
DIY Grape Growing System: Unleash Your Inner Vintner! Ever dreamt of plucking juicy, sun-ripened grapes straight from your own backyard? Imagine the satisfaction of crafting homemade jams, jellies, or even venturing into the art of winemaking with grapes you nurtured yourself. It’s more attainable than you think! This article is your ultimate guide to creating a thriving DIY grape growing system, even if you’re a complete beginner.
Grape cultivation boasts a rich history, dating back thousands of years to ancient civilizations like the Egyptians and Romans, who revered grapes not only for their delicious fruit but also for their symbolic significance in religious ceremonies and celebrations. Today, the allure of growing your own grapes remains strong, connecting us to this ancient tradition and offering a tangible connection to the earth.
But let’s be honest, the thought of setting up a vineyard can seem daunting. That’s where this DIY grape growing system comes in! I’m going to break down the process into manageable, step-by-step instructions, using readily available materials and clever hacks to save you time and money. Whether you have a sprawling garden or a small balcony, I’ll show you how to create a system that suits your space and skill level. Why buy grapes from the store when you can enjoy the unparalleled flavor and satisfaction of harvesting your own? Let’s get started and transform your backyard into a personal vineyard!
DIY Grape Growing System: From Seedling to Sweet Success!
Okay, grape lovers, gather ’round! I’m going to walk you through building your very own grape growing system. Forget those expensive setups you see online – we’re doing this on a budget and making it work beautifully. This guide is designed for beginners, so don’t worry if you’ve never grown grapes before. We’ll cover everything from choosing the right spot to building a sturdy trellis. Let’s get started!
Choosing Your Grape Variety and Location
Before we even think about building anything, we need to decide what kind of grapes we want and where they’ll thrive. This is crucial for success!
* Grape Variety: Consider your climate. Are you in a warm, sunny area or a cooler region? Different grape varieties flourish in different climates. Research cold-hardy varieties like ‘Marquette’ or ‘Frontenac’ if you live in a colder zone. For warmer climates, ‘Thompson Seedless’ or ‘Zinfandel’ might be good choices. Also, think about what you want to *do* with the grapes. Wine? Juice? Eating fresh? This will influence your variety selection.
* Sunlight: Grapes need at least 6-8 hours of direct sunlight per day. More is better! Choose a location that gets plenty of sun throughout the growing season.
* Soil: Grapes prefer well-drained soil. They don’t like sitting in soggy conditions. If your soil is heavy clay, you’ll need to amend it with compost and other organic matter to improve drainage. A slightly acidic to neutral pH (around 6.0-7.0) is ideal.
* Space: Grape vines need room to spread. Consider the mature size of the variety you choose and allow adequate space between vines. Generally, 8-10 feet between vines is a good starting point.
* Support System: Think about how you’ll support the vines as they grow. This will influence the design of your trellis.
Building Your DIY Grape Trellis
Now for the fun part! We’re going to build a simple but effective trellis system. I’m opting for a two-wire trellis, which is easy to construct and provides excellent support.
Materials You’ll Need:
* Wooden Posts: 4×4 treated lumber, 8 feet long (at least two, depending on the length of your row)
* Wire: 12-gauge galvanized steel wire (enough to run two lines the length of your row)
* Concrete Mix: For setting the posts
* Eye Bolts: To attach the wire to the posts
* Wire Tensioners (optional): To tighten the wire
* Staples or U-nails: To secure the wire to the posts (if not using eye bolts)
* Tools: Shovel, post hole digger (optional), level, measuring tape, wire cutters, drill (if using eye bolts), hammer (if using staples), bucket, mixing trowel
Step-by-Step Instructions:
1. Mark Your Post Locations: Decide where you want your grape vines to grow and mark the locations for your end posts. Remember to space them appropriately (8-10 feet apart for individual vines, or further apart if you’re planting a row). If you’re planting a row, you’ll need intermediate posts every 20-25 feet for added support.
2. Dig the Post Holes: Dig holes for your posts that are at least 2 feet deep. The deeper the hole, the more stable your trellis will be. A post hole digger can make this task much easier.
3. Set the Posts: Place the posts in the holes and use a level to ensure they are plumb (perfectly vertical). Pour concrete mix into the holes around the posts, following the instructions on the concrete bag. Make sure the posts are still level as the concrete sets. Let the concrete cure for at least 24-48 hours before proceeding. This is crucial for a strong foundation!
4. Install Eye Bolts (or Staples): Once the concrete is cured, it’s time to attach the wire. You have two options here:
* Eye Bolts: Drill holes through the posts at the desired heights for your wires. I recommend placing the first wire about 3 feet above the ground and the second wire about 5 feet above the ground. Insert the eye bolts through the holes and tighten them securely.
* Staples/U-nails: Hammer staples or U-nails into the posts at the desired heights for your wires. Make sure they are securely in place.
5. String the Wire: Now, run the galvanized steel wire through the eye bolts (or around the staples/U-nails) along the entire length of your trellis. Pull the wire taut.
6. Secure the Wire: If you’re using eye bolts, loop the wire around the eye bolt and twist it back onto itself to secure it. If you’re using staples/U-nails, bend the ends of the staples over the wire to hold it in place.
7. Add Tension (Optional): If you want to add tension to the wire, you can use wire tensioners. Attach them to the wire at one end of the trellis and tighten them until the wire is taut. This will help prevent the wire from sagging over time.
Planting Your Grape Vines
Okay, the trellis is up! Now for the main event: planting your grape vines.
Step-by-Step Instructions:
1. Prepare the Planting Hole: Dig a hole that is twice as wide and as deep as the root ball of your grape vine.
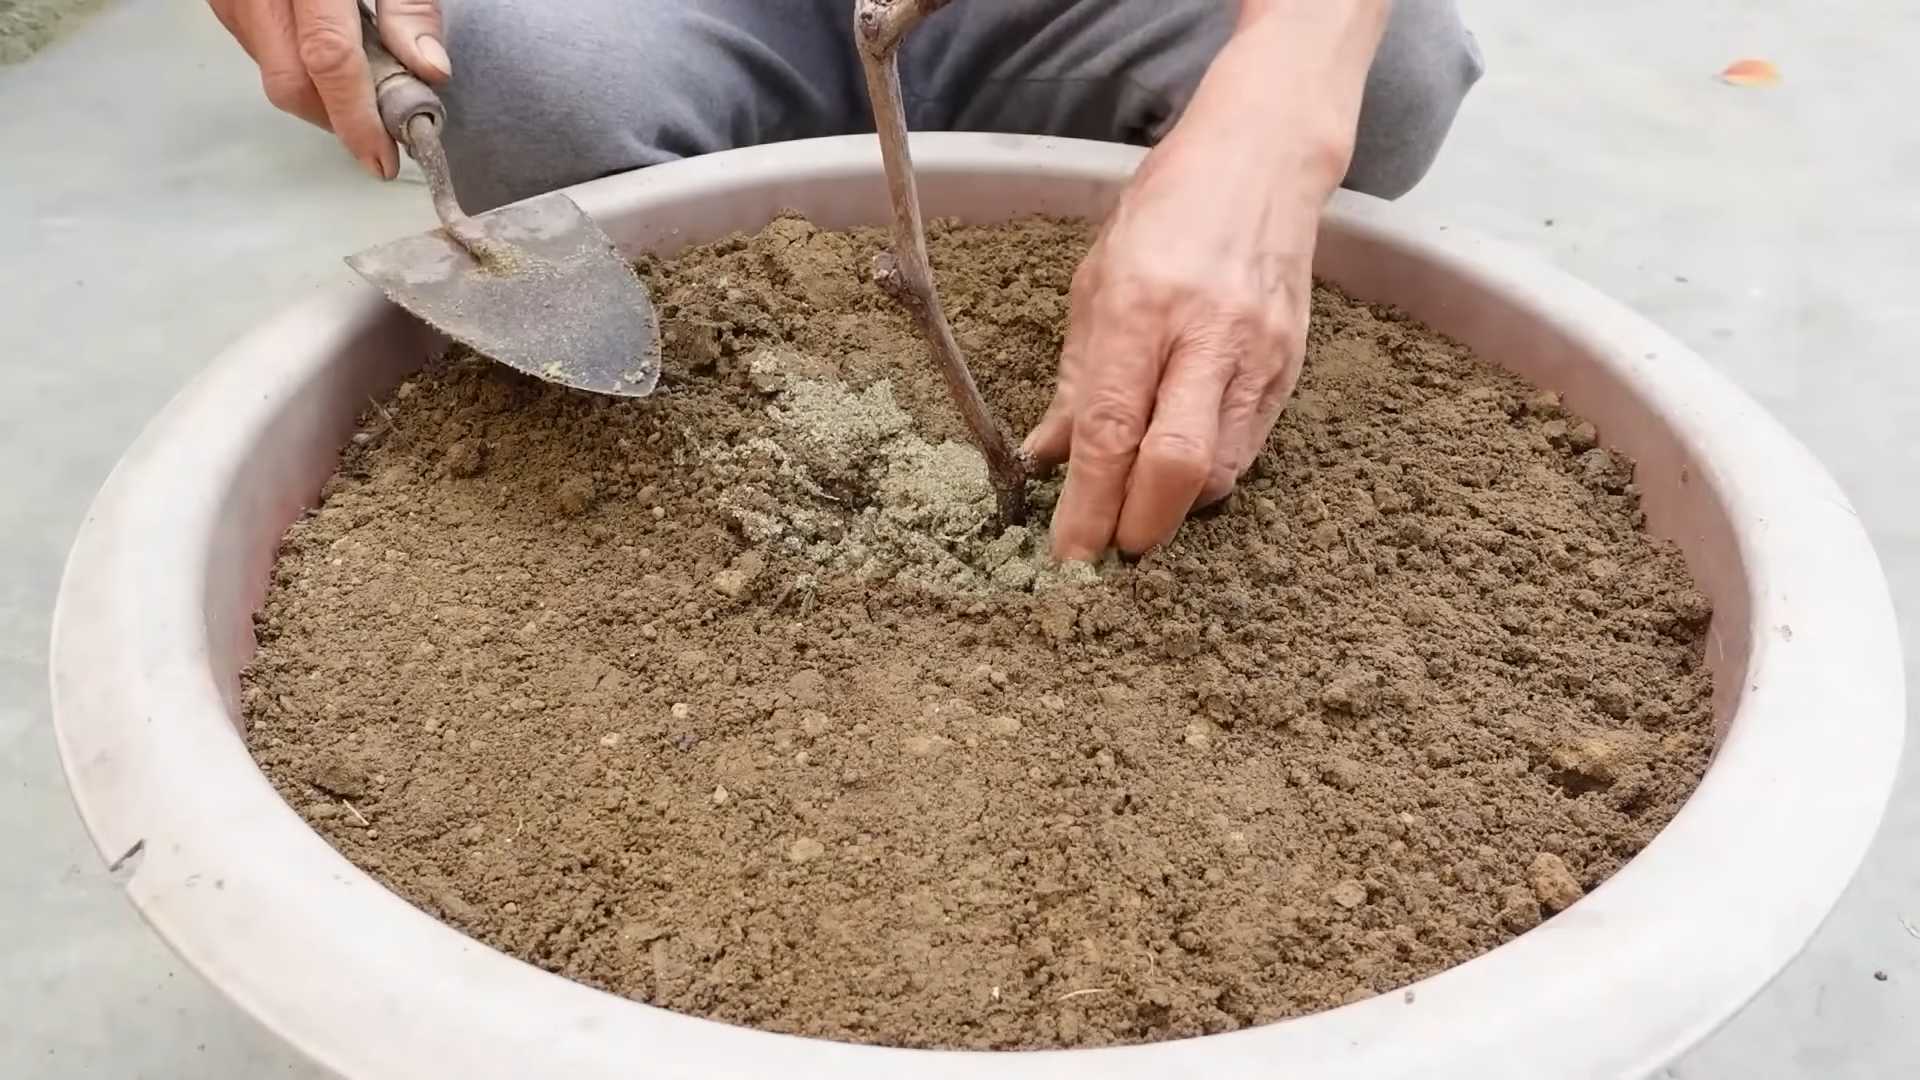
2. Amend the Soil: Mix compost or other organic matter into the soil you removed from the hole. This will improve drainage and provide nutrients for your grape vine.
3. Plant the Grape Vine: Gently remove the grape vine from its container and loosen the roots. Place the grape vine in the hole, making sure the top of the root ball is level with the ground.
4. Backfill the Hole: Fill the hole with the amended soil, gently tamping it down around the roots.
5. Water Thoroughly: Water the grape vine thoroughly after planting. This will help settle the soil and encourage root growth.
6. Mulch: Apply a layer of mulch around the base of the grape vine to help retain moisture and suppress weeds.
Training and Pruning Your Grape Vines
Training and pruning are essential for grape production. It sounds intimidating, but I promise it’s manageable!
Training:
* First Year: Focus on establishing a strong trunk. Choose the strongest shoot and tie it loosely to a stake or the trellis wire. Remove any other shoots that emerge from the base of the plant.
* Second Year: Continue training the main shoot up the trellis wire. Once it reaches the top wire, prune it back to encourage lateral growth.
* Subsequent Years: Train the lateral shoots along the trellis wires to create a balanced and productive vine.
Pruning:
* Dormant Pruning: Prune your grape vines during the dormant season (late winter or early spring) before new growth begins. This is the most important pruning of the year.
* Summer Pruning: You can also do some light pruning during the summer to remove excess foliage and improve air circulation.
Pruning Techniques:
* Cane Pruning: This method involves leaving a few canes (one-year-old shoots) with a certain number of buds each. It’s suitable for many grape varieties.
* Spur Pruning: This method involves leaving short spurs (short sections of canes) with a few buds each. It’s suitable for varieties that produce fruit on spurs.
I highly recommend researching the specific pruning requirements for your grape variety. There are tons of great resources online and at your local nursery.
Ongoing Care
Your grape vines will need ongoing care to thrive.
* Watering: Water regularly, especially during dry periods. Grapes need consistent moisture, but avoid overwatering, which can lead to root rot.
* Fertilizing: Fertilize your grape vines in the spring with a balanced fertilizer. Follow the instructions on the fertilizer bag.
* Pest and Disease Control: Monitor your grape vines for pests and diseases. Common grape pests include Japanese beetles and grape phylloxera. Common grape diseases include powdery mildew and black rot. Treat any problems promptly with appropriate pesticides or fungicides. Organic options are available!
* Weed Control: Keep the area around your grape vines free of weeds. Weeds can compete with your grape vines for water and nutrients.
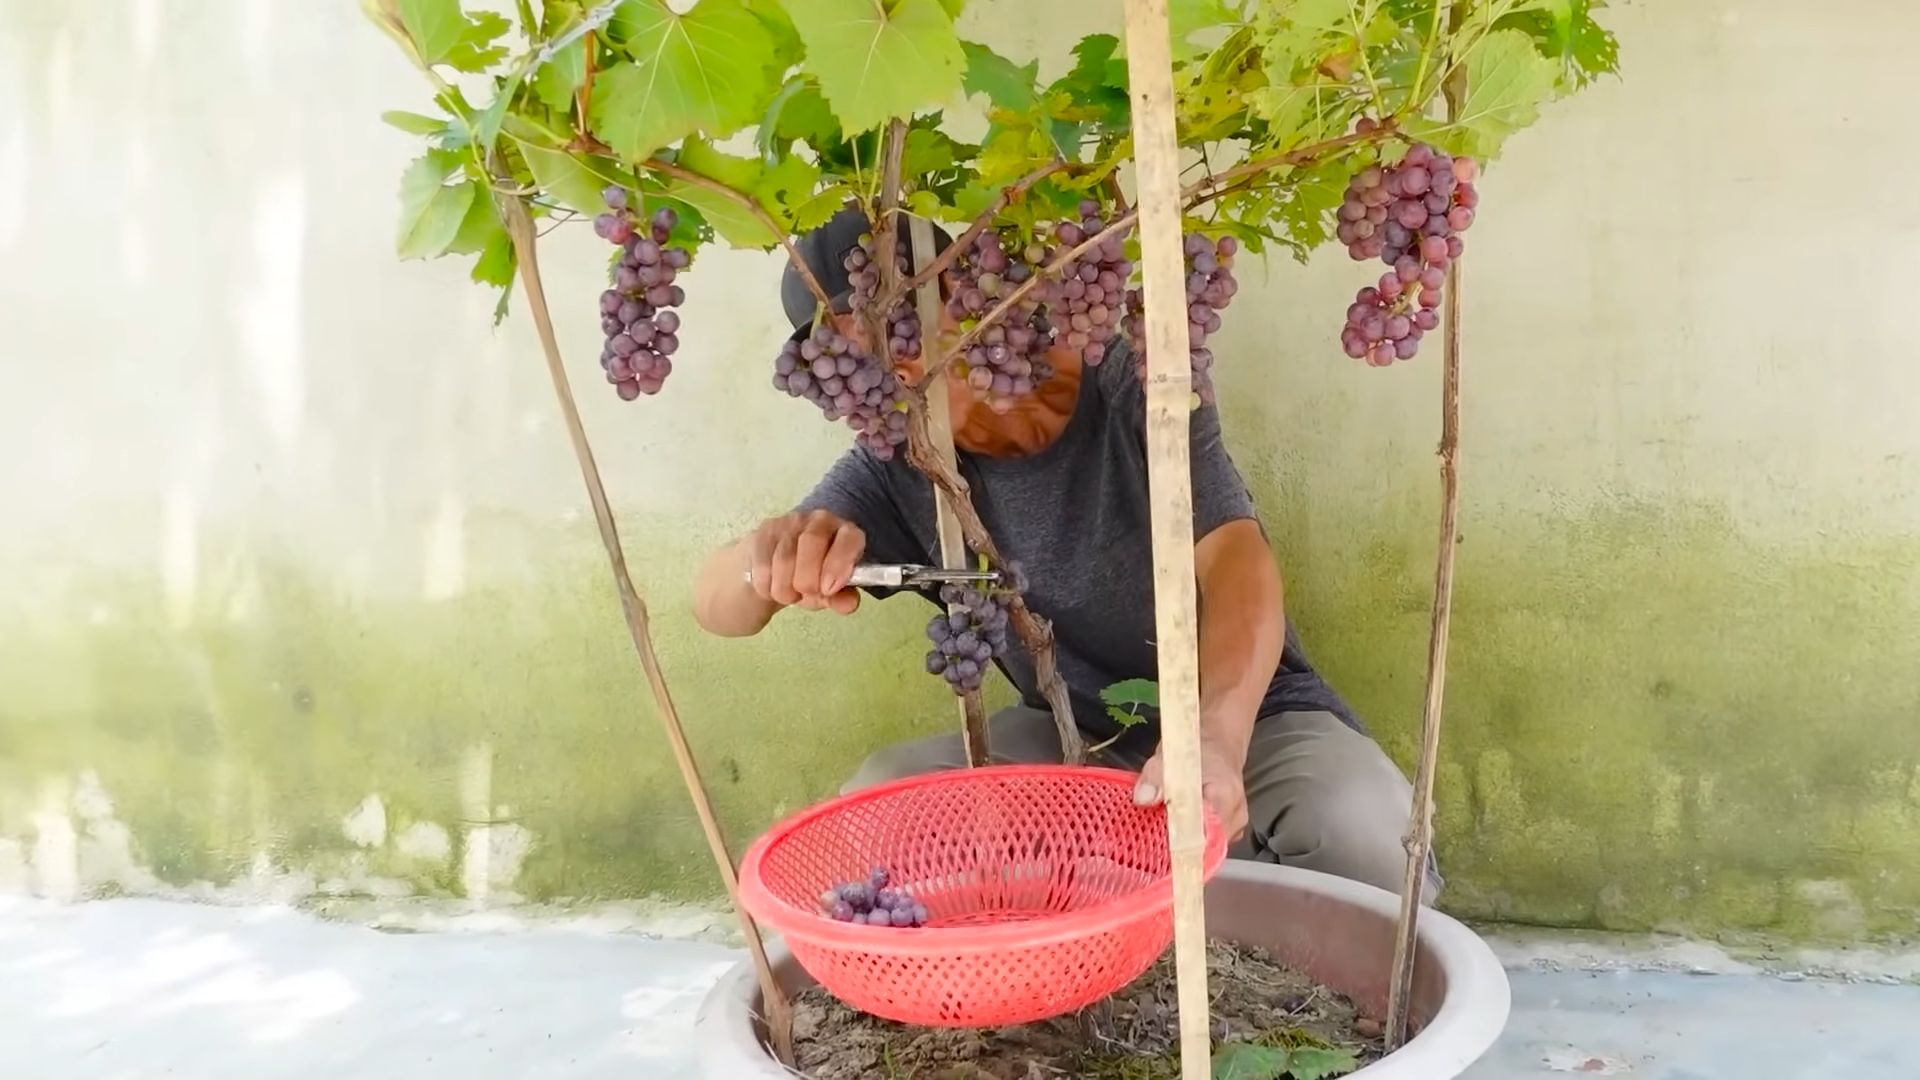
* Harvesting: Harvest your grapes when they are ripe and sweet. The timing of the harvest will depend on the grape variety and the weather conditions. Taste-testing is the best way to determine when your grapes are ready!
Troubleshooting
Even with the best planning
Conclusion
So, there you have it! Building your own DIY grape growing system isn’t just a fun project; it’s a gateway to enjoying the freshest, most flavorful grapes imaginable, right from your own backyard. We’ve walked you through the process, highlighting the simplicity and cost-effectiveness of this method. Forget the expensive store-bought grapes that have traveled miles and lost their peak flavor. With this system, you control everything – from the variety of grape to the amount of sunlight and water they receive.
This DIY approach offers a level of customization that’s simply unmatched. Imagine tailoring the system to perfectly fit your available space, whether it’s a sprawling garden or a compact balcony. Think about the satisfaction of nurturing your vines from tiny shoots to bountiful producers, knowing that you played an integral role in their growth. And, of course, picture yourself harvesting those juicy, sun-ripened grapes, ready to be enjoyed fresh, turned into delicious homemade juice, or even transformed into your own signature wine!
But the benefits extend beyond just the taste and convenience. By building your own grape growing system, you’re also contributing to a more sustainable lifestyle. You’re reducing your reliance on commercially grown produce, minimizing your carbon footprint, and promoting a healthier, more environmentally friendly way of living. Plus, it’s a fantastic educational opportunity for kids (and adults!), teaching them about the wonders of nature and the importance of growing your own food.
Don’t be afraid to experiment! Try different grape varieties to find your favorites. Consider adding companion plants to your system to attract beneficial insects and improve soil health. Explore different trellising methods to maximize space and sunlight exposure. The possibilities are endless!
We encourage you to take the plunge and embark on this rewarding DIY adventure. It’s easier than you might think, and the results are well worth the effort. And once you’ve built your own DIY grape growing system and are enjoying the fruits (literally!) of your labor, we’d love to hear about your experience. Share your photos, tips, and stories with us in the comments below. Let’s create a community of grape-growing enthusiasts and inspire others to embrace the joys of homegrown goodness! We are confident that you will find this DIY grape growing system to be a rewarding and fruitful experience.
Frequently Asked Questions (FAQ)
What are the best grape varieties to grow in a DIY system?
The best grape varieties for your DIY system depend largely on your climate and personal preferences. For cooler climates, consider varieties like ‘Reliance’ (seedless red), ‘Marquette’ (red wine grape), or ‘Edelweiss’ (white grape). In warmer climates, ‘Thompson Seedless’ (green), ‘Flame Seedless’ (red), or ‘Muscadine’ varieties thrive. Research which grapes are best suited for your USDA plant hardiness zone to ensure success. Also, consider what you plan to do with the grapes. Are you looking for table grapes, wine grapes, or grapes for juice and jams? This will help narrow down your choices.
How much space do I need for a DIY grape growing system?
The amount of space required depends on the grape variety and the trellising method you choose. Generally, allow at least 8-10 feet between grapevines in a row and 10-12 feet between rows. However, you can adapt the system to smaller spaces by using vertical trellising or container gardening techniques. For container gardening, choose dwarf or compact grape varieties and use large pots (at least 15-20 gallons). Vertical trellising, such as growing grapes along a fence or wall, can also maximize space in smaller gardens.
How often should I water my grapevines in a DIY system?
Watering frequency depends on the climate, soil type, and age of the vines. Young vines need more frequent watering than established vines. Generally, water deeply once or twice a week during the growing season, especially during dry periods. Avoid overwatering, as this can lead to root rot. Check the soil moisture before watering by sticking your finger a few inches into the soil. If the soil feels dry, it’s time to water. Consider using a drip irrigation system to deliver water directly to the roots, which can conserve water and reduce the risk of fungal diseases.
What kind of soil is best for growing grapes in a DIY system?
Grapes prefer well-drained soil with a slightly acidic to neutral pH (6.0-7.0). Amend heavy clay soils with organic matter, such as compost or well-rotted manure, to improve drainage and aeration. Sandy soils may need amendments to improve water retention. Before planting, conduct a soil test to determine the pH and nutrient levels. Amend the soil as needed based on the test results. Good drainage is crucial to prevent root rot, so ensure the soil doesn’t stay waterlogged after watering or rainfall.
How do I prune my grapevines in a DIY system?
Pruning is essential for maintaining the health and productivity of your grapevines. The best time to prune is during the dormant season (late winter or early spring) before new growth begins. Remove dead, damaged, or diseased wood. Prune to maintain the desired shape and structure of the vine. Different grape varieties and trellising systems require different pruning techniques. Research the specific pruning requirements for your grape variety. A general rule of thumb is to remove about 90% of the previous year’s growth, leaving only a few buds on each spur.
How do I protect my grapes from pests and diseases in a DIY system?
Monitor your grapevines regularly for signs of pests and diseases. Common grape pests include aphids, Japanese beetles, and grape phylloxera. Common diseases include powdery mildew, downy mildew, and black rot. Use organic pest control methods, such as insecticidal soap or neem oil, to control pests. Improve air circulation around the vines by pruning and spacing them properly. Remove any diseased leaves or fruit promptly. Consider using a fungicide if necessary, but choose one that is safe for use on edible crops. Netting can protect your grapes from birds and other animals.
Can I grow grapes in containers in a DIY system?
Yes, you can grow grapes in containers, but you’ll need to choose a dwarf or compact variety and use a large pot (at least 15-20 gallons). Ensure the container has good drainage holes. Use a well-draining potting mix. Water regularly and fertilize as needed. Container-grown grapes may need more frequent watering and fertilization than grapes grown in the ground. Provide support for the vines with a trellis or stake. Overwinter container-grown grapes in a sheltered location if you live in a cold climate.
How long does it take for grapevines to produce fruit in a DIY system?
Grapevines typically take 2-3 years to produce a significant crop of fruit. The first year, focus on establishing the root system and training the vine. You may get a few grapes in the second year, but the yield will be small. By the third year, you should have a more substantial harvest. Proper pruning, fertilization, and pest control will help your grapevines produce fruit sooner. Be patient and consistent with your care, and you’ll be rewarded with delicious homegrown grapes.
What type of fertilizer should I use for my DIY grape growing system?
Use a balanced fertilizer with equal amounts of nitrogen, phosphorus, and potassium (e.g., 10-10-10) in the spring before new growth begins. Avoid over-fertilizing, as this can lead to excessive vegetative growth and reduced fruit production. You can also use organic fertilizers, such as compost or well-rotted manure. Conduct a soil test to determine the nutrient levels and adjust your fertilization accordingly. Grapes also benefit from micronutrients, such as iron and zinc, which can be applied as a foliar spray.
How do I know when my grapes are ripe and ready to harvest from my DIY system?
The best way to determine if your grapes are ripe is to taste them. Ripe grapes will be sweet and juicy with a good balance of acidity. The color of the grapes will also change as they ripen, depending on the variety. The seeds should be brown and easily separated from the pulp. The grapes should also be easily pulled from the vine. Harvest grapes on a dry day to prevent fungal diseases.


Leave a Comment