
DIY Cleaning Essentials: Unlock the Secrets to a Sparkling Home! Are you tired of spending a fortune on cleaning products filled with harsh chemicals? Do you dream of a home that’s not only clean but also safe for your family and the environment? Well, you’re in the right place! I’m about to share some amazing DIY cleaning essential recipes and hacks that will revolutionize your cleaning routine.
For generations, resourceful homemakers have relied on simple, natural ingredients to keep their homes clean and fresh. Think about it – before the age of mass-produced cleaners, vinegar, baking soda, and lemon were the go-to solutions. These time-tested remedies are not only effective but also incredibly affordable and eco-friendly. In many cultures, the act of cleaning is deeply intertwined with rituals of purification and renewal, reflecting a desire to create a healthy and harmonious living space.
In today’s world, where we’re increasingly conscious of the impact of chemicals on our health and the planet, making your own DIY cleaning essentials is more important than ever. Not only will you save money, but you’ll also have complete control over the ingredients you’re using, ensuring a safer and healthier home for yourself and your loved ones. Plus, it’s incredibly satisfying to create something useful and effective with your own two hands! So, let’s dive in and discover the magic of homemade cleaning solutions!
DIY Cleaning Essentials: Natural Solutions for a Sparkling Home
Okay, let’s ditch those harsh chemicals and create some amazing, all-natural cleaning products right in your own kitchen! I’m going to walk you through making a few of my favorite DIY cleaning essentials. These are not only effective but also eco-friendly and budget-friendly. Plus, you’ll know exactly what’s going into them!
All-Purpose Cleaner: Your Go-To for Everything
This all-purpose cleaner is a workhorse. I use it on countertops, sinks, appliances (inside and out!), and even floors. It’s gentle enough for most surfaces but strong enough to cut through grime.
Ingredients You’ll Need:
* 1 cup white vinegar
* 1 cup water
* 10-20 drops of your favorite essential oil (lemon, lavender, tea tree, and eucalyptus are great choices)
* Spray bottle
Step-by-Step Instructions:
1. Combine Vinegar and Water: In your spray bottle, pour in 1 cup of white vinegar and 1 cup of water. The vinegar is a natural disinfectant and deodorizer, while the water dilutes it and makes it safe for most surfaces.
2. Add Essential Oils: Now, add 10-20 drops of your chosen essential oil. Essential oils not only add a pleasant scent but also have their own cleaning properties. Lemon is great for cutting grease, lavender is calming and antibacterial, tea tree is a powerful disinfectant, and eucalyptus is refreshing and antiviral.
3. Shake Well: Secure the spray nozzle and shake the bottle vigorously to combine all the ingredients.
4. Test Before Use: Before spraying on a large surface, test the cleaner in an inconspicuous area to make sure it doesn’t damage the material.
5. Spray and Wipe: Spray the cleaner onto the surface you want to clean and let it sit for a minute or two. Then, wipe it clean with a damp cloth or sponge. For tougher messes, you might need to scrub a little.
Glass Cleaner: Streak-Free Shine Guaranteed
Say goodbye to streaks! This glass cleaner is super simple and works wonders on windows, mirrors, and glass shower doors.
Ingredients You’ll Need:
* 2 cups water
* 1/4 cup white vinegar
* 1/2 teaspoon liquid dish soap (optional, but helps cut through grease)
* Spray bottle
* Microfiber cloth
Step-by-Step Instructions:
1. Combine Ingredients: In your spray bottle, combine 2 cups of water, 1/4 cup of white vinegar, and 1/2 teaspoon of liquid dish soap (if using).
2. Shake Gently: Gently shake the bottle to mix the ingredients. Avoid shaking too vigorously, as this can create excessive bubbles.
3. Spray and Wipe: Spray the cleaner onto the glass surface.
4. Wipe with Microfiber Cloth: Immediately wipe the surface with a clean, dry microfiber cloth. Microfiber cloths are key to achieving a streak-free shine. Avoid using paper towels, as they can leave lint behind.
5. Buff (Optional): For an extra-sparkly finish, buff the glass with a second clean, dry microfiber cloth.
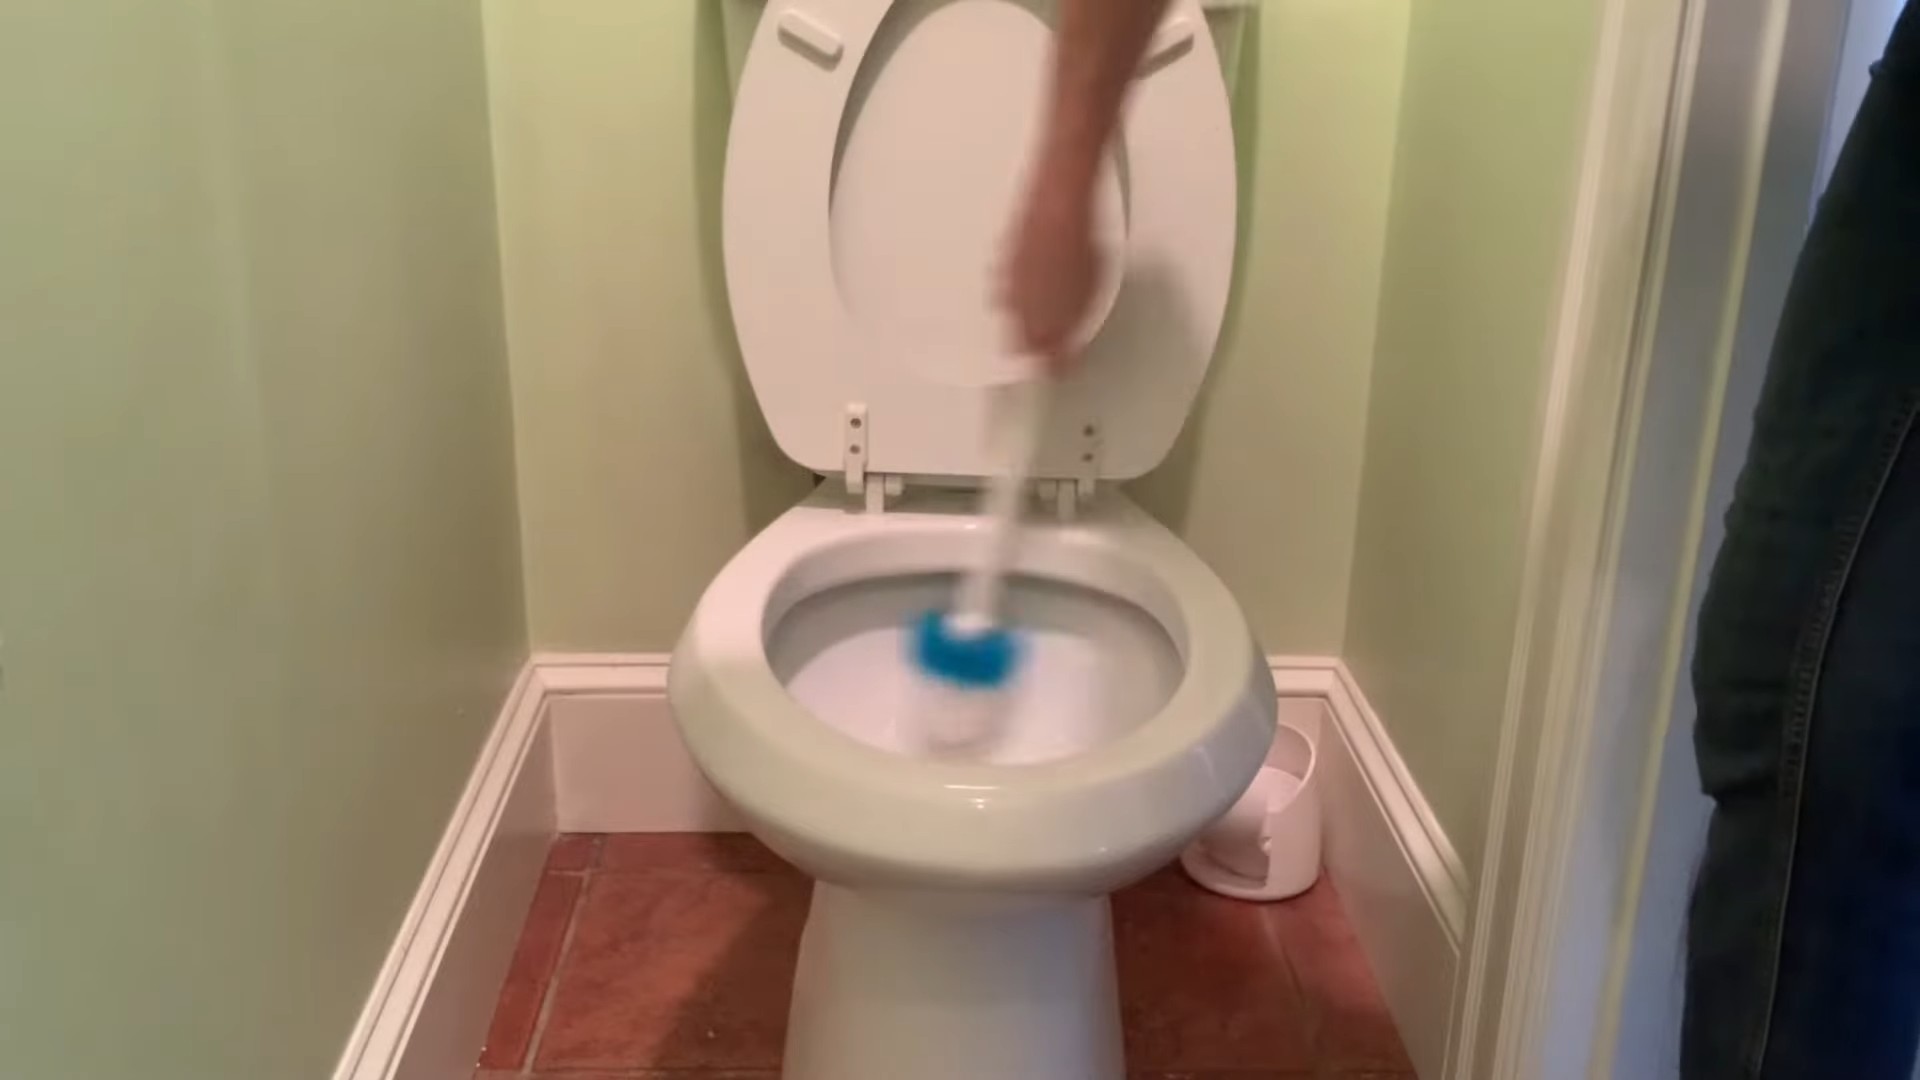
Toilet Bowl Cleaner: Fizzing Freshness
This toilet bowl cleaner uses the power of baking soda and vinegar to create a fizzing action that helps loosen stains and deodorize.
Ingredients You’ll Need:
* 1 cup baking soda
* 1/2 cup white vinegar
* 10-15 drops of tea tree essential oil (optional, for extra disinfecting power)
Step-by-Step Instructions:
1. Sprinkle Baking Soda: Sprinkle 1 cup of baking soda into the toilet bowl, making sure to coat the sides as much as possible.
2. Pour in Vinegar: Pour 1/2 cup of white vinegar over the baking soda. It will start to fizz immediately!
3. Add Essential Oil (Optional): If you’re using tea tree essential oil, add 10-15 drops to the mixture.
4. Let it Fizz: Let the mixture fizz for at least 15-20 minutes. This allows the baking soda and vinegar to work their magic, loosening stains and killing bacteria.
5. Scrub and Flush: After the fizzing has subsided, scrub the toilet bowl with a toilet brush. Pay attention to any stubborn stains.
6. Flush: Flush the toilet to rinse away the cleaner and any loosened debris.
Furniture Polish: Revive and Protect Your Wood
This furniture polish is perfect for bringing back the shine to your wood furniture and protecting it from dust and scratches.
Ingredients You’ll Need:
* 1/4 cup olive oil
* 1/4 cup white vinegar or lemon juice
* Soft cloth
Step-by-Step Instructions:
1. Combine Ingredients: In a small bowl, combine 1/4 cup of olive oil and 1/4 cup of white vinegar or lemon juice. The olive oil moisturizes the wood, while the vinegar or lemon juice helps to remove dirt and grime.
2. Apply to Cloth: Dip a soft cloth into the mixture. Make sure the cloth is damp, not soaking wet.
3. Wipe Furniture: Wipe the furniture in the direction of the wood grain.
4. Buff: Use a clean, dry soft cloth to buff the furniture until it shines. This will remove any excess oil and leave a beautiful finish.
5. Test First: As with any cleaning product, test the polish in an inconspicuous area first to make sure it doesn’t damage the finish.
Drain Cleaner: Unclogging Power Without the Chemicals
Forget those harsh chemical drain cleaners! This DIY solution uses the power of baking soda and vinegar to unclog drains naturally.
Ingredients You’ll Need:
* 1 cup baking soda
* 2 cups boiling water
* 1 cup white vinegar
Step-by-Step Instructions:
1. Pour Baking Soda: Pour 1 cup of baking soda down the drain.
2. Pour Boiling Water: Immediately follow with 2 cups of boiling water. Let this sit for a few minutes to help loosen any debris.
3. Pour Vinegar: Next, pour 1 cup of white vinegar down the drain. It will start to fizz with the baking soda.
4. Cover the Drain: Cover the drain with a plug or cloth to contain the fizzing action.
5. Let it Sit: Let the mixture sit for at least 30 minutes, or even overnight for stubborn clogs.
6. Flush with Hot Water: After the waiting period, flush the drain with hot water for several minutes to clear any remaining debris.
7. Repeat if Necessary: If the drain is still clogged, repeat the process.
Oven Cleaner: Baked-On Grime Be Gone!
Cleaning the oven is never fun, but this DIY oven cleaner makes it a little less dreadful. It’s effective and doesn’t have that awful chemical smell.
Ingredients You’ll Need:
* 1/2 cup baking soda
* Water
* Spray bottle
* Spatula or scraper
* Gloves
Step-by-Step Instructions:
1. Remove Oven Racks: Remove the oven racks and set them aside to soak in hot, soapy water.
2. Make a Baking Soda Paste: In a bowl, mix 1/2 cup of baking soda with enough water to form a thick paste.
3. Coat the Oven: Using your hands (with gloves on!), spread the baking soda paste all over the inside of the oven, avoiding the heating elements. Be generous with the paste, especially on areas with baked-on grime.
4. Let it Sit: Let the paste sit for at least 12 hours, or even overnight. This allows the baking soda to loosen the grime.
5. Spray with Vinegar: After the waiting period, spray the inside of the oven with white vinegar. The vinegar will react with the baking soda, creating a fizzing action.
6. Scrub and Scrape: Use a spatula or scraper to remove the loosened grime. You may need to scrub a bit to remove stubborn spots.
7. Wipe Clean: Wipe the inside of the oven clean with a damp cloth. Rinse the cloth frequently.
8. Replace Racks: Once the oven is clean, replace the racks.
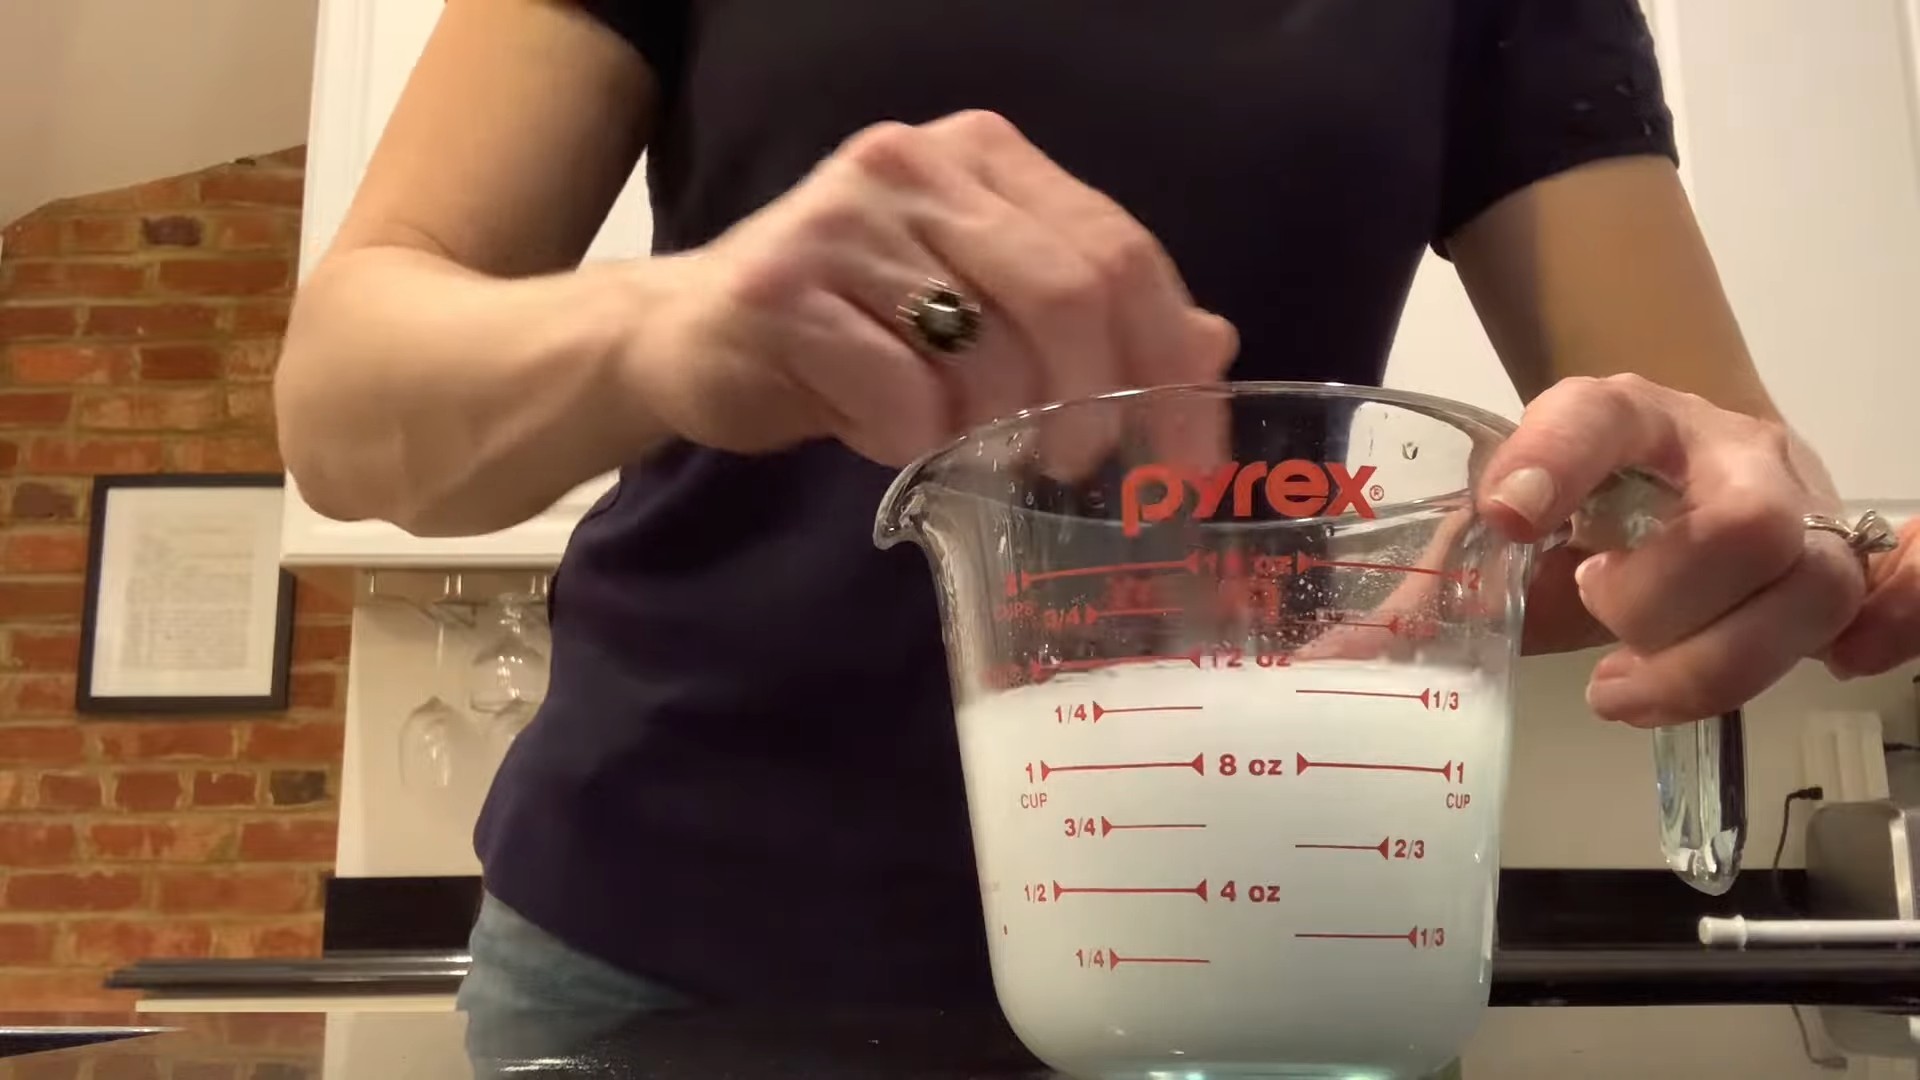
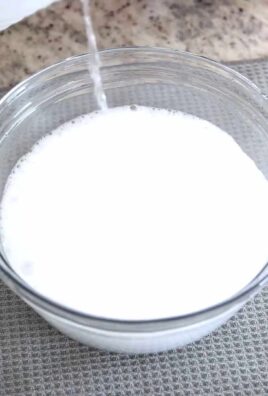
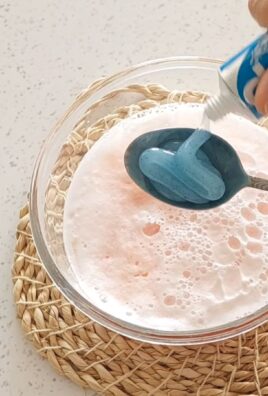
Dish Soap: Gentle and Effective
Making your own dish soap is surprisingly easy, and you can customize the scent with your favorite essential oils.
Ingredients You’ll Need:
* 1 cup grated castile soap (like Dr. Bronner’s)
* 4 cups hot distilled water
* 1 tablespoon washing soda (sodium carbonate)
* 10-20 drops essential oil (lemon, grapefruit,
Conclusion
So, there you have it! Ditching the expensive, chemical-laden cleaners and embracing these DIY cleaning essentials is not just a trend; it’s a smart, sustainable, and surprisingly effective way to keep your home sparkling. We’ve walked you through creating powerful solutions using ingredients you likely already have in your pantry. From tackling stubborn grime to freshening up your fabrics, these homemade alternatives offer a level of control and customization that store-bought products simply can’t match.
Why is this a must-try? Because it’s about more than just saving money (although that’s a definite perk!). It’s about knowing exactly what you’re bringing into your home and reducing your exposure to harsh chemicals that can impact your health and the environment. It’s about creating a cleaning routine that aligns with your values and empowers you to take charge of your living space.
But don’t just take our word for it. The beauty of these DIY cleaning essentials lies in their adaptability. Feel free to experiment with different essential oil combinations to create signature scents that uplift your mood while you clean. For example, try adding tea tree oil to your all-purpose cleaner for its antibacterial properties, or lavender for a calming aroma. If you have particularly hard water, you might need to increase the amount of vinegar in your cleaning solutions. And for those extra-tough stains, consider making a paste of baking soda and water – it’s a natural abrasive that works wonders.
Consider these variations to personalize your cleaning experience:
* **Citrus Power:** Infuse your vinegar with citrus peels (lemon, orange, grapefruit) for a brighter, more refreshing scent and added cleaning power. Simply place the peels in a jar, cover with vinegar, and let it steep for a few weeks before straining and using.
* **Herbal Infusion:** Add fresh herbs like rosemary, thyme, or mint to your vinegar for a unique and aromatic cleaning solution.
* **Essential Oil Blends:** Create custom essential oil blends to target specific needs. For example, a blend of eucalyptus, peppermint, and tea tree oil can be invigorating and helpful for respiratory issues.
We truly believe that once you experience the satisfaction of creating your own effective and eco-friendly cleaning products, you’ll never go back to the store-bought stuff. It’s a small change that can make a big difference, not only for your home but also for your well-being and the planet.
So, what are you waiting for? Gather your ingredients, roll up your sleeves, and get ready to transform your cleaning routine. We’re confident that you’ll be amazed by the results. And most importantly, we want to hear about your experience! Share your favorite DIY cleaning essential recipes, tips, and tricks in the comments below. Let’s build a community of conscious cleaners who are passionate about creating healthy and happy homes. Let us know what worked for you, what variations you tried, and any challenges you encountered. Your feedback will help others on their journey to a cleaner, greener lifestyle.
FAQ
What are the basic DIY cleaning essentials I should start with?
The most fundamental DIY cleaning essentials include white vinegar, baking soda, lemon juice, castile soap, and essential oils. These ingredients are versatile, effective, and readily available. You can use them to create all-purpose cleaners, bathroom scrubs, laundry detergents, and more. Start with a simple all-purpose cleaner (vinegar and water) and a baking soda paste for scrubbing, and then gradually expand your repertoire.
Are DIY cleaning solutions as effective as store-bought cleaners?
In many cases, yes! DIY cleaning solutions can be just as effective, and sometimes even more so, than store-bought cleaners. The key is to use the right ingredients for the specific task. For example, vinegar is excellent for cutting through grease and grime, while baking soda is a great natural abrasive. Essential oils can add antibacterial and antifungal properties. Plus, you have complete control over the ingredients, so you can tailor your solutions to your specific needs and preferences. However, it’s important to note that some store-bought cleaners contain strong disinfectants that may be necessary for certain situations, such as cleaning up after illness.
How do I store my DIY cleaning solutions?
Store your DIY cleaning solutions in clean, airtight containers. Glass spray bottles are ideal for all-purpose cleaners, while plastic containers can be used for scrubs and powders. Be sure to label each container clearly with the name of the solution and the date it was made. Store your solutions in a cool, dark place away from direct sunlight and heat. Most DIY cleaning solutions will last for several months, but it’s always a good idea to check for any signs of spoilage before using them.
Are there any surfaces I should avoid using DIY cleaning solutions on?
While DIY cleaning solutions are generally safe for most surfaces, there are a few exceptions. Avoid using vinegar on natural stone surfaces like marble and granite, as it can etch and damage them. Also, be cautious when using baking soda on delicate surfaces, as it can be abrasive. Always test your DIY cleaning solutions on a small, inconspicuous area first to ensure they don’t cause any damage.
Can I use essential oils in all of my DIY cleaning solutions?
Essential oils can add a pleasant scent and antibacterial properties to your DIY cleaning solutions, but it’s important to use them safely and responsibly. Always dilute essential oils properly before using them, and avoid using them on surfaces that may come into contact with food. Some essential oils are also not safe for use around pets or pregnant women, so do your research before adding them to your cleaning solutions.
What essential oils are best for cleaning?
Several essential oils are known for their cleaning properties. Some popular choices include:
* **Tea tree oil:** Antibacterial, antifungal, and antiviral.
* **Lemon oil:** Degreasing, disinfecting, and uplifting scent.
* **Lavender oil:** Antibacterial, calming, and relaxing scent.
* **Eucalyptus oil:** Antibacterial, antiviral, and decongestant.
* **Peppermint oil:** Antibacterial, invigorating, and refreshing scent.
Experiment with different essential oil blends to find your favorite combinations.
How can I make my DIY cleaning solutions smell better?
If you find the scent of vinegar or other ingredients in your DIY cleaning solutions to be unpleasant, there are several ways to improve the smell. You can add essential oils, infuse vinegar with citrus peels or herbs, or use scented castile soap. You can also try adding a few drops of your favorite fragrance oil to your cleaning solutions.
Are DIY cleaning solutions safe for my pets and children?
DIY cleaning solutions are generally safer for pets and children than store-bought cleaners, as they don’t contain harsh chemicals. However, it’s still important to take precautions. Keep your DIY cleaning solutions out of reach of children and pets, and avoid using essential oils that are known to be toxic to animals. Always supervise children when they are helping with cleaning, and teach them about the importance of using cleaning products safely.
What do I do if a DIY cleaning solution doesn’t work as expected?
If a DIY cleaning solution doesn’t work as expected, don’t give up! Try adjusting the recipe by adding more of the active ingredient (e.g., vinegar, baking soda). You can also try using a different cleaning method, such as scrubbing harder or letting the solution sit for longer before wiping it away. If all else fails, you may need to try a different DIY cleaning solution or resort to a store-bought cleaner.
How can I make my cleaning routine more sustainable?
In addition to using DIY cleaning solutions, there are several other ways to make your cleaning routine more sustainable. Use reusable cleaning cloths and sponges instead of paper towels. Invest in a good quality mop and bucket that will last for years. Dispose of your cleaning waste responsibly, and recycle any empty containers. By making small changes to your cleaning habits, you can significantly reduce your environmental impact.

Leave a Comment