
Clean Your Sink Routine: Let’s face it, your kitchen sink is a battlefield. Food scraps, greasy pans, and mysterious stains wage war daily, leaving your sink looking less than sparkling. But fear not, fellow home warriors! I’m here to arm you with simple, effective DIY tricks to conquer the grime and reclaim your sink’s shine. This isn’t just about aesthetics; a clean sink is a healthier sink, preventing the buildup of bacteria and unpleasant odors.
Throughout history, maintaining cleanliness has been a cornerstone of healthy living. While our ancestors may not have had stainless steel sinks, they understood the importance of keeping food preparation areas sanitary. From using natural abrasives like sand to harnessing the power of vinegar, the quest for a spotless sink is a timeless pursuit.
Why do you need these DIY hacks? Because store-bought cleaners can be harsh on your sink’s finish and often contain chemicals we’d rather avoid. Plus, who doesn’t love saving a few bucks and feeling empowered by creating their own effective cleaning solutions? I’m going to show you how to establish a clean your sink routine that’s quick, easy, and uses ingredients you probably already have in your pantry. Get ready to transform your sink from a grimy mess to a gleaming centerpiece of your kitchen!

DIY Deep Clean Your Sink: A Sparkling Sanctuary Awaits!
Okay, let’s be honest, our sinks take a beating. From food scraps to toothpaste splatters, they’re constantly bombarded with grime. But fear not! I’m going to walk you through a super effective DIY deep clean that will leave your sink sparkling and smelling fresh. Get ready to say goodbye to stubborn stains and hello to a gleaming basin!
What You’ll Need: Your Arsenal of Cleaning Goodness
Before we dive in, let’s gather our supplies. This is like prepping for a battle against dirt, and we want to be well-equipped!
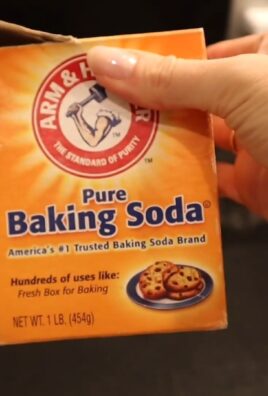
* Baking Soda: Our gentle abrasive and odor absorber.
* White Vinegar: The acid that cuts through grease and grime.
* Dish Soap: For general cleaning and degreasing.
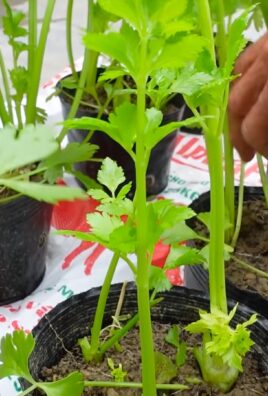
* Lemon (Optional): Adds a fresh scent and extra cleaning power.
* Salt (Optional): Another gentle abrasive, great for stubborn stains.
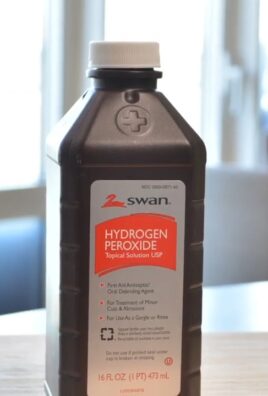
* Hydrogen Peroxide (Optional): For disinfecting and whitening.
* Old Toothbrush: Perfect for scrubbing those hard-to-reach areas.
* Microfiber Cloths: For wiping and polishing.
* Spray Bottle: For easy application of cleaning solutions.
* Rubber Gloves: To protect your hands, especially if you have sensitive skin.
* Plunger (Just in case!): Always good to have on hand for potential clogs.
* Boiling Water: Helps to flush out drains and dissolve grease.
Phase 1: The Initial Scrub Down
This is where we tackle the surface grime and get a good base clean.
1. Rinse the Sink: Start by giving your sink a good rinse with warm water to remove any loose debris.
2. Apply Baking Soda: Generously sprinkle baking soda all over the sink, including the basin, faucet, and any surrounding surfaces. Don’t be shy!
3. Scrub with Dish Soap: Squirt a bit of dish soap onto a damp sponge or microfiber cloth and scrub the baking soda into a paste. Focus on areas with visible stains or grime.
4. Toothbrush Time: Use your old toothbrush to scrub around the drain, faucet base, and any other tight spots where dirt tends to accumulate.
5. Rinse Thoroughly: Rinse the sink completely with warm water, making sure to remove all traces of baking soda and dish soap.
Phase 2: Vinegar Power – Dissolving Stubborn Stains and Grime
Now, let’s unleash the power of vinegar! This is where things get a little fizzy and a lot cleaner.
1. Spray with Vinegar: Fill your spray bottle with white vinegar and generously spray the entire sink, including the faucet and drain area.
2. Let it Fizz: Let the vinegar sit for about 5-10 minutes. You’ll notice it starts to fizz as it reacts with any remaining baking soda. This fizzing action helps to loosen stubborn stains and grime.
3. Scrub Again: After the vinegar has had a chance to work its magic, scrub the sink again with your sponge or microfiber cloth. Pay extra attention to any areas that still have visible stains.
4. Rinse Again: Rinse the sink thoroughly with warm water. The vinegar smell will dissipate quickly.
Phase 3: Lemon Freshness (Optional, but Highly Recommended!)
If you want to add a touch of freshness and extra cleaning power, grab a lemon!
1. Cut the Lemon: Cut a lemon in half.
2. Rub and Squeeze: Rub the cut side of the lemon all over the sink, squeezing gently to release the juice. Focus on areas that need extra attention.
3. Let it Sit: Let the lemon juice sit for about 5-10 minutes. The citric acid in the lemon will help to brighten the sink and remove any lingering odors.
4. Rinse and Dry: Rinse the sink thoroughly with warm water and dry it with a clean microfiber cloth.
Phase 4: Drain Cleaning – Banishing Clogs and Odors
A clean sink isn’t complete without a clean drain! Let’s tackle any potential clogs and get rid of those unpleasant smells.
1. Boiling Water Flush: Carefully pour a kettle of boiling water down the drain. This will help to dissolve any grease or buildup that’s causing a clog or odor.
2. Baking Soda and Vinegar Volcano: Pour about 1/2 cup of baking soda down the drain, followed by 1 cup of white vinegar.
3. Let it Fizz (Again!): Let the mixture fizz for about 30 minutes. Cover the drain with a plug or cloth to contain the fizzing action.
4. Hot Water Flush (Again!): After 30 minutes, flush the drain with hot water for several minutes to clear out any remaining debris.
5. Plunger Power (If Needed): If the drain is still clogged, use a plunger to try to dislodge the blockage. Make sure there’s enough water in the sink to cover the cup of the plunger.
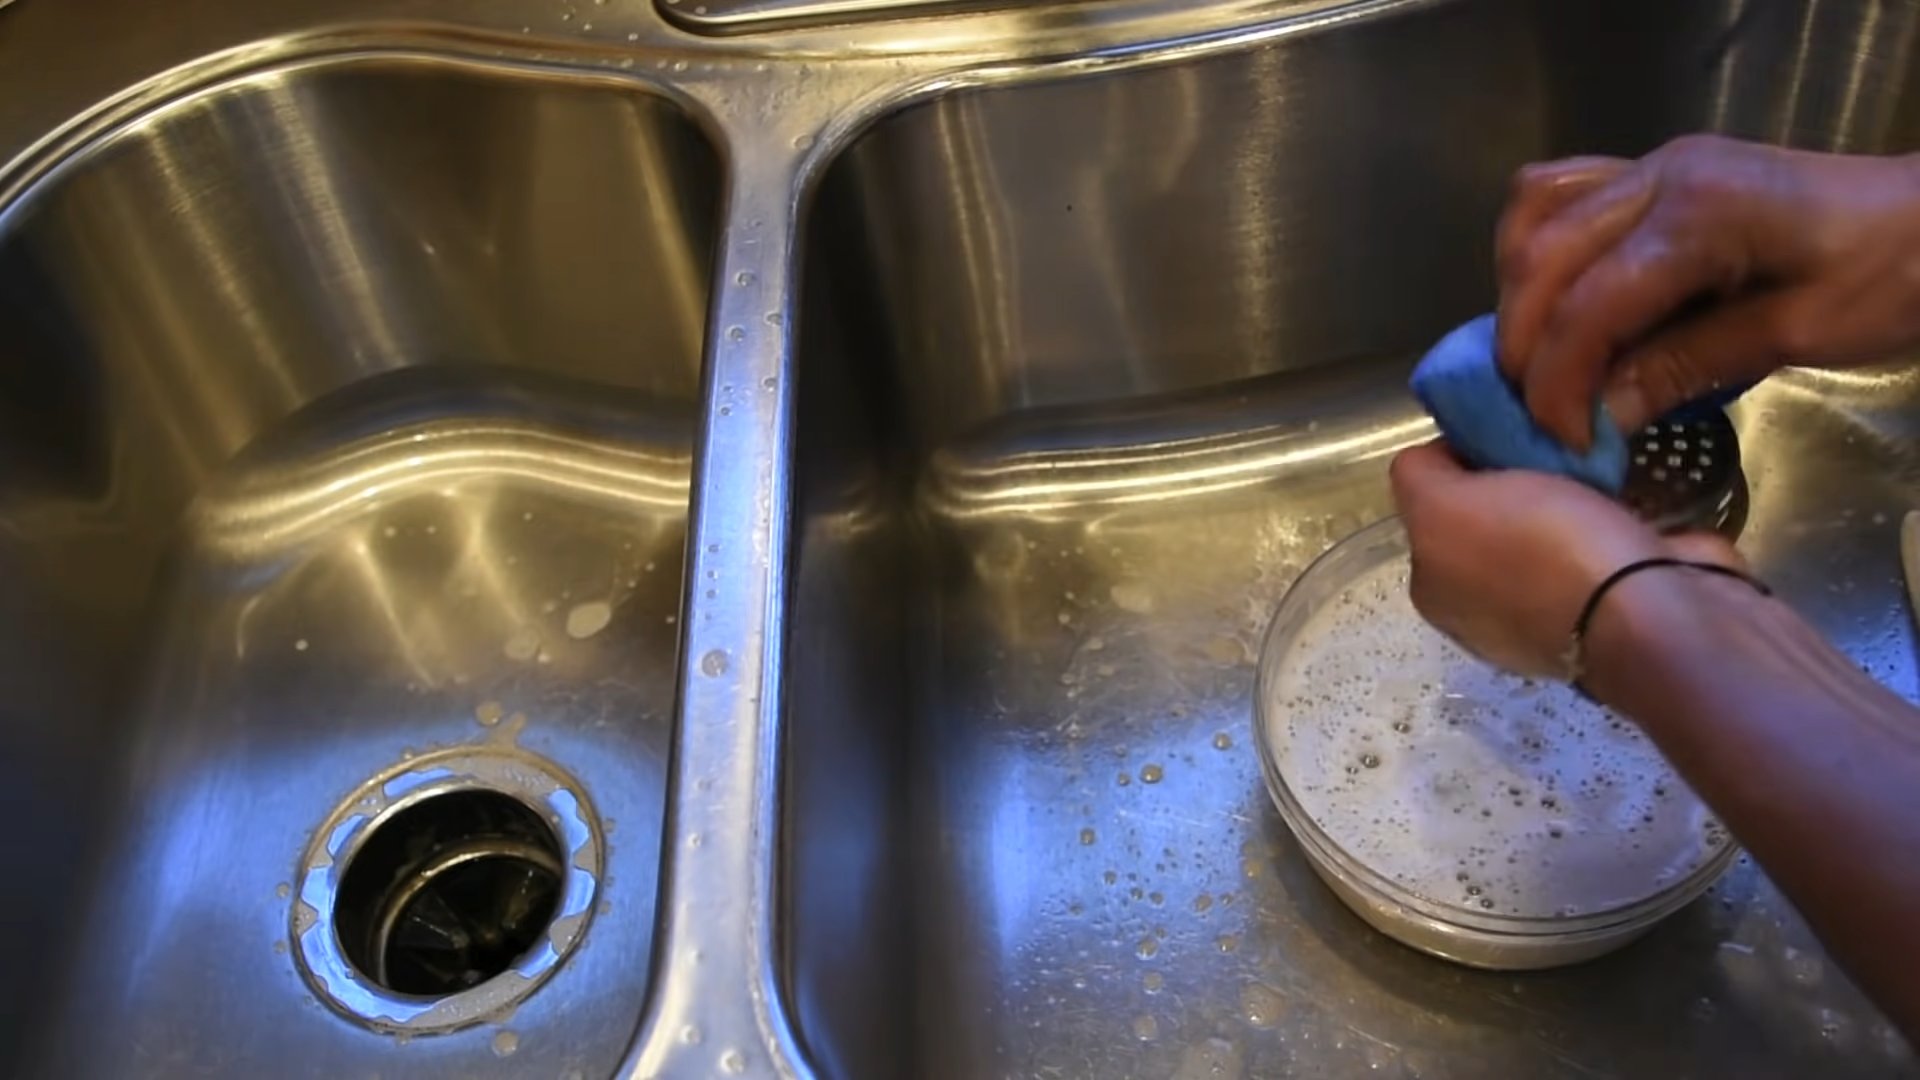
Phase 5: Faucet and Fixture Gleam – Polishing to Perfection
Don’t forget about the faucet and other fixtures! These can easily get water spots and fingerprints.
1. Vinegar Wipe Down: Spray a microfiber cloth with white vinegar and wipe down the faucet, handles, and any other fixtures.
2. Polish with a Dry Cloth: Use a clean, dry microfiber cloth to polish the fixtures until they shine.
3. Hydrogen Peroxide for Stubborn Spots (Optional): For stubborn water spots or stains, try dabbing a bit of hydrogen peroxide onto a cloth and gently wiping the affected area. Rinse thoroughly with water.
Extra Tips and Tricks for a Sparkling Sink:
* Regular Cleaning is Key: The best way to keep your sink clean is to clean it regularly. A quick wipe down with dish soap and water after each use can prevent buildup and make deep cleaning less frequent.
* Avoid Harsh Chemicals: Harsh chemicals can damage your sink’s finish. Stick to natural cleaning solutions like baking soda, vinegar, and lemon juice.
* Dry After Each Use: Drying your sink after each use can prevent water spots and mineral buildup.
* Protect Your Sink: Use a sink protector or grid to prevent scratches and dents from pots and pans.
* Clean Your Garbage Disposal Regularly: If you have a garbage disposal, clean it regularly to prevent odors and clogs. You can do this by grinding ice cubes and lemon peels.
* Don’t Pour Grease Down the Drain: Grease can solidify in your pipes and cause clogs. Always dispose of grease properly in the trash.
* Salt Power: For tough stains, make a paste of salt and water and apply it to the stain. Let it sit for a few minutes, then scrub gently.
* Essential Oils: Add a few drops of your favorite essential oil to your cleaning solution for a pleasant scent. Lemon, tea tree, and lavender are all great options.
* Test in an Inconspicuous Area: Before using any cleaning solution on your entire sink, test it in an inconspicuous area to make sure it doesn’t damage the finish.
* Be Patient: Deep cleaning your sink may take some time and effort, but the results are worth it!
Maintaining Your Sparkling Sink: A Few Simple Habits
Now that you’ve put in the effort to deep clean your sink, let’s talk about maintaining that sparkle! It’s all about incorporating a few simple habits into your daily routine.
* Daily Wipe Down: After each use, give your sink a quick wipe down with a damp cloth or sponge. This will remove any food particles, toothpaste splatters, or other debris before they have a chance to dry and harden.
* Rinse Thoroughly: Make sure to rinse your sink thoroughly after washing dishes or using cleaning products. This will prevent soap scum and mineral buildup.
* Dry the Sink: After rinsing, dry your sink with a clean microfiber cloth. This will prevent water spots and keep your sink looking its best.
* Weekly Baking Soda Sprinkle: Once a week, sprinkle baking soda in your sink and let it sit for a few minutes before rinsing. This will help to absorb odors and keep your sink smelling fresh.
* Monthly Deep Clean: Schedule a monthly deep clean to tackle any stubborn stains or buildup. This will help to keep your sink looking its best and prevent the need for more frequent deep cleans.
By following these simple tips and tricks, you can keep your sink sparkling and fresh for years to come! Happy cleaning!
Conclusion
So, there you have it! This simple yet incredibly effective DIY trick for a sparkling clean sink is a game-changer. We’ve walked you through the steps, highlighting just how easy it is to achieve a professional-level clean without harsh chemicals or expensive products. The beauty of this method lies in its simplicity and accessibility – you likely already have everything you need in your pantry!
Why is this a must-try? Because a clean sink isn’t just about aesthetics; it’s about hygiene. Your sink is a breeding ground for bacteria, and regular cleaning is crucial for maintaining a healthy home. This DIY approach tackles grime, eliminates odors, and leaves your sink gleaming, all while being gentle on the environment and your wallet.
But the best part? You can customize this cleaning routine to suit your specific needs and preferences. For instance, if you’re dealing with stubborn hard water stains, consider adding a splash of white vinegar to your baking soda paste. The acidity of the vinegar will help dissolve the mineral deposits, leaving your sink looking brand new. Alternatively, if you prefer a more fragrant clean, add a few drops of your favorite essential oil, like lemon or tea tree, to the baking soda mixture. Not only will it boost the cleaning power (tea tree is a natural antiseptic!), but it will also leave your kitchen smelling fresh and inviting.
Another variation to consider is the type of abrasive you use. While baking soda is generally gentle, you can opt for a slightly more abrasive cleaner like Bar Keepers Friend for stainless steel sinks that need extra scrubbing. Just be sure to test it in an inconspicuous area first to ensure it doesn’t scratch the surface. For porcelain sinks, stick with baking soda or a gentle cream cleanser to avoid damaging the finish.
Remember, consistency is key. Incorporating this simple clean your sink routine into your weekly cleaning schedule will prevent buildup and keep your sink looking its best. It only takes a few minutes, and the results are well worth the effort.
We’re confident that once you try this DIY trick, you’ll be amazed at how easy it is to maintain a sparkling clean sink. So, ditch the harsh chemicals and embrace this natural, effective, and affordable solution.
Now, we want to hear from you! Give this DIY trick a try and share your experience in the comments below. Did you find it helpful? Did you try any variations? We’re eager to learn from your experiences and build a community of clean sink enthusiasts! Let us know what works best for you and any tips you might have to share. Happy cleaning!
Frequently Asked Questions (FAQ)
1. How often should I clean my sink using this DIY method?
The frequency depends on how often you use your sink. However, a good rule of thumb is to clean it at least once a week. If you cook frequently or notice buildup more often, you might want to clean it two or three times a week. Regular cleaning prevents grime and stains from becoming too difficult to remove. A quick daily rinse and wipe-down can also help maintain cleanliness between deeper cleans.
2. Can I use this method on all types of sinks?
This DIY cleaning method is generally safe for most types of sinks, including stainless steel, porcelain, and composite sinks. However, it’s always a good idea to test a small, inconspicuous area first, especially if you have a delicate or antique sink. Avoid using abrasive cleaners or scrub brushes on porcelain sinks, as they can scratch the surface. For natural stone sinks, such as granite or marble, consult the manufacturer’s recommendations for cleaning, as some ingredients like vinegar can damage the stone.
3. What if I don’t have baking soda? Can I use something else?
While baking soda is the star ingredient in this DIY cleaning method, you can substitute it with other mild abrasives like cream of tartar or even a paste made from finely ground salt. However, baking soda is preferred because it’s gentle, effective, and readily available. If you’re dealing with tough stains, you can also try using a commercial cleaner specifically designed for your sink material, but always follow the manufacturer’s instructions.
4. How do I get rid of stubborn stains or hard water deposits?
For stubborn stains or hard water deposits, try making a paste of baking soda and white vinegar. Apply the paste to the affected area and let it sit for 15-20 minutes before scrubbing gently with a non-abrasive sponge or cloth. The acidity of the vinegar will help dissolve the mineral deposits. You can also try using a commercial hard water stain remover, but be sure to choose one that is safe for your sink material. For particularly tough stains, you may need to repeat the process several times.
5. My sink smells bad even after cleaning. What could be the problem?
If your sink smells bad even after cleaning, the problem might be in the drain. Food particles and other debris can accumulate in the drainpipe, causing unpleasant odors. To address this, try pouring a cup of baking soda down the drain, followed by a cup of white vinegar. Let it fizz for 30 minutes, then flush with hot water. This can help break down and dislodge any buildup in the drain. You can also try using a drain cleaner specifically designed to eliminate odors. If the problem persists, you may need to call a plumber to inspect the drainpipe for blockages or other issues.
6. Can I use this method to clean my garbage disposal?
Yes, this DIY method can also be used to clean your garbage disposal. Simply pour the baking soda and vinegar mixture down the disposal, let it fizz, and then flush with hot water. You can also add a few lemon or orange peels to the disposal and run it with cold water to freshen the scent. Avoid putting grease, bones, or other large food particles down the disposal, as they can cause clogs and odors.
7. Is this DIY cleaning method safe for septic systems?
Yes, this DIY cleaning method is generally safe for septic systems. Baking soda and vinegar are natural ingredients that won’t harm the beneficial bacteria in your septic tank. However, avoid using harsh chemicals or excessive amounts of water when cleaning your sink, as they can disrupt the balance of your septic system. If you have any concerns, consult with a septic system professional.
8. What are some other ways to keep my sink clean and prevent buildup?
In addition to regular cleaning, there are several other things you can do to keep your sink clean and prevent buildup. Rinse your sink after each use to remove food particles and other debris. Avoid pouring grease down the drain, as it can solidify and cause clogs. Use a sink strainer to catch food scraps and prevent them from entering the drainpipe. Wipe down your sink regularly with a damp cloth to remove water spots and prevent mineral buildup. By following these simple tips, you can keep your sink looking its best and avoid the need for more intensive cleaning.
9. What essential oils are best to use for cleaning the sink?
Several essential oils possess antibacterial and antifungal properties that make them excellent additions to your clean your sink routine. Lemon essential oil is a popular choice due to its fresh scent and degreasing abilities. Tea tree oil is another great option, known for its powerful antiseptic properties. Lavender oil offers a calming aroma and also has antibacterial benefits. Eucalyptus oil can help to disinfect and deodorize. When using essential oils, add a few drops to your baking soda paste or cleaning solution. Always dilute essential oils before applying them to surfaces, and be sure to test in an inconspicuous area first.
10. How can I prevent water spots on my stainless steel sink after cleaning?
To prevent water spots on your stainless steel sink after cleaning, thoroughly dry the sink with a clean microfiber cloth. You can also apply a thin layer of stainless steel polish or oil to help repel water and prevent spots from forming. Another trick is to use distilled water for rinsing, as it contains fewer minerals that can cause spotting. Regularly wiping down your sink after each use can also help to minimize water spots.
Leave a Comment