
Clean Shower Tubs Fast: My Secret to a Sparkling Clean Bathroom
Let’s be honest, cleaning the shower tub is rarely anyone’s favorite chore. It’s often a grimy, time-consuming task that leaves you feeling exhausted rather than refreshed. But what if I told you there are simple, Clean Shower Tubs Fast tricks that can dramatically reduce the effort and time involved? This isn’t just about a quick scrub; it’s about reclaiming your weekends and enjoying a sparkling clean bathroom without the backache.
For centuries, maintaining a clean home has been a source of pride and a symbol of well-being across various cultures. From the meticulous cleaning rituals of ancient civilizations to the modern obsession with sparkling surfaces, the desire for a clean and hygienic environment is deeply ingrained in our human experience. But modern life is busy, and sometimes, even the most dedicated homemakers struggle to keep up with the demands of a spotless bathroom.
Why You Need These Clean Shower Tubs Fast Hacks
That’s where these Clean Shower Tubs Fast DIY solutions come in. They’re designed to help you conquer that stubborn soap scum and mildew without resorting to harsh chemicals or spending hours scrubbing. Imagine a world where cleaning your shower tub is quick, easy, and even a little satisfying! These simple tricks will not only save you time and energy but also help you maintain a healthier, more hygienic bathroom environment. You’ll be amazed at how much difference a few simple changes can make.
So, grab your cleaning supplies, and let’s dive into these effective and efficient methods to achieve sparkling clean shower tubs, quickly and easily!
Clean Shower Tubs Fast: My Go-To Guide for Sparkling Cleanliness
Let’s face it, cleaning the shower tub is nobody’s favorite chore. But with the right approach, you can conquer that grime and get a sparkling clean tub in a fraction of the time. I’ve developed this method over years of battling soap scum and hard water stains, and I’m excited to share it with you!
Phase 1: Preparation is Key
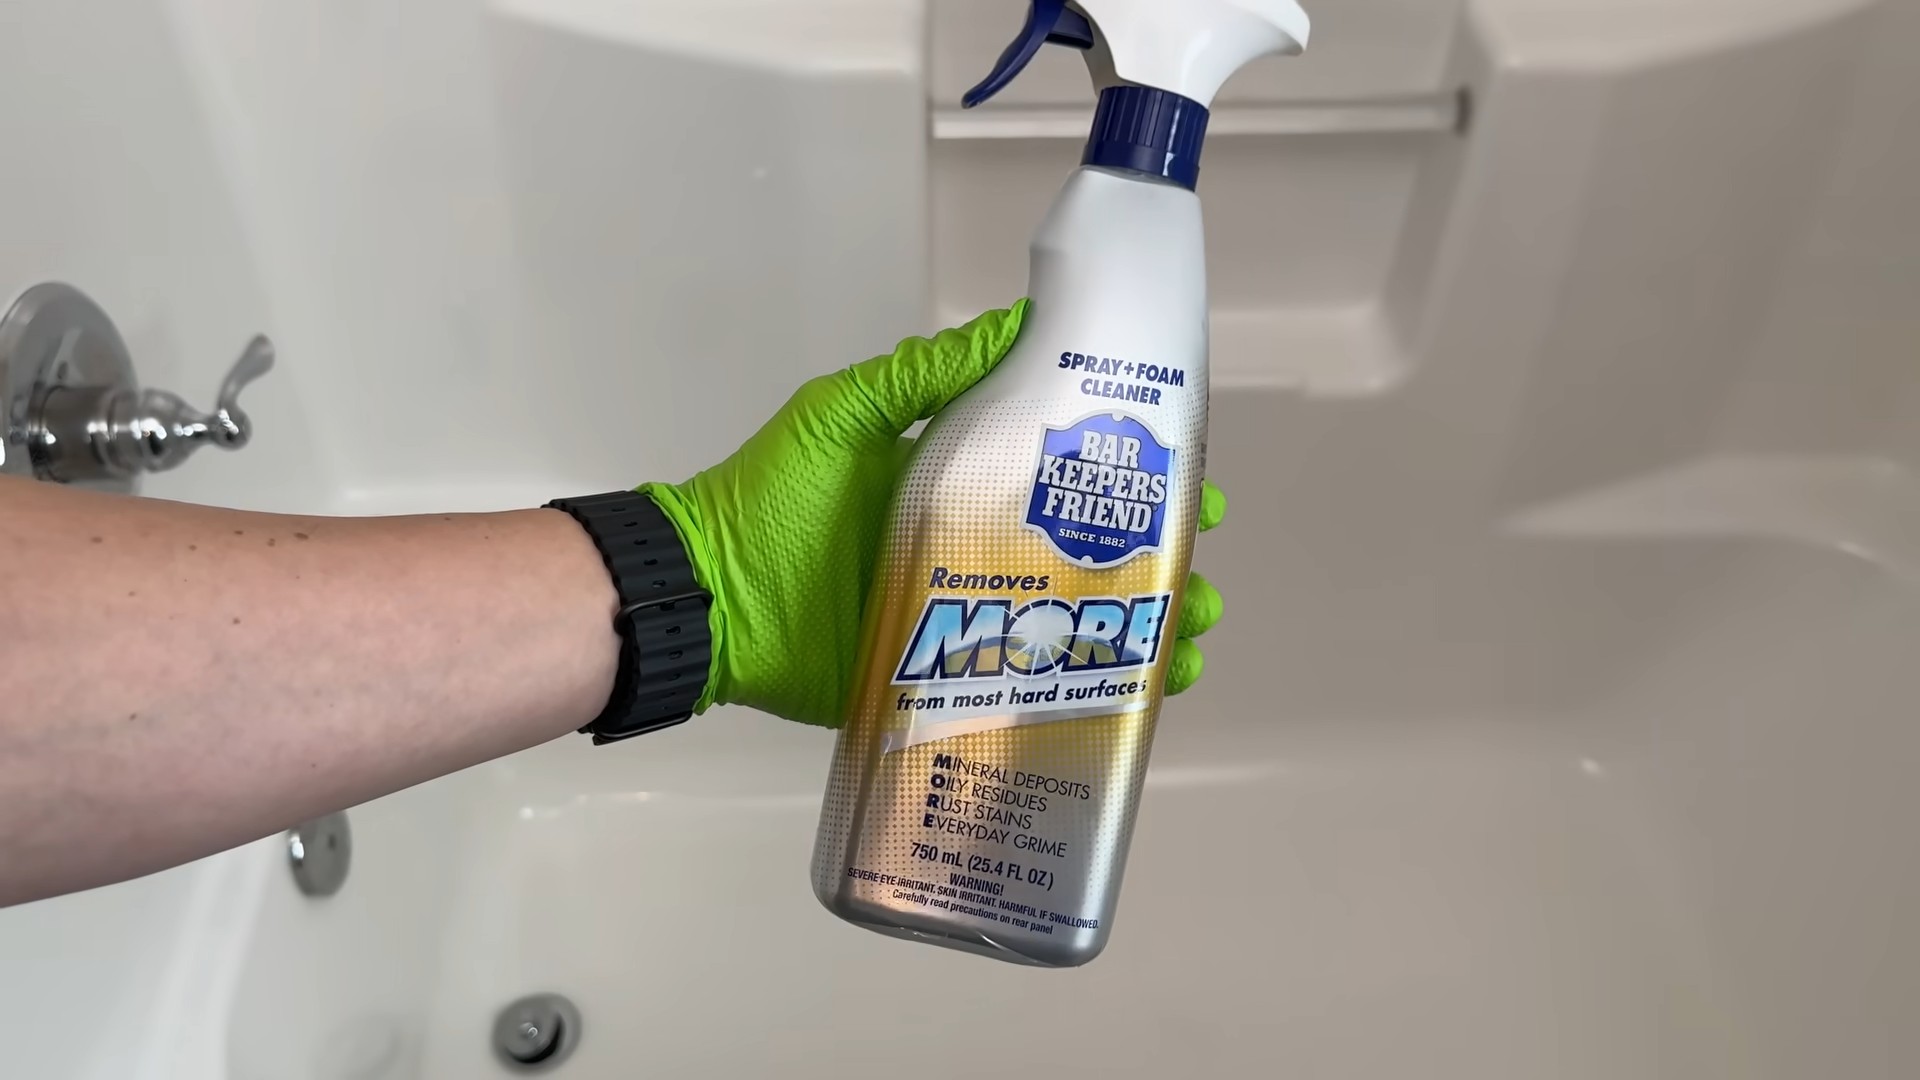
- Gather your supplies: You’ll need a good quality bathroom cleaner (I prefer one with bleach for tough stains), a scrub brush (a stiff-bristled one works best), a spray bottle, microfiber cloths, rubber gloves (protect those hands!), and a squeegee.
- Clear the area: Remove any shampoo bottles, soap dishes, bath mats, or anything else that might be in the way. A clear workspace makes cleaning much easier.
- Pre-soak (optional but recommended): For really stubborn grime, consider pre-soaking the tub. Simply fill the tub with hot water and add a cup of your bathroom cleaner. Let it sit for 15-20 minutes to help loosen the dirt and soap scum. This step is especially helpful for tackling hard water stains.
Phase 2: The Cleaning Process
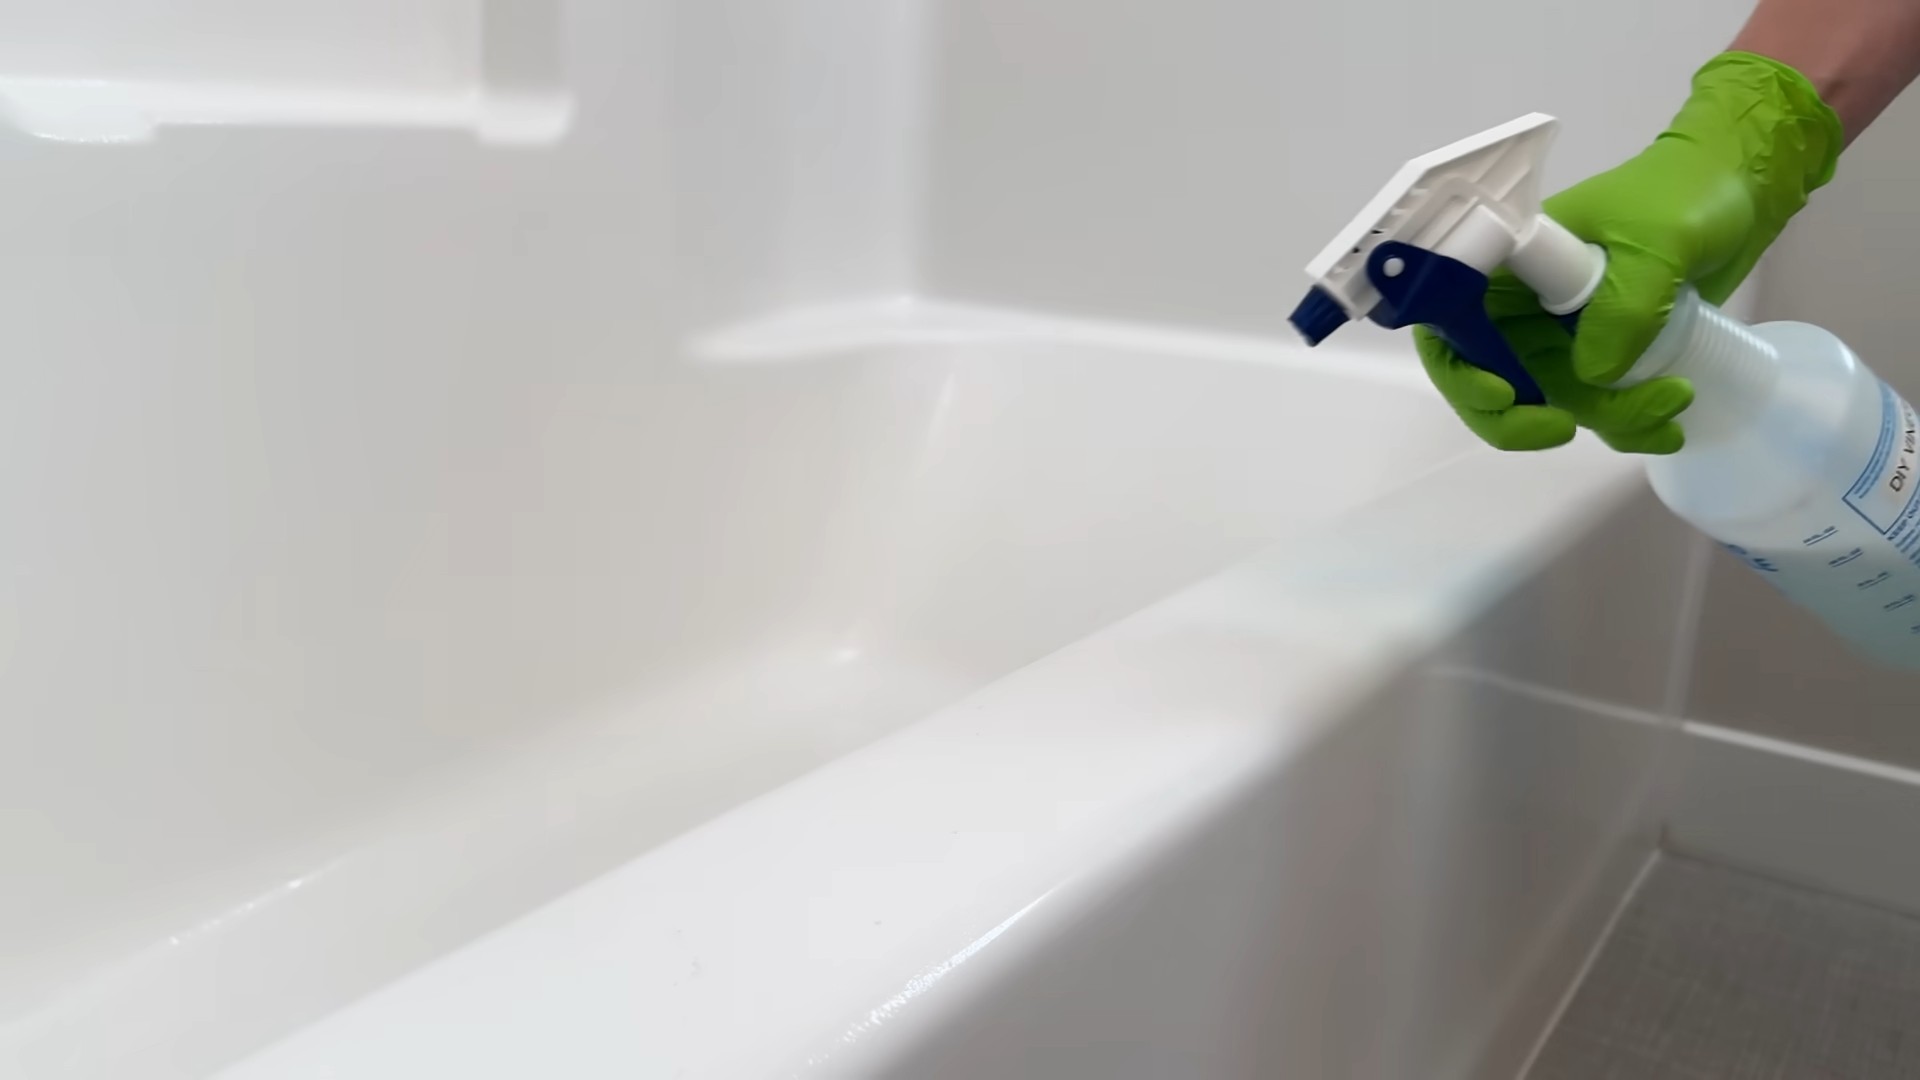
- Apply the cleaner: Generously spray your chosen bathroom cleaner all over the shower tub, paying special attention to areas with heavy soap scum buildup or hard water stains. Don’t forget the grout lines!
- Let it dwell: Allow the cleaner to sit for the time recommended on the product label. Usually, 5-10 minutes is sufficient, but for stubborn stains, you might want to let it sit a little longer (but don’t let it dry completely!).
- Scrub-a-dub-dub: Using your scrub brush, vigorously scrub the entire surface of the tub. Pay close attention to the corners, the drain, and any areas with persistent stains. Don’t be afraid to put some elbow grease into it! For really tough stains, you might need to repeat steps 1 and 2.
- Rinse thoroughly: Once you’ve scrubbed everything, rinse the tub thoroughly with hot water. I find a handheld showerhead is perfect for this, allowing you to reach every nook and cranny.
- Squeegee magic: This is where the squeegee comes in handy. After rinsing, use the squeegee to remove any remaining water from the tub walls and doors. This prevents water spots and makes the tub look even cleaner.
Phase 3: Finishing Touches and Prevention
- Wipe down: Use a clean microfiber cloth to wipe down any remaining moisture or cleaner residue. Microfiber cloths are amazing at absorbing water and leaving surfaces streak-free.
- Dry thoroughly: Make sure the tub is completely dry before closing the shower door. This helps prevent mold and mildew growth.
- Regular maintenance: The key to keeping your shower tub clean is regular maintenance. Try to wipe down the tub after each shower to prevent soap scum buildup. This quick cleanup will save you a lot of time and effort in the long run.
- Consider a shower filter: Hard water is a major contributor to soap scum and hard water stains. Installing a shower filter can significantly reduce the amount of minerals in your shower water, making cleaning much easier.
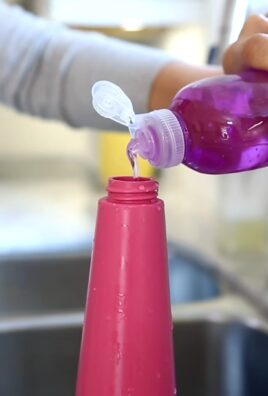
- Natural cleaning alternatives: For a more eco-friendly approach, you can try using baking soda and vinegar. Make a paste of baking soda and water, apply it to the tub, let it sit for a while, then scrub and rinse. For a more powerful clean, you can follow up with a vinegar rinse.
Troubleshooting Common Problems
Persistent Soap Scum
If you’re still struggling with persistent soap scum, try increasing the dwell time of your cleaner or using a stronger cleaner specifically designed for soap scum removal. You might also consider using a pumice stone (carefully!) to gently scrub away stubborn stains. Remember to always test any new cleaning product on a small, inconspicuous area first to ensure it doesn’t damage the surface of your tub.
Hard Water Stains
Hard water stains can be particularly stubborn. A solution of equal parts white vinegar and water can be effective. Apply it to the stains, let it sit for a while, then scrub and rinse. For really tough stains, you might need to repeat this process several times or consider using a commercial hard water stain remover.
Mold and Mildew
Mold and mildew thrive in damp environments. Regular cleaning and good ventilation are crucial for preventing their growth. If you do find mold or mildew, use a bleach-based cleaner (following the manufacturer’s instructions carefully) to remove it. Always wear gloves and eye protection when working with bleach.
Choosing the Right Cleaning Tools
The right tools can make all the difference. A stiff-bristled brush is essential for scrubbing away grime, while a microfiber cloth is perfect for wiping down and drying the surface. A squeegee helps prevent water spots and makes the tub look sparkling clean. Consider investing in high-quality tools for the best results.
Conclusion
So there you have it! A sparkling clean shower tub, achieved quickly and efficiently, without resorting to harsh chemicals or expensive cleaning products. This DIY cleaning trick for achieving clean shower tubs fast is a true game-changer. It’s a must-try for anyone who wants to reclaim their precious time and avoid the drudgery of scrubbing stubborn soap scum and grime. The simplicity of the method, coupled with its remarkable effectiveness, makes it a winner in our book. You’ll be amazed at how easily you can banish those unsightly stains and restore your shower to its former glory. The satisfaction of a gleaming, clean tub is unparalleled, and this method makes achieving that feeling incredibly easy.
Beyond the basic recipe, there are several ways to customize this cleaning method to suit your specific needs and preferences. For particularly stubborn stains, you can let the cleaning solution sit for a longer period – perhaps even overnight for truly impressive results. Experiment with different essential oils to add a pleasant fragrance to your bathroom. Tea tree oil, for example, has natural antiseptic properties, which can further enhance the cleaning process. Alternatively, you could add a few drops of lemon essential oil for a fresh, citrusy scent. Remember to always test any new additions in an inconspicuous area first to ensure they don’t damage your shower’s finish. If you have a particularly large shower, you might need to divide the cleaning process into sections to manage the solution effectively.
Ultimately, the best way to discover the full potential of this DIY cleaning trick is to try it yourself. Don’t be afraid to experiment and find what works best for your shower and your personal preferences. We encourage you to share your experience with us! Let us know in the comments below how this method worked for you, any variations you tried, and any tips you discovered along the way. Your feedback will help other readers, and we’re always eager to hear about your cleaning successes. Join the conversation and help spread the word about this simple yet effective way to achieve sparkling clean shower tubs fast! Let’s make cleaning a little less of a chore and a little more of a satisfying accomplishment. We believe that everyone deserves a clean and refreshing bathroom, and this method makes it achievable for everyone.
Frequently Asked Questions
What types of shower tubs does this method work on?
This DIY cleaning method is effective on most types of shower tubs, including fiberglass, acrylic, and porcelain. However, it’s always recommended to test a small, inconspicuous area first to ensure the cleaning solution doesn’t damage the surface. Avoid using this method on natural stone or other delicate materials. Always refer to the manufacturer’s cleaning instructions for your specific shower tub material.
How often should I use this cleaning method?
The frequency of cleaning will depend on your individual needs and how often you use your shower. For most people, using this method once a week will keep your shower tub sparkling clean. However, if you have a large family or use your shower frequently, you may need to clean it more often. For those who shower less frequently, you might find that a bi-weekly or even monthly cleaning is sufficient. Regular cleaning prevents the buildup of soap scum and grime, making future cleanings much easier.
What if I have particularly stubborn stains?
For stubborn stains, you can increase the dwell time of the cleaning solution. Allow the solution to sit on the stains for a longer period, perhaps 30 minutes or even overnight. For extremely stubborn stains, you may need to repeat the process or consider using a slightly more abrasive cleaning tool, such as a non-abrasive scrubbing pad. Always test any new cleaning tools or techniques on a small, inconspicuous area first. Remember to rinse thoroughly after cleaning.
Are there any safety precautions I should take?
Always wear appropriate protective gear, such as gloves, when using any cleaning solution. Ensure the area is well-ventilated to avoid inhaling any fumes. Keep the cleaning solution out of reach of children and pets. If you experience any skin irritation, rinse the affected area with plenty of water and discontinue use. If irritation persists, consult a doctor. Remember to always follow the safety instructions on the labels of any cleaning products you use.
Can I use this method on shower doors?
Yes, this method can be used on most shower doors, but always test a small, inconspicuous area first. Glass shower doors are generally compatible with this cleaning method, but be mindful of any delicate finishes or coatings. For particularly dirty or stained shower doors, you may need to repeat the process or use a slightly more abrasive cleaning tool. Always rinse thoroughly after cleaning to prevent streaking. For stubborn water spots, consider using a dedicated glass cleaner after using this method.
What if I don’t have all the ingredients listed?
The beauty of this DIY cleaning method is its flexibility. While the specific ingredients listed are recommended for optimal results, you can adapt the recipe based on what you have available. For example, if you don’t have baking soda, you can try using another mild abrasive cleaner. Similarly, if you don’t have white vinegar, you can try using another acidic cleaner, but always test a small area first to ensure compatibility with your shower tub material. Remember to adjust the ratios accordingly. The key is to create a paste-like consistency that is effective at removing grime and soap scum.
Leave a Comment