
Bumper pumpkin harvest tips are what every gardener dreams of, right? Imagine a vibrant patch overflowing with plump, orange pumpkins – the envy of the neighborhood and the star of your autumn decorations! But achieving that picture-perfect harvest can feel like a daunting task. Don’t worry, I’m here to share some secrets that will transform your pumpkin patch from meager to magnificent.
Pumpkins have a rich history, deeply intertwined with autumn festivals and traditions. From their humble beginnings in Central America, where they were valued for both their flesh and seeds, pumpkins have journeyed across continents to become a symbol of abundance and celebration. Think of the jack-o’-lanterns grinning on Halloween night, a tradition rooted in ancient Celtic folklore.
But let’s face it, growing pumpkins can be tricky. Pests, diseases, and unpredictable weather can all conspire to sabotage your efforts. That’s why these bumper pumpkin harvest tips are so crucial. I’m going to walk you through some simple, yet effective, DIY tricks and hacks that will give your pumpkins the boost they need to thrive. Whether you’re a seasoned gardener or just starting out, these tips will help you maximize your yield and enjoy a truly spectacular pumpkin harvest this year. Get ready to roll up your sleeves and transform your garden into a pumpkin paradise!
How to Grow a Pumpkin Patch That’ll Make Your Neighbors Green with Envy!
Okay, pumpkin lovers, let’s talk about how to get a bumper crop of pumpkins that will have you swimming in jack-o’-lanterns and pumpkin pies! I’ve been growing pumpkins for years, and I’ve learned a few tricks along the way. This isn’t just about throwing some seeds in the ground and hoping for the best. We’re going to get serious about pumpkin production!
Choosing the Right Pumpkin Variety
First things first, you need to decide what kind of pumpkins you want to grow. Are you dreaming of giant pumpkins for competitions? Or maybe you’re more interested in smaller, pie-perfect pumpkins? The variety you choose will significantly impact your growing strategy.
* Giant Pumpkins (Atlantic Giant): These are the kings and queens of the pumpkin patch. They require a lot of space, nutrients, and dedication. If you’re a beginner, I might suggest starting with something a little less demanding.
* Pie Pumpkins (Sugar Pie, Baby Pam): These are smaller, sweeter, and perfect for baking. They’re also generally easier to grow than giant pumpkins.
* Jack-o’-Lantern Pumpkins (Connecticut Field, Howden): These are your classic carving pumpkins. They’re a good size for carving and decorating.
* Ornamental Pumpkins (Gourds, Mini Pumpkins): These are grown for their unique shapes and colors. They’re not typically eaten, but they add a lot of visual interest to your fall displays.
Once you’ve chosen your variety, make sure you get your seeds from a reputable source. Look for seeds that are specifically bred for high yields and disease resistance.
Preparing Your Pumpkin Patch
Pumpkins are hungry plants, so soil preparation is key. They need a sunny spot with well-drained soil that’s rich in organic matter.
* Sunlight: Pumpkins need at least 6-8 hours of direct sunlight per day. Choose a location that gets plenty of sun.
* Soil: Pumpkins prefer a slightly acidic soil with a pH between 6.0 and 6.8. If your soil is too acidic or alkaline, you can amend it with lime or sulfur, respectively.
* Drainage: Pumpkins don’t like to sit in water, so make sure your soil drains well. If you have heavy clay soil, you can improve drainage by adding compost or other organic matter.
* Nutrients: Pumpkins are heavy feeders, so you’ll need to amend your soil with plenty of compost, manure, or other organic fertilizers. I like to add a generous amount of composted manure to my pumpkin patch in the fall before planting.
Planting Your Pumpkin Seeds
Now for the fun part – planting! You can either direct sow your pumpkin seeds in the ground or start them indoors. I prefer to direct sow, as pumpkins don’t always transplant well.
* Timing: Pumpkins need warm soil to germinate, so wait until the soil temperature is at least 60°F (16°C) before planting. This is usually a few weeks after the last frost.
* Spacing: Give your pumpkins plenty of room to grow. For giant pumpkins, you’ll need at least 10-15 feet between plants. For smaller varieties, you can space them closer together, but still give them at least 4-6 feet.
* Planting Depth: Plant your pumpkin seeds about 1 inch deep.
* Watering: Water your pumpkin seeds thoroughly after planting. Keep the soil moist but not soggy until the seedlings emerge.
Step-by-Step Planting Guide:
1. Prepare the Soil: Dig a hole that’s about twice as wide and deep as the root ball of your pumpkin seedling (if you started indoors) or about 1 inch deep for direct sowing.
2. Amend the Soil: Mix some compost or other organic matter into the soil you removed from the hole.
3. Plant the Seedling or Seed: Gently place the pumpkin seedling in the hole or drop the seed in.
4. Backfill the Hole: Fill the hole with the amended soil, gently patting it down.
5. Water Thoroughly: Water the pumpkin seedling or seed thoroughly.
6. Mulch: Add a layer of mulch around the pumpkin plant to help retain moisture and suppress weeds. I like to use straw or hay.
Caring for Your Pumpkin Plants
Once your pumpkin plants are established, you’ll need to provide them with regular care to ensure a bumper crop.
* Watering: Pumpkins need plenty of water, especially during hot, dry weather. Water deeply and regularly, aiming for about 1 inch of water per week. Avoid watering the foliage, as this can lead to fungal diseases. I prefer to use a soaker hose or drip irrigation to water my pumpkins.
* Fertilizing: Pumpkins are heavy feeders, so you’ll need to fertilize them regularly. Use a balanced fertilizer, such as 10-10-10, every few weeks. You can also side-dress your pumpkins with compost or manure.
* Weeding: Keep your pumpkin patch free of weeds. Weeds compete with pumpkins for water and nutrients. Hand-pull weeds or use a hoe to remove them. Be careful not to damage the pumpkin roots.
* Pest Control: Pumpkins are susceptible to a variety of pests, including squash bugs, squash vine borers, and cucumber beetles. Inspect your plants regularly for pests and take action to control them. I like to use organic pest control methods, such as insecticidal soap or neem oil.
* Pollination: Pumpkins are pollinated by bees. If you’re not seeing a lot of bees in your garden, you may need to hand-pollinate your pumpkins. To hand-pollinate, use a small paintbrush to transfer pollen from the male flowers to the female flowers. Female flowers have a small pumpkin at the base of the flower.
Pruning Your Pumpkin Plants
Pruning your pumpkin plants can help to improve air circulation and reduce the risk of disease. It can also help to direct the plant’s energy into producing fewer, larger pumpkins.
* Remove Unnecessary Vines: As your pumpkin plants grow, they will produce a lot of vines. You can prune these vines to encourage the plant to focus its energy on producing pumpkins. Remove any vines that are not producing flowers or pumpkins.
* Remove Damaged Leaves: Remove any leaves that are damaged or diseased. This will help to prevent the spread of disease.
* Limit the Number of Pumpkins: If you’re growing giant pumpkins, you’ll want to limit the number of pumpkins on each plant to one or two. This will allow the plant to focus all of its energy on growing those pumpkins. For smaller varieties, you can allow more pumpkins to grow, but still limit the number to a manageable amount.
Dealing with Common Pumpkin Problems
Even with the best care, you may encounter some problems while growing pumpkins. Here are a few common problems and how to deal with them:
* Powdery Mildew: Powdery mildew is a fungal disease that can affect pumpkins. It appears as a white, powdery coating on the leaves. To prevent powdery mildew, provide good air circulation and avoid watering the foliage. If you see powdery mildew, you can treat it with a fungicide.
* Squash Bugs: Squash bugs are small, brown insects that can damage pumpkin plants. They suck the sap from the leaves and stems, causing them to wilt and die. To control squash bugs, hand-pick them off the plants or use insecticidal soap.
* Squash Vine Borers: Squash vine borers are moth larvae that bore into the stems of pumpkin plants. They can cause the plants to wilt and die. To prevent squash vine borers, wrap the stems of your pumpkin plants with aluminum foil or netting. If you see squash vine borers, you can try to remove them by slitting the stem and pulling them out.
* Blossom End Rot: Blossom end rot is a condition that affects pumpkins and other fruits. It causes a dark, sunken spot to appear on the blossom end of the fruit. Blossom end rot is caused by a calcium deficiency. To prevent blossom end rot, make sure your soil is rich in calcium and water your plants regularly.
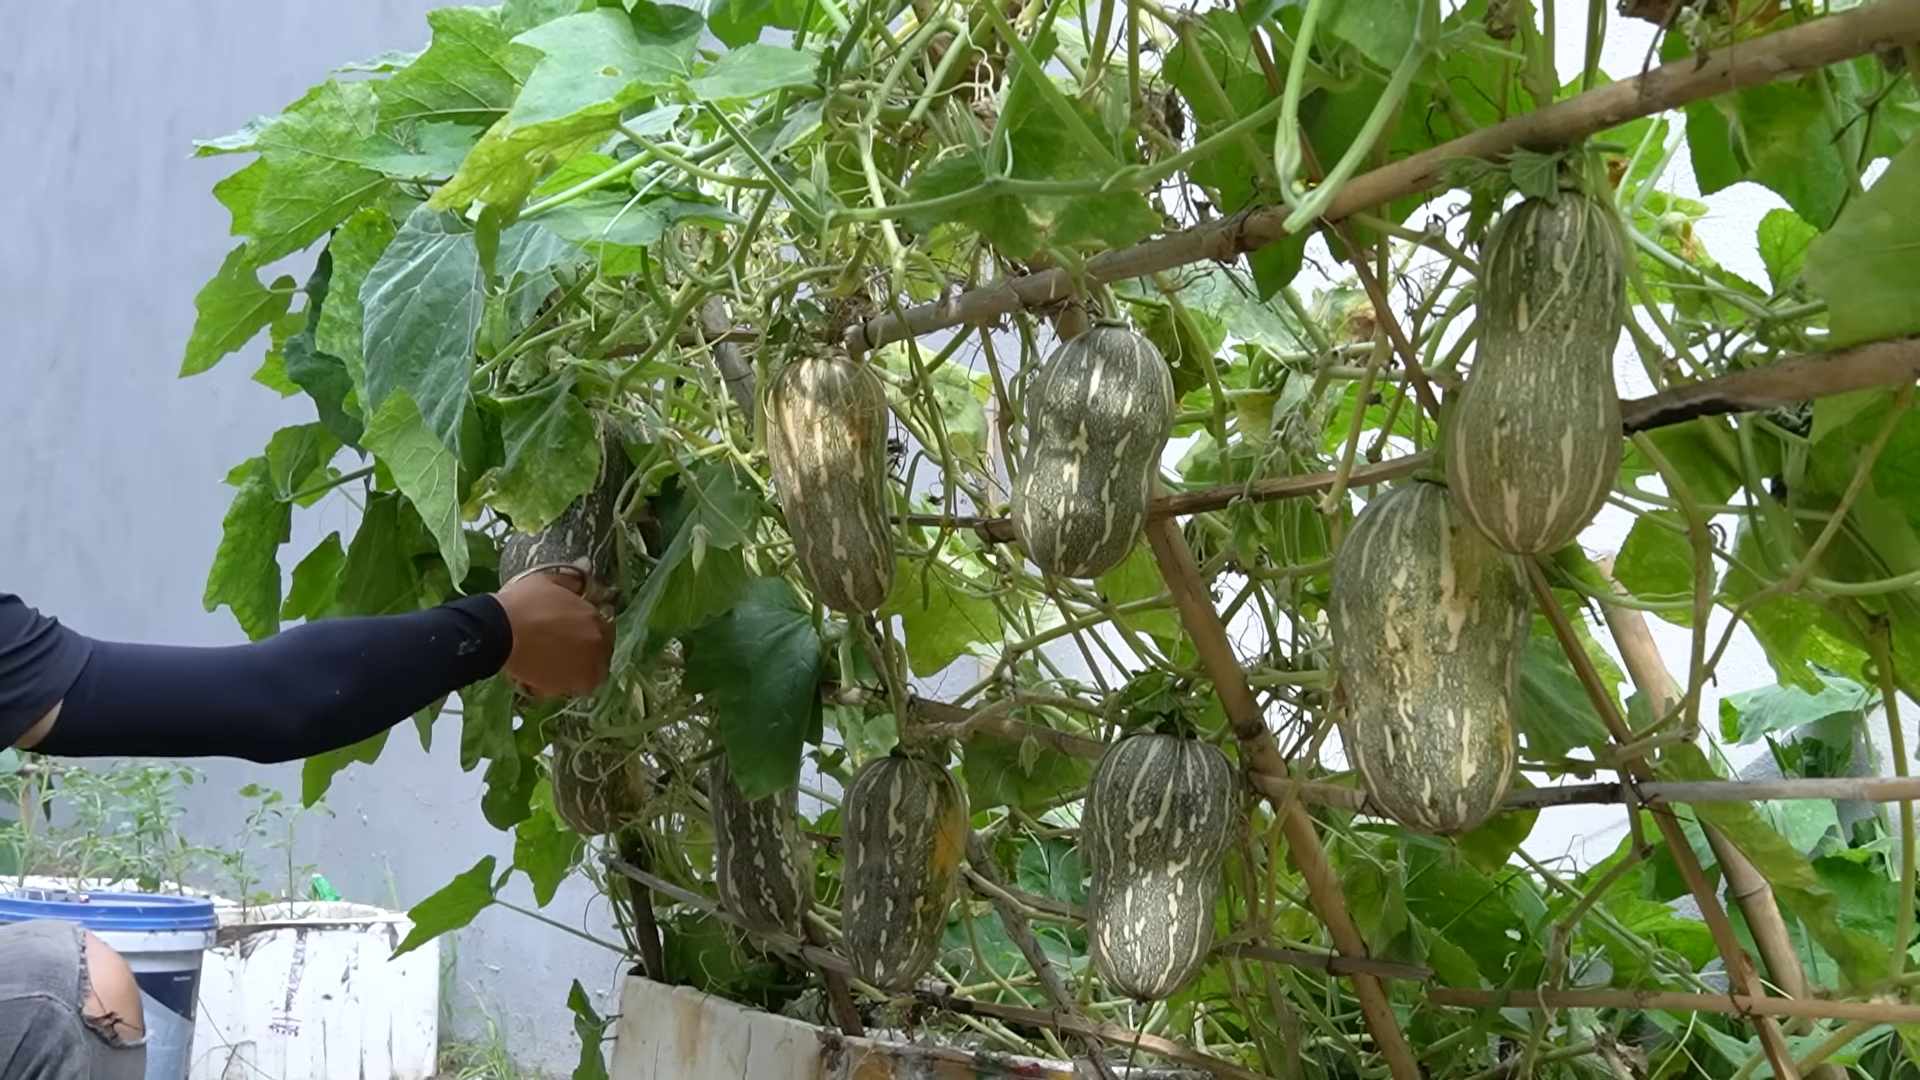
Harvesting Your Pumpkins
The moment you’ve been waiting for! Knowing when to harvest your pumpkins is crucial for ensuring they’re ripe and ready for carving or baking.
* Timing: Pumpkins are typically ready to harvest in the fall, after the vines have started to die back. The exact timing will depend on the variety of pumpkin you’re growing.
* Signs of Ripeness: Look for these signs to determine if your pumpkins are ripe:
* The skin is hard and resistant to scratching.
* The stem is dry and brown.
* The pumpkin has a deep, rich color.
* Harvesting: To harvest your pumpkins, use a sharp
Conclusion
So, there you have it! Transforming a potentially overwhelming bumper pumpkin harvest into a manageable and even enjoyable experience is entirely within your reach. We’ve explored practical strategies for everything from proper harvesting techniques to long-term storage solutions, and even creative ways to utilize every part of your bountiful crop. But the real magic lies in the power of preservation, and that’s where our featured DIY trick truly shines.
This isn’t just about saving pumpkins; it’s about extending the joy of fall, reducing food waste, and unlocking a world of culinary possibilities. Imagine the satisfaction of pulling out perfectly preserved pumpkin puree in the dead of winter, ready to bake into a comforting pie, a hearty soup, or a batch of delicious muffins. Think of the smiles on faces when you gift homemade pumpkin butter or share your secret ingredient for the best pumpkin spice latte ever.
Why is this DIY trick a must-try? Because it’s efficient, cost-effective, and incredibly versatile. It allows you to capture the peak flavor and texture of your pumpkins, ensuring that you’re not stuck with bland, watery results later on. It also empowers you to take control of your food supply, reducing your reliance on store-bought products and embracing a more sustainable lifestyle.
But the beauty of this DIY approach is its adaptability. Feel free to experiment with different spices when making your pumpkin butter or jam. Add a touch of maple syrup for extra sweetness, or a pinch of chili flakes for a subtle kick. Consider roasting your pumpkin seeds with different seasonings – smoked paprika, sea salt, or even a sprinkle of cinnamon. The possibilities are endless!
And don’t limit yourself to just pumpkin puree. You can also use this preservation method for other winter squashes like butternut squash, acorn squash, and even sweet potatoes. The basic principles remain the same, allowing you to create a diverse pantry of delicious and nutritious ingredients.
We encourage you to embrace this DIY trick and transform your bumper pumpkin harvest into a culinary adventure. Don’t be afraid to get your hands dirty, to experiment with different flavors, and to share your creations with friends and family.
Ready to take the plunge? Gather your pumpkins, follow our simple steps, and prepare to be amazed by the results. We’re confident that you’ll find this DIY trick to be an invaluable tool in your kitchen arsenal.
But most importantly, we want to hear about your experience! Share your photos, your recipes, and your tips in the comments below. Let’s create a community of pumpkin enthusiasts who are passionate about preserving the bounty of the season. Your insights and feedback will help others discover the joy of this DIY trick and make the most of their own bumper pumpkin harvests. Let’s celebrate the season together, one delicious pumpkin creation at a time!
Frequently Asked Questions (FAQ)
Q: How long will the preserved pumpkin last?
A: The shelf life of your preserved pumpkin depends on the method you choose. Properly canned pumpkin puree, following USDA guidelines, can last for 12-18 months in a cool, dark place. Frozen pumpkin puree can last for 8-12 months. Dehydrated pumpkin leather, stored in an airtight container, can last for several months. Always check for signs of spoilage before using any preserved pumpkin, such as an off odor, mold, or unusual texture. If you are unsure, it is always best to err on the side of caution and discard it.
Q: Can I use any type of pumpkin for this DIY trick?
A: While you can technically use any type of pumpkin, some varieties are better suited for cooking and preserving than others. Pie pumpkins, also known as sugar pumpkins, are the best choice due to their dense flesh, sweet flavor, and low water content. Avoid using carving pumpkins, as they tend to be stringy and less flavorful. Other good options include butternut squash, acorn squash, and kabocha squash.
Q: What if I don’t have a pressure canner? Can I still can pumpkin puree?
A: It is strongly recommended to use a pressure canner for canning pumpkin puree. Pumpkin is a low-acid food, which means that it requires high temperatures to kill harmful bacteria, such as Clostridium botulinum, which can cause botulism. A boiling water bath canner does not reach high enough temperatures to safely process pumpkin puree. If you don’t have a pressure canner, consider freezing or dehydrating your pumpkin puree instead. These methods are safer alternatives for preserving low-acid foods.
Q: How do I know if my canned pumpkin is safe to eat?
A: Before opening a jar of canned pumpkin, check the seal. The lid should be concave and not bulging. When you open the jar, you should hear a popping sound. If the lid is bulging or there is no popping sound, do not use the pumpkin. Also, check for any signs of spoilage, such as an off odor, mold, or unusual texture. If you are unsure, it is always best to err on the side of caution and discard it.
Q: Can I freeze pumpkin puree in glass jars?
A: Yes, you can freeze pumpkin puree in glass jars, but you need to take precautions to prevent the jars from breaking. Use freezer-safe glass jars with straight sides and wide mouths. Leave at least 1 inch of headspace at the top of the jar to allow for expansion during freezing. Cool the pumpkin puree completely before transferring it to the jars. When freezing, place the jars in the freezer with the lids off until the puree is frozen solid. Then, you can tighten the lids. This helps prevent the jars from cracking.
Q: How do I rehydrate pumpkin leather?
A: To rehydrate pumpkin leather, simply soak it in warm water for about 30 minutes, or until it becomes soft and pliable. You can then use it in recipes that call for pumpkin puree, such as soups, stews, or smoothies. You can also add it to baked goods, but you may need to adjust the liquid content of the recipe accordingly.
Q: Can I use the pumpkin seeds for anything?
A: Absolutely! Pumpkin seeds are a nutritious and delicious snack. To roast them, rinse them thoroughly to remove any pulp. Toss them with olive oil, salt, and your favorite spices. Spread them in a single layer on a baking sheet and roast them in a preheated oven at 300°F (150°C) for 20-25 minutes, or until they are golden brown and crispy. You can also add them to salads, granola, or trail mix.
Q: What are some creative ways to use pumpkin puree?
A: Pumpkin puree is incredibly versatile and can be used in a wide variety of dishes. In addition to the classic pumpkin pie, you can use it to make pumpkin soup, pumpkin bread, pumpkin muffins, pumpkin pancakes, pumpkin risotto, pumpkin chili, and even pumpkin pasta sauce. You can also add it to smoothies, yogurt, or oatmeal for a boost of flavor and nutrients. Don’t be afraid to experiment and get creative!
Q: How can I prevent my pumpkin from getting moldy before I can preserve it?
A: Proper storage is key to preventing mold. Store your pumpkins in a cool, dry place with good air circulation. Avoid stacking them on top of each other, as this can trap moisture and promote mold growth. You can also wipe them down with a diluted bleach solution (1 tablespoon of bleach per gallon of water) to kill any surface mold spores. Check your pumpkins regularly for signs of spoilage and discard any that are damaged or moldy.
Q: What is the best way to peel a pumpkin?
A: Peeling a pumpkin can be challenging, but there are a few methods that can make it easier. One option is to roast the pumpkin whole until the skin softens, then scoop out the flesh. Another option is to cut the pumpkin into smaller pieces and use a vegetable peeler to remove the skin. You can also use a sharp knife to carefully cut away the skin. Be sure to use caution when handling sharp knives.
Leave a Comment