
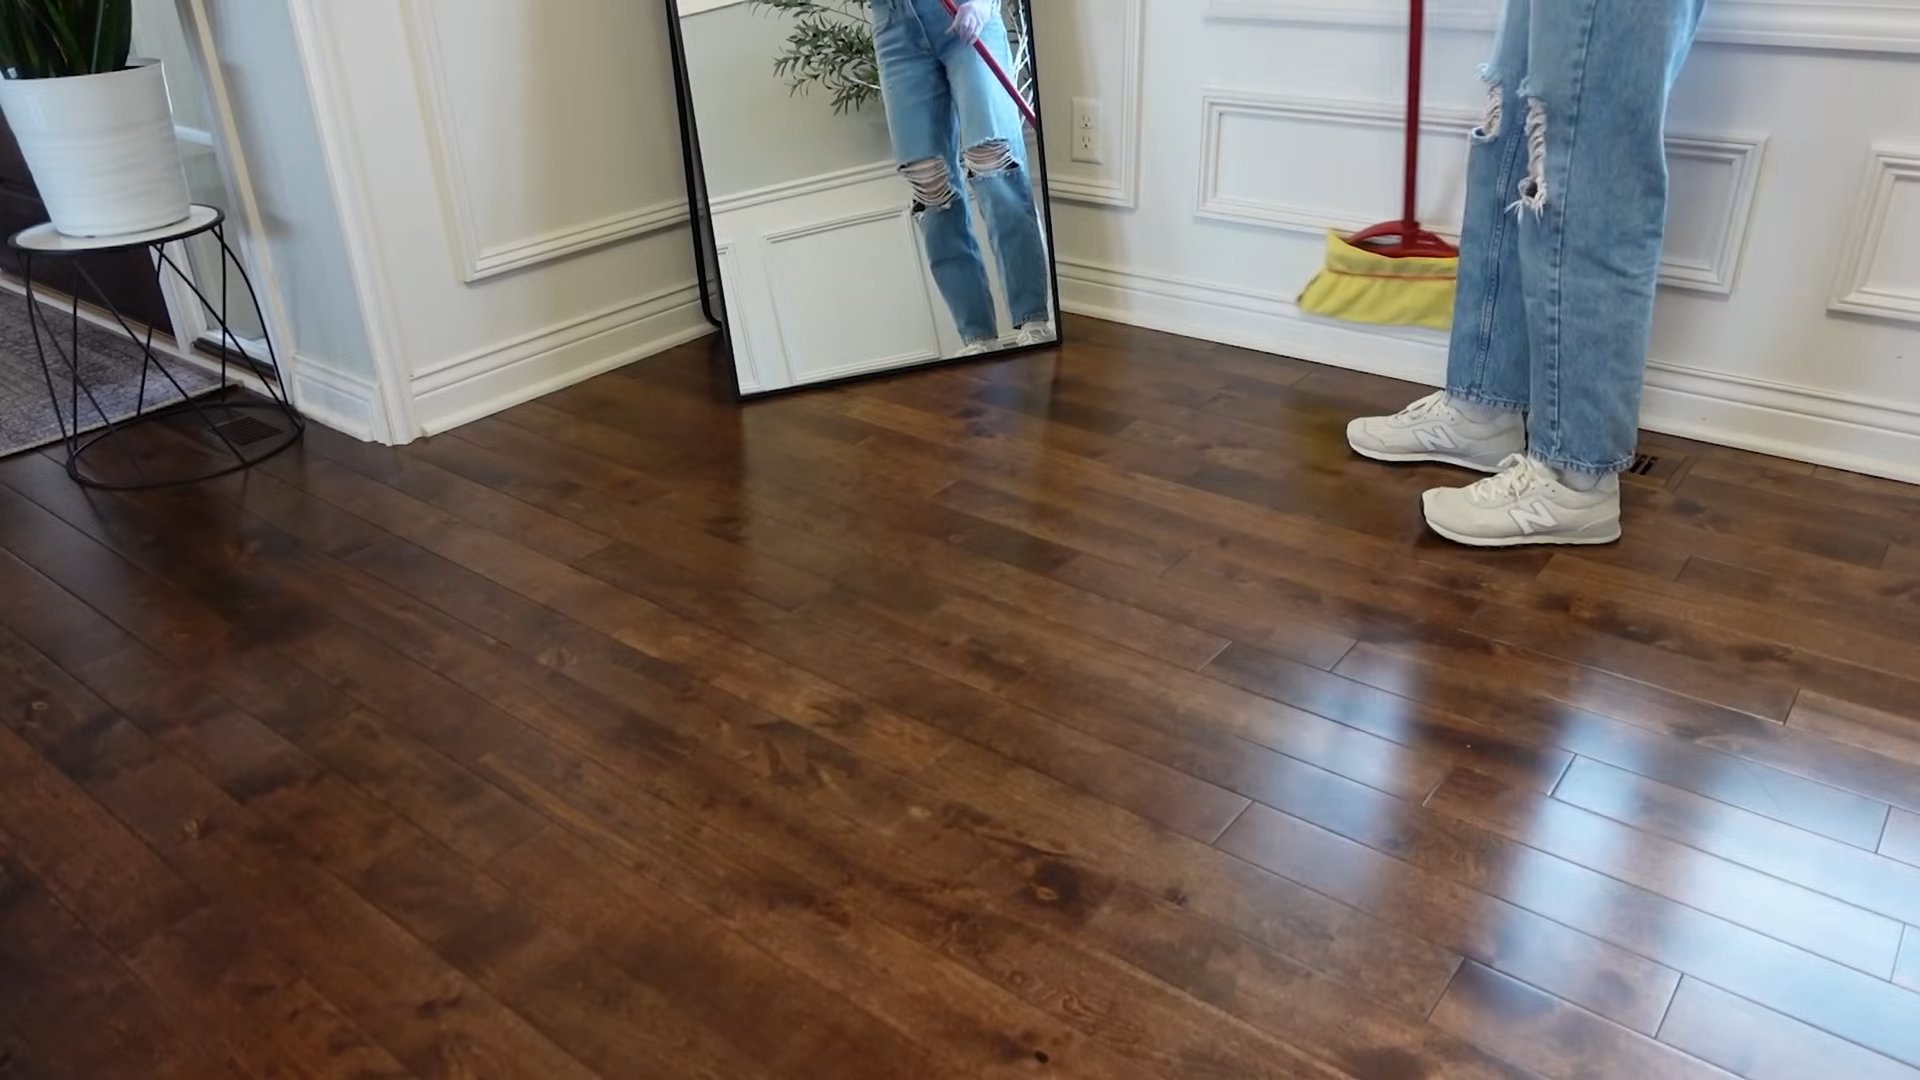
Baseboard cleaning easy hack – sounds too good to be true, right? I get it! We’ve all been there, staring at those dusty, grimy baseboards, wondering how they got so bad and dreading the back-breaking work it takes to clean them. But what if I told you there’s a way to make this chore not only bearable but actually…dare I say…easy?
Baseboards, those unassuming strips of trim, have been protecting our walls and adding a touch of elegance to our homes for centuries. From the ornate, hand-carved moldings of Victorian mansions to the sleek, modern lines of contemporary apartments, baseboards have always played a crucial role in interior design. But their proximity to the floor means they’re also magnets for dust, dirt, and scuff marks.
Let’s be honest, nobody enjoys scrubbing baseboards. It’s a tedious task that often gets overlooked in our busy lives. But neglecting them can make your entire home look dingy, no matter how spotless everything else is. That’s why I’m so excited to share this baseboard cleaning easy hack with you. It’s a game-changer that will save you time, energy, and a whole lot of frustration. Get ready to say goodbye to those grimy baseboards and hello to a sparkling clean home!
DIY Baseboard Cleaning Hack: Sparkling Baseboards Made Easy!
Okay, let’s face it: cleaning baseboards is nobody’s favorite chore. It’s awkward, it’s back-breaking, and it always seems like you’re just pushing the dust around. But fear not, my friends! I’ve discovered a super simple, surprisingly effective hack that will have your baseboards gleaming in no time. And the best part? You probably already have everything you need!
This hack focuses on using a simple tool and a gentle cleaning solution to lift dirt and grime without damaging your baseboards. We’re talking minimal scrubbing and maximum results!
What You’ll Need:
Before we dive in, let’s gather our supplies. This is a low-cost, low-effort project, so don’t worry about breaking the bank.
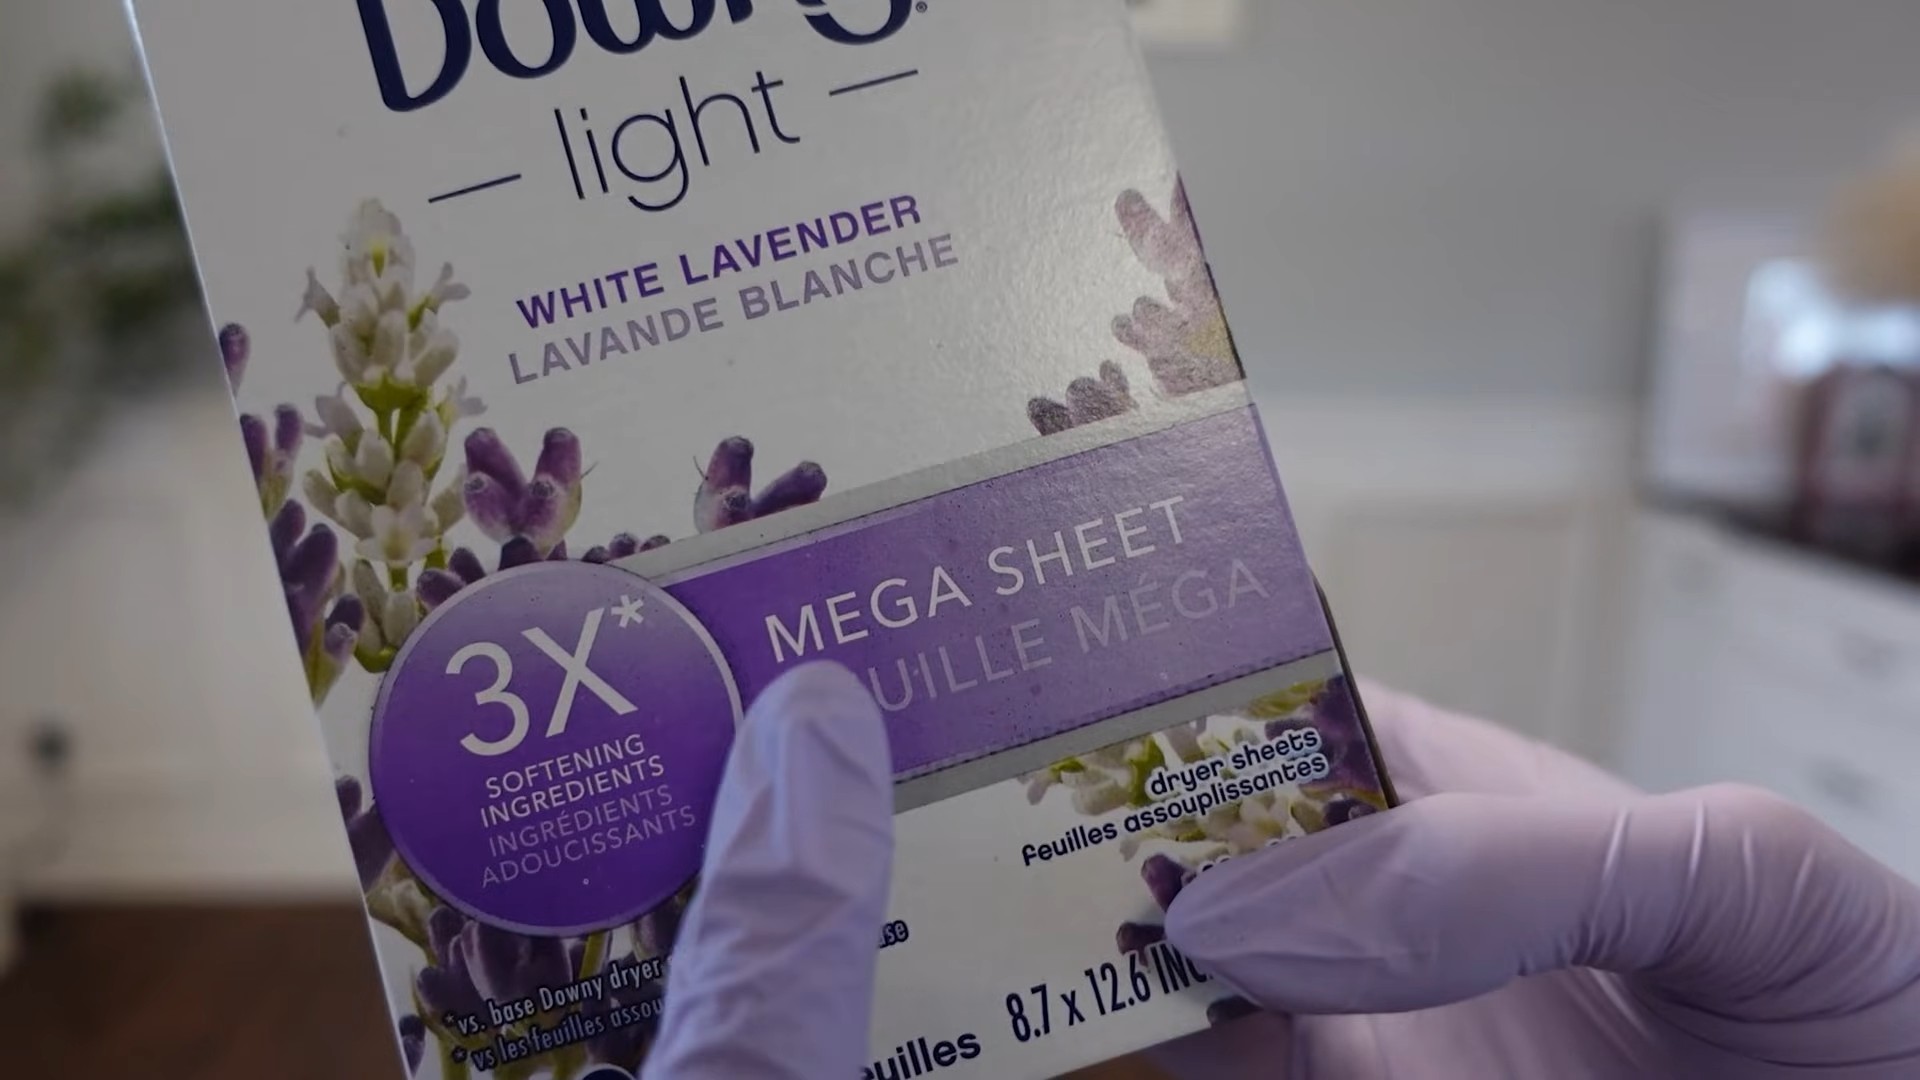
* A microfiber cloth (or several, depending on the size of your house)
* An old sock (clean, of course!)
* A spray bottle
* Warm water
* Dish soap (a gentle, non-abrasive kind)
* Optional: White vinegar (for extra cleaning power)
* A long-handled paint roller (the kind you use for painting walls)
* A bucket (for mixing your cleaning solution)
* A vacuum cleaner with a brush attachment
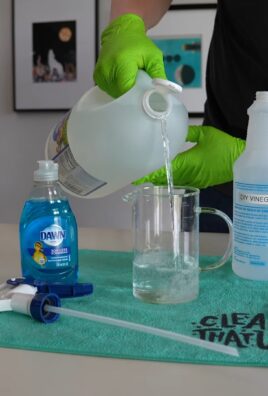
Preparing Your Cleaning Solution
The key to this hack is a gentle but effective cleaning solution. We don’t want to strip the paint or damage the finish on your baseboards.
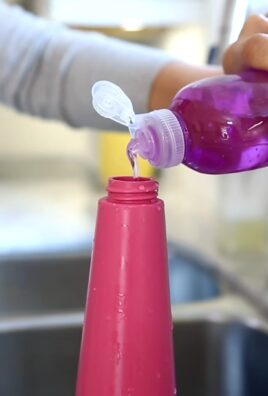
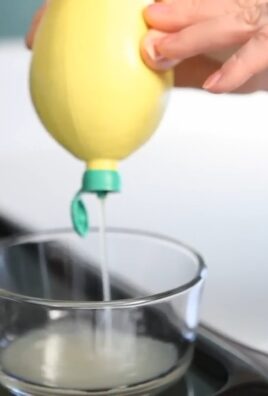
1. Mix the Solution: In your bucket, combine warm water and a squirt of dish soap. I usually go for about a tablespoon of dish soap per gallon of water. If your baseboards are particularly grimy, you can add a splash of white vinegar – about 1/4 cup per gallon. The vinegar helps cut through grease and grime.
2. Transfer to Spray Bottle: Pour some of your cleaning solution into the spray bottle. This will make application much easier and more controlled.
The Magic Roller Method: Step-by-Step
Now for the fun part! This is where the paint roller comes in. Trust me, it’s a game-changer.
1. Vacuum First: Before you even think about getting your baseboards wet, vacuum them thoroughly with the brush attachment. This will remove loose dust, dirt, and pet hair, preventing you from just smearing it around later. Pay special attention to corners and crevices where dust tends to accumulate.
2. Prepare the Roller: Slide the old sock over the paint roller. Make sure it’s snug and secure. This is our cleaning applicator! The sock provides a soft, absorbent surface that won’t scratch your baseboards.
3. Spray and Roll: Lightly spray a section of your baseboard with the cleaning solution from your spray bottle. Don’t over-saturate it; a light mist is all you need.
4. Roll Away the Grime: Gently roll the sock-covered paint roller along the sprayed section of the baseboard. Apply light pressure and move in smooth, even strokes. You’ll be amazed at how much dirt the sock picks up!
5. Rinse and Repeat (Optional): If your baseboards are really dirty, you might want to rinse the sock periodically. Simply remove it from the roller, rinse it under warm water, wring it out, and put it back on the roller.
6. Wipe Clean: After rolling, use a clean microfiber cloth to wipe down the baseboard and remove any remaining residue. This will leave your baseboards sparkling clean and streak-free.
7. Move On: Repeat steps 3-6 for each section of your baseboards until you’ve cleaned the entire room (or house!).
Tackling Stubborn Spots
Sometimes, you’ll encounter stubborn spots that require a little extra attention. Here’s how to handle them:
1. Spot Treatment: For scuff marks or sticky residue, spray the area directly with the cleaning solution and let it sit for a minute or two.
2. Gentle Scrubbing: Use a clean microfiber cloth to gently scrub the spot. Avoid using abrasive scrubbers, as they can damage the finish on your baseboards.
3. Magic Eraser (Use with Caution): For really tough marks, you can try using a magic eraser. However, be very careful, as magic erasers can be abrasive. Test it in an inconspicuous area first to make sure it doesn’t damage the paint or finish.
4. Rinse and Wipe: After scrubbing, rinse the area with a damp microfiber cloth and wipe dry.
Tips and Tricks for Baseboard Cleaning Success
Here are a few extra tips to help you achieve baseboard cleaning perfection:
* Work in Sections: Don’t try to clean all your baseboards at once. Work in small sections to prevent the cleaning solution from drying before you have a chance to wipe it off.
* Change Your Sock: If your sock gets too dirty, replace it with a clean one. A clean sock will pick up dirt more effectively.
* Protect Your Floors: If you’re worried about getting your floors wet, you can place a towel or drop cloth along the baseboards.
* Regular Maintenance: To prevent your baseboards from getting too dirty in the first place, try to clean them regularly – at least once a month. A quick wipe-down with a damp cloth can go a long way.
* Consider a Baseboard Buddy: There are tools specifically designed for cleaning baseboards, like the Baseboard Buddy. These can be helpful if you have a lot of baseboards to clean or if you have mobility issues.
* Don’t Forget the Corners: Use a small brush or cotton swab to clean the corners and crevices of your baseboards. These areas tend to accumulate dust and dirt.
* Dry Thoroughly: Make sure your baseboards are completely dry after cleaning to prevent water damage.
* Ventilate the Room: Open windows or turn on a fan to ventilate the room while you’re cleaning. This will help the cleaning solution dry faster and prevent the buildup of fumes.
* Test in an Inconspicuous Area: Before cleaning your entire baseboard, test the cleaning solution in an inconspicuous area to make sure it doesn’t damage the paint or finish.
* Be Patient: Cleaning baseboards can be time-consuming, but it’s worth it in the end. Take your time and don’t rush the process.
Why This Hack Works So Well
So, what makes this hack so effective? It’s a combination of factors:
* The Paint Roller: The paint roller provides a long handle, which eliminates the need to bend over and strain your back. It also allows you to cover a large area quickly and efficiently.
* The Sock: The sock provides a soft, absorbent surface that won’t scratch your baseboards. It also picks up dirt and grime effectively.
* The Gentle Cleaning Solution: The gentle cleaning solution is effective at removing dirt and grime without damaging the paint or finish on your baseboards.
* The Microfiber Cloth: The microfiber cloth is perfect for wiping down the baseboards and removing any remaining residue.
Alternative Cleaning Solutions
While the dish soap and water solution is my go-to, here are a few other options you can try:
* Vinegar and Water: Mix equal parts white vinegar and water in a spray bottle. Vinegar is a natural disinfectant and can help cut through grease and grime.
* Baking Soda Paste: Mix baking soda with a little water to form a paste. Apply the paste to stubborn stains and let it sit for a few minutes before wiping it away.
* All-Purpose Cleaner: You can also use a commercially available all-purpose cleaner, but be sure to choose one that is safe for painted surfaces.
Maintaining Your Sparkling Baseboards
Once you’ve cleaned your baseboards, you’ll want to keep them looking their best. Here are a few tips for maintaining your sparkling baseboards:
* Dust Regularly: Dust your baseboards regularly with a dry microfiber cloth or duster. This will prevent dust and dirt from building up.
* Wipe Up Spills Immediately: If you spill something on your baseboards, wipe it up immediately to prevent staining.
* Protect from Scuffs: Use furniture pads under furniture legs to protect your baseboards from scuffs.
* Touch Up Paint: If your baseboards get chipped or scratched, touch them up with paint to keep them looking their best.
I hope this hack helps you achieve sparkling baseboards with minimal effort! Happy cleaning!
Conclusion
So, there you have it! This simple yet incredibly effective DIY baseboard cleaning hack is a game-changer for anyone looking to maintain a spotless home without breaking a sweat or spending a fortune on specialized cleaning products. We’ve shown you how to leverage readily available materials – a damp cloth, your trusty mop, and a touch of your favorite cleaning solution – to achieve professional-level results.
Why is this a must-try? Because it’s efficient, economical, and, most importantly, it saves you time and energy. Think about it: no more crawling around on your hands and knees, straining your back, or battling stubborn grime with ineffective methods. This hack transforms a dreaded chore into a quick and easy task that you can incorporate into your regular cleaning routine.
But the beauty of this DIY approach lies in its adaptability. Feel free to experiment with variations to suit your specific needs and preferences. For instance, if you have particularly grimy baseboards, consider adding a small amount of baking soda to your cleaning solution for extra scrubbing power. For painted baseboards, ensure your cleaning solution is gentle and pH-neutral to prevent damage to the finish. You could also use a microfiber cloth instead of a regular cloth for enhanced dirt absorption. If you prefer a more natural approach, vinegar diluted with water works wonders as a cleaning agent. For those hard-to-reach areas, try attaching a smaller cloth to a paint edger tool for precise cleaning.
This method isn’t just about cleaning; it’s about maintaining the overall aesthetic appeal of your home. Clean baseboards make a significant difference in the appearance of a room, creating a polished and well-cared-for environment. They contribute to a sense of cleanliness and freshness that extends beyond just the floors.
We are confident that once you try this DIY baseboard cleaning hack, you’ll wonder how you ever cleaned without it. It’s a simple solution to a common problem, and it delivers exceptional results.
Now, it’s your turn! We encourage you to give this method a try and experience the difference for yourself. Don’t be afraid to experiment with different cleaning solutions and techniques to find what works best for you. And most importantly, we want to hear about your experience! Share your tips, tricks, and before-and-after photos in the comments below. Let’s create a community of clean baseboard enthusiasts and help each other maintain sparkling homes. Your feedback will not only help others but also inspire us to continue sharing innovative and effective cleaning solutions. So, grab your mop, your cloth, and your favorite cleaner, and get ready to transform your baseboards from drab to fab! Happy cleaning!
Frequently Asked Questions (FAQ)
1. What kind of cleaning solution should I use for this DIY baseboard cleaning hack?
The best cleaning solution depends on the type of baseboards you have and the level of grime. For most painted baseboards, a mild all-purpose cleaner diluted with water is a safe and effective option. You can also use a mixture of warm water and dish soap. For tougher stains or grimy baseboards, consider adding a small amount of baking soda to your cleaning solution. If you prefer a natural approach, a solution of equal parts white vinegar and water works well. Always test the cleaning solution in an inconspicuous area first to ensure it doesn’t damage the finish. Avoid using abrasive cleaners or harsh chemicals, as these can scratch or discolor your baseboards.
2. How often should I clean my baseboards using this method?
The frequency of cleaning depends on factors such as foot traffic, the presence of pets, and the overall cleanliness of your home. As a general guideline, cleaning your baseboards every 1-3 months is a good starting point. However, if you notice a build-up of dust, dirt, or grime, you may need to clean them more frequently. Regular cleaning will prevent the build-up of stubborn stains and make the task easier in the long run. Incorporating baseboard cleaning into your regular cleaning routine will help maintain a clean and polished home.
3. Can I use this method on all types of baseboards?
This method is generally safe for most types of baseboards, including painted wood, vinyl, and tile. However, it’s always a good idea to test the cleaning solution in an inconspicuous area first to ensure it doesn’t damage the finish. For delicate or antique baseboards, consult with a professional cleaner before attempting any DIY cleaning methods. Be extra cautious with unsealed wood baseboards, as they can be easily damaged by water. In such cases, use a dry cloth or a slightly damp cloth with a wood-specific cleaner.
4. What if I have stubborn stains or grime on my baseboards?
For stubborn stains or grime, you may need to pre-treat the affected areas before using the mop and cloth method. Apply a small amount of baking soda paste or a commercial stain remover to the stain and let it sit for a few minutes. Then, gently scrub the area with a soft brush or cloth before wiping it clean. You can also try using a magic eraser for particularly tough stains. Remember to test any cleaning product in an inconspicuous area first to ensure it doesn’t damage the finish.
5. How can I prevent my baseboards from getting dirty so quickly?
Preventing your baseboards from getting dirty quickly involves a few simple strategies. Regularly vacuum or sweep your floors to remove dust and debris that can accumulate on the baseboards. Use doormats at entrances to trap dirt and prevent it from being tracked into your home. Consider using a sealant or protective coating on your baseboards to make them easier to clean and more resistant to stains. You can also wipe down your baseboards with a damp cloth every few weeks to remove any accumulated dust or dirt.
6. What are some alternative tools I can use if I don’t have a mop?
If you don’t have a mop, you can still use this DIY baseboard cleaning hack with a few alternative tools. A long-handled brush with soft bristles can be used to reach the baseboards without bending over. You can also use a paint edger tool with a cloth attached to it for precise cleaning. Alternatively, you can simply use a damp cloth and your hands, but be prepared to get down on your hands and knees.
7. Is this DIY baseboard cleaning hack safe for pets and children?
The safety of this DIY baseboard cleaning hack for pets and children depends on the cleaning solution you use. Opt for non-toxic and pet-friendly cleaning products whenever possible. Avoid using harsh chemicals or abrasive cleaners, as these can be harmful if ingested or inhaled. Always keep cleaning solutions out of reach of children and pets. Ensure the baseboards are completely dry before allowing pets or children to come into contact with them. If you are concerned about potential allergies or sensitivities, consider using a natural cleaning solution such as vinegar and water.
8. Can I use this method on baseboards with intricate designs or moldings?
Yes, you can use this method on baseboards with intricate designs or moldings, but you may need to pay extra attention to detail. Use a soft brush or a cotton swab to clean the crevices and hard-to-reach areas. Be gentle and avoid applying too much pressure, as this can damage the moldings. You may also need to use a smaller cloth or sponge to clean these areas effectively.
9. What if my baseboards are peeling or have damaged paint?
If your baseboards are peeling or have damaged paint, it’s important to address the underlying issue before cleaning them. Peeling paint can be caused by moisture, so identify and fix any leaks or sources of dampness. Gently remove any loose paint flakes with a scraper or sandpaper. Then, prime the affected areas and repaint them with a suitable paint. Once the paint is dry, you can clean the baseboards using the DIY method, but be extra careful not to damage the new paint.
10. How can I make my own natural cleaning solution for baseboards?
Making your own natural cleaning solution for baseboards is easy and cost-effective. One popular option is to mix equal parts white vinegar and water in a spray bottle. You can also add a few drops of essential oil, such as lemon or lavender, for a pleasant scent. Another option is to mix warm water with a small amount of dish soap and a tablespoon of baking soda. These natural cleaning solutions are safe, effective, and environmentally friendly.
Leave a Comment