
Baking Soda Mattress Cleaner: Is your mattress harboring unwanted guests like dust mites, odors, or even stains? Don’t worry, you’re not alone! We’ve all been there. But before you resign yourself to sleeping on a less-than-fresh surface, let me tell you about a simple, effective, and surprisingly affordable solution: a DIY baking soda mattress cleaner.
For generations, baking soda has been a trusted household staple, valued for its natural cleaning and deodorizing properties. From ancient Egyptians using it in their mummification process to our grandmothers relying on it for everything from baking to scrubbing, baking soda has a rich history of practical application. But did you know it’s also a fantastic way to revitalize your mattress?
In today’s busy world, we often overlook the importance of a clean sleeping environment. A mattress can accumulate dust, dead skin cells, and sweat over time, creating a breeding ground for allergens and unpleasant odors. This can lead to poor sleep quality, allergies, and even skin irritations. That’s why learning how to create your own baking soda mattress cleaner is so essential. It’s a quick, easy, and eco-friendly way to refresh your mattress, improve your sleep, and create a healthier home for you and your family. So, let’s dive in and discover the secrets to a sparkling clean mattress using the power of baking soda!
DIY Baking Soda Mattress Cleaner: A Refreshing Sleep Awaits!
Okay, let’s face it, we spend a *lot* of time on our mattresses. And while we might diligently wash our sheets, the mattress itself often gets neglected. But fear not! I’m going to show you how to whip up a super effective and surprisingly easy baking soda mattress cleaner that will leave your bed feeling fresh, clean, and ready for some serious Zzz’s. This method is fantastic for removing odors, absorbing moisture, and even tackling some light stains.
What You’ll Need: Your Cleaning Arsenal
Before we dive in, let’s gather our supplies. This is a pretty simple project, so you probably already have most of these things lying around:
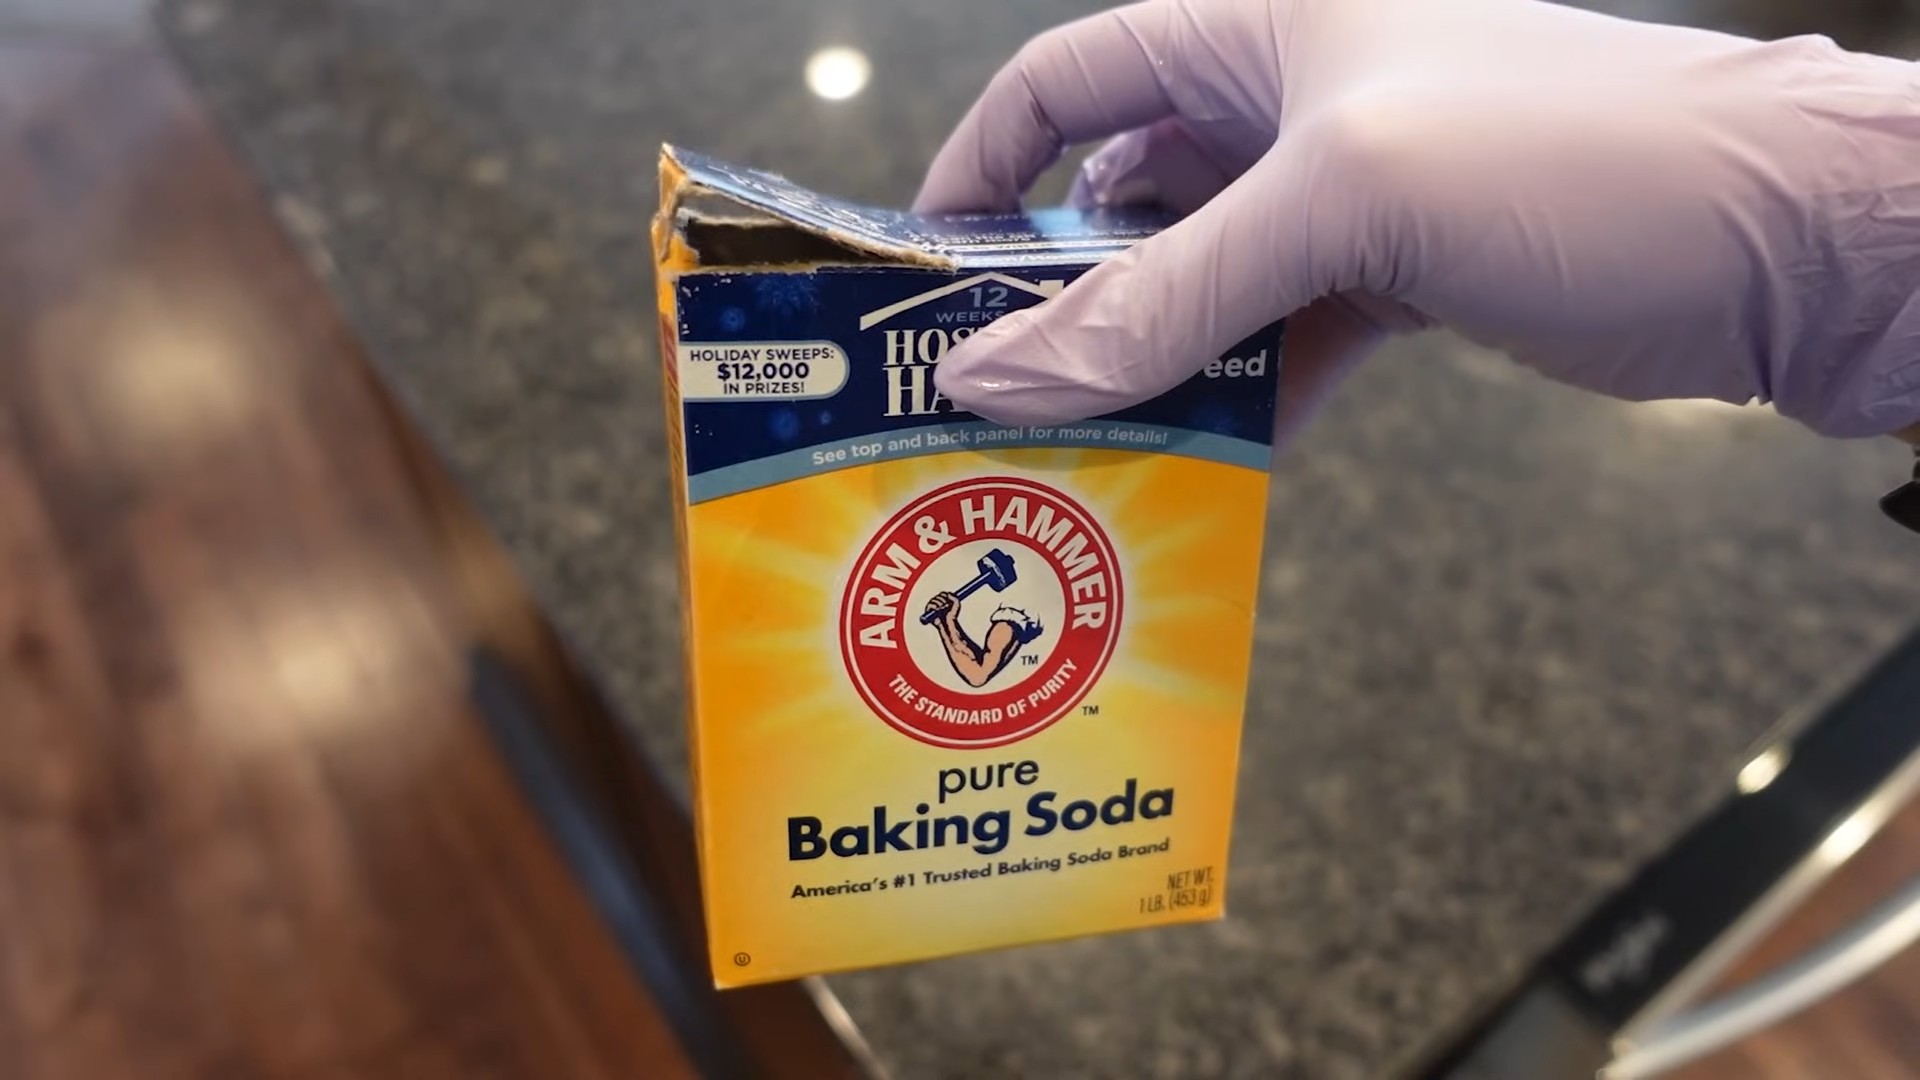
* Baking Soda: The star of the show! Baking soda is a natural deodorizer and absorbent. I usually buy a big box because I use it for everything.
* Essential Oil (Optional): This is where you can customize your cleaner. Lavender, eucalyptus, or tea tree oil are all great choices for a fresh, clean scent. Just a few drops will do the trick.
* Vacuum Cleaner with Upholstery Attachment: A good vacuum is essential for removing the baking soda and any lingering dust or debris.
* Sieve or Flour Sifter (Optional): This helps distribute the baking soda evenly. If you don’t have one, don’t worry, you can sprinkle it by hand.
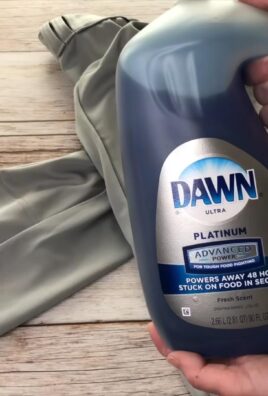
* Spray Bottle (Optional, for stain treatment): If you have any specific stains you want to target, a spray bottle filled with a solution of water and a mild detergent (like dish soap) can be helpful.
* Clean Cloths or Sponges: For blotting stains and wiping down the mattress.
* Rubber Gloves (Optional): If you have sensitive skin, gloves are always a good idea.
Step-by-Step Guide: Reviving Your Mattress
Alright, let’s get down to business! Here’s how to clean your mattress using baking soda:
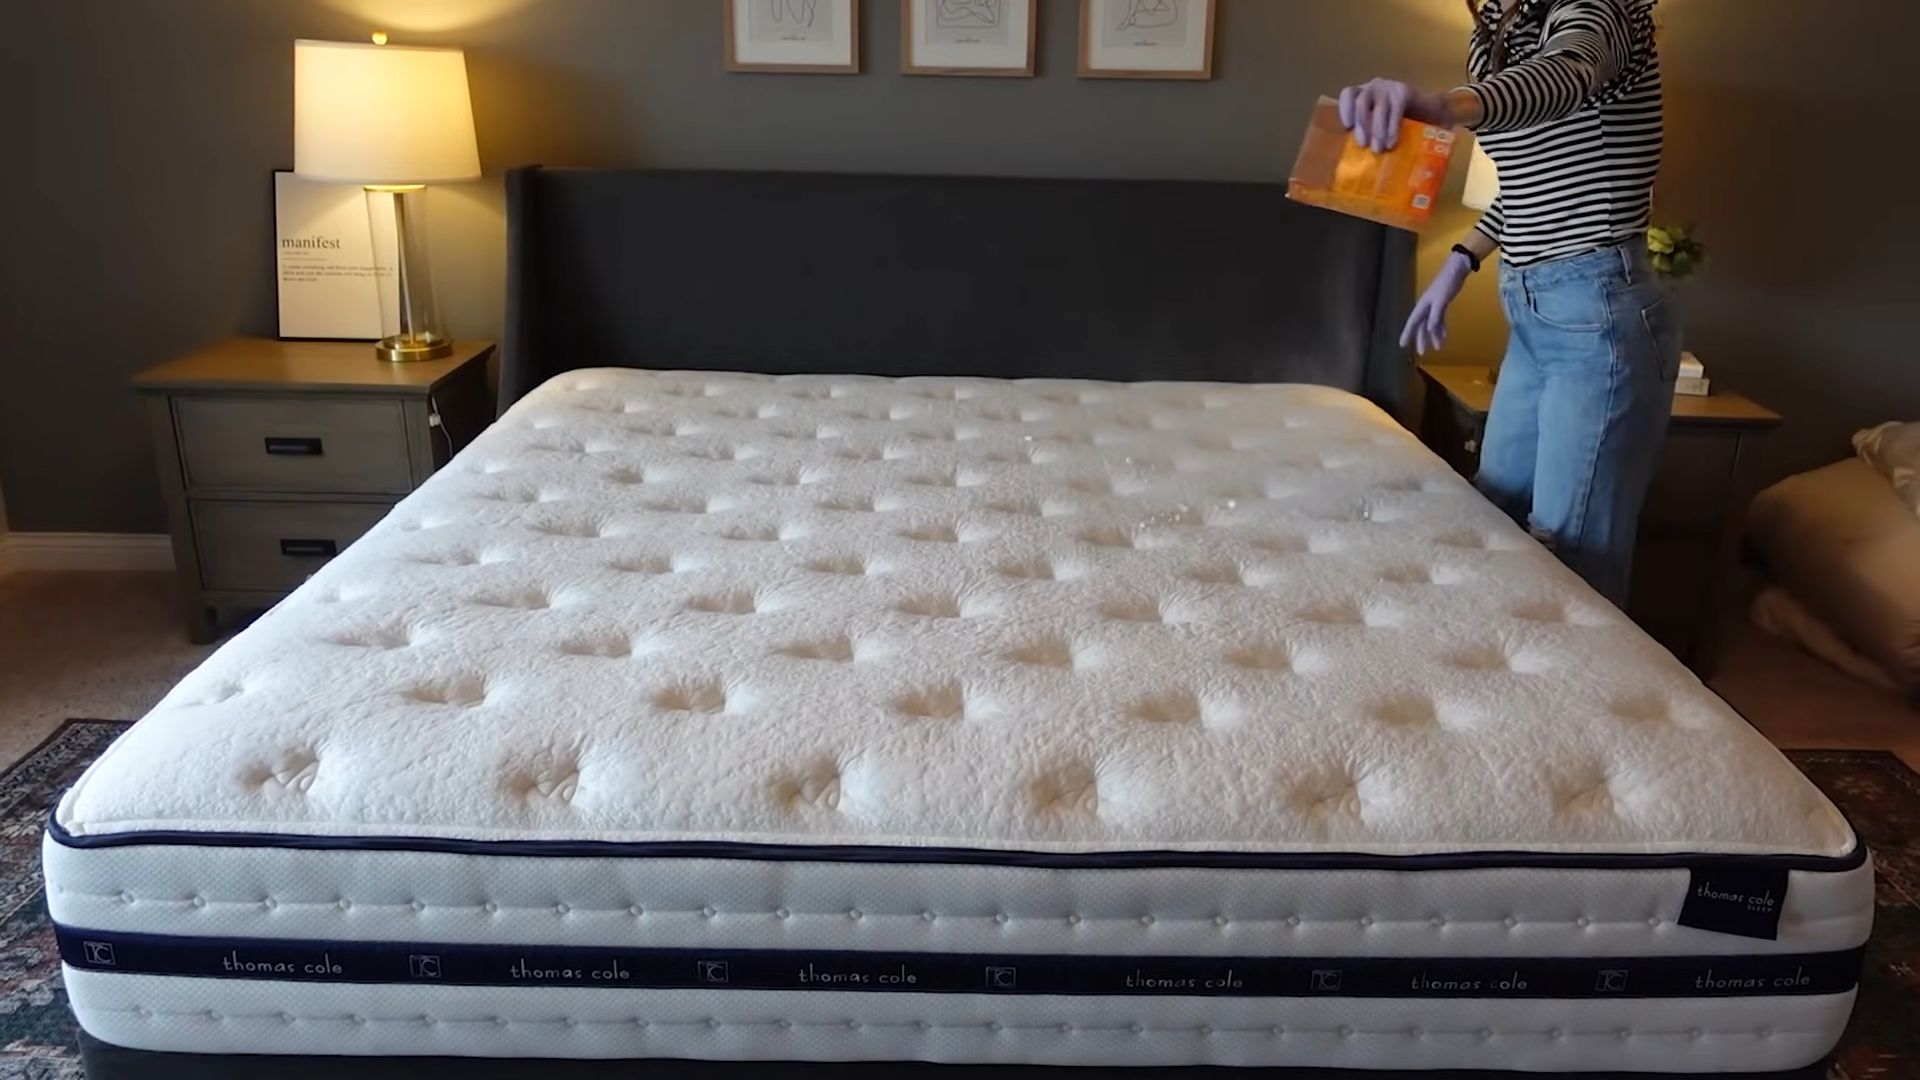
1. Strip the Bed: Remove all sheets, blankets, pillows, and mattress protectors. Give your bedding a good wash while you’re at it! This is a great opportunity to get everything fresh and clean.
2. Vacuum the Mattress: This is a crucial first step. Use the upholstery attachment on your vacuum to thoroughly vacuum the entire surface of the mattress, including the sides and any crevices. This will remove loose dust, dirt, and debris. I like to go over it a couple of times to make sure I get everything.
3. Prepare the Baking Soda Mixture: In a bowl, combine the baking soda with a few drops of your chosen essential oil (if using). I usually use about 5-10 drops per cup of baking soda. Mix well to distribute the oil evenly. The essential oil will add a pleasant scent and can also have antibacterial properties.
4. Apply the Baking Soda: Now comes the fun part! Using a sieve or flour sifter (or just your hands), sprinkle a generous layer of baking soda over the entire surface of the mattress. Make sure to cover every area, paying special attention to any stained or soiled spots. Don’t be shy, you want a good, even coating.
5. Let it Sit: The Waiting Game This is the most important step, so be patient! Allow the baking soda to sit on the mattress for at least 4-8 hours, or even better, overnight. The longer it sits, the more time it has to absorb odors and moisture. I usually do this in the morning so it can sit all day while I’m at work. If you have pets or small children, you might want to cover the mattress with a sheet to prevent them from disturbing the baking soda.
6. Vacuum Again: The Grand Finale After the baking soda has had its time to work its magic, it’s time to vacuum it up. Use the upholstery attachment on your vacuum to thoroughly vacuum the entire surface of the mattress again. Make sure to get into all the nooks and crannies. You might need to go over it a few times to remove all the baking soda.
7. Air it Out: Fresh Air is Your Friend After vacuuming, open the windows in your bedroom to air out the mattress and allow any remaining moisture to evaporate. This will also help to further eliminate any lingering odors. If possible, you can even place the mattress in direct sunlight for a few hours, as sunlight has natural disinfecting properties.
Tackling Stubborn Stains: Stain Removal Strategies
Sometimes, baking soda alone isn’t enough to tackle those pesky stains. Here’s how to deal with them:
1. Identify the Stain: Knowing what caused the stain will help you choose the right cleaning method. Is it a liquid stain (like urine or spilled drink), or a solid stain (like dirt or food)?
2. Pre-Treat the Stain: For liquid stains, blot the area with a clean cloth or paper towel to absorb as much of the liquid as possible. Avoid rubbing, as this can spread the stain. For solid stains, gently scrape away any excess debris with a dull knife or spoon.
3. Prepare a Stain Removal Solution: In a spray bottle, mix equal parts water and a mild detergent (like dish soap). You can also add a tablespoon of white vinegar for extra cleaning power.
4. Apply the Solution: Lightly spray the stain with the cleaning solution. Avoid saturating the mattress, as this can lead to mold growth.
5. Blot the Stain: Using a clean cloth or sponge, gently blot the stain from the outside in. Continue blotting until the stain is lifted.
6. Rinse the Area: Dampen a clean cloth with water and blot the area to remove any remaining cleaning solution.
7. Dry the Mattress: Use a clean, dry towel to absorb as much moisture as possible. You can also use a fan or hairdryer (on a low setting) to speed up the drying process. Make sure the mattress is completely dry before putting your sheets back on.
8. Baking Soda Treatment (Again): Once the stain is treated and the area is dry, sprinkle baking soda over the treated area and let it sit for several hours to absorb any remaining moisture and odors. Then, vacuum it up as described above.
Preventative Measures: Keeping Your Mattress Fresh
Prevention is always better than cure! Here are some tips to keep your mattress clean and fresh in the long run:
* Use a Mattress Protector: A mattress protector is a waterproof and breathable barrier that will protect your mattress from spills, stains, and dust mites. I highly recommend investing in a good quality mattress protector.
* Wash Your Sheets Regularly: Wash your sheets at least once a week to remove dirt, sweat, and allergens.
* Vacuum Your Mattress Regularly: Vacuum your mattress every month or two to remove dust and debris.
* Rotate Your Mattress: Rotate your mattress every few months to ensure even wear and tear.
* Avoid Eating or Drinking in Bed: This is a tough one, I know, but it will significantly reduce the risk of spills and stains.
* Address Spills Immediately: If you do spill something on your mattress, clean it up immediately to prevent it from setting in.
Troubleshooting: Common Issues and Solutions
* Baking Soda Residue: If you find that you’re having trouble removing all the baking soda, try using a brush attachment on your vacuum. You can also dampen a clean cloth and gently wipe the mattress to remove any remaining residue.
* Lingering Odors: If you’re still noticing odors after cleaning, try repeating the baking soda treatment. You can also try using a stronger essential oil, such as tea tree oil, which has powerful antibacterial properties.
* Mold Growth: If you suspect mold growth on your mattress, it’s best to consult with a professional cleaning service. Mold can be harmful to your health, so it’s important to address it properly.
Final Thoughts: Sweet Dreams Await!
And there you have it! A simple, effective, and affordable way to clean your mattress using baking soda. By following these steps, you can keep your mattress fresh, clean, and comfortable for years to come. Now go ahead, give your mattress some love, and enjoy a good night’s sleep! You deserve it!
Conclusion
So, there you have it! A simple, effective, and incredibly budget-friendly way to revitalize your mattress using the power of baking soda. This isn’t just about cleaning; it’s about creating a healthier, more inviting sleep environment for you and your family. Think about it: we spend a significant portion of our lives in bed, and our mattresses silently accumulate dust mites, dead skin cells, and odors. Ignoring this can lead to allergies, respiratory issues, and simply a less restful night’s sleep.
This baking soda mattress cleaner method offers a natural alternative to harsh chemicals and expensive professional cleaning services. It’s a DIY trick that’s easy to incorporate into your regular cleaning routine, ensuring your mattress stays fresh and hygienic. The beauty of this method lies in its simplicity and adaptability.
Don’t be afraid to experiment with variations to suit your specific needs. For instance, if you’re dealing with a particularly stubborn stain, consider creating a paste of baking soda and water, applying it directly to the stain, and letting it sit for a longer period before vacuuming. For an extra boost of freshness, add a few drops of your favorite essential oil to the baking soda before sprinkling it on your mattress. Lavender, eucalyptus, and tea tree oil are all excellent choices for their antibacterial and calming properties.
Beyond the basic cleaning, consider using a mattress protector to prevent future stains and spills. This simple addition can significantly extend the life of your mattress and reduce the frequency of deep cleaning. Regularly rotating your mattress can also help distribute wear and tear evenly, preventing sagging and prolonging its lifespan.
We genuinely believe that this DIY baking soda mattress cleaner is a game-changer for anyone looking to improve their sleep hygiene without breaking the bank. It’s a small effort that yields significant results, contributing to a cleaner, healthier, and more comfortable home.
Now, it’s your turn! We encourage you to try this simple yet effective method and experience the difference for yourself. We’re confident that you’ll be amazed by the results. Don’t just take our word for it; give it a try and see how much fresher and cleaner your mattress can be.
And most importantly, we want to hear about your experience! Share your tips, tricks, and variations in the comments below. Let us know what worked best for you, what challenges you encountered, and any creative solutions you came up with. Your feedback will not only help us improve this guide but also inspire others to embrace the power of DIY cleaning. Let’s create a community of clean and healthy sleepers!
Frequently Asked Questions (FAQ)
1. How often should I clean my mattress with baking soda?
The frequency of cleaning your mattress with baking soda depends on several factors, including your lifestyle, whether you have allergies, and if you have pets. As a general guideline, cleaning your mattress every 3-6 months is a good practice to maintain freshness and hygiene. If you have allergies or pets, you might consider cleaning it more frequently, perhaps every 2-3 months. Regular cleaning helps to remove dust mites, dead skin cells, and odors that accumulate over time. Also, if you notice any spills or stains, it’s best to address them immediately to prevent them from setting in. Using a mattress protector can also help reduce the need for frequent deep cleaning.
2. Can I use this baking soda mattress cleaner method on all types of mattresses?
Yes, this baking soda mattress cleaner method is generally safe and effective for most types of mattresses, including innerspring, memory foam, latex, and hybrid mattresses. However, it’s always a good idea to check the manufacturer’s instructions or warranty information for your specific mattress before using any cleaning products or methods. For memory foam mattresses, be extra careful not to over-saturate the surface with any liquid, as this can damage the foam. When using essential oils, ensure they are diluted properly to avoid any potential staining or discoloration, especially on lighter-colored mattresses. If you’re unsure, test the baking soda mixture on a small, inconspicuous area of the mattress first to ensure it doesn’t cause any adverse effects.
3. What kind of vacuum cleaner should I use?
For the best results, use a vacuum cleaner with a strong suction and a clean upholstery attachment. A vacuum with a HEPA filter is particularly beneficial, as it can trap even the smallest particles, such as dust mites and allergens. This is especially important if you have allergies or asthma. When vacuuming, use slow, overlapping strokes to ensure you cover the entire surface of the mattress. Pay extra attention to seams and crevices, where dust and debris tend to accumulate. If you don’t have an upholstery attachment, you can use the hose attachment with a brush nozzle. Avoid using a vacuum cleaner with a rotating brush head, as this could potentially damage the mattress fabric.
4. How long should I leave the baking soda on the mattress?
For optimal results, leave the baking soda on the mattress for at least 30 minutes, but preferably for several hours. The longer the baking soda sits, the more effectively it can absorb odors and moisture. For heavily soiled or odorous mattresses, you can even leave the baking soda on overnight. Just be sure to cover the mattress with a clean sheet or towel to prevent any dust or debris from settling on it. When you’re ready to vacuum, ensure the baking soda is completely dry before proceeding.
5. Can I add anything else to the baking soda for extra cleaning power?
Yes, you can enhance the cleaning power of baking soda by adding a few other ingredients. As mentioned earlier, essential oils like lavender, eucalyptus, or tea tree oil can add a pleasant scent and provide antibacterial benefits. You can also mix the baking soda with a small amount of borax for extra stain-fighting power. However, be cautious when using borax, as it can be irritating to the skin and respiratory system. Always wear gloves and a mask when handling borax, and ensure the mattress is thoroughly vacuumed afterward to remove any residue. Another option is to add a few drops of hydrogen peroxide to the baking soda to create a paste for spot cleaning stubborn stains. Test this mixture on a small, inconspicuous area first to ensure it doesn’t discolor the mattress.
6. What if I don’t have baking soda? Are there any alternatives?
While baking soda is the most effective and readily available option for cleaning your mattress, there are a few alternatives you can consider if you don’t have any on hand. Cornstarch can be used in a similar way to baking soda, as it also has absorbent properties. Sprinkle cornstarch on the mattress, let it sit for a few hours, and then vacuum it up. Another option is to use a commercial mattress cleaner specifically designed for your mattress type. Be sure to follow the manufacturer’s instructions carefully and test the cleaner on a small, inconspicuous area first. In a pinch, you can also try airing out your mattress in direct sunlight, as sunlight has natural disinfecting properties. However, be careful not to leave your mattress in direct sunlight for too long, as this can damage the fabric.
7. How do I deal with specific stains on my mattress?
For specific stains, such as blood, urine, or vomit, it’s important to act quickly. Blot the stain with a clean cloth to remove as much of the liquid as possible. Then, create a paste of baking soda and water (or hydrogen peroxide for tougher stains) and apply it directly to the stain. Let the paste sit for several hours or overnight, then vacuum it up. For blood stains, you can also try using cold water and a mild detergent. For urine stains, you can add a few drops of vinegar to the baking soda paste to help neutralize the odor. Always test any cleaning solution on a small, inconspicuous area first to ensure it doesn’t discolor the mattress.
8. Is this method safe for people with allergies or asthma?
Yes, this baking soda mattress cleaner method is generally safe for people with allergies or asthma, as it uses natural ingredients and avoids harsh chemicals. In fact, it can actually help to reduce allergens in your mattress by removing dust mites and their droppings. However, it’s important to use a vacuum cleaner with a HEPA filter to trap even the smallest particles. Also, if you’re sensitive to certain essential oils, be sure to choose a scent that is known to be hypoallergenic. If you have severe allergies or asthma, it’s always a good idea to consult with your doctor or allergist before using any new cleaning products or methods.
9. How can I prevent my mattress from getting dirty in the future?
The best way to keep your mattress clean is to prevent it from getting dirty in the first place. Use a high-quality mattress protector to shield your mattress from spills, stains, and dust mites. Wash your bedding regularly, including sheets, pillowcases, and blankets. Avoid eating or drinking in bed, as this can increase the risk of spills. Regularly vacuum your mattress to remove dust and debris. And consider investing in a bed frame that allows for proper ventilation, as this can help to prevent moisture buildup and mold growth.

Leave a Comment