
Grow Big Banana Bunches: Imagine stepping into your backyard and harvesting a bounty of plump, juicy bananas – a tropical paradise right at your doorstep! It sounds like a dream, right? Well, it doesn’t have to be! For centuries, cultivating bananas has been a vital part of many cultures, from providing sustenance to holding symbolic significance in rituals and traditions. Now, you too can join this legacy, even if you’re a beginner gardener.
Are you tired of seeing your banana plants produce only small, disappointing bunches? I know I was! That’s why I’ve compiled this ultimate guide filled with easy-to-follow DIY tricks and hacks to help you grow big banana bunches. We’ll delve into everything from soil preparation and fertilization to pruning techniques and pest control. These simple yet effective strategies will transform your banana plants into prolific producers, giving you a harvest you can be truly proud of.
Why is this so important? Because growing your own bananas is not only incredibly rewarding, but it also provides you with fresh, healthy fruit free from harmful chemicals. Plus, it’s a fantastic way to connect with nature and enjoy the satisfaction of nurturing something from a small plant to a thriving, fruit-bearing tree. So, let’s get started and unlock the secrets to growing those impressive banana bunches you’ve always dreamed of!
DIY: Unlock Giant Banana Bunches with This Simple Trick!
Hey there, fellow banana enthusiasts! Ever dreamt of harvesting massive banana bunches that would make your neighbors green with envy? Well, you’ve come to the right place! I’m going to share a simple, yet incredibly effective, DIY trick that will help you maximize your banana yield. This isn’t some magical fertilizer or complicated grafting technique. It’s all about understanding your banana plant’s needs and giving it a little boost at the right time. Let’s get started!
Understanding Banana Plant Growth
Before we dive into the hack, it’s crucial to understand how banana plants grow and produce fruit. This knowledge will help you appreciate why this trick works and how to tailor it to your specific plant.
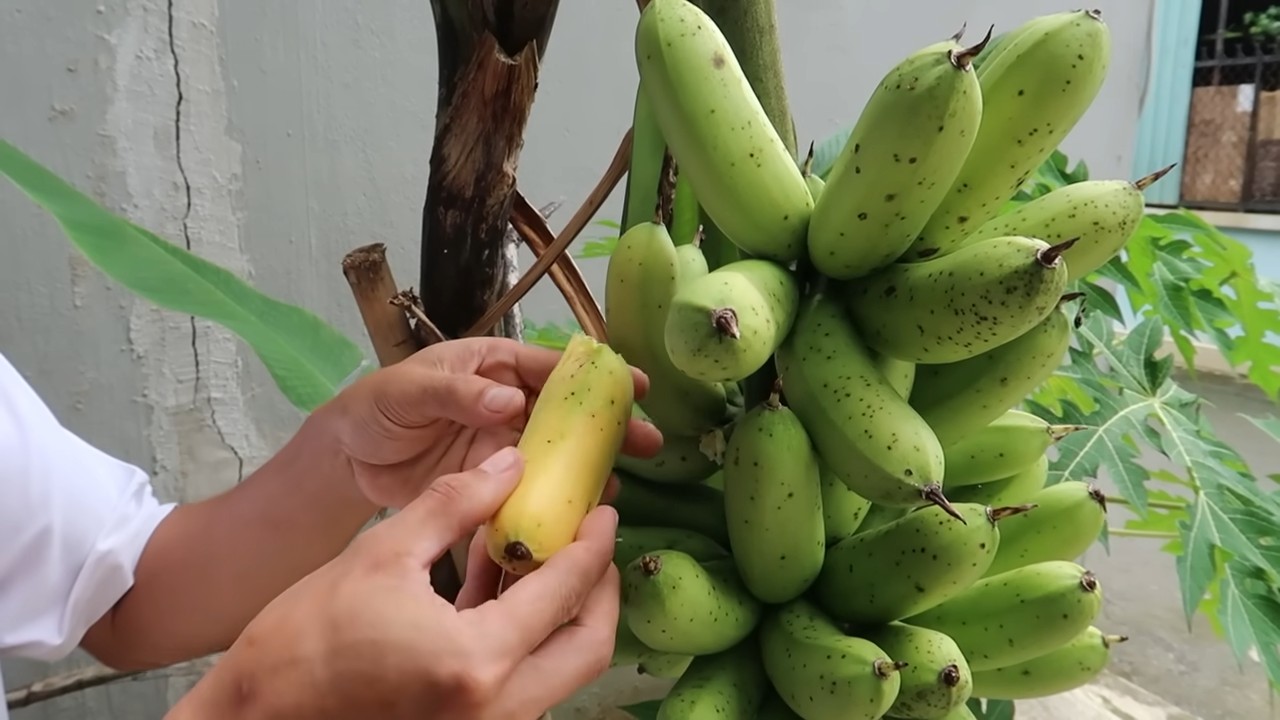
* The “Trunk” is a Pseudostem: What looks like a trunk is actually a tightly packed collection of leaf sheaths called a pseudostem. The true stem grows inside this pseudostem.
* One-Time Fruiting: Each pseudostem produces only one bunch of bananas. After fruiting, the pseudostem dies.
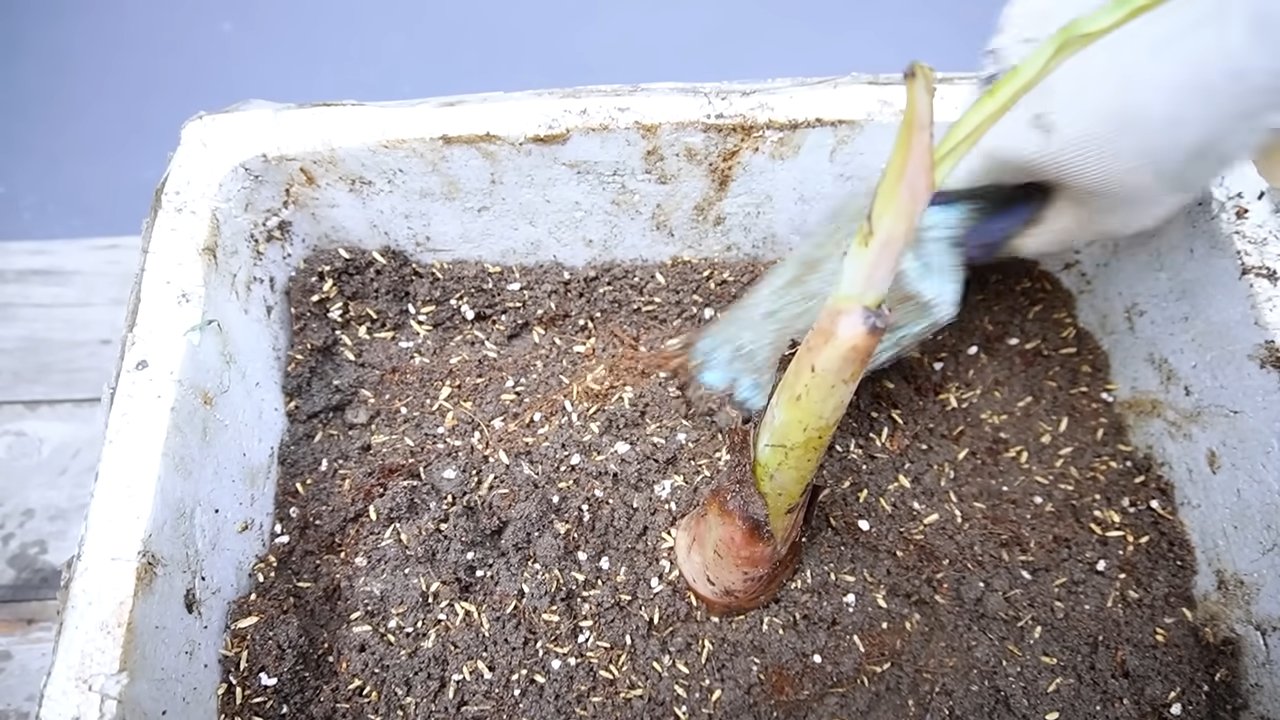
* Suckers are Key: New banana plants (suckers) emerge from the base of the mother plant. These suckers will eventually grow into new pseudostems and produce more bananas.
* Nutrient Demands: Banana plants are heavy feeders, requiring plenty of nutrients, especially potassium, to produce large, healthy bunches.
* Water is Essential: Consistent watering is vital, especially during the fruiting stage.
The Secret Ingredient: Epsom Salts
The star of our show is Epsom salts (Magnesium Sulfate). Magnesium is crucial for chlorophyll production (photosynthesis), which is how plants make their food. Sulfate helps plants absorb nutrients more efficiently. By providing your banana plant with extra magnesium and sulfate, you’re essentially giving it the building blocks it needs to produce bigger, better bananas.
The Epsom Salt Banana Bunch Boosting Hack
This hack involves applying Epsom salts at specific stages of the banana plant’s growth cycle. I’ve found that this timing maximizes the benefits and leads to the most impressive results.
* Timing is Everything: The key is to apply Epsom salts at three critical stages:
* Early Growth Stage: When the plant is actively growing and developing its pseudostem.
* Flowering Stage: When the flower stalk (inflorescence) emerges.
* Fruit Development Stage: When the bananas are forming and growing.
* Application Method: You can apply Epsom salts in two ways:
* Soil Drench: Dissolve Epsom salts in water and pour it around the base of the plant.
* Foliar Spray: Dissolve Epsom salts in water and spray it directly onto the leaves.
* Dosage: The correct dosage is crucial. Too much Epsom salts can harm your plant.
Step-by-Step Instructions
Alright, let’s get down to the nitty-gritty. Here’s a detailed, step-by-step guide on how to use Epsom salts to boost your banana bunch size:
Phase 1: Early Growth Stage
1. Prepare the Epsom Salt Solution: Dissolve 1 tablespoon of Epsom salts per gallon of water. I like to use a watering can for this. Make sure the Epsom salts are fully dissolved before proceeding.
2. Water the Base of the Plant: Slowly pour the Epsom salt solution around the base of the banana plant, ensuring that the soil is thoroughly moistened. Aim to cover the entire root zone.
3. Frequency: Repeat this process every 4-6 weeks during the active growing season (usually spring and summer).
Phase 2: Flowering Stage
1. Observe for the Inflorescence: Keep a close eye on your banana plant. The flowering stage begins when the flower stalk (inflorescence) emerges from the center of the pseudostem. It looks like a large, purple bud.
2. Prepare the Epsom Salt Solution: Again, dissolve 1 tablespoon of Epsom salts per gallon of water.
3. Soil Drench and Foliar Spray: This time, we’ll use a combination of soil drench and foliar spray.
* Soil Drench: Pour half of the Epsom salt solution around the base of the plant, as in Phase 1.
* Foliar Spray: Pour the remaining solution into a spray bottle. Gently spray the leaves of the banana plant, ensuring that both the upper and lower surfaces are covered. Avoid spraying during the hottest part of the day to prevent leaf burn.
4. Frequency: Apply this treatment once a week for 2-3 weeks after the inflorescence emerges.
Phase 3: Fruit Development Stage
1. Monitor Fruit Development: Once the bananas start to form, it’s time for the final Epsom salt boost.
2. Prepare the Epsom Salt Solution: Dissolve 1 tablespoon of Epsom salts per gallon of water.
3. Soil Drench: Pour the Epsom salt solution around the base of the plant, ensuring that the soil is thoroughly moistened.
4. Frequency: Apply this treatment every 2-3 weeks until the bananas are almost ripe.
Important Considerations and Tips
* Soil Testing: Before you start using Epsom salts, it’s a good idea to test your soil. This will help you determine if your soil is already rich in magnesium. If it is, you may not need to use Epsom salts as frequently.
* Water Quality: If your tap water is hard (high in minerals), it may already contain some magnesium. In this case, you may need to reduce the amount of Epsom salts you use.
* Organic Matter: Banana plants thrive in soil that is rich in organic matter. Amend your soil with compost, well-rotted manure, or other organic materials to improve drainage and nutrient retention.
* Fertilizing: Epsom salts are not a substitute for regular fertilizing. Use a balanced fertilizer specifically formulated for banana plants to provide them with all the essential nutrients they need. Look for a fertilizer with a high potassium content.
* Sunlight: Banana plants need plenty of sunlight to produce large, healthy bunches. Make sure your plant is located in a spot that receives at least 6-8 hours of direct sunlight per day.
* Watering: Consistent watering is crucial, especially during the fruiting stage. Water your banana plant deeply whenever the top inch of soil feels dry.
* Pest and Disease Control: Keep an eye out for pests and diseases that can affect banana plants. Treat any problems promptly to prevent them from impacting your yield.
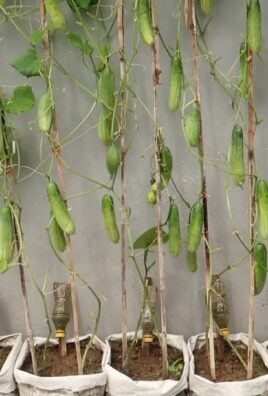
* Support: As your banana bunch grows larger, it may become necessary to provide support to the pseudostem to prevent it from breaking. You can use a sturdy stake or prop to support the bunch.
* Patience: Growing large banana bunches takes time and patience. Don’t get discouraged if you don’t see results immediately. Keep following these steps, and you’ll eventually be rewarded with a bountiful harvest.
* Observe Your Plant: Pay close attention to your banana plant’s overall health and appearance. If you notice any signs of nutrient deficiencies or other problems, adjust your care accordingly.
* Sucker Management: Regularly remove excess suckers from the base of the plant to prevent them from competing with the mother plant for nutrients and water. Leave only 2-3 suckers to replace the mother plant after it fruits.
* Mulching: Apply a layer of mulch around the base of the banana plant to help retain moisture, suppress weeds, and regulate soil temperature.
* Experiment: Don’t be afraid to experiment with different dosages and application methods to see what works best for your specific banana plant and growing conditions.
Troubleshooting
* Yellowing Leaves: Yellowing leaves can be a sign of magnesium deficiency. If you notice this, increase the frequency of Epsom salt applications.
* Leaf Burn: Leaf burn can occur if you apply Epsom salts in too high a concentration or during the hottest part of the day. Reduce the concentration of Epsom salts and avoid spraying during the hottest hours.
* Slow Growth: Slow growth can be caused by a variety of factors, including nutrient deficiencies, lack of sunlight, or poor soil drainage. Make sure your banana plant is getting enough sunlight, water, and nutrients.
Final Thoughts
This Epsom salt trick is a game-changer for banana growers. It’s a simple, affordable, and effective way to boost your banana bunch size and enjoy a more abundant harvest. Remember to be patient, observe your plant closely, and adjust your care as needed. With a little bit of effort, you’ll be harvesting giant banana bunches in no time! Happy growing!
Conclusion
So, there you have it! Unlocking the secret to growing big banana bunches isn’t about expensive fertilizers or complicated techniques. It’s about understanding the banana plant’s needs and providing them with a little extra boost using simple, readily available resources. This DIY trick, focusing on enriching the soil and optimizing nutrient delivery, is a game-changer for both novice and experienced banana growers.
Why is this a must-try? Because it’s effective, economical, and environmentally friendly. You’re not relying on harsh chemicals that can harm the soil and surrounding ecosystem. Instead, you’re harnessing the power of natural ingredients to stimulate growth and maximize fruit production. Imagine the satisfaction of harvesting significantly larger, more abundant banana bunches from your own backyard – all thanks to a simple, proactive approach.
Beyond the basic method, there’s plenty of room for experimentation and personalization. Consider adding different types of organic matter to your soil mix, such as composted coffee grounds or crushed eggshells, to further enhance nutrient availability. You can also adjust the frequency of application based on your plant’s specific needs and the local climate. For instance, in drier climates, you might need to water more frequently to ensure the nutrients are properly absorbed.
Don’t be afraid to get creative and adapt the technique to suit your unique circumstances. The key is to observe your banana plants closely and adjust your approach accordingly. Are the leaves vibrant and healthy? Are the pseudostems strong and sturdy? Are you seeing signs of flower development? These are all indicators that your efforts are paying off.
We wholeheartedly encourage you to try this DIY trick for growing big banana bunches. It’s a rewarding experience that will not only yield delicious fruit but also deepen your connection with nature. Once you’ve given it a go, we’d love to hear about your results! Share your experiences, tips, and variations in the comments section below. Let’s build a community of banana enthusiasts who are passionate about sustainable and productive gardening. Your insights could be invaluable to other growers, and together, we can unlock the full potential of our banana plants. So, grab your gardening gloves, gather your supplies, and get ready to witness the amazing transformation of your banana harvest! We are confident that you will be amazed by the results.
Frequently Asked Questions (FAQ)
What exactly does this DIY trick entail?
This DIY trick focuses on improving the soil quality and nutrient availability for your banana plants. It typically involves amending the soil with organic matter, such as compost, well-rotted manure, or other nutrient-rich materials. The specific ingredients and application methods can vary, but the underlying principle is to provide the banana plant with the essential nutrients it needs to produce large, healthy bunches of bananas. It’s about creating a thriving environment where the plant can flourish and reach its full potential.
How often should I apply this DIY treatment?
The frequency of application depends on several factors, including the age of your banana plant, the type of soil you have, and the local climate. As a general guideline, you can start by applying the treatment every 2-3 months during the growing season. Observe your plant closely and adjust the frequency accordingly. If you notice signs of nutrient deficiency, such as yellowing leaves or stunted growth, you may need to apply the treatment more frequently. Conversely, if your plant is thriving, you can reduce the frequency of application. Remember, consistency is key to achieving optimal results.
What kind of organic matter is best to use?
The best type of organic matter to use depends on what’s readily available to you and the specific needs of your banana plant. Compost is an excellent all-around choice, as it provides a wide range of nutrients and improves soil structure. Well-rotted manure is another great option, but be sure to use manure that is fully composted to avoid burning the plant’s roots. Other options include leaf mold, grass clippings, and even kitchen scraps (avoid meat and dairy). Experiment with different combinations to see what works best for your plants. The goal is to create a nutrient-rich soil that supports healthy growth and abundant fruit production.
Can I use chemical fertilizers instead of organic matter?
While chemical fertilizers can provide a quick boost of nutrients, they are not a sustainable long-term solution. Chemical fertilizers can harm the soil microbiome, leading to nutrient imbalances and reduced soil fertility over time. They can also leach into the groundwater, polluting the environment. Organic matter, on the other hand, improves soil structure, enhances water retention, and provides a slow-release source of nutrients. It also supports a healthy soil microbiome, which is essential for plant health. For these reasons, we strongly recommend using organic matter instead of chemical fertilizers.
Will this trick work for all types of banana plants?
This DIY trick is generally effective for most types of banana plants. However, some varieties may have slightly different nutrient requirements. It’s always a good idea to research the specific needs of your banana variety and adjust the treatment accordingly. For example, some varieties may benefit from additional potassium, while others may require more nitrogen. By understanding the specific needs of your plants, you can tailor the treatment to maximize its effectiveness.
How long will it take to see results?
The time it takes to see results can vary depending on several factors, including the age of your plant, the severity of any nutrient deficiencies, and the local climate. In general, you should start to see improvements in your plant’s health within a few weeks of applying the treatment. You may notice that the leaves become greener and more vibrant, and the pseudostem becomes stronger and more sturdy. It may take several months to see a significant increase in the size of your banana bunches. Be patient and consistent with your efforts, and you will eventually be rewarded with a bountiful harvest.
What if I don’t have access to compost or manure?
If you don’t have access to compost or manure, there are still plenty of other options for enriching your soil. You can use leaf mold, grass clippings, or even kitchen scraps (avoid meat and dairy). You can also purchase organic soil amendments from your local garden center. Look for products that are specifically designed for fruit trees or that contain a blend of essential nutrients. The key is to find a source of organic matter that is readily available to you and that provides the nutrients your banana plants need to thrive.
My banana plant is already producing fruit. Can I still use this trick?
Yes, you can still use this trick even if your banana plant is already producing fruit. In fact, it’s especially important to provide your plant with adequate nutrients during the fruiting stage, as this is when it needs the most energy. Applying the treatment during the fruiting stage can help to ensure that your bananas are large, healthy, and flavorful. Just be sure to avoid getting any of the treatment on the fruit itself.
What are some signs that my banana plant needs more nutrients?
There are several signs that your banana plant may need more nutrients. These include yellowing leaves, stunted growth, small or misshapen bananas, and a weak or flimsy pseudostem. If you notice any of these signs, it’s important to take action quickly to address the nutrient deficiency. Applying the DIY treatment can help to restore your plant’s health and ensure a bountiful harvest.
Can I over-fertilize my banana plant?
Yes, it is possible to over-fertilize your banana plant, especially if you are using chemical fertilizers. Over-fertilization can lead to nutrient imbalances, root burn, and even death. It’s important to follow the instructions carefully when applying any type of fertilizer, and to avoid applying too much. With organic matter, the risk of over-fertilization is much lower, as the nutrients are released slowly and gradually. However, it’s still important to monitor your plant closely and adjust the application rate accordingly.


Leave a Comment