
Growing Apples Indoors Beginner? Absolutely! Imagine plucking a crisp, juicy apple right from a tree in your living room. Sounds like something out of a fairytale, right? Well, it’s more achievable than you might think! For centuries, people have cultivated plants indoors, from the elaborate orangeries of European royalty to the humble windowsill herb gardens of today. But bringing the orchard inside, specifically growing apples indoors beginner-style, opens up a whole new world of possibilities.
This isn’t just about having a cool conversation starter (though it definitely is that!). It’s about taking control of your food source, enjoying the beauty of nature year-round, and tackling a rewarding DIY project. Maybe you live in an apartment with no outdoor space, or perhaps your climate isn’t apple-friendly. Whatever the reason, this guide will break down the process into simple, manageable steps, perfect for beginners. I’ll share my favorite tips and tricks to help you succeed, from choosing the right apple variety to providing the perfect light and nutrients. Get ready to roll up your sleeves and embark on an exciting indoor gardening adventure!
Growing Apples Indoors: A Beginner’s Guide
Hey dear garden friends! Have you ever dreamed of harvesting your own crisp apples without having a garden? Well, I have good news: it’s possible to grow apples indoors! It might seem a bit unusual at first, but with the right preparation and care, you can soon enjoy a small but fine apple harvest in your own four walls. Let’s dive into this exciting project together!
What you need for indoor apple growing
Before we get started, here is a list of the things you’ll need for your indoor apple-growing adventure:
- Apple tree sapling: Choose a dwarf variety or a variety specifically suited for growing in containers. Popular options are ‘Gala’, ‘Fuji’, or ‘Honeycrisp’ on a dwarf rootstock. Make sure the sapling looks healthy and shows no signs of disease or pests.
- Large pot: A pot with a diameter of at least 45 cm (18 inches) and a depth of 45 cm (18 inches) is ideal. It should have good drainage holes to prevent waterlogging.
- High-quality potting soil: Use a well-draining potting mix that is rich in organic matter. A mixture of potting soil, compost, and perlite is a good choice.
- Plant stake: A plant stake helps to support the young tree, especially when it bears fruit.
- Fertilizer: A balanced, water-soluble fertilizer for fruit trees is important to provide the tree with the necessary nutrients.
- Grow light (optional): If you don’t have enough sunlight, a grow light can help promote the tree’s growth.
- Spray bottle: For misting the leaves to increase humidity.
- Pruning shears: For pruning the tree.
- Patience: Apple trees take time to grow and bear fruit.
Choosing the Right Variety
Choosing the right apple variety is crucial for the success of your indoor apple-growing project. Here are some things to consider when making your selection:
- Dwarf varieties: These varieties are specially bred to stay small and are therefore ideal for container growing.
- Self-fertile varieties: Some apple varieties are self-fertile, which means they do not need pollination from another tree to bear fruit. This is particularly important if you only have one tree.
- Climate zone: Choose a variety that is suitable for your climate zone. Even if you grow the tree indoors, the temperature and humidity in the house can play a role.
- Taste: Of course, you should choose a variety that you also enjoy eating!
Step-by-Step Guide to Planting Your Apple Tree
Now let’s get down to business! Here is a detailed guide on how to plant your apple tree indoors:
- Prepare the pot: Place a layer of clay shards or gravel at the bottom of the pot to improve drainage. Then fill the pot with the potting mix, but leave about 5 cm (2 inches) of space to the rim.
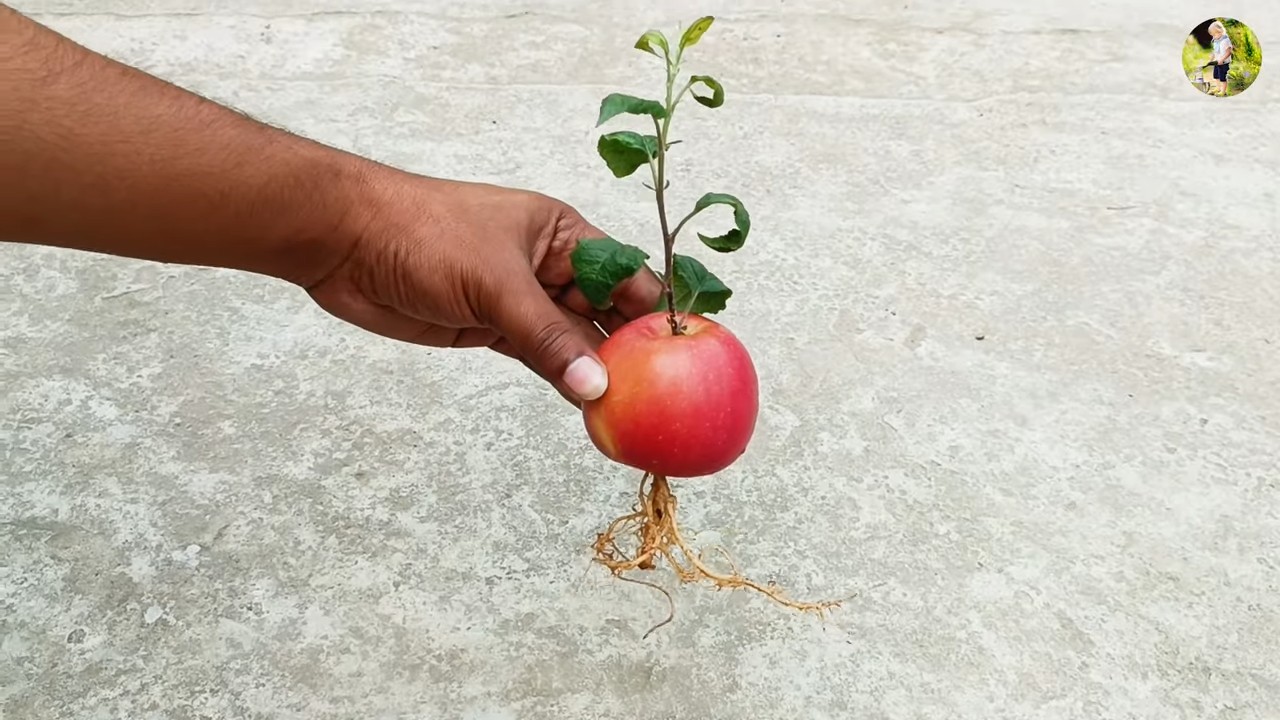
- Prepare the tree: Carefully remove the apple tree sapling from its container. Gently loosen the roots by carefully pulling them apart with your fingers.
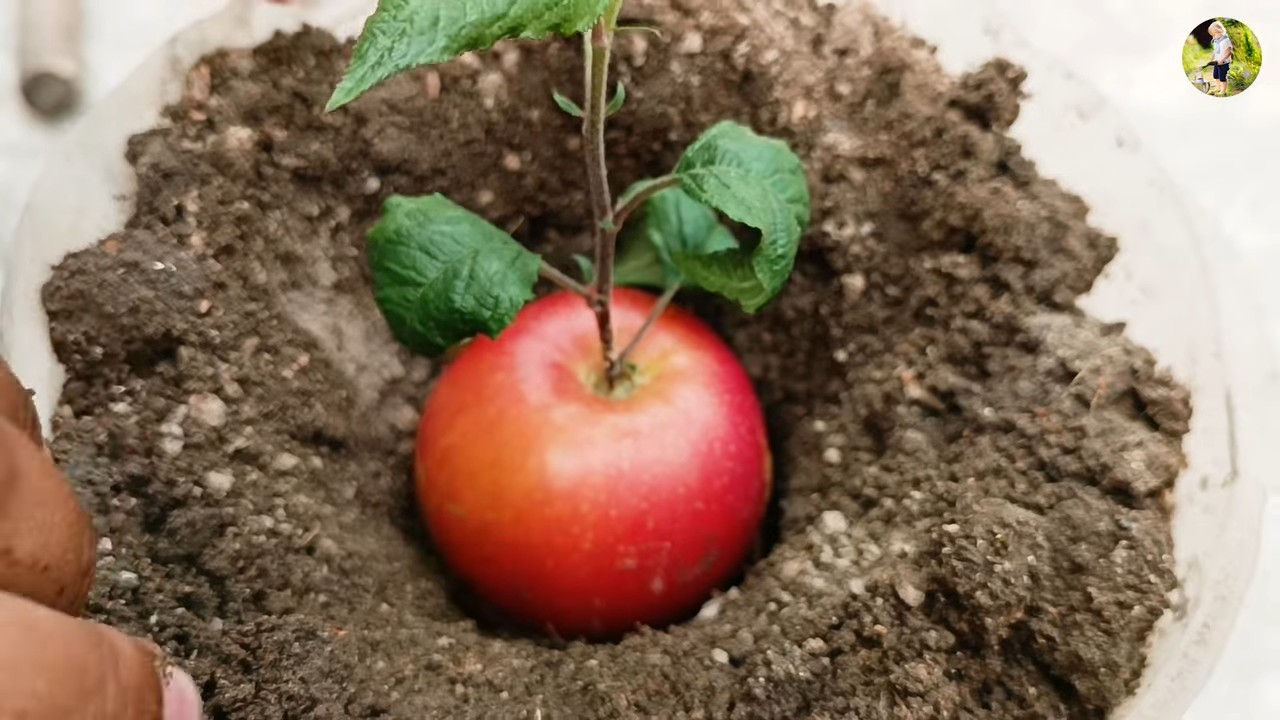
- Plant the tree: Place the tree in the center of the pot. The top of the root ball should be about 2.5 cm (1 inch) below the rim of the pot. Fill the pot with soil and press the soil down lightly.
- Water: Water the tree thoroughly until water runs out of the drainage holes.
- Support the tree: Insert the plant stake into the soil next to the tree and loosely tie the tree to the stake to support it.
The Right Care for Your Indoor Apple Tree
After you have planted your apple tree, it is important to give it the right care so that it grows healthy and bears fruit.
Location and Light
- Sunny window: Apple trees need at least 6-8 hours of sunlight per day. Place the tree near a sunny window, ideally a south-facing one.
- Rotate: Rotate the tree regularly so that all sides get even light.
- Grow light: If you don’t have enough sunlight, you can use a grow light to promote the tree’s growth.
Watering
- Water regularly: Water the tree regularly, but avoid waterlogging. The soil should be moist, but not wet.
- Finger test: Stick your finger about 2.5 cm (1 inch) deep into the soil. If the soil feels dry, it’s time to water.
- Drainage: Make sure the water can drain well to avoid root rot.
Fertilizing
- Fertilize regularly: Fertilize the tree regularly with a balanced, water-soluble fertilizer for fruit trees. Follow the instructions on the packaging.
- Spring and Summer: Fertilize the tree more frequently during the growing season (spring and summer) than in the fall and winter.
Pruning
- Prune regularly: Prune the tree regularly to maintain its shape and promote fruit growth.
- Remove dead branches: Remove any dead, damaged, or diseased branches.
- Ventilation: Cut out branches that cross or are too close together to improve air circulation.
- Shaping: Prune the tree to maintain an open, vase-like shape.
Pollination
- Hand pollination: Since there are no bees or other insects indoors, you will need to hand-pollinate the tree.
- Brush: Use a small, soft brush to transfer pollen from one flower to another.
- Several times: Repeat the pollination several times to increase the chances of successful fertilization.
Pests and Diseases
- Check regularly: Check the tree regularly for pests and diseases.
- Aphids, spider mites: Common pests include aphids and spider mites.
- Natural remedies: Use natural remedies like neem oil or insecticidal soap to combat pests.
- Fungal diseases: Watch for signs of fungal diseases like powdery mildew or scab.
- Good ventilation: Ensure good ventilation to prevent fungal diseases.
The Harvest
- Patience: Apple trees take time to bear fruit. It can take a few years for your tree to bear fruit for the first time.
- Ripeness: Pay attention to the color and firmness of the apples to determine when they are ripe.
- Harvest gently: Harvest the apples carefully to avoid damaging them.
Overwintering
Do not fertilize:
Dormancy: Apple trees need a dormant period in the winter to recover and prepare for the next season.
Cool location: Place the tree in a cool, bright location, such as a garage or a cellar.
Less water: Water the tree less during the dormant period.
Conclusion
So, there you have it! Growing apples indoors, especially for beginners, might seem like a daunting task, but with the right approach and a little patience, you can absolutely enjoy the fruits (pun intended!) of your labor. This DIY trick isn’t just about saving money; it’s about connecting with nature, understanding the life cycle of a plant, and experiencing the unique satisfaction of nurturing something from seedling to fruit-bearing tree within the comfort of your own home.
Think about it: imagine plucking a perfectly ripe, juicy apple from a tree you’ve personally cared for, right in your living room. That’s an experience you can’t buy in a grocery store. Plus, you’ll know exactly what went into growing that apple – no pesticides, no hidden chemicals, just pure, natural goodness.
But the benefits extend beyond just the taste and health aspects. Growing an apple tree indoors can be a fantastic educational project for kids, teaching them about botany, responsibility, and the importance of sustainable living. It can also be a therapeutic activity for adults, providing a calming and rewarding hobby that connects you to the natural world.
Don’t be afraid to experiment with different apple varieties. While dwarf varieties like ‘Gala,’ ‘Fuji,’ or ‘Honeycrisp’ are generally recommended for indoor growing, you might find success with other types as well. Consider grafting different varieties onto a single rootstock for a unique and diverse harvest. You can also explore different training techniques, such as espaliering, to maximize space and create a visually stunning focal point in your home.
Remember to pay close attention to the specific needs of your chosen apple variety. Research its preferred soil pH, watering requirements, and pollination needs. Don’t be discouraged if you encounter challenges along the way. Growing apples indoors is a learning process, and every setback is an opportunity to gain valuable knowledge and refine your techniques.
This DIY trick for growing apples indoors is a must-try for anyone who loves fresh fruit, enjoys gardening, or simply wants to add a touch of nature to their home. It’s a rewarding and sustainable way to enjoy delicious, homegrown apples year-round.
We encourage you to give it a try and share your experiences with us! Let us know which apple varieties you’ve had success with, what challenges you’ve faced, and any tips or tricks you’ve discovered along the way. Your insights could help other beginners embark on their own indoor apple-growing adventures. Share your photos and stories in the comments below – we can’t wait to see your indoor orchards flourish!
Frequently Asked Questions (FAQ)
What are the best apple varieties to grow indoors for beginners?
Dwarf apple varieties are generally the best choice for indoor growing due to their smaller size and manageable growth habits. Some popular and relatively easy-to-grow options for beginners include ‘Gala,’ ‘Fuji,’ ‘Honeycrisp,’ and ‘Golden Delicious’ (dwarf versions). These varieties are known for their good flavor, disease resistance, and ability to fruit relatively early. Make sure to purchase a dwarf or semi-dwarf variety specifically grafted onto a dwarfing rootstock to ensure it stays compact enough for indoor cultivation. Research the specific needs of each variety to ensure you can provide the appropriate growing conditions.
How much sunlight do indoor apple trees need?
Apple trees require a significant amount of sunlight to thrive and produce fruit. Ideally, they need at least 6-8 hours of direct sunlight per day. If you don’t have a south-facing window that provides sufficient sunlight, you’ll need to supplement with artificial grow lights. Full-spectrum LED grow lights are an excellent option, as they provide the necessary wavelengths of light for photosynthesis. Position the grow lights close enough to the tree to provide adequate illumination, but not so close that they burn the leaves. Monitor the tree’s growth and adjust the lighting as needed.
How do I pollinate my indoor apple tree?
Most apple varieties are not self-pollinating, meaning they require pollen from a different apple variety to produce fruit. Since you won’t have bees or other insects to do the job indoors, you’ll need to hand-pollinate your tree. Use a small, soft brush (like a paintbrush) to collect pollen from the flowers of one apple variety and gently transfer it to the flowers of another variety. Repeat this process several times during the blooming period to ensure successful pollination. You can also use a cotton swab to transfer the pollen. Some varieties are partially self-pollinating, but cross-pollination will still result in a better fruit set.
What type of soil is best for growing apples indoors?
Apple trees need well-draining soil that is rich in organic matter. A good potting mix for indoor apple trees should consist of a blend of potting soil, compost, and perlite or vermiculite. The potting soil provides essential nutrients, the compost adds organic matter and improves drainage, and the perlite or vermiculite helps to aerate the soil and prevent compaction. Avoid using garden soil, as it can be too heavy and may contain pests or diseases. The ideal pH level for apple trees is between 6.0 and 7.0. You can test the soil pH using a soil testing kit and amend it as needed.
How often should I water my indoor apple tree?
Water your indoor apple tree regularly, but avoid overwatering. The frequency of watering will depend on factors such as the size of the pot, the type of soil, and the temperature and humidity of your home. A good rule of thumb is to water when the top inch of soil feels dry to the touch. Water thoroughly until excess water drains out of the bottom of the pot. Be sure to empty the saucer beneath the pot to prevent the roots from sitting in water, which can lead to root rot. During the dormant season (winter), you can reduce watering frequency.
How do I fertilize my indoor apple tree?
Apple trees need regular fertilization to provide them with the nutrients they need to grow and produce fruit. Use a balanced fertilizer specifically formulated for fruit trees. Follow the instructions on the fertilizer label for application rates and frequency. Fertilize your apple tree during the growing season (spring and summer), and reduce or stop fertilizing during the dormant season (winter). You can also supplement with organic fertilizers such as compost tea or fish emulsion. Avoid over-fertilizing, as this can damage the tree.
How do I prune my indoor apple tree?
Pruning is essential for maintaining the shape and health of your indoor apple tree. Prune your tree during the dormant season (late winter or early spring) before new growth begins. Remove any dead, damaged, or diseased branches. Also, prune to improve air circulation and light penetration within the tree canopy. You can also prune to shape the tree and encourage fruit production. Research the specific pruning techniques for your chosen apple variety.
What are some common pests and diseases that affect indoor apple trees?
Indoor apple trees can be susceptible to various pests and diseases, including aphids, spider mites, scale, and powdery mildew. Inspect your tree regularly for signs of infestation or disease. If you detect any problems, take action immediately to prevent them from spreading. You can use insecticidal soap or horticultural oil to control pests, and fungicides to control diseases. Ensure good air circulation around the tree to help prevent fungal diseases.
How long does it take for an indoor apple tree to produce fruit?
The time it takes for an indoor apple tree to produce fruit depends on several factors, including the variety of apple, the age of the tree, and the growing conditions. Generally, dwarf apple trees can start producing fruit within 2-3 years of planting. However, it may take longer if the tree is not receiving adequate sunlight, water, or nutrients. Be patient and continue to provide the best possible growing conditions, and you will eventually be rewarded with delicious, homegrown apples.
Can I move my indoor apple tree outdoors during the summer?
Yes, you can move your indoor apple tree outdoors during the summer months, but you need to acclimate it gradually to the outdoor conditions. Start by placing the tree in a shady spot for a few hours each day, and gradually increase the amount of sunlight it receives over a period of several weeks. This will help prevent sunburn and other stress-related problems. Be sure to bring the tree back indoors before the first frost in the fall.

Leave a Comment