
Clean Refrigerator DIY: A Sparkling Fresh Start for Your Kitchen
I love a clean kitchen, but let’s be honest, cleaning the refrigerator is rarely at the top of anyone’s to-do list. It’s a big, cold, often-overlooked appliance that can quickly become a breeding ground for forgotten leftovers and mysterious spills. But what if I told you there’s a way to tackle this daunting task with simple, effective, and surprisingly satisfying Clean Refrigerator DIY hacks? This article is your guide to transforming your fridge from a chaotic mess into a sparkling, organized haven, saving you time, money, and potentially preventing food waste.
The history of refrigeration is fascinating, evolving from iceboxes and early mechanical units to the sleek, energy-efficient models we have today. But regardless of the technology, the need for regular cleaning remains constant. A clean refrigerator isn’t just about aesthetics; it’s crucial for food safety and preserving the freshness of your groceries. Think about it: a cluttered fridge makes it harder to see what you have, leading to spoiled food and unnecessary grocery shopping trips. That’s where our Clean Refrigerator DIY solutions come in!
Why You Need These Clean Refrigerator DIY Tricks
This article isn’t just about scrubbing; it’s about developing a sustainable cleaning routine that fits your lifestyle. We’ll explore simple, effective Clean Refrigerator DIY methods using common household items, saving you money on expensive commercial cleaners. You’ll learn how to tackle stubborn stains, eliminate odors, and organize your fridge for optimal efficiency. By the end, you’ll not only have a sparkling clean refrigerator but also a newfound appreciation for this often-overlooked chore. Ready to get started?
Deep Cleaning Your Refrigerator: A DIY Guide
I’ve always hated cleaning the fridge, but I’ve found a system that makes it much less daunting. This guide will walk you through a thorough fridge cleaning, leaving it sparkling and smelling fresh. Let’s get started!
Phase 1: Preparation and Removal
- Gather your supplies: You’ll need a few things to make this job easier. Grab some warm soapy water (I like a mild dish soap), baking soda, white vinegar, a few clean cloths or sponges (one specifically for scrubbing), paper towels, a spray bottle, and a small bowl.
- Empty the refrigerator: This is the most important step. Take everything out – every jar, container, leftover, and condiment. Check expiration dates and toss anything that’s past its prime. This is a great opportunity to do some inventory and plan your meals for the week!
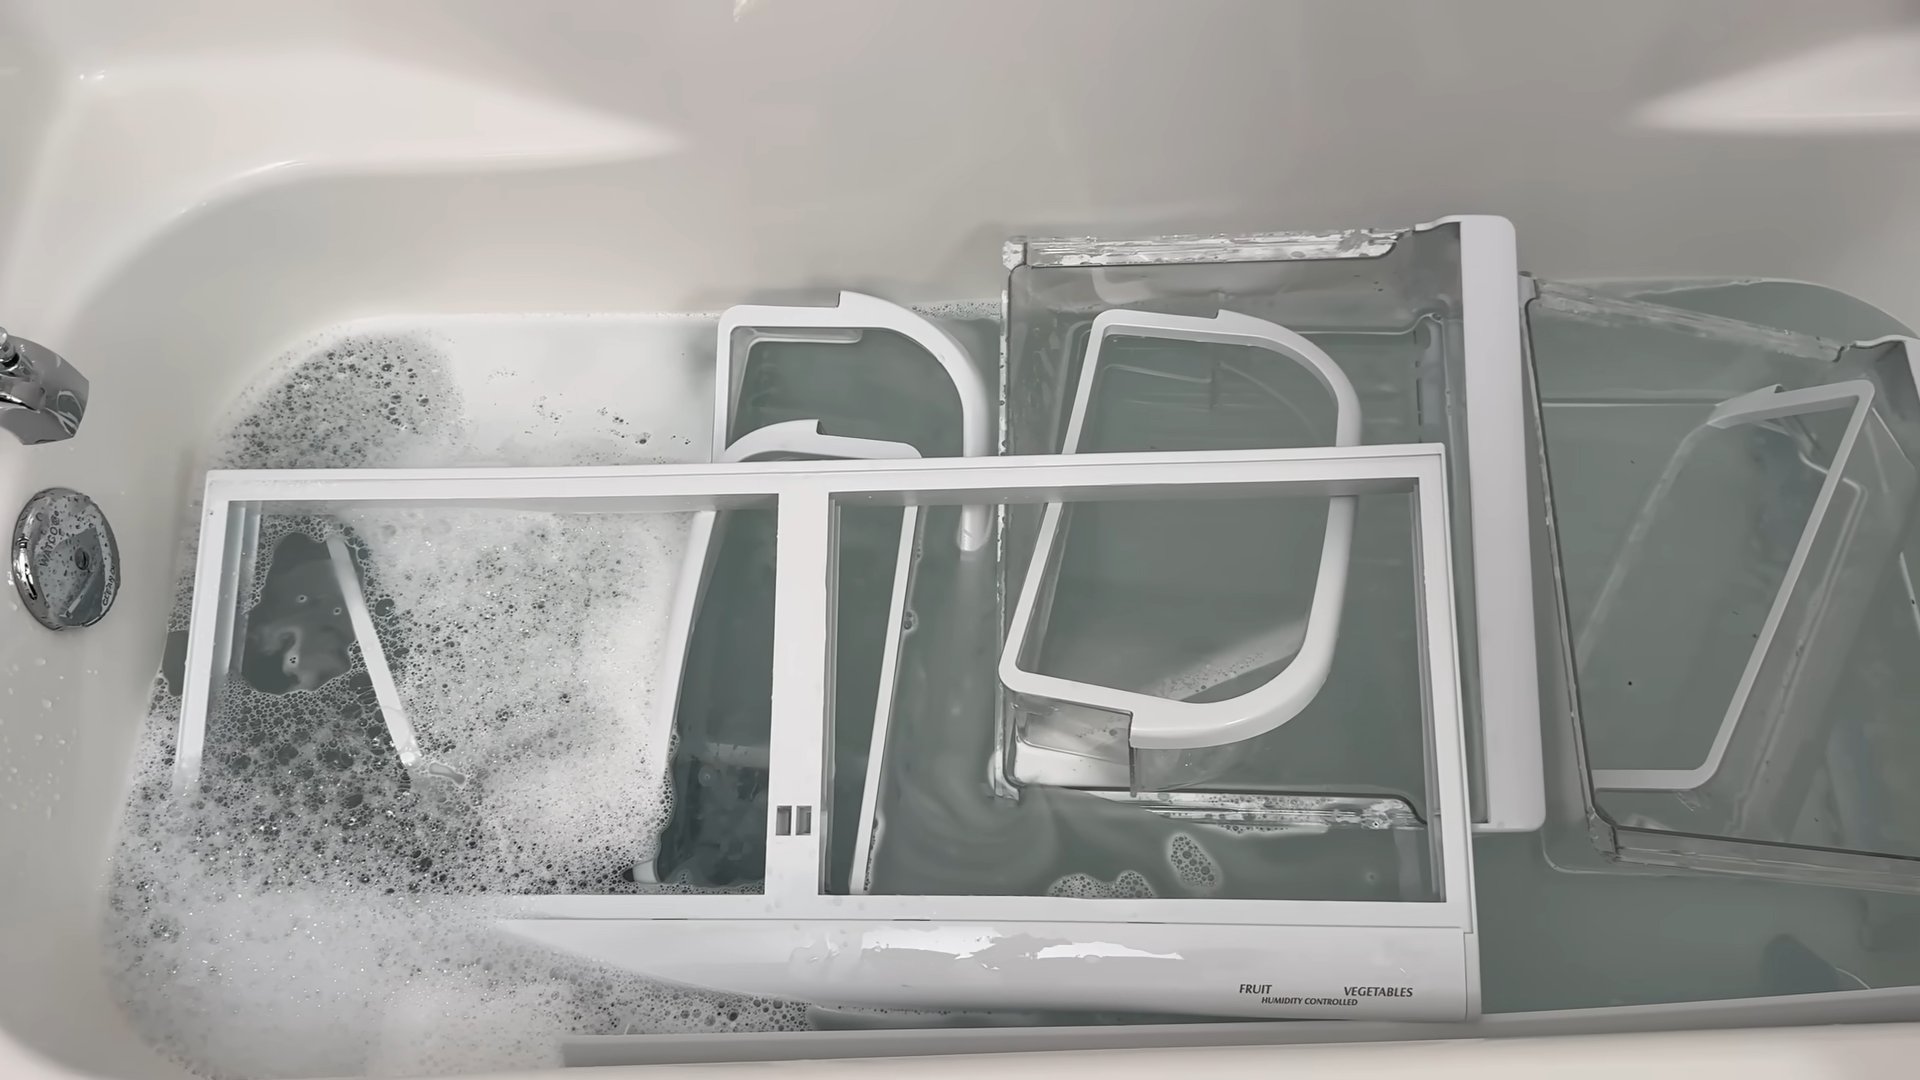
- Remove the shelves and drawers: Most refrigerators have removable shelves and drawers. Take them all out and set them aside in a safe place. This allows for a more thorough cleaning.
Phase 2: Cleaning the Interior
- Prepare your cleaning solutions: In your spray bottle, mix equal parts warm water and white vinegar. In your small bowl, mix a paste of baking soda and water. The vinegar solution is great for cutting grease and disinfecting, while the baking soda paste is excellent for scrubbing stubborn stains.
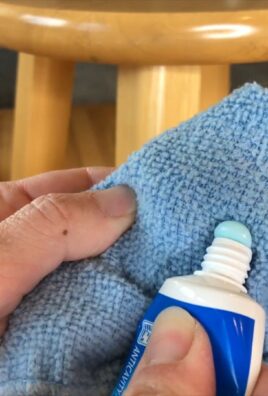
- Clean the interior walls: Spray the vinegar solution onto the interior walls of the refrigerator. Let it sit for a few minutes to loosen any grime. Then, wipe down the walls with a clean, damp cloth or sponge. For tougher stains, apply the baking soda paste, gently scrub, and then wipe clean.
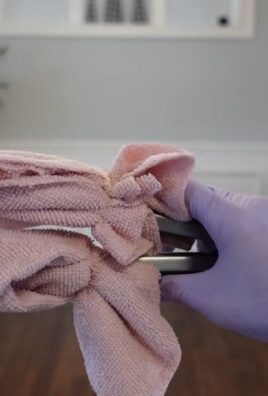
- Clean the door seals: Don’t forget the door seals! These often get overlooked, but they can harbor bacteria. Use a damp cloth and a little bit of the vinegar solution to clean them thoroughly. Make sure to dry them completely afterwards to prevent mold growth.
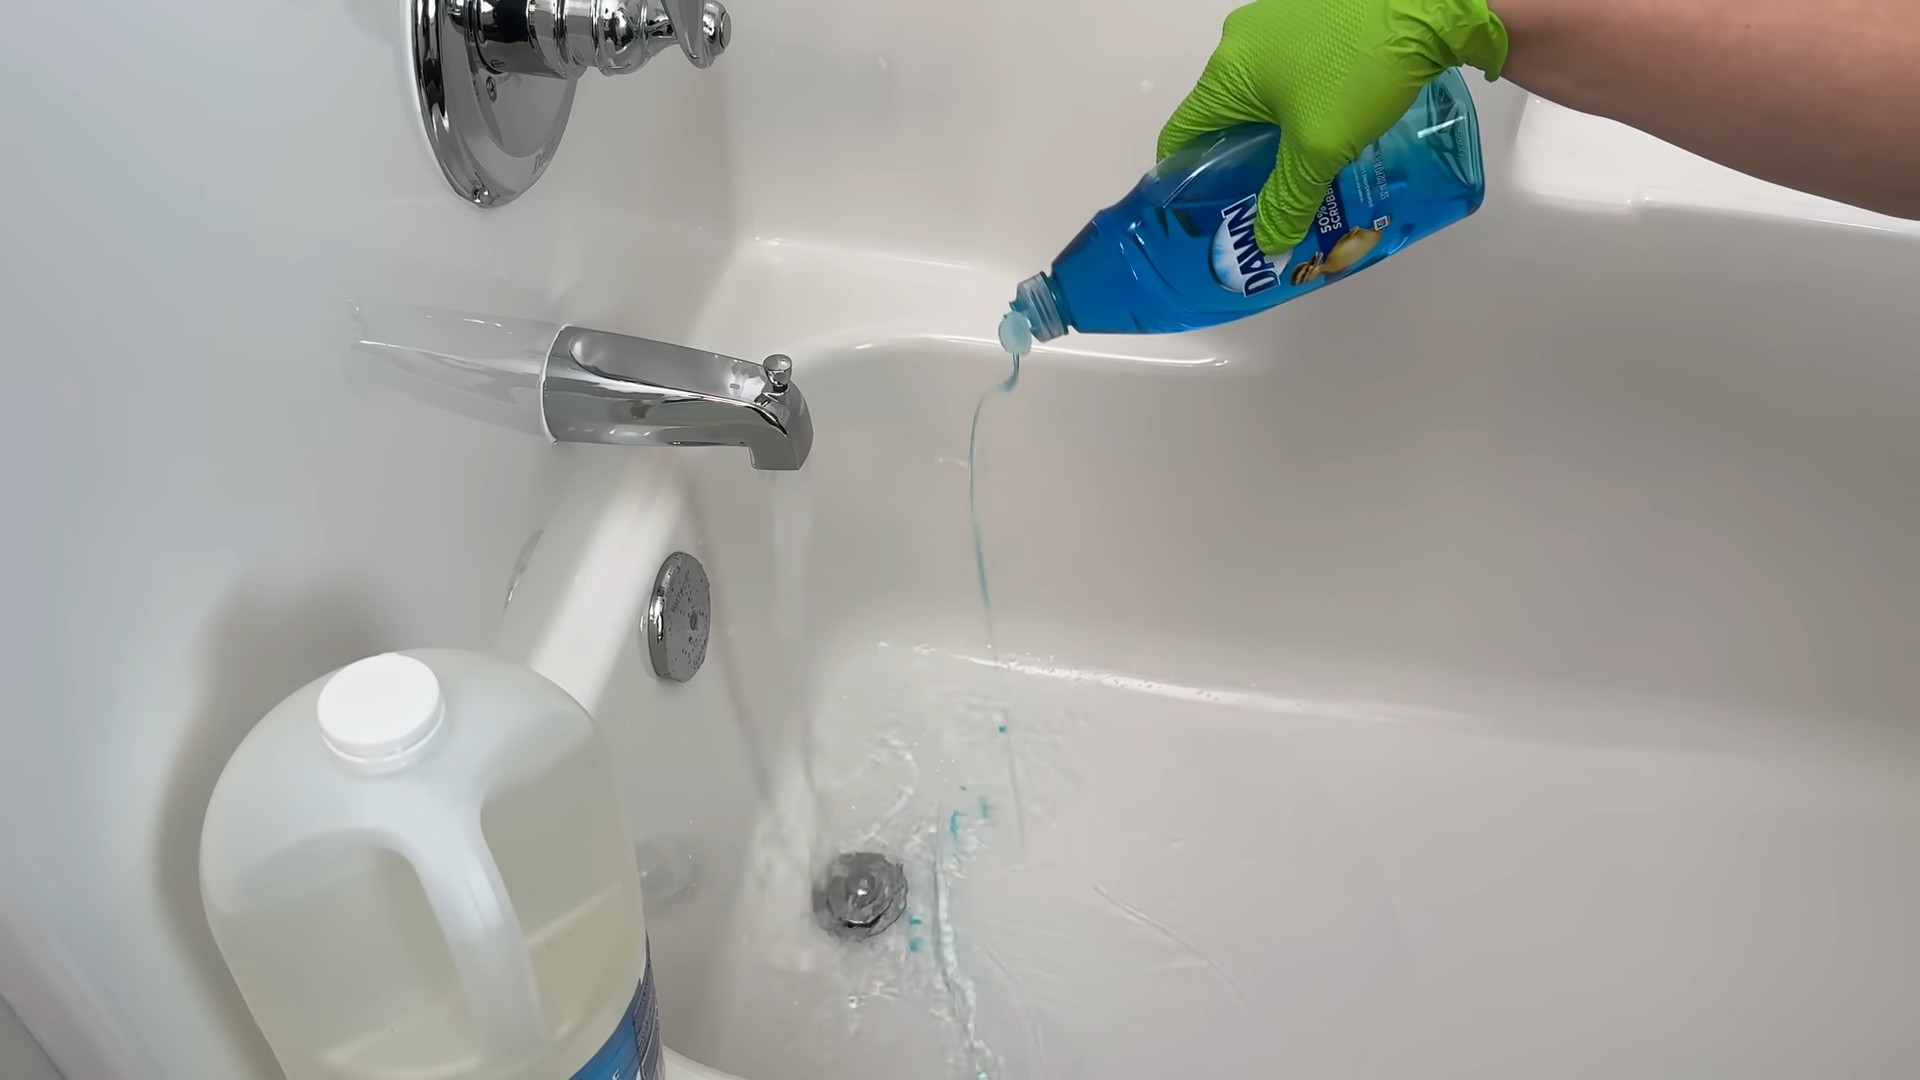
- Clean the shelves and drawers: Wash the shelves and drawers in your sink using warm soapy water. For stubborn stains, use the baking soda paste. Rinse thoroughly and dry completely before putting them back in the refrigerator.
- Don’t forget the lightbulb and other hard-to-reach spots: Use a damp cloth or a long-handled brush to clean the lightbulb and any other hard-to-reach areas. Be careful not to get the lightbulb wet.
Phase 3: Advanced Cleaning (Optional)
For a truly deep clean, consider these extra steps:
- Deodorize: After cleaning, place an open box of baking soda inside the refrigerator to absorb any lingering odors. Replace it every few months.
- Clean the condenser coils: These coils are usually located at the back or bottom of the refrigerator. Unplug the refrigerator before cleaning them. Use a vacuum cleaner with a brush attachment to remove dust and debris. This will help your refrigerator run more efficiently.
- Clean the drip pan: The drip pan is located at the bottom of the refrigerator, usually under the condenser coils. Remove it carefully and wash it with warm soapy water. Dry it completely before replacing it.
Phase 4: Putting it all back together
- Dry everything thoroughly: Before putting anything back in the refrigerator, make sure everything is completely dry. This will help prevent mold and mildew growth.
- Replace the shelves and drawers: Put the shelves and drawers back in the refrigerator, making sure they are securely in place.
- Return your food: Carefully put your food back into the refrigerator, organizing it efficiently. Consider using clear containers to see what you have and prevent spills.
- Plug it back in: Once everything is back in place, plug the refrigerator back in.
Phase 5: Maintenance Tips
- Wipe up spills immediately: This will prevent stains and odors from setting in.
- Check expiration dates regularly: This will help you avoid throwing away spoiled food.
- Clean your refrigerator regularly: A quick wipe-down once a week will prevent a major cleaning project down the line. Aim for a deep clean every 3-6 months, depending on your usage.
- Consider using refrigerator liners: These can make cleaning easier and protect the shelves from scratches.
Remember: Always unplug your refrigerator before cleaning the condenser coils or drip pan. Safety first!
With a little effort and these steps, you can keep your refrigerator clean, organized, and smelling fresh. Happy cleaning!
Conclusion
So there you have it – a simple, effective, and surprisingly satisfying Clean Refrigerator DIY! This method isn’t just about achieving a sparkling clean fridge; it’s about reclaiming control over your food storage and preventing waste. By dedicating a little time to this regular cleaning ritual, you’ll not only enjoy a fresher, more organized space, but you’ll also save money by extending the life of your produce and avoiding unnecessary food spoilage. The sense of accomplishment you feel after tackling this often-overlooked chore is truly rewarding. This Clean Refrigerator DIY is a must-try because it empowers you to take charge of your kitchen hygiene, resulting in a healthier and more efficient food management system. It’s a small change with big rewards, making it a valuable addition to your weekly cleaning routine.
Beyond the basic method outlined, there are numerous ways to personalize your Clean Refrigerator DIY. For example, you can experiment with different natural cleaning solutions. A mixture of white vinegar and water is a fantastic alternative to commercial cleaners, offering a powerful cleaning action while being environmentally friendly. Similarly, baking soda paste can be used to tackle stubborn stains and odors. Consider adding a few drops of your favorite essential oil, like lemon or tea tree, to your cleaning solution for a pleasant, refreshing scent. For those with particularly challenging spills or sticky residues, a gentle scrub brush can be invaluable. Remember to always check the manufacturer’s instructions for your refrigerator before using any cleaning agents.
Don’t be afraid to get creative! Consider using reusable cloths or sponges to minimize waste. Organize your refrigerator shelves strategically, grouping similar items together for easy access and visibility. Label containers clearly to avoid confusion and prevent food from expiring unnoticed. Implementing these small adjustments can significantly enhance the effectiveness of your Clean Refrigerator DIY and contribute to a more organized and efficient kitchen.
We strongly encourage you to try this Clean Refrigerator DIY and experience the transformative effect it has on your kitchen. Share your experiences with us! Let us know what cleaning solutions you prefer, what organizational tips you’ve found most helpful, and any innovative variations you’ve developed. Your feedback will inspire others and help us build a community of clean-fridge enthusiasts. Join the conversation and let’s make clean refrigerators the new normal!
Frequently Asked Questions
Q: How often should I clean my refrigerator using this method?
A: The frequency depends on your usage. For most households, a thorough Clean Refrigerator DIY once a month is recommended. However, you should wipe down spills and remove expired items weekly to prevent odor buildup and bacterial growth. If you notice any unusual smells or sticky residues, don’t hesitate to clean more frequently.
Q: What if I have a stainless steel refrigerator? Will this method damage the finish?
A: This method is generally safe for stainless steel refrigerators. However, avoid abrasive cleaners or scrubbing pads that could scratch the surface. Always test any cleaning solution on an inconspicuous area first to ensure it doesn’t damage the finish. A soft cloth and gentle cleaning solution are recommended for stainless steel.
Q: Are there any cleaning solutions I should avoid using on my refrigerator?
A: Avoid harsh chemicals, bleach, and abrasive cleaners, as these can damage the interior surfaces and leave behind a lingering odor. Always refer to your refrigerator’s manufacturer’s instructions for specific cleaning recommendations.
Q: What’s the best way to deal with stubborn stains or sticky spills?
A: For stubborn stains, try making a paste of baking soda and water. Apply the paste to the affected area, let it sit for a few minutes, then gently scrub with a soft cloth or sponge. For sticky spills, you might need to soak the area with warm, soapy water before scrubbing. If the stain persists, consider using a specialized cleaning product designed for refrigerator interiors, but always test it in an inconspicuous area first.
Q: Can I use this method on all types of refrigerators?
A: Yes, this Clean Refrigerator DIY method is generally applicable to most refrigerator types, including side-by-side, top-freezer, and French-door models. However, always check your refrigerator’s manual for specific cleaning instructions and recommendations for materials and solutions to use.
Q: How can I prevent future messes and keep my refrigerator cleaner for longer?
A: Regularly wipe up spills immediately. Store food in airtight containers to prevent leaks and spills. Check expiration dates regularly and discard expired items promptly. Organize your refrigerator shelves strategically, placing frequently used items within easy reach. Consider using shelf liners to make cleaning easier. These proactive measures will significantly reduce the effort required for your monthly Clean Refrigerator DIY.
Q: What should I do with the cleaning solution after I’m finished?
A: Dispose of the cleaning solution according to local regulations. If you used a natural solution like vinegar and water, it’s generally safe to pour it down the drain. However, always check the specific instructions for any commercial cleaning products you used.

Leave a Comment