
Grow sweet potatoes at home? Absolutely! Imagine harvesting your own vibrant, nutrient-packed sweet potatoes right from your backyard or even your balcony. It’s easier than you think, and I’m here to guide you through the process with some simple, yet effective DIY tricks.
Sweet potatoes have a rich history, dating back thousands of years in Central and South America. They were a staple food for many ancient civilizations and have since spread across the globe, becoming a beloved ingredient in countless cuisines. But did you know that you don’t need a sprawling farm to enjoy the taste of homegrown sweet potatoes?
In today’s world, where we’re increasingly conscious of where our food comes from and eager to embrace sustainable practices, learning to grow sweet potatoes at home is more relevant than ever. Not only will you have access to fresh, organic produce, but you’ll also experience the satisfaction of nurturing something from seed (or slip!) to harvest. Plus, let’s be honest, store-bought sweet potatoes just don’t compare to the flavor of those you’ve grown yourself. This DIY guide will give you the knowledge and confidence to cultivate your own sweet potato bounty, regardless of your gardening experience. Let’s get started!
Grow Your Own Sweet Potatoes: A Beginner’s Guide
Hey there, fellow gardening enthusiasts! Ever thought about growing your own sweet potatoes? It’s easier than you might think, and the reward of harvesting those delicious, homegrown tubers is totally worth it. I’m going to walk you through the whole process, from sprouting slips to enjoying your sweet potato harvest. Let’s get started!
Getting Started: Sprouting Sweet Potato Slips
Sweet potatoes don’t grow directly from seeds. Instead, we use “slips,” which are sprouts that grow from the sweet potato itself. Here’s how to get those slips growing:
- Choosing Your Sweet Potato: Select a healthy, organic sweet potato. Organic is important because non-organic potatoes are often treated to prevent sprouting. Look for one that’s firm and free from blemishes.
- The Water Method: This is the most common and, in my opinion, the easiest method.
- The Soil Method: This method involves burying the sweet potato in soil. It takes a bit more space but can yield more slips.
Water Method: Step-by-Step
- Prepare Your Sweet Potato: Wash your sweet potato thoroughly to remove any dirt.
- Insert Toothpicks: Insert 3-4 toothpicks around the middle of the sweet potato. These will act as supports to suspend the potato in water.
- Submerge the Bottom Half: Fill a jar or glass with water. The water level should reach just below the toothpicks, so the bottom half of the sweet potato is submerged.
- Find a Sunny Spot: Place the jar in a warm, sunny location. A windowsill is perfect.
- Change the Water Regularly: Change the water every 2-3 days to prevent mold and keep the water fresh.
- Wait for Sprouts: Be patient! It can take several weeks for sprouts (slips) to appear. You’ll see small roots growing from the bottom and green shoots emerging from the top.
Soil Method: Step-by-Step
- Prepare a Container: Choose a container that’s large enough to completely bury your sweet potato. A large pot or even a plastic storage bin will work.
- Fill with Soil: Fill the container with well-draining potting soil.
- Bury the Sweet Potato: Bury the sweet potato horizontally in the soil, leaving about an inch of soil covering it.
- Water Thoroughly: Water the soil thoroughly after planting.
- Find a Warm Spot: Place the container in a warm location.
- Keep the Soil Moist: Keep the soil consistently moist, but not waterlogged.
- Wait for Sprouts: Again, patience is key. It will take a few weeks for slips to emerge from the soil.
Planting Your Sweet Potato Slips
Once your slips are about 6-8 inches long, they’re ready to be planted. This is where the real fun begins!
- Timing is Key: Sweet potatoes need warm weather to thrive. Wait until after the last frost and the soil has warmed up to at least 60°F (15°C).
- Preparing the Soil: Sweet potatoes prefer well-drained, sandy loam soil. Amend your soil with compost or other organic matter to improve drainage and fertility.
- Creating Mounds or Ridges: Sweet potatoes grow best in raised mounds or ridges. This helps with drainage and allows the tubers to expand.
Step-by-Step Planting Guide
- Prepare Your Planting Area: Choose a sunny spot in your garden. Sweet potatoes need at least 6-8 hours of sunlight per day.
- Create Mounds or Ridges: Create mounds or ridges that are about 8-12 inches high and 12-18 inches wide. Space the mounds or ridges about 3-4 feet apart.
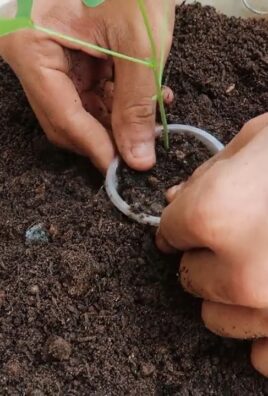
- Gently Remove the Slips: Carefully remove the slips from the sweet potato. You can gently twist them off or use a sharp knife to cut them. If you’re using the water method, you can also wait for the slips to develop roots in the water before planting.
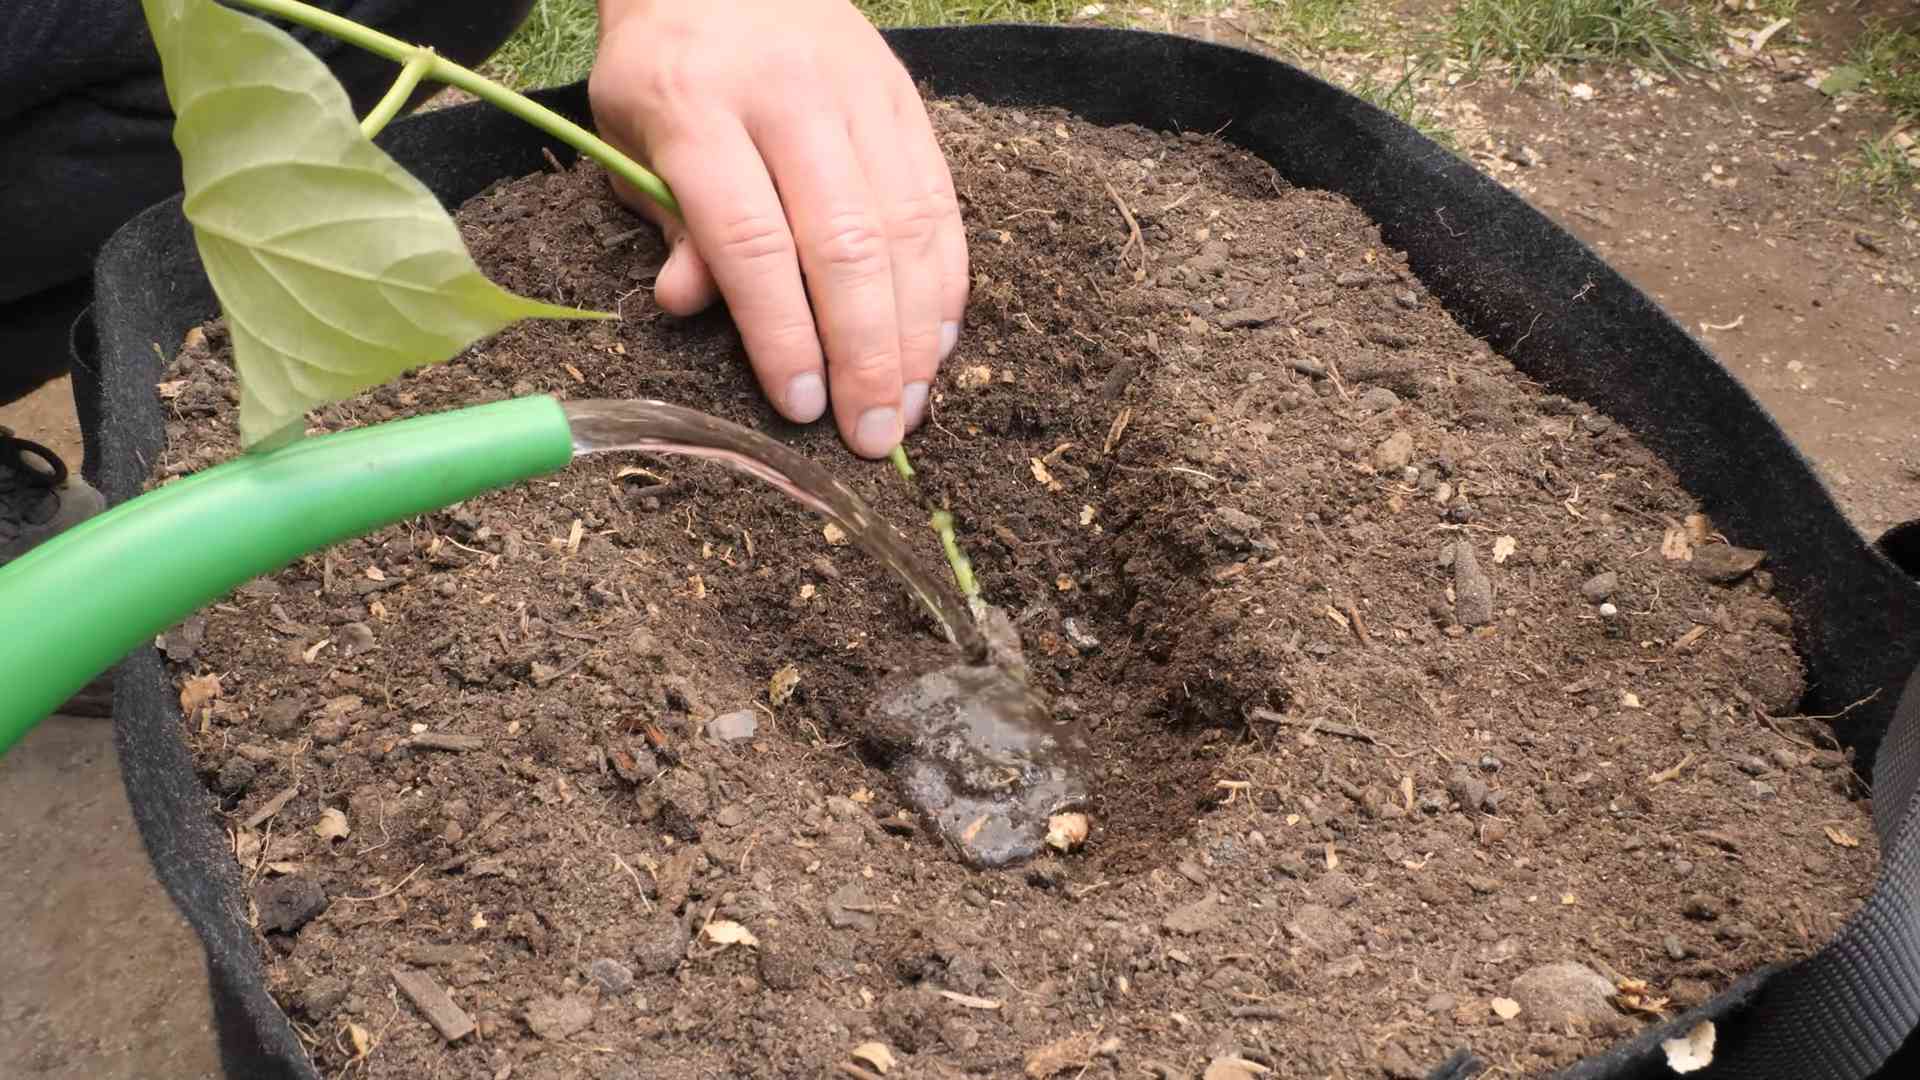
- Plant the Slips: Plant the slips about 4-6 inches deep in the mounds or ridges. Space the slips about 12 inches apart. Make sure to bury the stem, leaving only the top leaves exposed.
- Water Thoroughly: Water the newly planted slips thoroughly.
- Mulch (Optional): Add a layer of mulch around the plants to help retain moisture and suppress weeds. Straw or hay works well.
Caring for Your Sweet Potato Plants
Now that your sweet potato slips are planted, it’s time to give them the care they need to thrive.
- Watering: Water regularly, especially during dry periods. Sweet potatoes need consistent moisture, but avoid overwatering, which can lead to root rot.
- Weeding: Keep the area around your sweet potato plants free of weeds. Weeds compete for nutrients and water.
- Fertilizing: Sweet potatoes don’t need a lot of fertilizer. In fact, too much nitrogen can lead to excessive vine growth and fewer tubers. If your soil is poor, you can side-dress with a balanced fertilizer (e.g., 10-10-10) a few weeks after planting.
- Pest Control: Sweet potatoes are generally pest-resistant, but watch out for common garden pests like aphids and flea beetles. You can control these pests with insecticidal soap or neem oil.
- Vine Management: Sweet potato vines can grow quite long and spread out. You can prune the vines to keep them under control, but be careful not to remove too many leaves, as this can reduce tuber production. You can also lift the vines occasionally to prevent them from rooting at the nodes, which can also reduce tuber size.
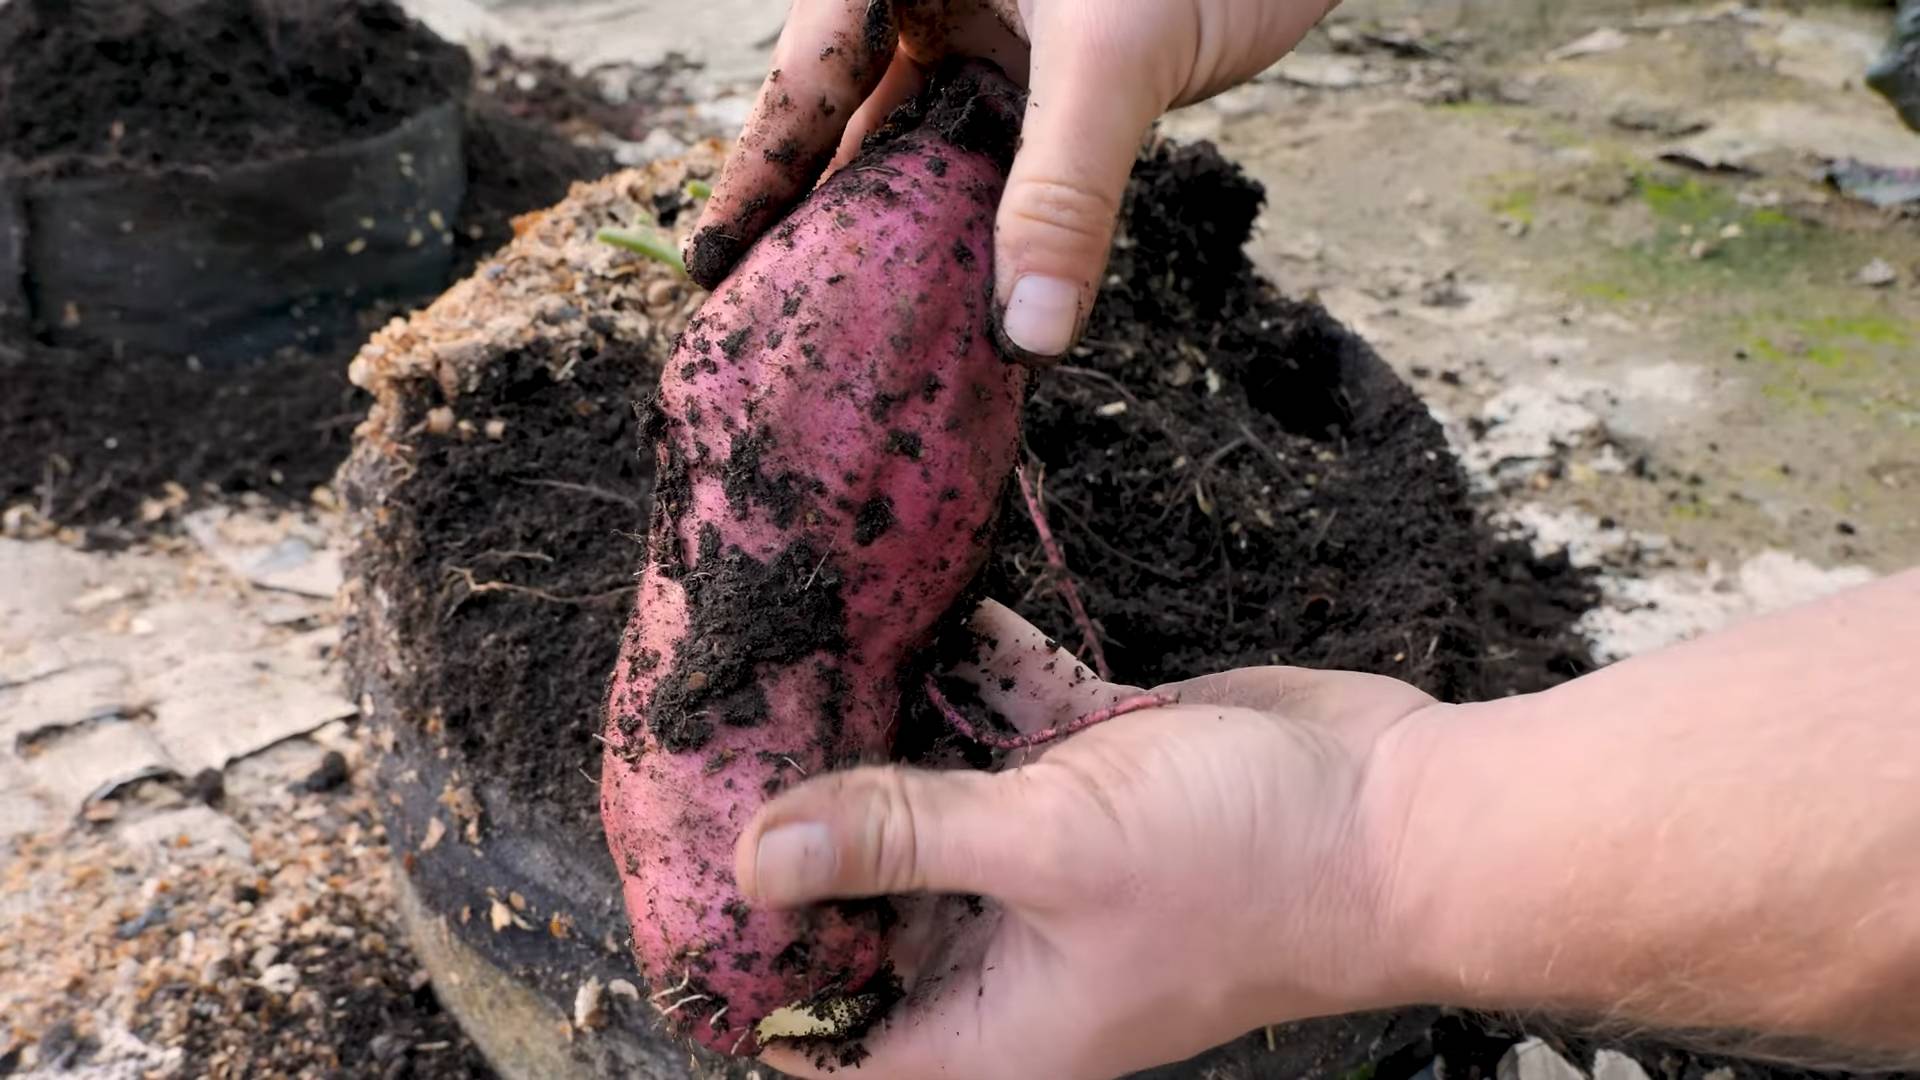
Harvesting Your Sweet Potatoes
The moment you’ve been waiting for! Harvesting your own sweet potatoes is incredibly rewarding.
- Timing: Sweet potatoes are typically ready to harvest about 90-120 days after planting. A good indicator is when the leaves start to turn yellow and the vines begin to die back.
- Weather Conditions: Choose a dry day to harvest your sweet potatoes. Avoid harvesting after a heavy rain, as the tubers will be waterlogged.
- Gentle Digging: Sweet potatoes are delicate and can be easily bruised, so handle them with care.
Step-by-Step Harvesting Guide
- Loosen the Soil: Use a garden fork or shovel to carefully loosen the soil around the plants. Start about a foot away from the base of the plant to avoid damaging the tubers.
- Lift the Plants: Gently lift the plants from the soil, being careful not to pull on the vines too hard.
- Dig for Tubers: Use your hands to carefully dig around the base of the plant and uncover the sweet potatoes.
- Handle with Care: Gently brush off any excess soil from the tubers. Avoid washing them at this stage, as this can promote rot.
- Curing Your Sweet Potatoes: Curing is essential for developing the sweet flavor and improving the storage life of your sweet potatoes.
Curing and Storing Your Sweet Potatoes
Curing is a crucial step that many beginners overlook, but it’s what transforms those bland, starchy potatoes into the sweet, flavorful delights you crave.
- Why Cure? Curing heals any cuts or bruises on the sweet potatoes, converts starches to sugars, and thickens the skin, which helps prevent rot during storage.
- Ideal Conditions: The ideal curing conditions are warm and humid.
Curing Process
- Prepare Your Curing Area: Find a warm, humid location. A garage, shed, or even a spare room can work. The temperature should be around 80-85°F (27-29°C) and the humidity should be around 85-90%. You can use a humidifier to increase the humidity if needed.
- Arrange the Sweet Potatoes: Place the sweet potatoes in a single layer in crates, boxes, or on a wire rack. Avoid stacking them on top of each other.
- Cure for 7-10 Days: Allow the sweet potatoes to cure for 7-10 days, maintaining the warm and humid conditions.
- Monitor for Rot: Check the sweet potatoes regularly for any signs of rot. Remove any rotten potatoes immediately to prevent the rot from spreading.
Conclusion
So, there you have it! Growing sweet potatoes at home is not only achievable, but it’s also a deeply rewarding experience. Forget those bland, store-bought sweet potatoes; imagine sinking your teeth into a freshly harvested, vibrant orange sweet potato that you nurtured from sprout to tuber. The difference in flavor is simply astounding. This DIY trick transforms your garden (or even your balcony!) into a source of delicious, nutritious food, connecting you to the earth in a tangible way.
Why is this a must-try? Because it’s more than just growing a vegetable; it’s about reclaiming control over your food source, reducing your carbon footprint, and experiencing the sheer joy of watching something grow from your own efforts. Plus, let’s be honest, the process of sprouting sweet potatoes in water is just plain cool! It’s a fantastic project for kids, teaching them about botany and the miracle of life. And the best part? You don’t need acres of land or a green thumb to succeed.
Looking for variations? Absolutely! Experiment with different varieties of sweet potatoes. Beauregard is a classic choice, known for its vibrant orange flesh and sweet flavor. But don’t be afraid to try Japanese sweet potatoes with their purple skin and creamy white flesh, or even the Covington variety, which boasts a beautiful copper skin and moist, sweet interior. You can also adapt the growing method to suit your space. If you’re short on garden space, consider growing sweet potatoes in large containers or grow bags. Just make sure they have plenty of drainage and are filled with a well-draining potting mix. Another fun variation is to train the vines to grow up a trellis or fence, creating a beautiful and edible living wall.
Ready to embark on your sweet potato growing adventure? We wholeheartedly encourage you to give this DIY trick a try. It’s easier than you think, and the rewards are immeasurable. From the satisfaction of harvesting your own food to the delicious meals you’ll create, growing sweet potatoes at home is an experience you won’t soon forget.
Don’t just take our word for it! We want to hear about your experiences. Share your photos, tips, and triumphs in the comments below. Let’s create a community of home gardeners who are passionate about growing their own food and sharing their knowledge with others. What variety did you choose? What challenges did you face? What delicious recipes did you create with your homegrown sweet potatoes? We can’t wait to hear your stories! So, grab a sweet potato, a jar of water, and get ready to grow your own deliciousness! This simple DIY trick will bring you closer to nature and provide you with a bounty of sweet, nutritious food.
Frequently Asked Questions (FAQ)
What kind of sweet potato should I use to start sprouts?
You can use any variety of sweet potato you like! However, organic sweet potatoes are often recommended as they are less likely to have been treated with growth inhibitors. Beauregard, Japanese, and Covington are all popular choices. Experiment and see which variety thrives best in your climate and growing conditions. Remember that the sweet potato you use to start the slips will produce sweet potatoes of the same variety.
How long does it take for sweet potato slips to grow?
Generally, it takes about 4-8 weeks for sweet potato slips to grow large enough to transplant. The exact time will depend on factors such as temperature, humidity, and the variety of sweet potato. Be patient and ensure the sweet potato receives adequate light and warmth. You’ll know they’re ready when the slips are about 6-8 inches long and have a good set of roots.
Can I grow sweet potatoes in a container?
Yes, you absolutely can! Sweet potatoes are surprisingly well-suited to container gardening. Choose a large container, at least 20 gallons in size, with good drainage. Fill it with a well-draining potting mix amended with compost. Provide plenty of sunlight and water regularly. Container-grown sweet potatoes may not produce as many tubers as those grown in the ground, but you’ll still enjoy a bountiful harvest.
How much sunlight do sweet potatoes need?
Sweet potatoes thrive in full sun, meaning they need at least 6-8 hours of direct sunlight per day. Insufficient sunlight can result in leggy vines and reduced tuber production. Choose a sunny location in your garden or on your balcony for optimal growth.
What kind of soil is best for growing sweet potatoes?
Sweet potatoes prefer well-draining, sandy loam soil. Heavy clay soil can hinder tuber development. Amend your soil with compost and other organic matter to improve drainage and fertility. A slightly acidic soil pH of 6.0 to 6.5 is ideal.
How often should I water sweet potatoes?
Water sweet potatoes regularly, especially during dry periods. Keep the soil consistently moist, but avoid overwatering, which can lead to root rot. Water deeply and less frequently, rather than shallowly and often. Mulching around the plants can help retain moisture in the soil.
When is the best time to harvest sweet potatoes?
Sweet potatoes are typically harvested in the fall, before the first frost. The vines will start to turn yellow and die back, indicating that the tubers are mature. Gently dig around the plants to avoid damaging the sweet potatoes. Cure the harvested sweet potatoes in a warm, humid place for about a week to improve their flavor and storage life.
How do I cure sweet potatoes after harvesting?
Curing is an essential step in preparing sweet potatoes for long-term storage. After harvesting, gently brush off any excess soil and place the sweet potatoes in a warm, humid location (80-85°F and 85-90% humidity) for about a week. This process allows the skins to harden and any minor cuts or bruises to heal, preventing rot.
How do I store sweet potatoes?
After curing, store sweet potatoes in a cool, dry, and dark place (55-60°F) with good ventilation. Avoid storing them in the refrigerator, as this can cause them to develop a hard core and lose their flavor. Properly cured and stored sweet potatoes can last for several months.
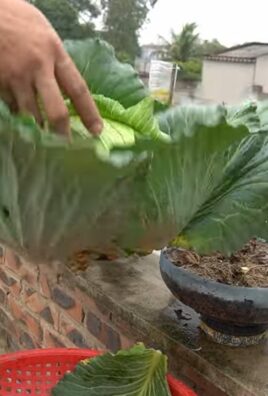
Are sweet potato leaves edible?
Yes, sweet potato leaves are edible and nutritious! They can be cooked and eaten like spinach or other leafy greens. Harvest young, tender leaves for the best flavor. Sweet potato leaves are a good source of vitamins, minerals, and antioxidants.
What are some common pests and diseases that affect sweet potatoes?
Some common pests that can affect sweet potatoes include sweet potato weevils, flea beetles, and aphids. Diseases include stem rot, black rot, and scurf. Practice crop rotation, use disease-resistant varieties, and monitor your plants regularly for signs of pests or diseases. Organic pest control methods, such as neem oil or insecticidal soap, can be used to manage infestations.
Can I grow sweet potatoes from slips purchased from a nursery?
Yes, you can absolutely grow sweet potatoes from slips purchased from a nursery. This is a convenient option if you don’t want to start your own slips from a sweet potato. Choose healthy, vigorous slips with well-developed roots. Plant them in your garden or containers after the last frost, following the same guidelines as for homegrown slips.
Leave a Comment