
Growing Snap Peas Indoors might seem like a whimsical dream, especially if you’re short on outdoor space. But trust me, it’s totally achievable and incredibly rewarding! Imagine plucking fresh, crisp snap peas right from your indoor garden, adding a burst of sweetness to your salads or stir-fries, even in the dead of winter.
The history of cultivating peas stretches back thousands of years, with evidence suggesting their presence in the Near East as early as 7800 BC. While our ancestors likely weren’t growing them under grow lights, the desire for fresh, homegrown produce is a timeless human instinct. Today, with smaller living spaces and a growing interest in sustainable living, the need for innovative gardening solutions is greater than ever.
That’s where this DIY guide comes in! I’m going to share my favorite tricks and hacks for successfully growing snap peas indoors. We’ll cover everything from choosing the right varieties and containers to providing optimal lighting and support. Forget relying solely on grocery store produce – with a little know-how, you can enjoy the delicious taste of homegrown snap peas year-round. So, let’s get our hands dirty (metaphorically, of course, since we’re indoors!) and embark on this exciting gardening adventure together!
Growing Snap Peas Indoors: A Complete DIY Guide
Hey there, fellow gardening enthusiasts! Dreaming of fresh, crunchy snap peas even when the weather outside is frightful? Well, you’re in luck! I’m going to walk you through everything you need to know to successfully grow snap peas indoors. It’s easier than you might think, and the reward of homegrown goodness is totally worth it.
Choosing the Right Snap Pea Variety
Not all snap pea varieties are created equal, especially when it comes to indoor growing. We need to consider space and growth habits.
* Bush Varieties: These are your best bet! They stay compact and don’t require extensive trellising. Look for varieties like ‘Sugar Ann,’ ‘Sugar Bon,’ or ‘Little Sweetie.’ These are bred to be shorter and bushier, making them perfect for containers.
* Dwarf Varieties: Similar to bush varieties, dwarf snap peas are naturally smaller and more manageable indoors.
* Avoid Vining Varieties: While tempting, vining varieties like ‘Sugar Snap’ can get quite long and unruly indoors. They’ll require a lot of support and space, which can be challenging. If you absolutely must grow a vining variety, be prepared to prune regularly and provide a sturdy trellis.
Gathering Your Supplies
Before we get our hands dirty, let’s make sure we have everything we need. This is crucial for a smooth and successful growing experience.
* Snap Pea Seeds: Obviously! Choose your preferred variety based on the recommendations above. Make sure they are fresh seeds for the best germination rate.
* Containers: Opt for containers that are at least 6-8 inches deep and wide. Snap peas need room for their roots to grow. I prefer using fabric pots because they allow for better drainage and aeration.
* Potting Mix: Use a high-quality, well-draining potting mix. Avoid using garden soil, as it can compact and hinder drainage. A mix specifically formulated for vegetables is ideal.
* Grow Lights: Snap peas need plenty of light to thrive. A sunny windowsill might not be enough, especially during the shorter days of winter. Invest in a good set of grow lights. LED grow lights are energy-efficient and provide the right spectrum of light for plant growth.
* Trellis or Support System: Even bush varieties can benefit from some support. A small trellis, stakes, or even just some twine will help keep the plants upright and prevent them from sprawling.
* Watering Can or Spray Bottle: For gentle and even watering.
* Optional: Seed Starting Tray and Dome: To get a head start on germination.
* Optional: Liquid Fertilizer: A balanced liquid fertilizer will provide essential nutrients for healthy growth.
Planting Your Snap Peas
Now for the fun part! Let’s get those seeds in the soil.
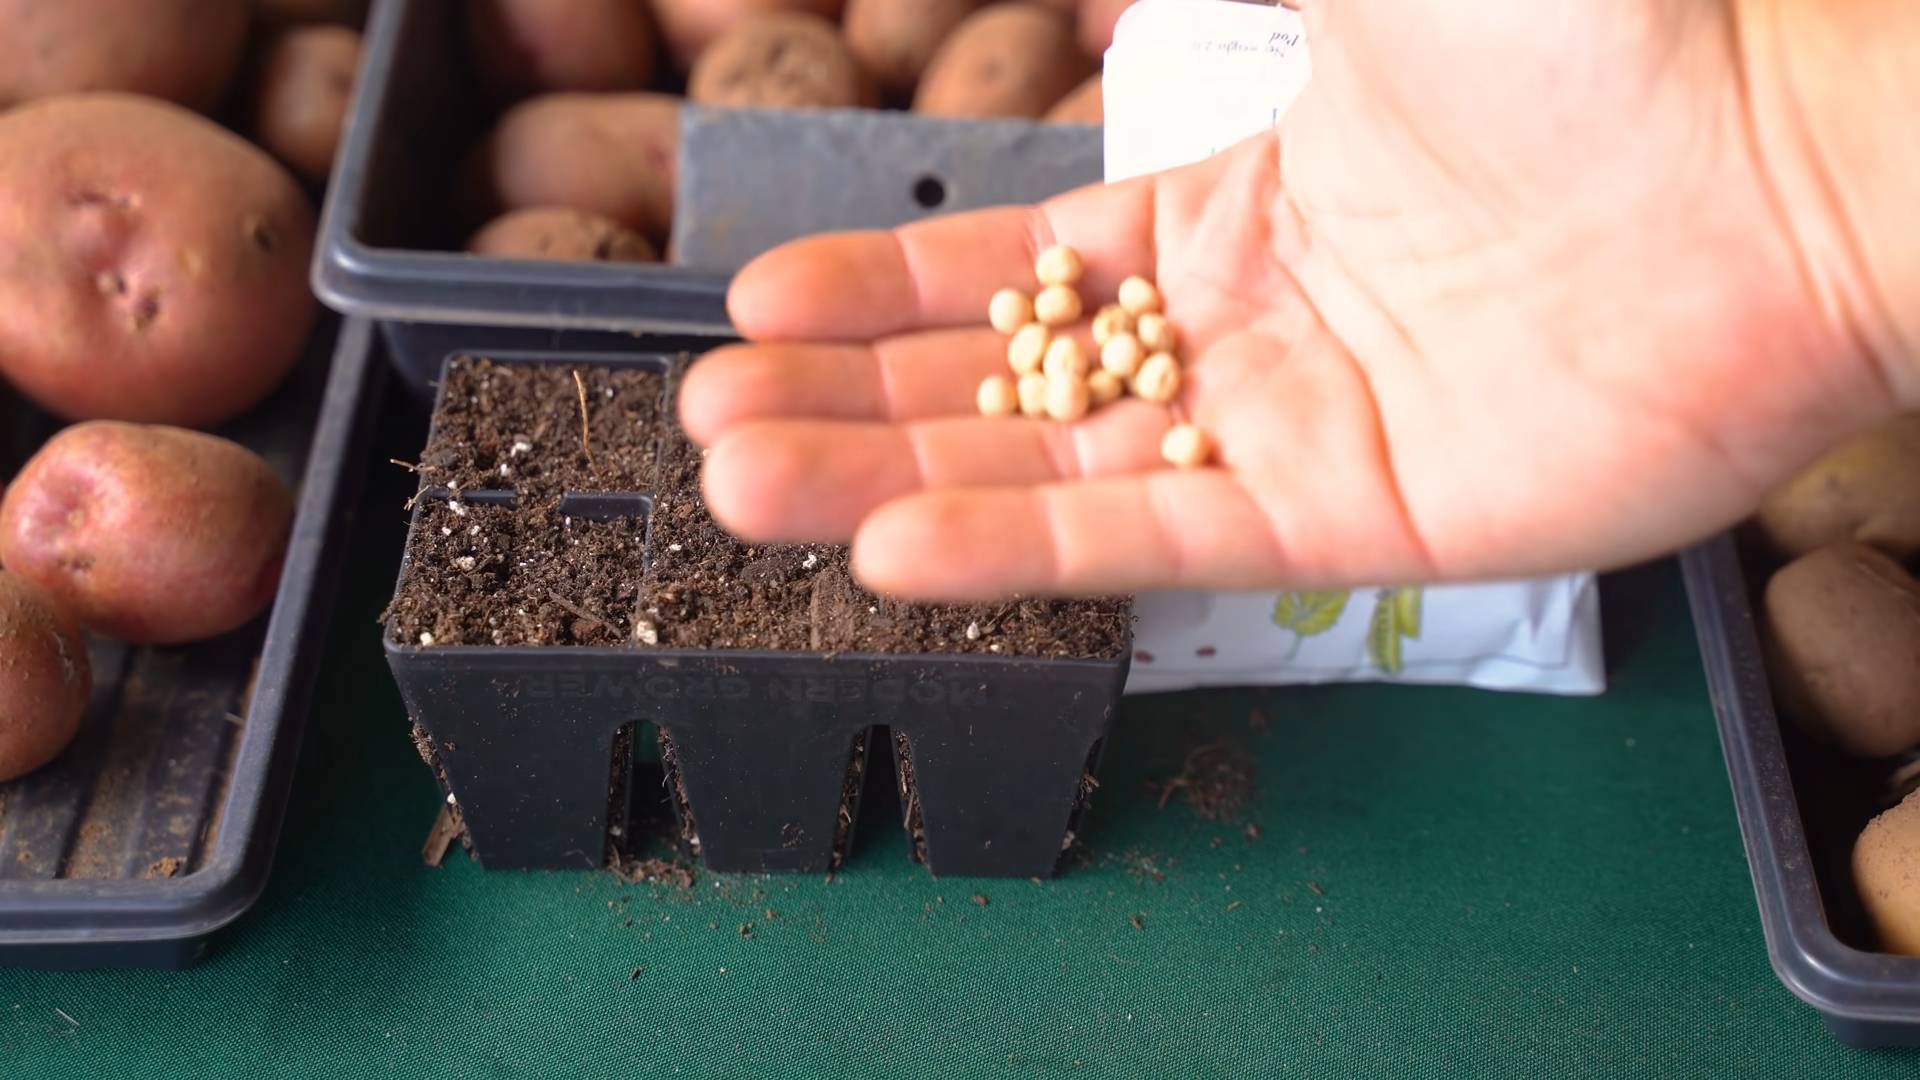
1. Pre-Soak the Seeds (Optional): Soaking the seeds in water for 24 hours before planting can help speed up germination. This softens the seed coat and allows water to penetrate more easily.
2. Prepare Your Containers: Fill your containers with the potting mix, leaving about an inch of space at the top. Gently pat down the soil to remove any air pockets.
3. Sow the Seeds: Sow the seeds about 1 inch deep and 1-2 inches apart. If you’re using a larger container, you can plant multiple seeds.
4. Cover the Seeds: Gently cover the seeds with potting mix.
5. Water Thoroughly: Water the soil thoroughly until it’s evenly moist but not soggy.
6. Provide Light: Place the containers under your grow lights or in a sunny windowsill. If using grow lights, position them a few inches above the soil surface.
7. Maintain Moisture: Keep the soil consistently moist but not waterlogged. Check the soil moisture daily and water as needed.
Germination and Early Growth
This is where patience comes in. Germination can take anywhere from 7-14 days, depending on the temperature and moisture levels.
1. Monitor Germination: Keep an eye on your containers for signs of germination. Once the seedlings emerge, provide them with plenty of light.
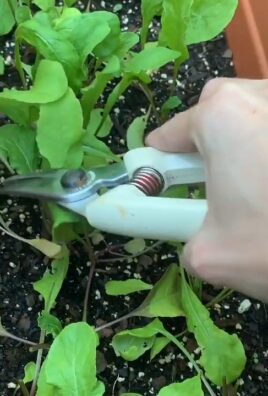
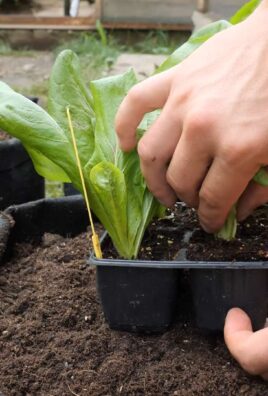
2. Thin Seedlings (If Necessary): If you planted multiple seeds in one container and they all germinate, you may need to thin them out. Choose the strongest seedling and gently remove the others.
3. Adjust Grow Lights: As the seedlings grow, adjust the height of your grow lights to keep them a few inches above the plants.
4. Water Regularly: Continue to water regularly, keeping the soil consistently moist.
5. Provide Support: Once the plants start to develop tendrils, provide them with a trellis or other support system. This will help them climb and prevent them from sprawling.
Caring for Your Snap Peas
Consistent care is key to a bountiful harvest.
1. Watering: Water deeply whenever the top inch of soil feels dry to the touch. Avoid overwatering, as this can lead to root rot.
2. Fertilizing: Feed your snap peas with a balanced liquid fertilizer every 2-3 weeks. Follow the instructions on the fertilizer label.
3. Pruning: Prune away any yellowing or dead leaves to encourage healthy growth. If you’re growing a vining variety, you may need to prune regularly to keep it manageable.
4. Pollination: Snap peas are self-pollinating, but you can help them along by gently shaking the plants or using a small brush to transfer pollen from one flower to another. This is especially important if you’re growing them indoors where there are no bees or other pollinators.
5. Pest Control: Keep an eye out for common pests like aphids and spider mites. If you spot any pests, treat them with an insecticidal soap or neem oil.
6. Light: Ensure your snap peas are getting at least 6-8 hours of light per day. If you’re using grow lights, you may need to supplement with natural light.
Harvesting Your Snap Peas
The moment we’ve all been waiting for!
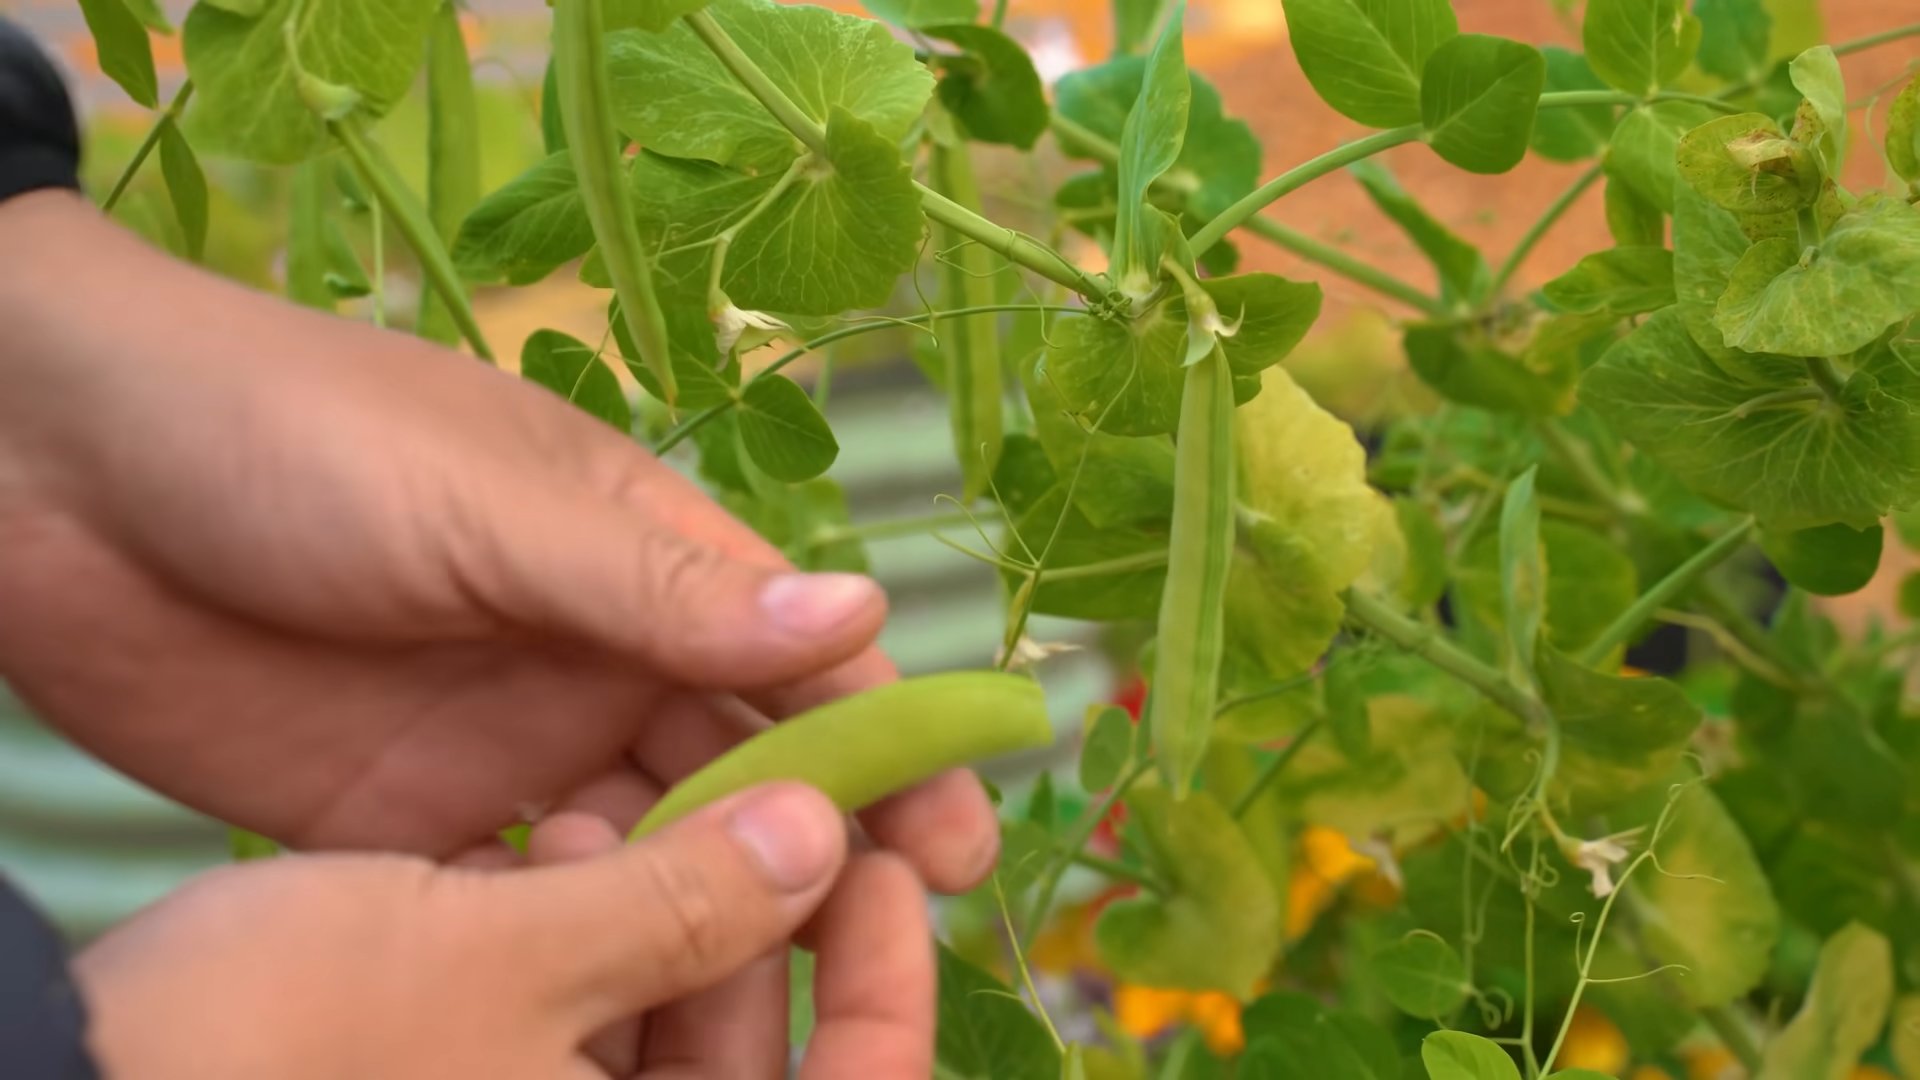
1. Harvest Time: Snap peas are typically ready to harvest about 60-70 days after planting. The pods should be plump and filled with peas.
2. Harvesting Technique: Gently snap the pods off the vine. Avoid pulling, as this can damage the plant.
3. Regular Harvesting: Harvest regularly to encourage continued production. The more you harvest, the more the plant will produce.
4. Enjoy Your Harvest: Eat your snap peas fresh, add them to salads, stir-fries, or enjoy them as a healthy snack.
Troubleshooting
Even with the best care, you might encounter some challenges. Here are a few common issues and how to address them:
* Yellowing Leaves: This could be a sign of overwatering, underwatering, or nutrient deficiency. Adjust your watering schedule and fertilize as needed.
* Lack of Flowers: This could be due to insufficient light or nutrient deficiency. Make sure your plants are getting enough light and fertilize with a balanced fertilizer.
* Pest Infestation: Treat pests with insecticidal soap or neem oil.
* Powdery Mildew: This fungal disease can be a problem in humid environments. Improve air circulation and treat with a fungicide if necessary.
Extending Your Harvest
Want to keep the snap peas coming? Here are a few tips:
* Succession Planting: Plant new seeds every few weeks to ensure a continuous harvest.
* Proper Care: Continue to provide your plants with the care they need, including regular watering, fertilizing, and pruning.
* Temperature Control: Snap peas prefer cooler temperatures. If your indoor environment is too warm, try to lower the temperature or provide shade.
Growing snap peas indoors is a rewarding experience that allows you to enjoy fresh, homegrown produce year-round. With a little bit of planning and care, you can have a thriving indoor garden of snap peas. Happy gardening!
Conclusion
So, there you have it! Growing snap peas indoors might seem like a whimsical endeavor, but with a little patience and the right approach, you can enjoy the sweet, crisp taste of homegrown snap peas even when the weather outside is frightful. This DIY trick isn’t just about having fresh produce at your fingertips; it’s about connecting with nature, learning a new skill, and experiencing the satisfaction of nurturing something from seed to harvest.
Why is this a must-try? Because it offers a unique blend of benefits. First, you gain access to incredibly fresh snap peas, bursting with flavor that store-bought varieties often lack. Second, you control the growing environment, minimizing the risk of pests and diseases that can plague outdoor gardens. Third, it’s a fantastic way to brighten up your living space, adding a touch of green and a sense of tranquility. Finally, it’s a rewarding project that can be enjoyed by individuals and families alike.
Consider these variations to tailor the experience to your preferences. Experiment with different varieties of snap peas. Some are bushier and more compact, ideal for smaller spaces, while others are vining and require more support. You can also play around with different growing mediums. While a standard potting mix works well, you might want to try coco coir or a soilless mix for improved drainage. And don’t forget about lighting! If you don’t have a sunny windowsill, invest in a grow light to ensure your snap peas receive adequate illumination.
Beyond the basic setup, think about adding companion plants to your indoor garden. Herbs like basil or mint can help deter pests and enhance the flavor of your snap peas. You could also try interplanting with radishes, which mature quickly and can be harvested before the snap peas need the space.
Growing snap peas indoors is more than just a gardening project; it’s an opportunity to bring a little bit of the outdoors inside and enjoy the fruits (or rather, vegetables) of your labor. It’s a chance to experiment, learn, and connect with the natural world in a meaningful way.
We wholeheartedly encourage you to give this DIY trick a try. Don’t be afraid to experiment and adapt the techniques to suit your specific environment and preferences. And most importantly, share your experience with us! We’d love to hear about your successes, challenges, and any tips you discover along the way. Post photos of your indoor snap pea garden, share your favorite recipes using your homegrown harvest, and let us know what you learned. Together, we can create a community of indoor gardeners and inspire others to embrace the joy of growing their own food. So, grab some seeds, get your hands dirty, and embark on this exciting adventure! You might be surprised at how rewarding it can be.
FAQ
What kind of container should I use for growing snap peas indoors?
The ideal container for growing snap peas indoors should be at least 6-8 inches deep and wide. This allows sufficient space for the roots to develop properly. Choose a container made of plastic, terracotta, or any other material that can hold soil and provide drainage. Make sure the container has drainage holes to prevent waterlogging, which can lead to root rot. You can also use grow bags, which are lightweight and breathable, promoting healthy root growth. Consider the mature size of the snap pea variety you’re growing when selecting the container size. Bush varieties will need less space than vining varieties.
How much sunlight do snap peas need when grown indoors?
Snap peas require at least 6-8 hours of direct sunlight per day to thrive. If you don’t have a south-facing window that provides enough sunlight, you’ll need to supplement with artificial lighting. LED grow lights are an excellent option, as they are energy-efficient and provide the full spectrum of light that plants need. Position the grow light a few inches above the plants and adjust the height as they grow. Monitor the plants closely for signs of insufficient light, such as leggy growth or pale leaves. Rotate the plants regularly to ensure that all sides receive adequate light.
What type of soil is best for growing snap peas indoors?
A well-draining potting mix is essential for growing snap peas indoors. Avoid using garden soil, as it can be too heavy and compact, leading to poor drainage and root problems. A good potting mix should be lightweight, airy, and rich in organic matter. You can also amend the potting mix with perlite or vermiculite to improve drainage and aeration. Consider using a soilless mix, such as coco coir or peat moss, which are sterile and provide excellent drainage. Before planting, moisten the potting mix thoroughly to ensure that it is evenly hydrated.
How often should I water my indoor snap peas?
Water your indoor snap peas regularly, keeping the soil consistently moist but not waterlogged. The frequency of watering will depend on factors such as the size of the container, the type of potting mix, and the temperature and humidity of your home. Check the soil moisture by sticking your finger about an inch into the soil. If it feels dry, it’s time to water. Water deeply, allowing the excess water to drain out of the drainage holes. Avoid overwatering, as this can lead to root rot. Reduce watering during cooler periods or when the plants are not actively growing.
Do I need to provide support for my indoor snap peas?
Yes, most varieties of snap peas are vining and require support to climb. You can use a trellis, stakes, or even a string to provide support. Install the support system when the plants are young, so they can easily attach themselves. As the plants grow, gently guide the vines onto the support. Prune any side shoots that are not producing flowers or pods to encourage the plant to focus its energy on producing a bountiful harvest.
How long does it take for snap peas to mature when grown indoors?
Snap peas typically take 60-70 days to mature when grown indoors. The exact time will depend on the variety of snap pea, the growing conditions, and the amount of sunlight or artificial light they receive. You can start harvesting the pods when they are plump and the peas inside are well-developed. Harvest regularly to encourage the plant to continue producing more pods.
What are some common pests and diseases that affect indoor snap peas?
Common pests that can affect indoor snap peas include aphids, spider mites, and whiteflies. These pests can be controlled with insecticidal soap or neem oil. Regularly inspect your plants for signs of infestation, such as yellowing leaves or webbing. Diseases that can affect indoor snap peas include powdery mildew and root rot. Powdery mildew can be prevented by providing good air circulation and avoiding overhead watering. Root rot can be prevented by using a well-draining potting mix and avoiding overwatering.
Can I grow snap peas indoors year-round?
Yes, you can grow snap peas indoors year-round, provided you have adequate lighting and temperature control. Snap peas prefer temperatures between 60-70°F (15-21°C). If your home is too warm or too cold, you may need to adjust the temperature or provide supplemental heating or cooling. With proper care, you can enjoy a continuous harvest of fresh snap peas throughout the year.
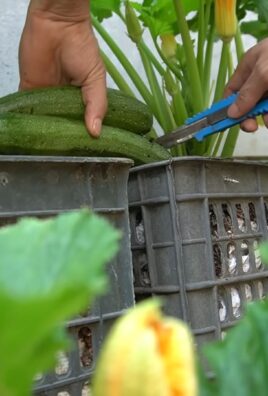
How do I harvest snap peas from my indoor garden?
Harvest snap peas when the pods are plump and the peas inside are well-developed, but before the pods become tough or stringy. Use scissors or pruning shears to cut the pods from the vine, being careful not to damage the plant. Harvest regularly to encourage the plant to continue producing more pods. The more you harvest, the more the plant will produce.
What can I do with my homegrown snap peas?
Homegrown snap peas are incredibly versatile and can be used in a variety of dishes. They can be eaten raw as a snack, added to salads, stir-fried, steamed, or used in soups and stews. They are also a great addition to vegetable platters and can be served with dips. Snap peas are a good source of vitamins, minerals, and fiber, making them a healthy and delicious addition to your diet.
Leave a Comment