
Growing Sage Indoors can feel like a secret superpower for any home cook or gardening enthusiast! Imagine having fresh, fragrant sage readily available, no matter the season, right in your kitchen. Forget those sad, wilted herbs from the grocery store – we’re talking vibrant, flavorful sage at your fingertips.
Sage, with its earthy aroma and slightly peppery taste, has a rich history that stretches back centuries. Ancient Romans revered it for its medicinal properties, believing it could cure everything from snakebites to memory loss. In fact, the name “sage” comes from the Latin word “salvere,” meaning “to be saved.” While we might not be relying on it for snakebites these days, its culinary and aromatic uses remain incredibly popular.
But why bother learning the tricks to growing sage indoors? Well, for starters, it’s incredibly rewarding! Plus, it’s a fantastic way to reduce your carbon footprint by cutting down on trips to the store. More importantly, having fresh sage on hand elevates your cooking to a whole new level. Think of all the delicious dishes you can create: savory roasted chicken, flavorful stuffing, or even a simple sage-infused butter for your morning toast. I’m excited to share some simple DIY tricks and hacks that will help you successfully grow sage indoors, even if you don’t have a green thumb. Let’s get started!
Growing Sage Indoors: A Comprehensive DIY Guide
Okay, so you want to grow sage indoors? Awesome! Sage is such a versatile herb, and having fresh sage on hand is a game-changer for cooking. Plus, it smells amazing! I’ve been growing sage indoors for a while now, and I’m excited to share my tips and tricks with you. Let’s get started!
What You’ll Need
Before we dive into the nitty-gritty, let’s gather our supplies. Here’s a checklist of everything you’ll need to successfully grow sage indoors:
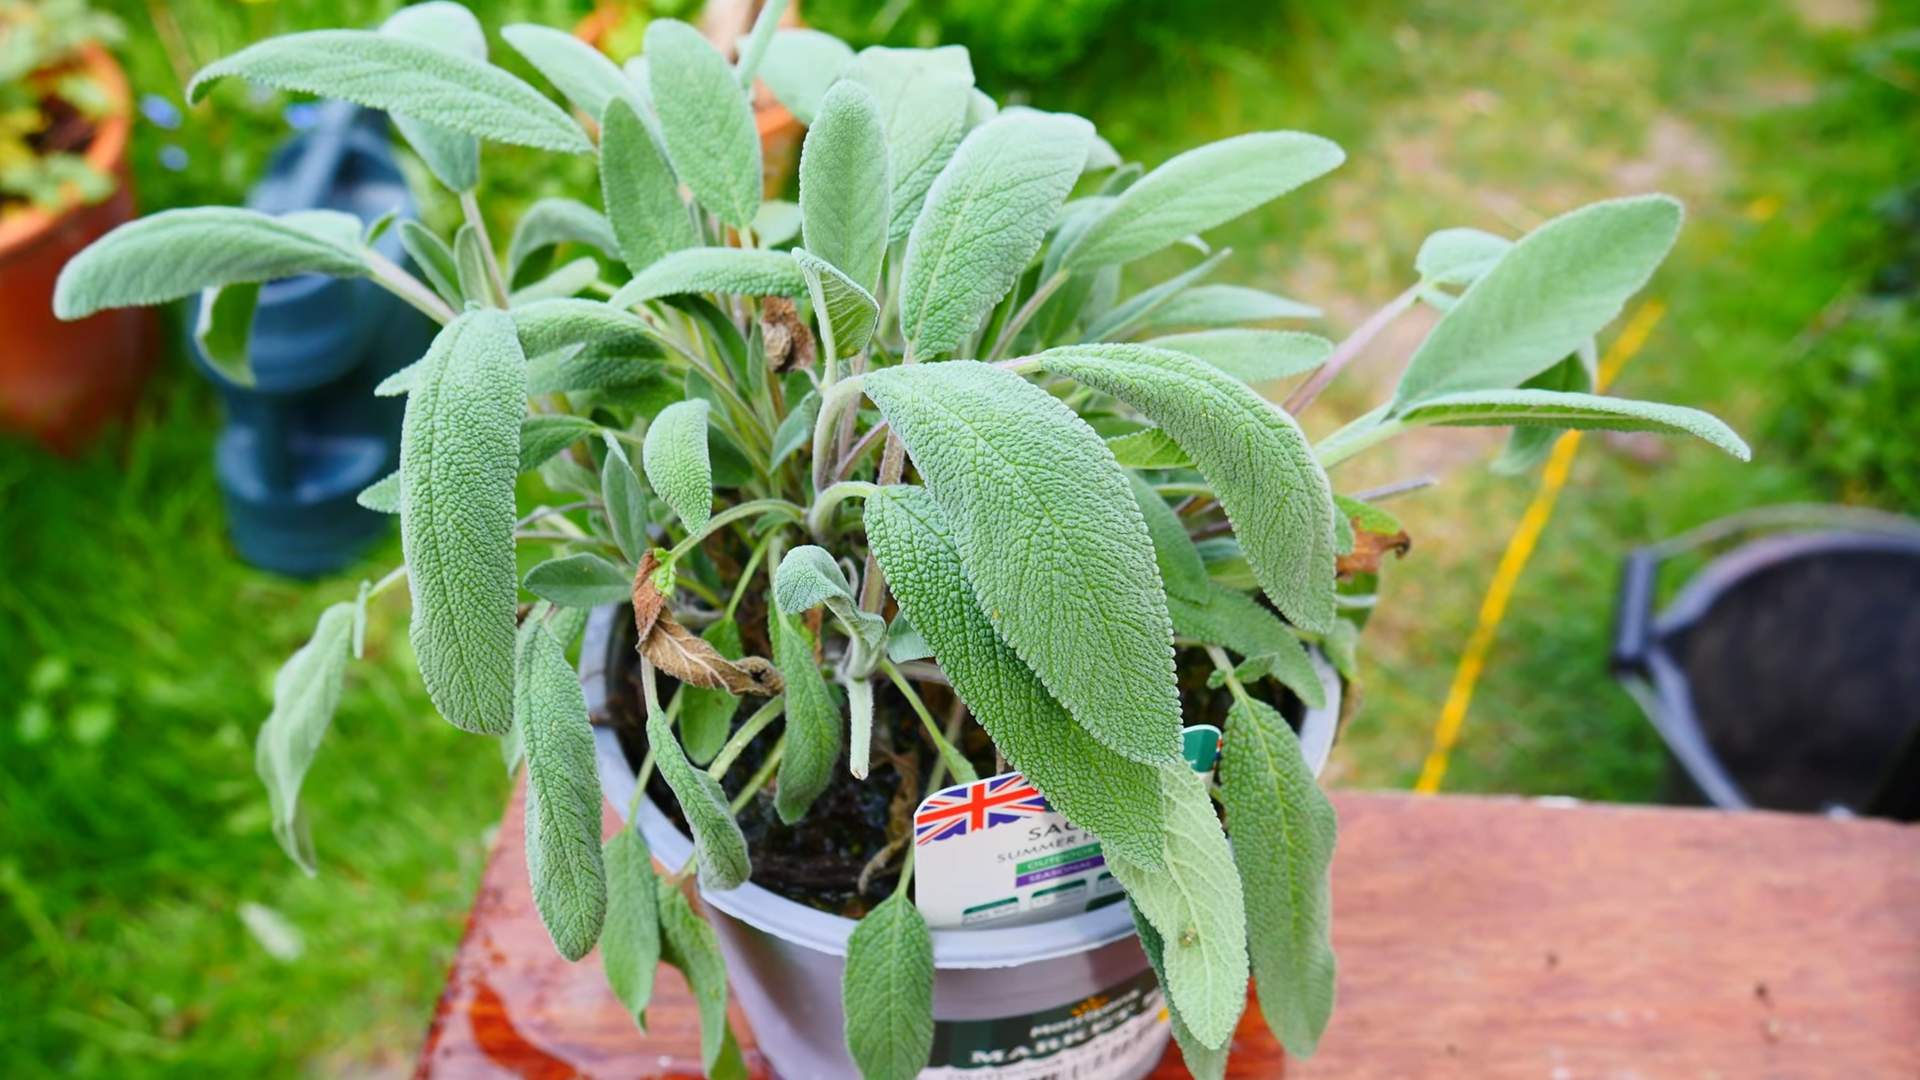
* **Sage Seeds or a Sage Plant:** You can start from seeds, which is more rewarding (in my opinion!), or buy a small established plant from a nursery.
* **Potting Mix:** Don’t just grab any old soil! Sage needs well-draining soil. A mix specifically formulated for herbs or starting seeds is ideal.
* **Pots:** Choose pots that are at least 6 inches in diameter. Good drainage is crucial, so make sure your pots have drainage holes. Terracotta pots are a great option because they allow the soil to breathe.
* **Grow Lights (Optional but Recommended):** While sage loves sunlight, it can be tricky to get enough natural light indoors, especially during the winter months. Grow lights will ensure your sage gets the light it needs to thrive.
* **Watering Can or Spray Bottle:** For gentle watering.
* **Small Shovel or Trowel:** For planting.
* **Seed Starting Tray (If starting from seeds):** This will help you germinate your seeds before transplanting them to larger pots.
* **Plant Food (Optional):** A balanced liquid fertilizer can give your sage a boost, but it’s not strictly necessary.
* **Pruning Shears or Scissors:** For harvesting and maintaining your sage plant.
Starting from Seeds: A Step-by-Step Guide
Starting from seeds is a bit more involved, but it’s also super satisfying. Here’s how I do it:
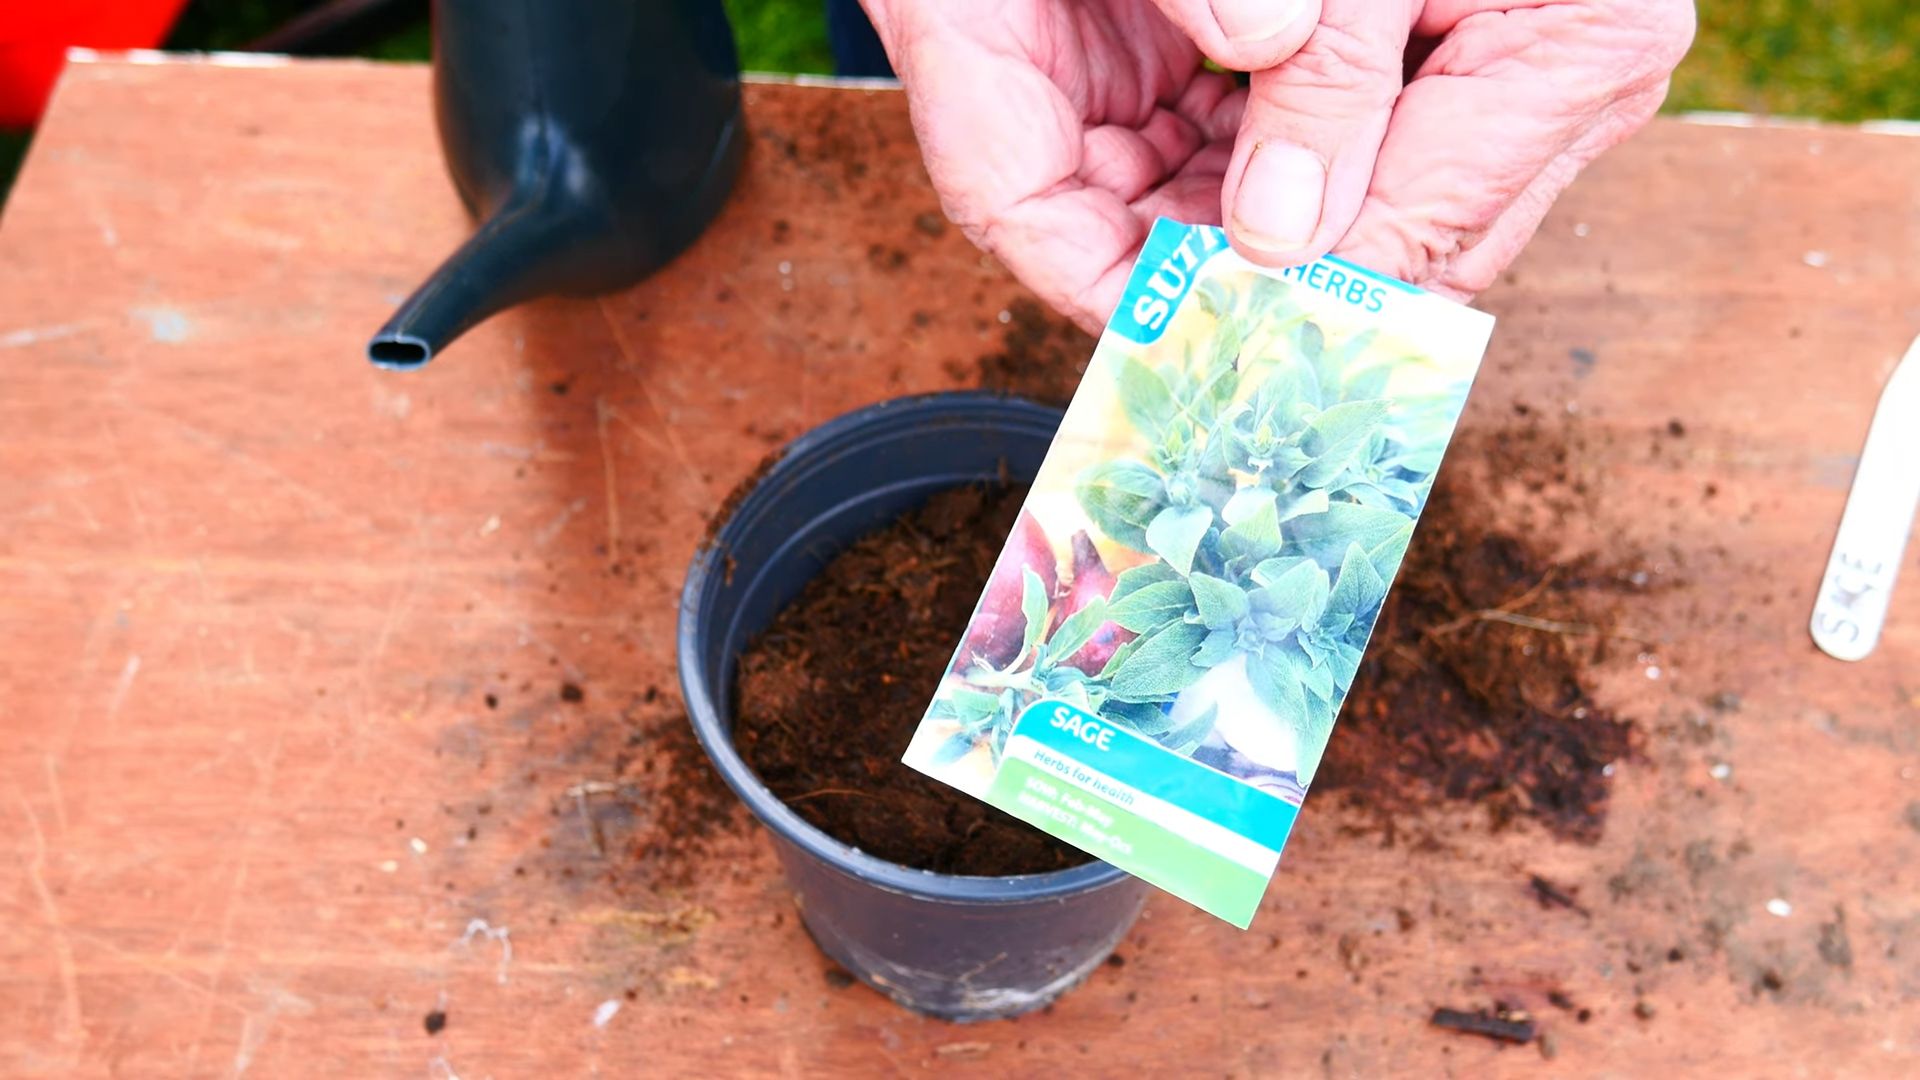
1. **Prepare Your Seed Starting Tray:** Fill your seed starting tray with a good quality seed starting mix. Moisten the soil gently with a spray bottle. You want it damp, not soggy.
2. **Sow the Seeds:** Sprinkle the sage seeds evenly over the surface of the soil. They don’t need to be buried too deep; just gently press them into the soil. A light covering of soil is fine.
3. **Water Gently:** Use a spray bottle to mist the soil again. Be careful not to dislodge the seeds.
4. **Provide Warmth and Light:** Cover the seed starting tray with a clear plastic lid or plastic wrap to create a humid environment. Place the tray in a warm location, ideally around 70-75°F (21-24°C). If you have a heat mat, that’s even better! You can also place the tray under grow lights.
5. **Monitor Moisture:** Check the soil daily and mist it as needed to keep it moist. Don’t let it dry out!
6. **Wait for Germination:** Sage seeds typically germinate in 10-21 days. Be patient!
7. **Remove the Cover:** Once the seedlings emerge, remove the plastic lid or wrap.
8. **Provide Adequate Light:** Place the seedlings under grow lights or in a very sunny window. They need at least 6 hours of light per day.
9. **Thin the Seedlings:** Once the seedlings have a few sets of true leaves (the leaves that look like miniature sage leaves), thin them out so that only the strongest seedlings remain. You can gently snip off the weaker seedlings at the soil line.
10. **Transplant to Larger Pots:** When the seedlings are a few inches tall and have a well-developed root system, it’s time to transplant them to larger pots (at least 6 inches in diameter). Fill the pots with potting mix, make a hole in the center, and gently place the seedlings in the hole. Backfill with soil and water gently.
Planting a Sage Plant: A Simpler Approach
If you’re starting with a sage plant from a nursery, the process is much simpler:
1. **Choose Your Pot:** Select a pot that is at least 6 inches in diameter and has good drainage holes.
2. **Prepare the Pot:** Fill the pot with a well-draining potting mix.
3. **Remove the Plant from its Container:** Gently remove the sage plant from its nursery container. If the roots are tightly packed, gently loosen them with your fingers.
4. **Plant the Sage:** Place the sage plant in the center of the pot. The top of the root ball should be level with the soil surface.
5. **Backfill with Soil:** Fill in the space around the root ball with potting mix.
6. **Water Thoroughly:** Water the plant thoroughly until water drains out of the drainage holes.
Caring for Your Indoor Sage Plant
Now that your sage is planted, it’s time to learn how to care for it. Here’s what you need to know:
* **Light:** Sage needs at least 6 hours of sunlight per day. If you don’t have a sunny window, use grow lights. I’ve found that LED grow lights work really well.
* **Watering:** Water your sage plant when the top inch of soil feels dry to the touch. Don’t overwater! Sage doesn’t like to sit in soggy soil. Make sure your pot has good drainage.
* **Temperature:** Sage prefers temperatures between 60-70°F (15-21°C).
* **Humidity:** Sage doesn’t need high humidity. Normal household humidity is fine.
* **Fertilizing:** You can fertilize your sage plant every few weeks with a balanced liquid fertilizer. Follow the instructions on the fertilizer label. However, be careful not to over-fertilize, as this can lead to leggy growth.
* **Pruning:** Pruning is essential for keeping your sage plant healthy and productive. Prune regularly to encourage bushier growth. You can also prune to remove any dead or damaged leaves.
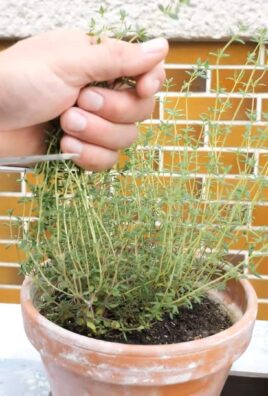
Harvesting Your Sage
The best part about growing your own sage is being able to harvest it whenever you need it! Here’s how to harvest sage:
1. **Wait Until the Plant is Established:** Don’t start harvesting until your sage plant is at least 6 inches tall and has several sets of leaves.
2. **Harvest in the Morning:** The best time to harvest sage is in the morning, after the dew has dried but before the sun gets too hot.
3. **Use Pruning Shears or Scissors:** Use sharp pruning shears or scissors to cut the stems.
4. **Cut Above a Leaf Node:** Cut the stems just above a leaf node (the point where a leaf grows out of the stem). This will encourage new growth.
5. **Don’t Remove More Than One-Third:** Don’t remove more than one-third of the plant at a time. This will stress the plant and slow down its growth.
6. **Use Fresh or Dry:** You can use the sage fresh or dry it for later use. To dry sage, hang the stems upside down in a cool, dry place. Once the leaves are dry, crumble them and store them in an airtight container.
Troubleshooting Common Problems
Even with the best care, you might encounter some problems when growing sage indoors. Here are some common issues and how to fix them:
* **Leggy Growth:** Leggy growth (long, spindly stems with few leaves) is usually caused by insufficient light. Move your sage plant to a sunnier location or use grow lights.
* **Yellowing Leaves:** Yellowing leaves can be caused by overwatering, underwatering, or nutrient deficiencies. Check the soil moisture and adjust your watering accordingly. If you suspect a nutrient deficiency, fertilize your plant with a balanced liquid fertilizer.
* **Powdery Mildew:** Powdery mildew is a fungal disease that can affect sage plants. It appears as a white, powdery coating on the leaves. To prevent powdery mildew, provide good air circulation and avoid overwatering. If your plant is affected, remove the infected leaves and spray the plant with a fungicide.
* **Pests:** Sage plants can be susceptible to pests such as aphids, spider mites, and whiteflies. Inspect your plant regularly for pests. If you find any, spray the plant with insecticidal soap or neem oil.
Propagating Sage
Want more sage plants? You can easily propagate sage from cuttings. Here’s how:
1. **Take a Cutting:** Take a 4-6 inch cutting from a healthy sage plant. Cut the stem just below a leaf node.
2. **Remove Lower Leaves:** Remove the leaves from the bottom half of the cutting.
3. **Rooting Hormone (Optional):** Dip the cut end of the cutting in rooting hormone. This will help the cutting root faster.
4. **Plant the Cutting:** Plant the cutting in a pot filled with moist potting mix.
5. **Cover with Plastic:** Cover the pot with a
Conclusion
So, there you have it! Growing sage indoors is not only achievable but also incredibly rewarding. Imagine having fresh, aromatic sage readily available at your fingertips, regardless of the season. No more last-minute trips to the grocery store or settling for dried herbs that lack the vibrant flavor of the fresh stuff. This DIY trick is a game-changer for any home cook, gardener, or anyone who simply appreciates the beauty and fragrance of this wonderful herb.
Why is this a must-try? Because it empowers you to take control of your herb supply, ensuring you always have the highest quality sage on hand. It’s also a fantastic way to connect with nature, even if you live in an apartment or have limited outdoor space. The process of nurturing a plant from a small seedling or cutting to a thriving herb is incredibly satisfying. Plus, it’s a sustainable practice that reduces your reliance on commercially grown herbs, which often travel long distances and may be treated with pesticides.
But the benefits don’t stop there. Growing your own sage indoors allows you to experiment with different varieties. Have you ever considered growing purple sage for its ornamental value or golden sage for its unique flavor profile? The possibilities are endless! You can also tailor your growing conditions to optimize the flavor and aroma of your sage. For example, providing plenty of sunlight and well-draining soil will result in a more potent and flavorful herb.
Ready to take your indoor gardening to the next level? Consider these variations and suggestions:
* Hydroponic Sage: Explore hydroponic systems for a soilless growing experience. This method can be particularly efficient and space-saving.
* Sage Tea Garden: Combine your sage with other herbs like chamomile and mint to create a soothing and aromatic tea garden.
* Sage Propagation Station: Propagate new sage plants from cuttings to expand your herb collection or share with friends and family.
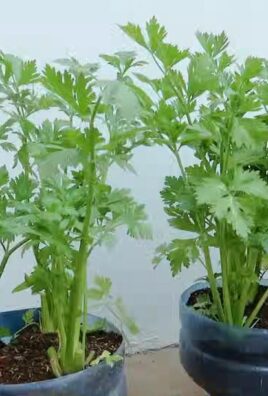
* Companion Planting Indoors: Plant your sage alongside other herbs like rosemary or thyme, which thrive in similar conditions. This can create a beautiful and functional indoor herb garden.
* Creative Containers: Don’t limit yourself to traditional pots. Get creative with your containers! Use repurposed jars, teacups, or even old boots to add a touch of personality to your indoor garden.
We are confident that you’ll find growing sage indoors to be a fulfilling and enjoyable experience. It’s a simple yet powerful way to enhance your cooking, beautify your home, and connect with nature.
So, what are you waiting for? Grab a pot, some soil, and a sage plant or cutting, and get started today! We encourage you to try this DIY trick and share your experiences with us. Let us know what varieties you’re growing, what challenges you’ve faced, and what successes you’ve achieved. Share your photos and tips on social media using #IndoorSage and inspire others to join the indoor gardening movement. We can’t wait to see your thriving indoor sage gardens!
Frequently Asked Questions (FAQ)
1. What is the best location for growing sage indoors?
The ideal location for growing sage indoors is a spot that receives at least six to eight hours of direct sunlight per day. A south-facing window is usually the best option. If you don’t have access to enough natural light, you can supplement with grow lights. Position the grow lights about 6-12 inches above the plants and keep them on for 12-16 hours per day. Rotate the plant regularly to ensure even light exposure on all sides.
2. What type of soil is best for growing sage indoors?
Sage prefers well-draining soil that is slightly alkaline. A good potting mix for sage is a combination of equal parts potting soil, perlite, and compost. Perlite helps to improve drainage, while compost provides essential nutrients. Avoid using heavy clay soil, as it can retain too much moisture and lead to root rot. You can also add a small amount of lime to the soil to increase its alkalinity.
3. How often should I water my indoor sage plant?
Water your sage plant when the top inch of soil feels dry to the touch. Avoid overwatering, as this can lead to root rot. When you water, water thoroughly until water drains out of the bottom of the pot. Allow the excess water to drain away completely. During the winter months, when the plant is not actively growing, you may need to water less frequently.
4. How do I fertilize my indoor sage plant?
Sage is not a heavy feeder, so you don’t need to fertilize it frequently. Fertilize your sage plant every two to three months during the growing season (spring and summer) with a balanced liquid fertilizer diluted to half strength. Avoid fertilizing during the winter months. Over-fertilizing can lead to leggy growth and a decrease in flavor.
5. How do I prune my indoor sage plant?
Pruning is essential for maintaining the shape and health of your sage plant. Prune your sage plant regularly to remove dead or damaged leaves and stems. You can also prune to encourage bushier growth. Pinch back the tips of the stems to promote branching. Avoid pruning more than one-third of the plant at a time. The best time to prune sage is in the spring, after the last frost.
6. What are some common pests and diseases that affect indoor sage plants?
Common pests that can affect indoor sage plants include aphids, spider mites, and whiteflies. These pests can be controlled with insecticidal soap or neem oil. Diseases that can affect indoor sage plants include root rot and powdery mildew. Root rot is caused by overwatering, so it’s important to ensure that your plant has well-draining soil and is not overwatered. Powdery mildew is a fungal disease that can be treated with a fungicide.
7. Can I grow sage from seed indoors?
Yes, you can grow sage from seed indoors. Start the seeds indoors 6-8 weeks before the last expected frost. Sow the seeds in a seed-starting mix and keep them moist. Germination typically takes 10-14 days. Once the seedlings have developed a few sets of true leaves, transplant them into individual pots.
8. Can I propagate sage from cuttings indoors?
Yes, propagating sage from cuttings is a relatively easy and effective way to create new plants. Take cuttings from healthy, non-flowering stems in the spring or summer. The cuttings should be about 4-6 inches long. Remove the lower leaves and dip the cut end in rooting hormone. Plant the cuttings in a well-draining potting mix and keep them moist. Roots should develop in 2-4 weeks.
9. How do I harvest sage leaves from my indoor plant?
Harvest sage leaves as needed throughout the growing season. The best time to harvest is in the morning, after the dew has dried. Cut the leaves from the stem using scissors or pruning shears. Avoid harvesting more than one-third of the plant at a time.
10. How do I dry sage leaves from my indoor plant?
You can dry sage leaves by hanging them upside down in a cool, dry place. Tie the stems together with string and hang them in a well-ventilated area. The leaves will be dry in 1-3 weeks. You can also dry sage leaves in a dehydrator or oven. If using an oven, set the temperature to the lowest setting and spread the leaves out on a baking sheet. Dry the leaves for several hours, or until they are brittle. Store the dried sage leaves in an airtight container in a cool, dark place.

Leave a Comment