
Grow Endive at Home? Absolutely! And you don’t need a sprawling farm to do it. Have you ever walked through a farmers market, admired those beautiful, slightly bitter heads of endive, and thought, “I wish I could grow that”? Well, I’m here to tell you, you absolutely can! This often-overlooked leafy green, with its intriguing history and delicate flavor, is surprisingly easy to cultivate in your own backyard, or even on your windowsill.
Endive has a fascinating past, rumored to have been discovered accidentally in Belgium in the 1800s when a farmer stored chicory roots in a dark cellar and found they sprouted into the pale, tightly packed heads we know today. This “forced” growing method is actually what gives endive its unique flavor and texture. But why should you bother learning to grow endive at home? Beyond the sheer satisfaction of harvesting your own fresh produce, growing endive allows you to control the growing environment, ensuring you get the freshest, most flavorful leaves possible, free from pesticides and other unwanted chemicals. Plus, it’s a fantastic way to add a touch of gourmet flair to your salads and cooked dishes.
In this article, I’m going to share some simple, DIY tricks and hacks that will empower you to successfully grow endive, no matter your gardening experience. We’ll cover everything from seed starting to forcing techniques, ensuring you’ll be enjoying homegrown endive in no time. So, grab your gardening gloves, and let’s get started!
Growing Endive at Home: A DIY Guide for the Aspiring Gardener
Okay, so you want to grow endive at home? Awesome! It’s a bit of a project, I won’t lie, but the reward of fresh, slightly bitter, and oh-so-delicious endive is totally worth it. This guide will walk you through the entire process, from seed to salad. Get ready to get your hands dirty!
Understanding Endive: A Two-Part Process
Endive isn’t like growing lettuce or spinach. It requires a two-stage growing process: first, you grow the leafy greens, and then you “force” the chicons (the tightly packed heads) in the dark. Don’t worry, it sounds more complicated than it is!
Phase 1: Growing the Greens
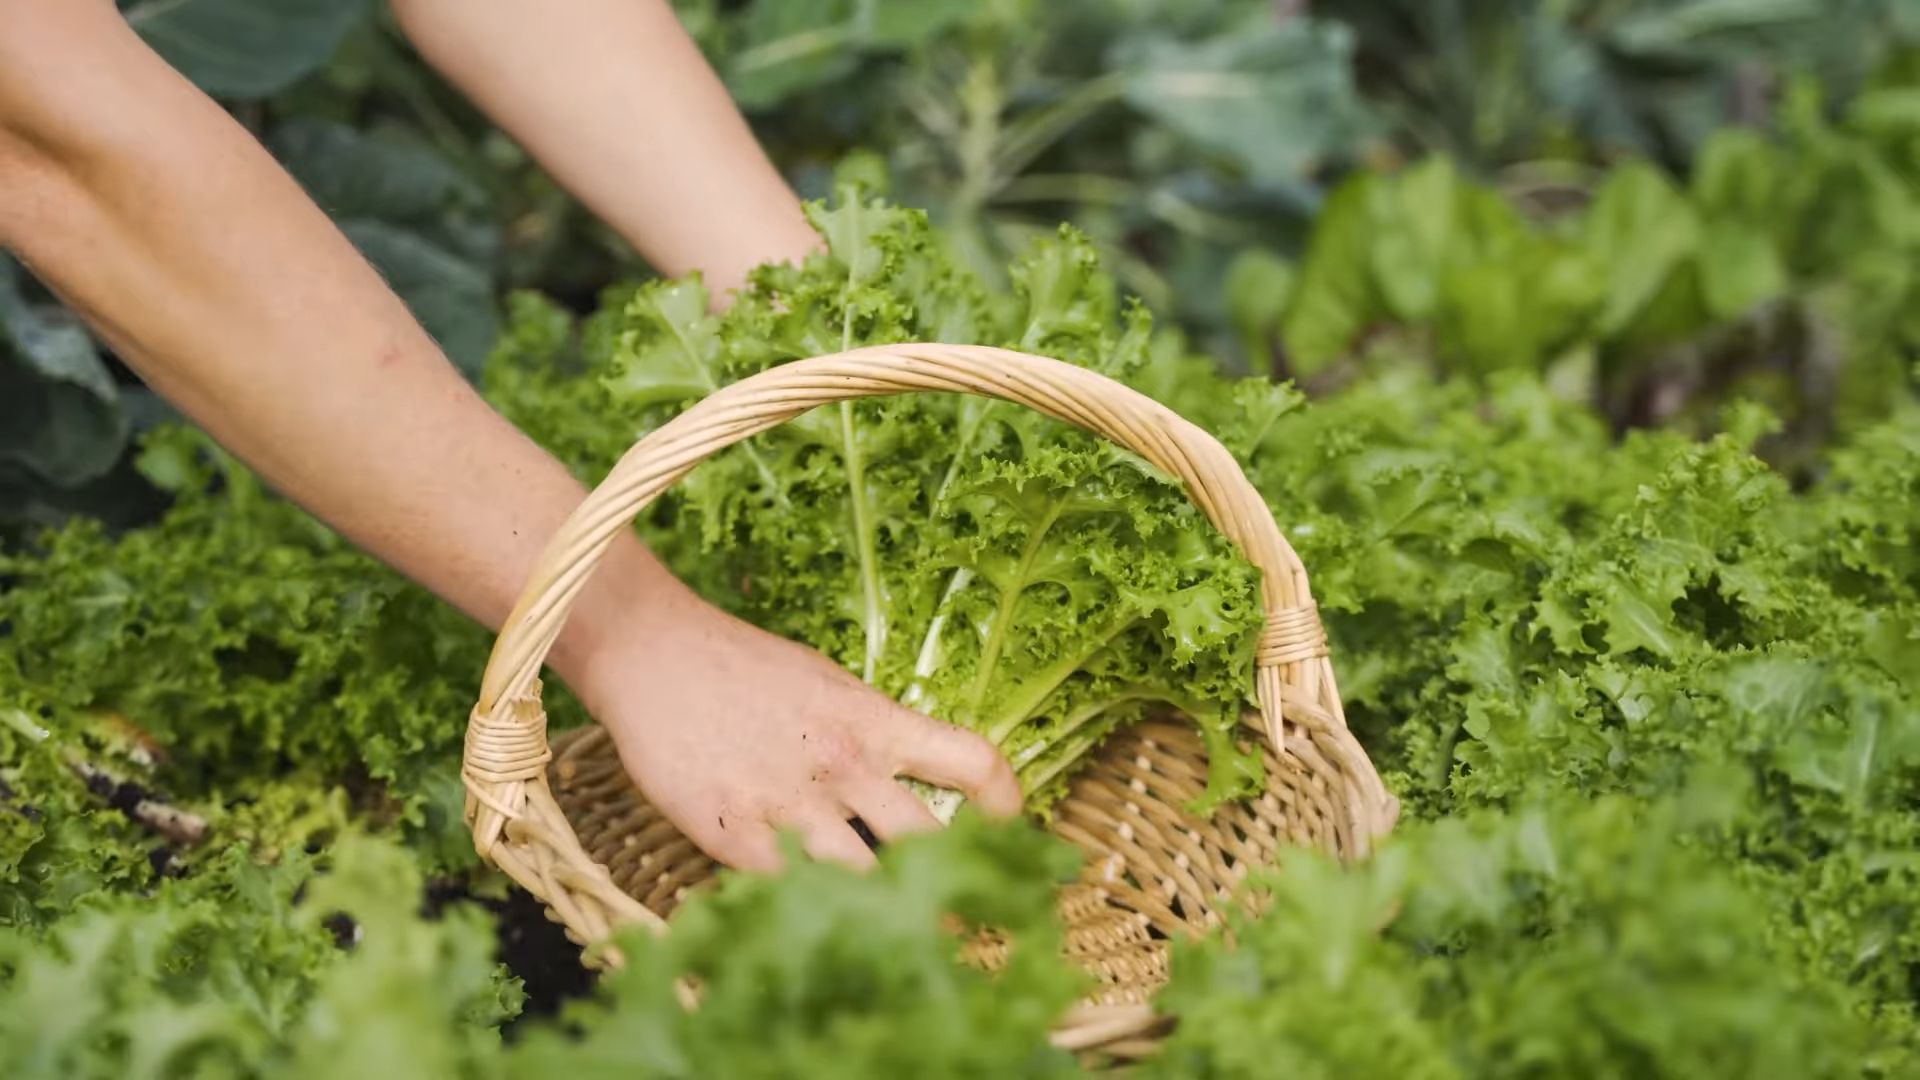
This is where we start, just like any other leafy green. We’re aiming for healthy, robust plants that will provide us with the energy needed for the second phase.
* Timing is Key: Endive is a cool-season crop. For the best results, start your seeds in late spring or early summer for a fall harvest. This allows the roots to mature before the cooler weather sets in. I usually aim for sowing seeds about 12-16 weeks before the first expected frost.
* Choosing the Right Variety: There are different types of endive, including Belgian endive (the most common, with tightly packed heads) and escarole (with looser, frilly leaves). For this guide, we’ll focus on Belgian endive, as that’s what requires the forcing process.
* Soil Preparation: Endive loves well-drained, fertile soil. Before planting, amend your soil with compost or well-rotted manure. This will provide the necessary nutrients for healthy growth. I like to work the compost in to a depth of about 6-8 inches.
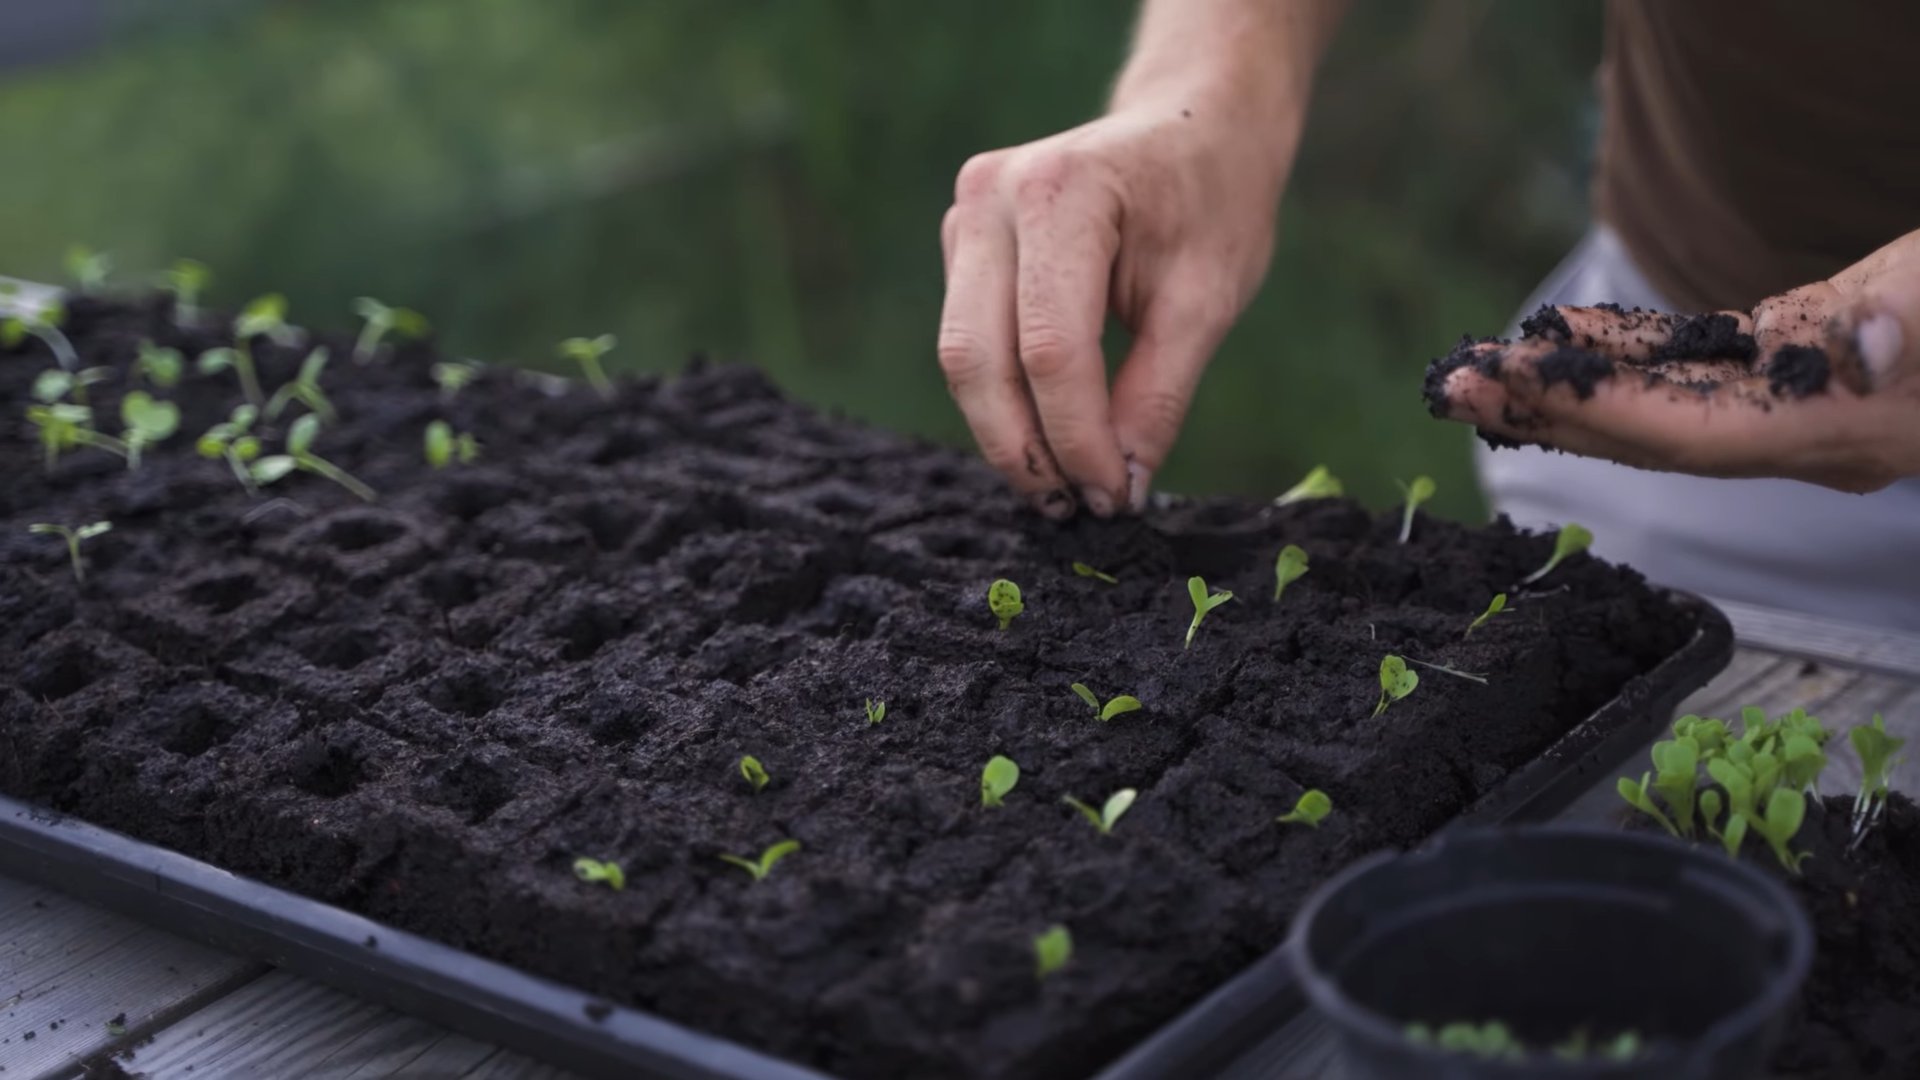
* Sowing the Seeds: You can start seeds indoors or directly sow them in the garden. I prefer direct sowing because it avoids transplant shock. Sow seeds about ¼ inch deep and 1 inch apart in rows that are 12-18 inches apart.
* Thinning Seedlings: Once the seedlings emerge (usually in about 7-14 days), thin them to about 6-8 inches apart. This gives each plant enough space to grow and develop. It’s tough to do, I know, but it’s essential!
* Watering and Weeding: Keep the soil consistently moist, but not waterlogged. Regular weeding is also important to prevent competition for nutrients and sunlight. I find that mulching around the plants helps to retain moisture and suppress weeds.
* Fertilizing: Feed your endive plants with a balanced fertilizer every few weeks. Follow the instructions on the fertilizer package. I prefer using an organic fertilizer, like fish emulsion, for a more natural approach.
* Pest Control: Keep an eye out for pests like slugs, snails, and aphids. Handpicking them off the plants is often the easiest solution. You can also use organic pest control methods, such as diatomaceous earth or insecticidal soap.
**Step-by-Step Instructions for Phase 1:**
1. Prepare the Soil: Choose a sunny spot in your garden with well-drained soil. Amend the soil with compost or well-rotted manure. Work the amendments into the top 6-8 inches of soil.
2. Sow the Seeds: Sow endive seeds about ¼ inch deep and 1 inch apart in rows that are 12-18 inches apart. Gently cover the seeds with soil and water thoroughly.
3. Thin the Seedlings: Once the seedlings emerge, thin them to about 6-8 inches apart. Carefully remove the weaker seedlings, leaving the strongest ones to grow.
4. Water Regularly: Keep the soil consistently moist, but not waterlogged. Water deeply whenever the top inch of soil feels dry.
5. Weed Regularly: Remove weeds regularly to prevent competition for nutrients and sunlight. Mulching around the plants can help to suppress weeds.
6. Fertilize as Needed: Feed your endive plants with a balanced fertilizer every few weeks. Follow the instructions on the fertilizer package.
7. Monitor for Pests: Keep an eye out for pests like slugs, snails, and aphids. Handpick them off the plants or use organic pest control methods.
8. Wait for Maturity: Allow the plants to grow until the roots are about 1-2 inches in diameter. This usually takes about 12-16 weeks. The leaves will be quite large and leafy at this stage.
Phase 2: Forcing the Chicons
This is the fun part! This is where we create those tightly packed, pale heads of endive that you find in the grocery store. The key is darkness.
* Harvesting the Roots: Once the roots are about 1-2 inches in diameter (usually in the fall), it’s time to harvest them. Carefully dig up the plants, being careful not to damage the roots.
* Preparing the Roots: Cut off the leaves about 1 inch above the crown of the root. Gently clean the roots to remove any excess soil.
* Chilling the Roots: Place the roots in a cool, dark place (like a refrigerator) for about 2-3 weeks. This chilling period is essential for breaking dormancy and encouraging chicon formation. I usually put them in a plastic bag with some slightly damp peat moss to keep them from drying out completely.
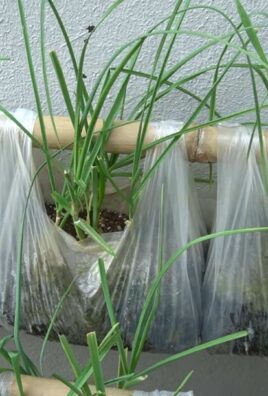
* Forcing Environment: You can force endive in a variety of containers, such as buckets, pots, or even plastic bins. The key is to provide a dark, humid environment.
* Planting the Roots: Fill your chosen container with moist sand or potting soil. Plant the roots close together, but not touching, with the cut ends facing up. Cover the roots with about 2-3 inches of sand or soil.
* Darkness is Key: Cover the container with a light-proof lid or place it in a completely dark room. This is crucial for preventing the leaves from turning green and bitter. You can use another container inverted over the top, or even wrap the whole thing in black plastic.
* Maintaining Moisture: Keep the sand or soil consistently moist, but not waterlogged. Water gently from the bottom to avoid wetting the cut ends of the roots.
* Temperature Control: The ideal temperature for forcing endive is between 60-70°F (15-21°C).
* Harvesting the Chicons: After about 3-5 weeks, the chicons will be ready to harvest. They should be tightly packed and pale in color. To harvest, simply cut the chicons off at the base.
**Step-by-Step Instructions for Phase 2:**
1. Harvest the Roots: Carefully dig up the endive plants, being careful not to damage the roots.
2. Prepare the Roots: Cut off the leaves about 1 inch above the crown of the root. Gently clean the roots to remove any excess soil.
3. Chill the Roots: Place the roots in a cool, dark place (like a refrigerator) for about 2-3 weeks. Store them in a plastic bag with slightly damp peat moss.
4. Prepare the Forcing Container: Choose a container that is large enough to hold all of the roots. Fill the container with moist sand or potting soil.
5. Plant the Roots: Plant the roots close together, but not touching, with the cut ends facing up. Cover the roots with about 2-3 inches of sand or soil.
6. Create a Dark Environment: Cover the container with a light-proof lid or place it in a completely dark room. Ensure no light can penetrate.
7. Maintain Moisture: Keep the sand or soil consistently moist, but not waterlogged. Water gently from the bottom.
8. Control Temperature: Maintain a temperature between 60-70°F (15-21°C).
9. Harvest the Chicons: After about 3-5 weeks, the chicons will be ready to harvest. Cut them off at the base.
Troubleshooting Tips
* Chicons are Bitter: This is usually due to exposure to light during the forcing process. Make sure your forcing environment is completely dark.
* Roots are Rotting: This is usually due to overwatering. Make sure the sand or soil is moist, but not waterlogged.
* Chicons are Not Forming: This could be due to insufficient chilling or incorrect temperature. Make sure the roots are properly chilled and the forcing environment is within the ideal temperature range.
* Pests in the Forcing Container: While less common in the dark forcing environment, pests can still appear. Inspect the roots before planting and consider using a diluted hydrogen peroxide solution to sanitize the soil.
Enjoying Your Homegrown Endive
Now that you’ve successfully grown your own endive, it’s time to enjoy the
Conclusion
So, there you have it! Growing endive at home, while perhaps seeming a bit daunting initially, is a surprisingly rewarding endeavor. It’s a chance to connect with your food on a deeper level, to nurture something from seed (or even a repurposed root!) to table, and to enjoy the unparalleled freshness and flavor that store-bought endive simply can’t match.
But why is this DIY trick a must-try? Beyond the satisfaction of self-sufficiency, growing your own endive offers several compelling advantages. Firstly, you have complete control over the growing process. You can choose organic methods, avoiding harmful pesticides and herbicides, ensuring that your endive is as healthy and wholesome as possible. Secondly, you can harvest your endive at its peak ripeness, maximizing its flavor and nutritional value. Store-bought endive is often harvested prematurely to extend its shelf life, resulting in a less flavorful and nutritious product. Thirdly, and perhaps most importantly, growing your own endive is a cost-effective way to enjoy this gourmet vegetable. Endive can be quite expensive to purchase, especially if you’re looking for organic varieties. By growing your own, you can significantly reduce your grocery bill and enjoy fresh endive whenever you desire.
Ready to take your endive cultivation to the next level? Consider these variations and suggestions:
* Experiment with different varieties: Explore different types of endive, such as the classic Belgian endive, the curly endive (frisée), or the escarole. Each variety offers a unique flavor and texture profile, allowing you to diversify your culinary creations.
* Try forcing endive indoors during the winter months: Extend your growing season by forcing endive indoors. This allows you to enjoy fresh endive even when the weather outside is cold and dreary.
* Use endive in creative ways: Don’t limit yourself to salads! Endive can be grilled, braised, sautéed, or even used as a flavorful addition to soups and stews. Get creative and explore the many culinary possibilities of this versatile vegetable.
* Consider companion planting: Plant endive alongside beneficial companion plants like chamomile or marigolds to deter pests and attract pollinators.
Ultimately, the best way to discover the joys of growing endive at home is to simply give it a try. Don’t be afraid to experiment, learn from your mistakes, and adapt the techniques to suit your specific growing conditions. The rewards – fresh, flavorful, and healthy endive – are well worth the effort.
We are confident that with a little patience and dedication, you’ll be enjoying homegrown endive in no time. So, grab your seeds, prepare your soil, and embark on this exciting gardening adventure. We encourage you to share your experiences with us! Post photos of your endive crops, share your favorite recipes, and let us know what tips and tricks you’ve discovered along the way. Together, we can cultivate a community of passionate endive growers and spread the word about the joys of homegrown food. Let us know if this DIY trick worked for you!
Frequently Asked Questions (FAQ)
What exactly is “forcing” endive, and why is it necessary?
Forcing endive is the process of growing the blanched heads (chicons) after the initial root development. Endive is a biennial plant, meaning it takes two years to complete its life cycle. In the first year, it produces a leafy green top and a large root. The second year is when it would normally flower and produce seeds. However, we want to harvest the blanched heads, so we “force” the roots to produce them prematurely. This involves cutting back the leafy tops, digging up the roots, and replanting them in a dark, cool environment. The darkness prevents chlorophyll production, resulting in the pale, slightly bitter chicons we know as endive. Forcing is necessary because the chicons are the desired edible part of the plant, and they only develop under these specific conditions.
How long does it take to grow endive from seed to harvest?
The entire process of growing endive, from seed to harvest, typically takes around 4 to 5 months. The initial growing phase, where you sow the seeds and allow the plants to develop their roots, takes approximately 120 to 150 days. After that, the forcing process, where you replant the roots in a dark environment to produce the chicons, takes an additional 3 to 4 weeks. Keep in mind that these are just estimates, and the actual time may vary depending on factors such as the variety of endive, the growing conditions, and the temperature.
What are the ideal growing conditions for endive?
Endive prefers cool weather and well-drained soil. The ideal temperature for germination is between 60°F and 70°F (15°C and 21°C). Once the plants have established, they can tolerate slightly cooler temperatures. The soil should be rich in organic matter and have a pH between 6.0 and 7.0. Endive requires full sun for at least 6 hours per day during the initial growing phase. However, during the forcing process, it needs complete darkness to prevent the chicons from turning green and bitter.
What are some common pests and diseases that affect endive, and how can I prevent them?
Some common pests that can affect endive include aphids, slugs, and snails. Aphids can be controlled with insecticidal soap or by introducing beneficial insects like ladybugs. Slugs and snails can be deterred by using copper tape around the plants or by hand-picking them off the leaves. Common diseases that can affect endive include downy mildew and root rot. Downy mildew can be prevented by ensuring good air circulation around the plants and by avoiding overhead watering. Root rot can be prevented by planting endive in well-drained soil and by avoiding overwatering.
Can I grow endive in containers?
Yes, you can grow endive in containers, but you’ll need to choose a container that is large enough to accommodate the roots. A container that is at least 12 inches deep and 12 inches wide is recommended. Use a well-draining potting mix and make sure the container has drainage holes. Container-grown endive may require more frequent watering and fertilization than endive grown in the ground.
What is the best way to store harvested endive?
Harvested endive should be stored in the refrigerator to maintain its freshness. Wrap the endive heads in a damp paper towel and place them in a plastic bag. This will help to prevent them from drying out. Endive can be stored in the refrigerator for up to a week.
My endive chicons are turning green. What am I doing wrong?
Green endive chicons indicate that they are not being forced in complete darkness. Ensure that your forcing environment is completely light-proof. Check for any cracks or holes in your container or covering that might be allowing light to penetrate. You can also try wrapping the container in a dark cloth or placing it in a completely dark room.
Can I use the same roots to force endive multiple times?
While it’s technically possible to get a second, smaller crop from the same roots, the quality and yield will be significantly reduced. The first forcing produces the best results. It’s generally recommended to start with fresh roots for each forcing cycle to ensure optimal flavor and texture.
What are some creative ways to use endive in cooking?
Endive is incredibly versatile! Beyond salads, try grilling endive halves with a drizzle of olive oil and balsamic vinegar. Braise it with chicken broth and herbs for a tender side dish. Sauté it with garlic and butter for a simple yet elegant accompaniment to fish or meat. You can even use endive leaves as edible spoons for appetizers or dips. Don’t be afraid to experiment and discover your own favorite ways to enjoy this unique vegetable.
Is growing endive organically difficult?
Growing endive organically is definitely achievable with a bit of planning and attention. Focus on building healthy soil with plenty of compost and organic matter. This will help your plants resist pests and diseases naturally. Use organic pest control methods like insecticidal soap or neem oil if needed. Choose disease-resistant varieties of endive whenever possible. By following these practices, you can enjoy delicious, organically grown endive from your own garden.


Leave a Comment