
Grow Oregano at Home? Absolutely! Imagine stepping outside your door and snipping fresh, fragrant oregano to sprinkle over your homemade pizza or stir into a delicious pasta sauce. Sounds dreamy, right? Well, it’s easier than you think, and I’m here to show you how with some simple DIY tricks that will transform your space into a mini herb garden.
Oregano, with its rich history dating back to ancient Greece and Rome, wasn’t just a culinary staple; it was also believed to possess medicinal properties and symbolize joy and happiness. For centuries, cultures around the world have cherished this versatile herb. Now, you can bring that same history and flavor into your own home!
In today’s busy world, convenience is key, but so is knowing where your food comes from. Store-bought herbs can be expensive and often lack the vibrant flavor of freshly picked ones. That’s where these DIY tricks come in. Learning how to grow oregano at home not only saves you money but also provides you with a constant supply of fresh, organic herbs, free from harmful pesticides. Plus, it’s incredibly rewarding to nurture a plant from seed to harvest. So, let’s dive in and discover the secrets to growing your own thriving oregano patch, no matter how small your space may be!
Growing Tomatoes from Store-Bought Tomatoes: A DIY Guide
Hey there, fellow gardening enthusiasts! Ever looked at a juicy, ripe tomato from the grocery store and thought, “I wonder if I could grow more of these?” Well, guess what? You absolutely can! It’s a fun and rewarding DIY project, and I’m here to guide you through the process. While it’s not guaranteed to work every single time (hybrid tomatoes can be tricky!), it’s definitely worth a shot. Let’s dive in!
Choosing the Right Tomato
Before we get our hands dirty, it’s crucial to pick the right tomato. Not all store-bought tomatoes are created equal when it comes to propagation.
* Opt for Heirloom Varieties: Heirloom tomatoes are your best bet. These are open-pollinated varieties, meaning their seeds will produce plants that are true to type. Think Brandywine, Cherokee Purple, or San Marzano. These are more likely to give you successful results.
* Avoid Hybrids: Hybrid tomatoes (often labeled as “hybrid” or “F1”) are bred for specific traits like disease resistance or uniform size. Their seeds often don’t produce plants that are identical to the parent tomato. You might get something completely different, or nothing at all.
* Select Organic When Possible: Organic tomatoes haven’t been treated with synthetic pesticides, which can sometimes affect seed viability.
* Look for Ripe, Healthy Tomatoes: Choose tomatoes that are ripe, firm, and free from blemishes or bruises. The healthier the tomato, the better the chances of viable seeds.
* Consider the Source: Locally grown tomatoes from a farmer’s market are often a better choice than those shipped from far away. They’re usually fresher and haven’t been subjected to as much handling.
Extracting the Seeds
Okay, you’ve got your perfect tomato. Now, let’s get those seeds out!
1. Slice the Tomato: Using a clean knife, carefully slice the tomato in half horizontally (across the “equator,” not from stem to blossom end). This will expose the seed cavities.
2. Scoop Out the Seeds and Pulp: Use a spoon or your fingers to scoop out the seeds and the surrounding pulp into a small container. A glass jar or plastic cup works well. Don’t worry about separating the seeds from the pulp at this stage.
3. Ferment the Seeds (Important!): This is a crucial step that helps remove germination inhibitors and reduces the risk of seed-borne diseases.
* Add a small amount of water to the container with the seeds and pulp. Just enough to cover everything.
* Leave the container in a warm place (around 70-75°F or 21-24°C) for 3-4 days. You’ll notice a layer of mold forming on top – don’t panic! That’s a good sign. It means the fermentation process is working.
* Stir the mixture once or twice a day.
* You’ll know the fermentation is complete when the mold layer is thick and the seeds have sunk to the bottom of the container. The mixture will also have a slightly sour smell.
4. Rinse and Separate the Seeds: After fermentation, it’s time to clean the seeds.
* Add more water to the container and stir well.
* The good, viable seeds will sink to the bottom, while the pulp and non-viable seeds will float.
* Carefully pour off the floating pulp and debris.
* Repeat this rinsing process several times until you’re left with clean seeds at the bottom of the container.
5. Dry the Seeds: This is essential to prevent mold and ensure long-term storage.
* Spread the seeds out in a single layer on a non-stick surface, such as a paper towel, coffee filter, or glass plate. Make sure the seeds aren’t clumped together.
* Place the seeds in a cool, dry, and well-ventilated area away from direct sunlight.
* Allow the seeds to dry completely for 1-2 weeks. They should be hard and brittle to the touch.
6. Store the Seeds: Once the seeds are completely dry, store them in an airtight container, such as a glass jar or envelope. Label the container with the tomato variety and the date you extracted the seeds. Store the container in a cool, dark, and dry place. A refrigerator or freezer is ideal for long-term storage.
Starting the Seeds
Now that you have your dried and stored tomato seeds, it’s time to start them indoors. This gives them a head start before transplanting them into your garden.
1. Gather Your Supplies: You’ll need:
* Seed starting trays or small pots
* Seed starting mix (a light, sterile soil mix specifically designed for starting seeds)
* Watering can or spray bottle
* Heat mat (optional, but helpful for germination)
* Grow lights (optional, but recommended for strong seedlings)
2. Sow the Seeds:
* Moisten the seed starting mix. It should be damp but not soggy.
* Fill the seed starting trays or pots with the moistened mix.
* Make a small indentation (about 1/4 inch deep) in the center of each cell or pot.
* Place 2-3 seeds in each indentation. This increases the chances of at least one seed germinating.
* Gently cover the seeds with the seed starting mix.
* Lightly water the soil with a spray bottle.
3. Provide Warmth and Light:
* Place the seed starting trays or pots on a heat mat (if using). This will help speed up germination.
* Cover the trays or pots with a clear plastic dome or plastic wrap to create a humid environment.
* Place the trays or pots under grow lights (if using). If you don’t have grow lights, place them in a sunny window, but be aware that seedlings grown in windowsills can become leggy (tall and weak).
* Keep the soil consistently moist but not waterlogged.
4. Germination:
* Tomato seeds typically germinate in 5-10 days.
* Once the seedlings emerge, remove the plastic dome or plastic wrap.
* If you sowed multiple seeds in each cell or pot, thin them out by snipping off the weaker seedlings with scissors, leaving only the strongest seedling in each cell or pot.
Caring for the Seedlings
Once your seedlings have emerged, it’s important to provide them with the right care to ensure they grow into healthy, strong plants.
1. Watering:
* Water the seedlings regularly, keeping the soil consistently moist but not waterlogged.
* Water from the bottom to avoid wetting the foliage, which can lead to fungal diseases. You can do this by placing the seed starting trays in a shallow tray of water and allowing the soil to absorb the water from below.
2. Light:
* Provide the seedlings with plenty of light. If you’re using grow lights, keep them on for 14-16 hours per day.
* If you’re using a sunny window, rotate the trays or pots regularly to ensure that the seedlings receive even light on all sides.
3. Fertilizing:
* Once the seedlings have developed their first set of true leaves (the leaves that look like miniature tomato leaves), start fertilizing them with a diluted liquid fertilizer specifically formulated for seedlings.
* Follow the instructions on the fertilizer label.
4. Hardening Off:
* Before transplanting the seedlings into your garden, you’ll need to “harden them off.” This process gradually acclimates the seedlings to outdoor conditions, such as sunlight, wind, and temperature fluctuations.
* Start by placing the seedlings outdoors in a sheltered location for a few hours each day, gradually increasing the amount of time they spend outdoors over a period of 1-2 weeks.
* Protect the seedlings from strong winds and direct sunlight during the hardening off process.
Transplanting into the Garden
Finally, the moment we’ve been waiting for! It’s time to transplant your tomato seedlings into your garden.
1. Choose the Right Location:
* Tomatoes need at least 6-8 hours of sunlight per day.
* Choose a location with well-drained soil.
* Avoid planting tomatoes in the same location where you grew tomatoes, peppers, eggplants, or potatoes in the previous year, as these plants are susceptible to similar diseases.
2. Prepare the Soil:
* Amend the soil with compost or other organic matter to improve drainage and fertility.
* Dig a hole that is slightly larger than the root ball of the seedling.
3. Transplant the Seedlings:
* Gently remove the seedling from
Conclusion
So, there you have it! Growing oregano at home is not just a fun project; it’s a gateway to fresher, more flavorful meals and a more sustainable lifestyle. We’ve walked you through the simple steps, from choosing the right variety to harvesting your bounty. But why is this DIY trick a must-try?
Firstly, the taste difference is undeniable. Store-bought dried oregano simply can’t compare to the vibrant, peppery punch of freshly picked leaves. Imagine sprinkling your homemade pizza with oregano you nurtured from a tiny seedling – the aroma alone will elevate your culinary creations. Secondly, you’re in control of what goes into your oregano. No pesticides, no hidden additives, just pure, unadulterated flavor. This is especially important for those of us who are conscious about what we consume.
Beyond the taste and health benefits, growing oregano at home is incredibly rewarding. There’s something deeply satisfying about nurturing a plant from seed to harvest, watching it thrive under your care. It’s a small connection to nature that can bring a sense of calm and accomplishment to your daily life. Plus, it’s a fantastic way to reduce your carbon footprint by cutting down on transportation and packaging associated with store-bought herbs.
But the possibilities don’t stop there! Consider these variations to personalize your oregano-growing experience:
* Container Gardening: If you’re short on space, oregano thrives in pots and containers. Choose a well-draining pot and place it in a sunny spot on your balcony or patio.
* Hydroponics: For the tech-savvy gardener, hydroponic systems offer a controlled environment for optimal oregano growth.
* Companion Planting: Oregano is a great companion plant for many vegetables, including tomatoes, peppers, and eggplant. It can help deter pests and improve the overall health of your garden.
* Different Varieties: Explore the diverse world of oregano! Greek oregano is known for its intense flavor, while Italian oregano is milder and sweeter. Mexican oregano, though botanically different, offers a citrusy, anise-like flavor that’s perfect for Southwestern cuisine. Experiment and find your favorite!
* Drying and Preserving: Once you have a plentiful harvest, dry your oregano to enjoy its flavor year-round. Simply hang bunches upside down in a cool, dry place or use a dehydrator. You can also freeze oregano leaves in olive oil for later use.
We truly believe that anyone can successfully grow oregano at home, regardless of their gardening experience. It’s a low-maintenance plant that’s incredibly forgiving, making it perfect for beginners. So, what are you waiting for? Grab some seeds or a starter plant and embark on your oregano-growing adventure today!
We’re confident that you’ll be amazed by the results. And we’d love to hear about your experience! Share your tips, tricks, and photos with us in the comments below. Let’s create a community of oregano enthusiasts and inspire others to embrace the joys of homegrown herbs. Don’t forget to tag us in your social media posts using #HomegrownOregano and #DIYHerbs. We can’t wait to see what you create!
FAQ
Frequently Asked Questions About Growing Oregano at Home
1. What is the best time of year to plant oregano?
The best time to plant oregano depends on your climate. In warmer climates, you can plant oregano in the spring or fall. In colder climates, it’s best to start seeds indoors 6-8 weeks before the last expected frost and transplant them outdoors after the danger of frost has passed. This ensures the young plants have enough time to establish themselves before the colder months arrive. Starting indoors gives them a head start and protects them from harsh weather conditions.
2. How much sunlight does oregano need?
Oregano thrives in full sun, requiring at least 6-8 hours of direct sunlight per day. Sunlight is crucial for photosynthesis, the process by which plants convert light energy into chemical energy for growth. If you’re growing oregano indoors, place it near a sunny window or use a grow light to supplement natural light. Insufficient sunlight can lead to leggy growth and reduced flavor intensity.
3. What type of soil is best for growing oregano?
Oregano prefers well-draining soil with a slightly alkaline pH (around 6.5-7.0). Good drainage is essential to prevent root rot, a common problem in herbs. Amend heavy clay soil with compost or other organic matter to improve drainage and aeration. You can also use a potting mix specifically formulated for herbs. Before planting, consider testing your soil’s pH level to ensure it’s within the optimal range for oregano growth.
4. How often should I water oregano?
Water oregano regularly, but avoid overwatering. Allow the soil to dry out slightly between waterings. Overwatering can lead to root rot, while underwatering can cause the leaves to wilt and dry out. Check the soil moisture by sticking your finger about an inch deep into the soil. If it feels dry, it’s time to water. Adjust your watering schedule based on the weather and the plant’s needs.
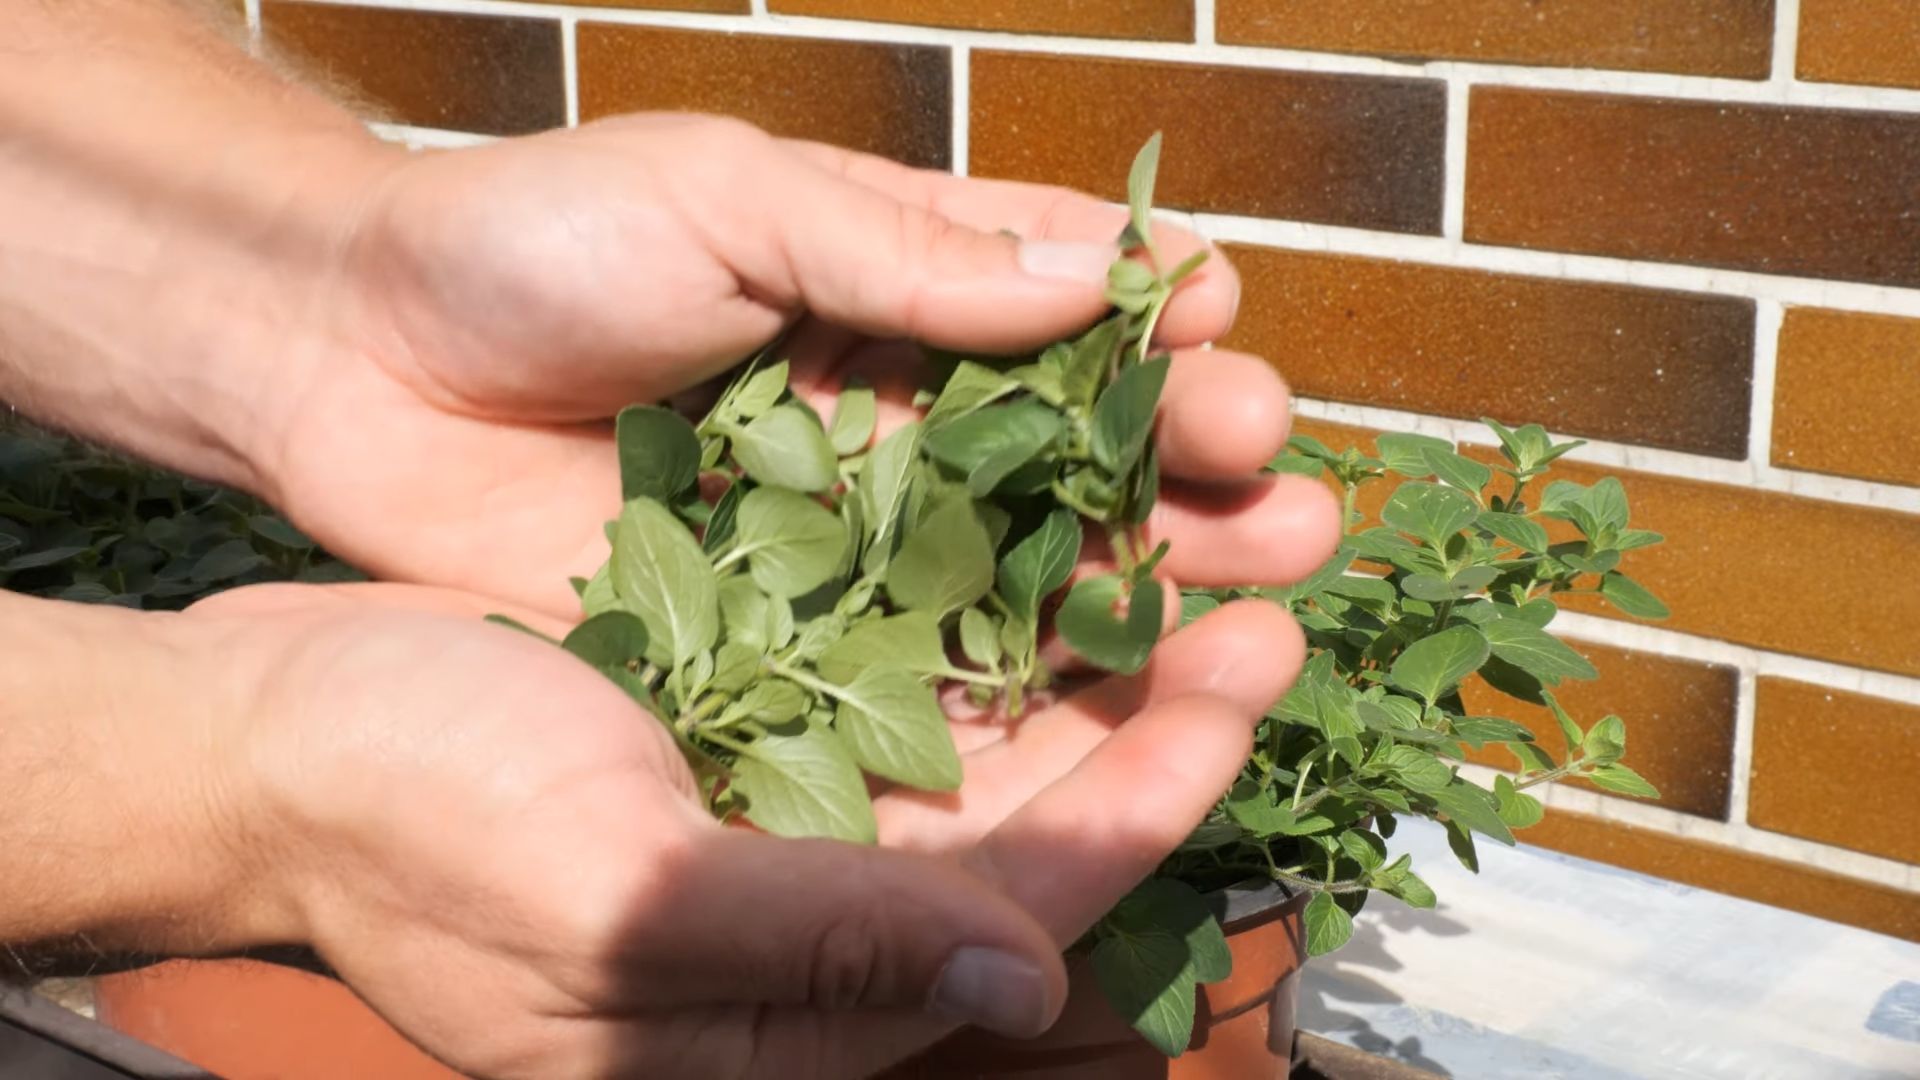
5. How do I harvest oregano?
You can start harvesting oregano once the plant is about 6-8 inches tall. Snip off the stems just above a leaf node, which will encourage the plant to branch out and produce more leaves. Harvest oregano regularly throughout the growing season to keep it productive. The best time to harvest is in the morning, after the dew has dried but before the sun gets too hot. This is when the essential oils are most concentrated, resulting in the best flavor.
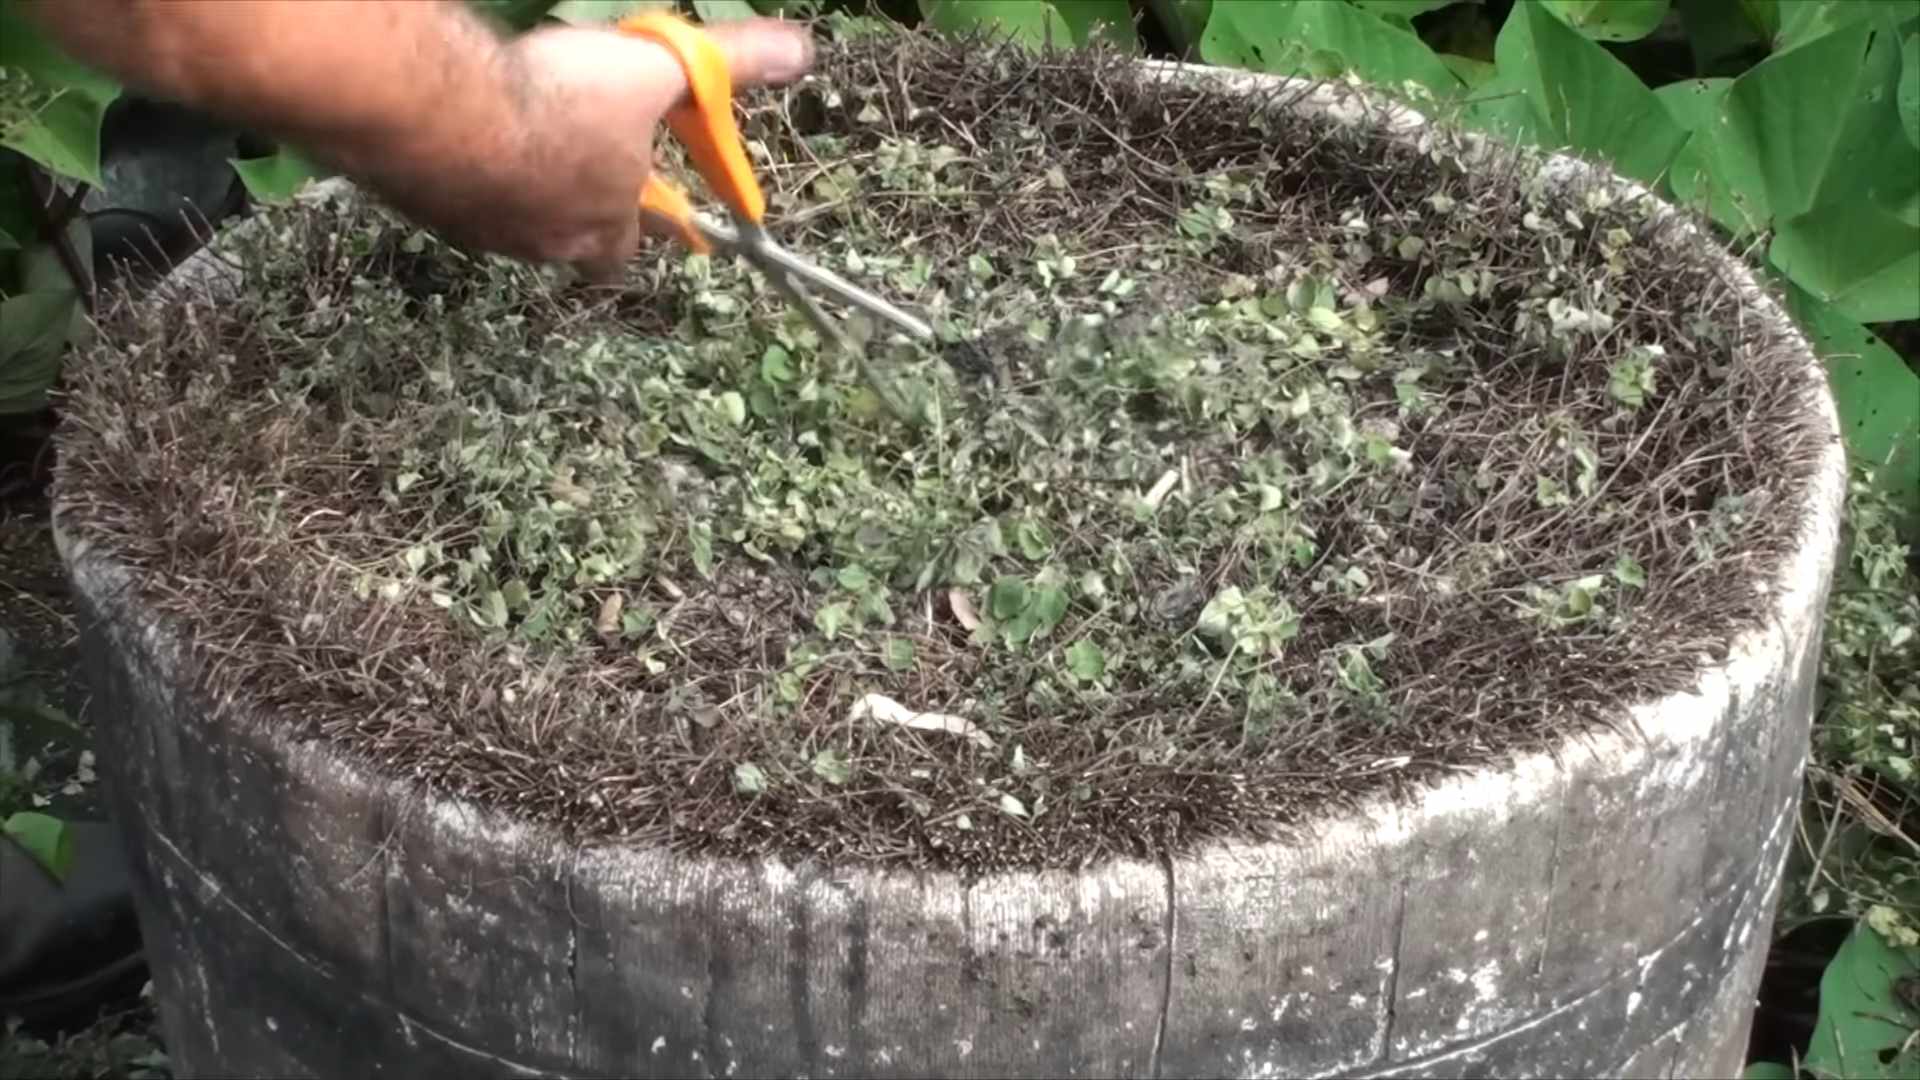
6. How do I dry oregano?
There are several ways to dry oregano. One method is to tie bunches of stems together and hang them upside down in a cool, dry, and well-ventilated place. Another method is to spread the leaves on a screen or dehydrator tray and dry them at a low temperature. Once the leaves are completely dry and brittle, store them in an airtight container in a cool, dark place. Properly dried oregano can retain its flavor for up to a year.
7. What are some common pests and diseases that affect oregano?
Oregano is generally pest-resistant, but it can be susceptible to aphids, spider mites, and root rot. Aphids and spider mites can be controlled with insecticidal soap or neem oil. Root rot is caused by overwatering, so ensure the soil is well-draining and avoid overwatering. Regularly inspect your plants for signs of pests or diseases and take action promptly to prevent them from spreading.
8. Can I grow oregano indoors?
Yes, you can grow oregano indoors, but it requires sufficient sunlight or a grow light. Place the plant near a sunny window that receives at least 6-8 hours of direct sunlight per day. If you don’t have enough natural light, use a grow light to supplement. Ensure the pot has drainage holes and use a well-draining potting mix. Water regularly, but avoid overwatering.
9. Is oregano a perennial or annual?
Oregano is a perennial herb, meaning it will come back year after year in most climates. In colder climates, it may die back in the winter but will regrow in the spring. To protect oregano in colder climates, mulch around the base of the plant to insulate the roots. You can also grow oregano in a container and bring it indoors during the winter.
10. What are some culinary uses for oregano?
Oregano is a versatile herb that can be used in a variety of dishes. It’s commonly used in Italian, Greek, and Mexican cuisine. Add it to pizza, pasta sauces, soups, stews, and grilled meats. Fresh oregano has a more intense flavor than dried oregano, so use it sparingly. You can also use oregano to make herbal teas or infused oils. Experiment with different varieties of oregano to find your favorite flavor profiles.

Leave a Comment