
Clean Frying Pan Baking Soda: Your secret weapon to a sparkling kitchen! Are you tired of battling stubborn, burnt-on food residue in your frying pans? I know I was! It felt like I was spending more time scrubbing than cooking. For generations, resourceful cooks have sought effective, eco-friendly ways to maintain their cookware. From using wood ash in ancient times to discovering the power of natural ingredients like baking soda, the quest for a pristine frying pan has been a constant.
But why is it so important to keep your frying pans clean? Beyond the obvious aesthetic appeal, a clean pan ensures even cooking, prevents food from sticking, and extends the life of your cookware. Plus, nobody wants to cook in a pan caked with old grime! That’s where this DIY trick comes in. I’m going to show you a simple, yet incredibly effective method using baking soda to restore your frying pans to their former glory.
This isn’t just about cleaning; it’s about reclaiming your time and enjoying the cooking process. Say goodbye to harsh chemicals and endless scrubbing. With this easy clean frying pan baking soda hack, you’ll be amazed at how quickly and effortlessly you can achieve professional-level results. Let’s get started and transform those grimy pans into kitchen treasures!
DIY: Restore Your Burnt Frying Pan with Baking Soda
Hey there, fellow home cooks! Are you tired of staring at that burnt, blackened frying pan lurking in your kitchen cabinet? Don’t throw it away just yet! I’m going to show you a super easy and effective way to bring it back to life using a common household ingredient: baking soda. Trust me, this method is a game-changer, and you’ll be amazed at the results.
What You’ll Need
Before we dive in, let’s gather our supplies. This is a pretty simple project, so you probably already have everything you need:
* A burnt frying pan (obviously!)
* Baking soda
* Water
* Dish soap
* A non-abrasive sponge or scrub brush
* A soft cloth or paper towels
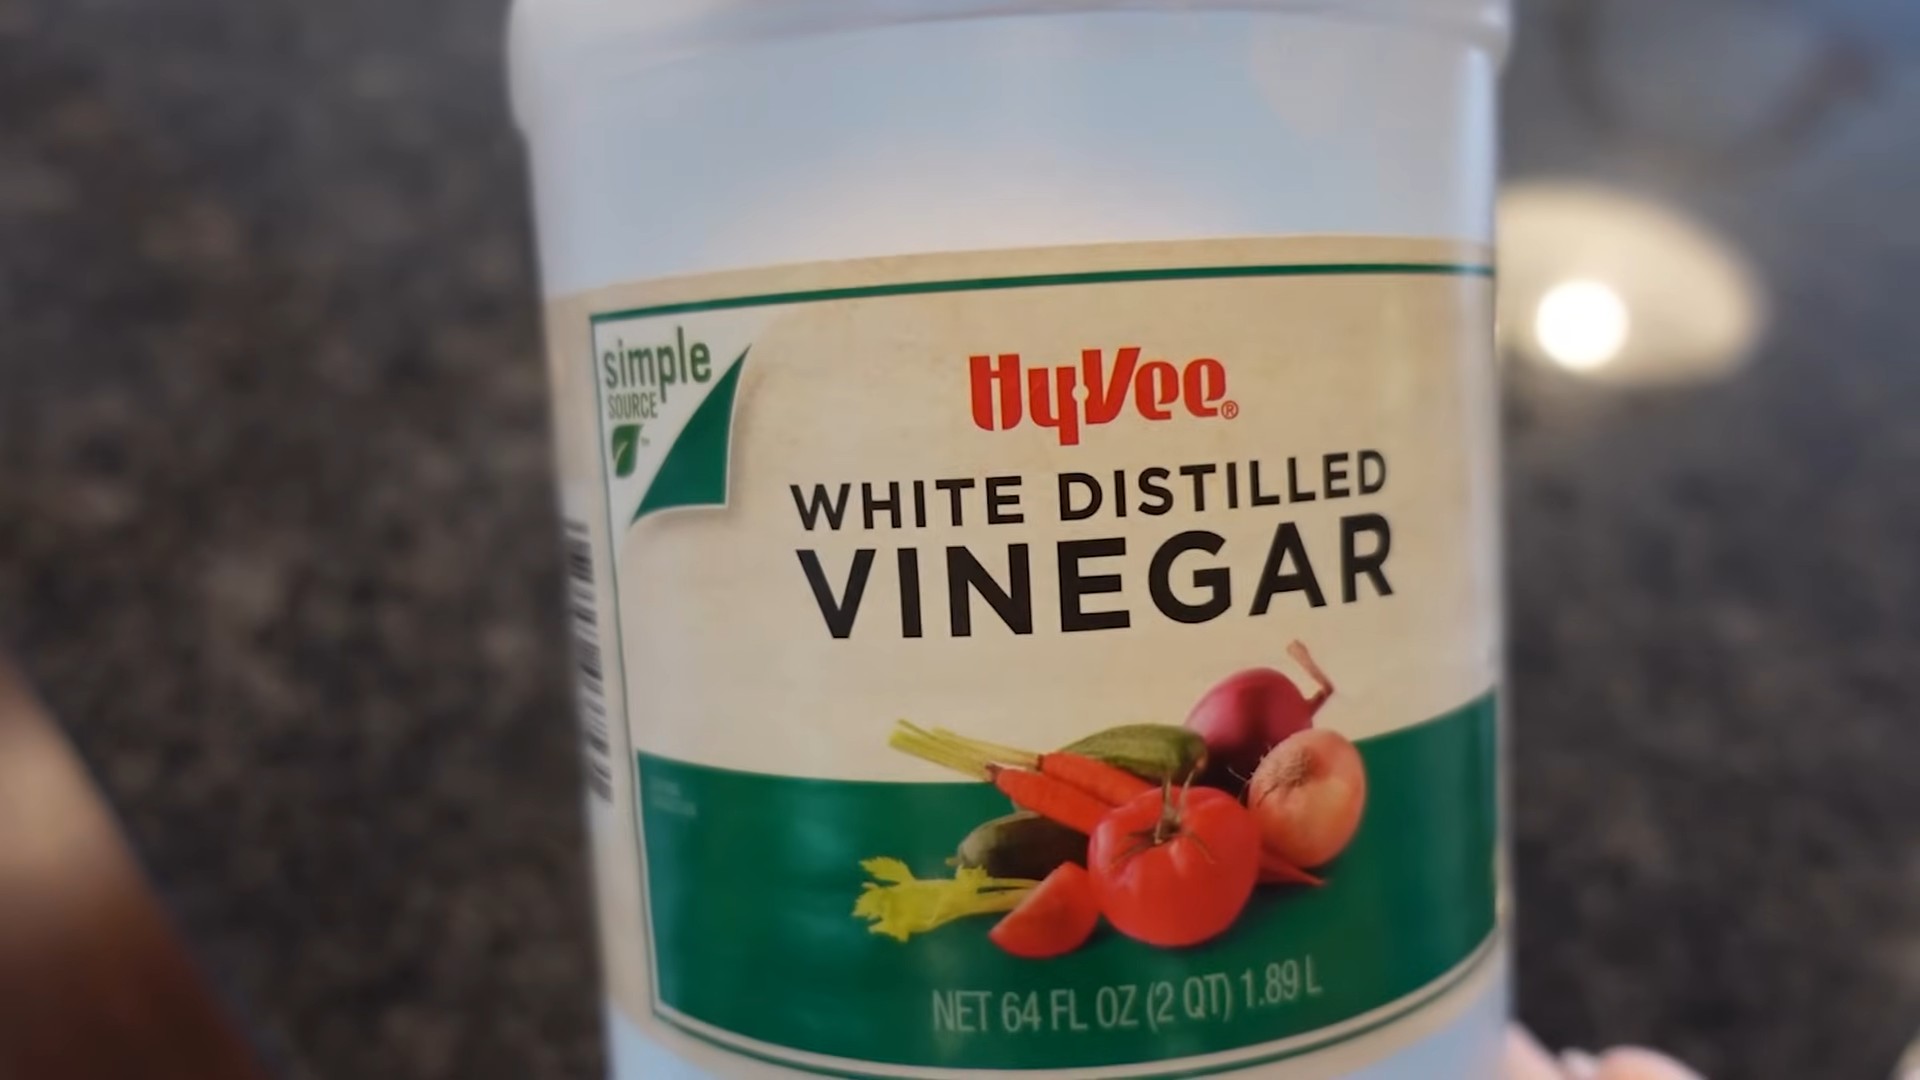
* Optional: White vinegar
The Baking Soda Power Soak: Step-by-Step
This is the core of our cleaning process. We’re going to create a powerful baking soda solution that will loosen up that stubborn burnt-on food.
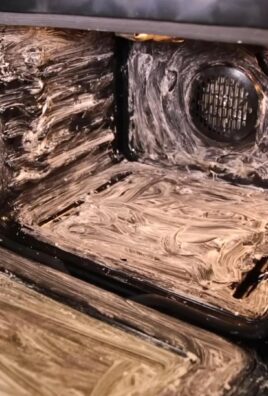
1. Assess the Damage: Take a good look at your frying pan. How bad is the burning? Is it just a light layer, or is it a thick, crusty mess? This will help you determine how much baking soda and water you’ll need.
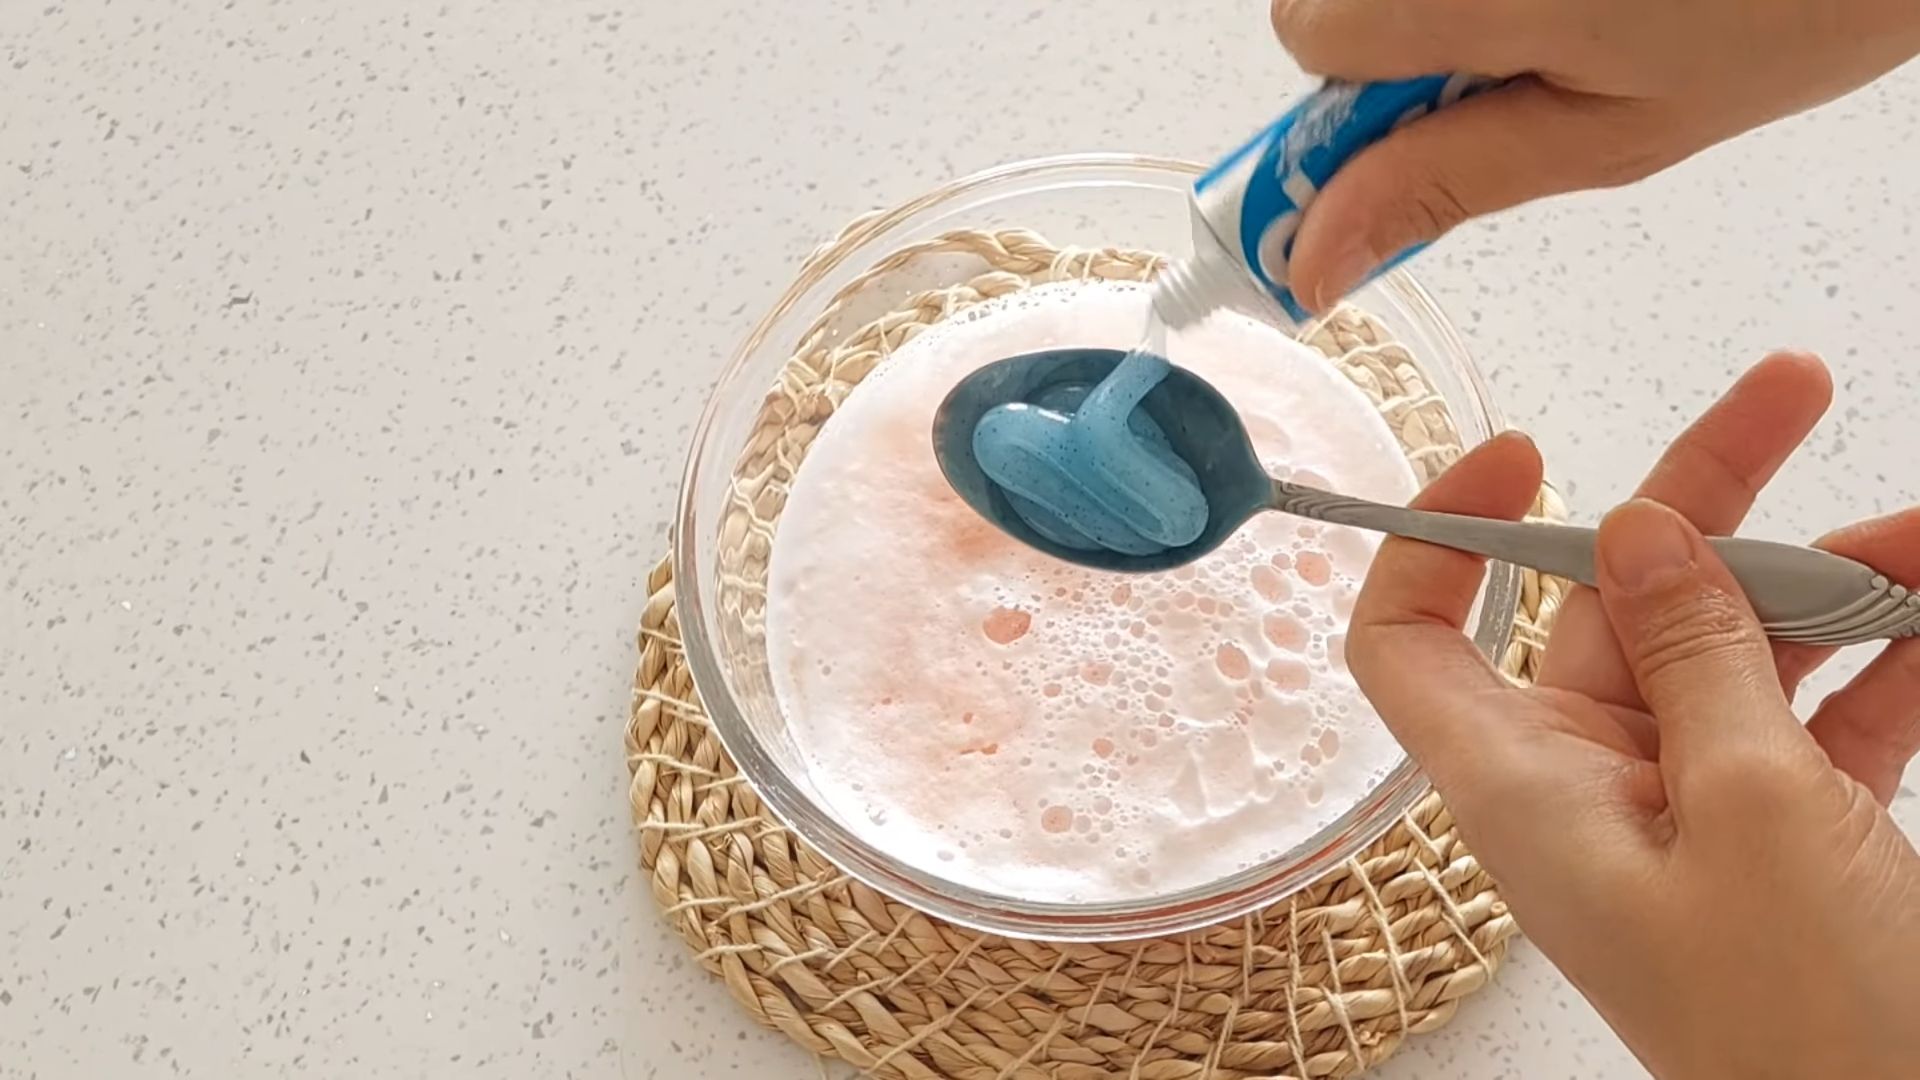
2. Coat the Burnt Area: Pour a generous amount of baking soda directly onto the burnt areas of the pan. You want to completely cover the affected areas with a thick layer. Don’t be shy!
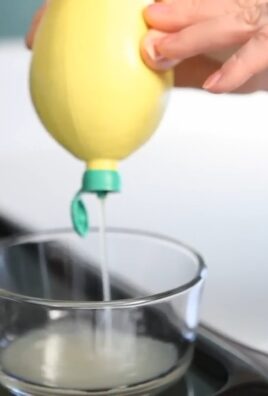
3. Add Water: Slowly pour water over the baking soda until it forms a thick paste. The water should be enough to saturate the baking soda and create a slightly soupy consistency.
4. Simmer on the Stovetop (for Heavily Burnt Pans): If your pan is seriously burnt, this step is crucial. Place the pan on the stovetop over low heat. Let the baking soda and water mixture simmer for about 30 minutes. Keep an eye on it and add more water if it starts to dry out. The simmering action will help to further loosen the burnt-on food. Be careful not to let the pan boil dry!
5. Soak (for Lightly Burnt Pans or After Simmering): Remove the pan from the heat (if you simmered it) and let it soak for at least 2 hours, or even better, overnight. The longer it soaks, the easier it will be to scrub away the burnt residue. I usually prefer to let it soak overnight for the best results.
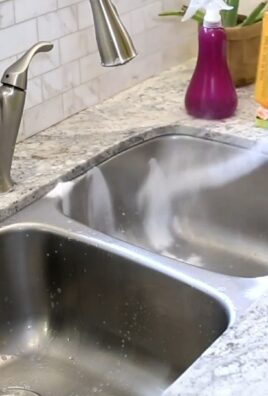
Scrubbing Away the Grime
Now comes the fun part – getting rid of that burnt gunk!
1. Drain the Baking Soda Solution: Carefully pour out the baking soda and water mixture. You’ll probably see that a lot of the burnt food has already loosened up and is floating around.
2. Apply Dish Soap: Squirt a generous amount of dish soap onto the burnt areas of the pan. This will help to cut through any remaining grease and grime.
3. Scrub Gently: Using a non-abrasive sponge or scrub brush, start scrubbing the burnt areas. Avoid using steel wool or abrasive cleaners, as they can scratch the surface of your pan. Apply gentle pressure and scrub in a circular motion. You should see the burnt residue starting to lift away.
4. Rinse Thoroughly: Rinse the pan thoroughly with warm water to remove all traces of baking soda, dish soap, and burnt residue.
5. Repeat if Necessary: If there are still some stubborn burnt spots, repeat steps 2-4. You might need to apply a little more elbow grease, but don’t give up!
The Vinegar Boost (Optional)
For those extra-stubborn burnt spots, white vinegar can be a real lifesaver.
1. Vinegar Soak: Pour a small amount of white vinegar directly onto the remaining burnt areas.
2. Let it Sit: Let the vinegar sit for about 15-20 minutes. The acidity of the vinegar will help to break down the remaining burnt residue.
3. Scrub Again: Scrub the areas with vinegar using your non-abrasive sponge or scrub brush.
4. Rinse Thoroughly: Rinse the pan thoroughly with warm water.
Drying and Polishing
Almost there! Now let’s get that pan looking shiny and new.
1. Dry the Pan: Use a soft cloth or paper towels to dry the pan thoroughly.
2. Inspect for Remaining Residue: Take a close look at the pan to make sure you’ve removed all the burnt residue. If you see any remaining spots, repeat the scrubbing process.
3. Polish (Optional): For an extra shine, you can use a stainless steel cleaner or polish specifically designed for cookware. Follow the instructions on the product label.
Preventing Future Burns
Now that your frying pan is sparkling clean, let’s talk about how to prevent future burns.
* Don’t Overheat: Avoid overheating your pan, especially when cooking with oil or butter. High heat can cause food to burn quickly.
* Use Enough Oil or Butter: Make sure you’re using enough oil or butter to prevent food from sticking to the pan.
* Stir Frequently: Stir your food frequently to prevent it from burning on the bottom of the pan.
* Clean Immediately: Clean your frying pan as soon as possible after cooking. The longer you wait, the harder it will be to remove burnt-on food.
* Consider the Cookware: Some cookware is more prone to burning than others. Consider investing in high-quality, non-stick frying pans.
Troubleshooting
Sometimes, even with the best efforts, you might encounter some challenges. Here are a few troubleshooting tips:
* Stubborn Burnt Spots: If you’re having trouble removing stubborn burnt spots, try making a paste of baking soda and a few drops of water. Apply the paste directly to the burnt spots and let it sit for a few hours before scrubbing.
* Discoloration: If your pan is discolored after cleaning, you can try using a stainless steel cleaner or polish to restore its shine.
* Scratches: If you accidentally scratched your pan while scrubbing, you can try using a stainless steel scratch remover to minimize the appearance of the scratches.
Alternative Methods (When Baking Soda Isn’t Enough)
While baking soda is usually my go-to, sometimes you need to bring out the big guns. Here are a couple of alternative methods for really tough burns:
* Boiling with Dish Soap and Baking Soda: Fill the pan with water, add a generous squirt of dish soap and a few tablespoons of baking soda. Bring the mixture to a boil and let it simmer for 15-20 minutes. This can help loosen even the most stubborn burnt-on food. Be sure to watch it carefully and don’t let it boil dry.
* Oven Cleaner (Use with Caution!): As a last resort, you can try using oven cleaner. This is a harsh chemical, so use it with extreme caution and follow the instructions on the product label carefully. Wear gloves and eye protection, and make sure to ventilate the area well. Spray the oven cleaner onto the burnt areas of the pan, let it sit for the recommended time, and then scrub thoroughly. Rinse the pan very well with soap and water to remove all traces of the oven cleaner.
And there you have it! A simple, effective, and budget-friendly way to clean your burnt frying pan using baking soda. I hope this guide helps you bring your cookware back to life and saves you from having to buy a new pan. Happy cooking!
Conclusion
So, there you have it! This simple, yet incredibly effective, DIY trick using baking soda to clean your frying pan is a game-changer. Forget spending hours scrubbing away at stubborn grease and burnt-on food. Forget harsh chemicals that leave behind lingering odors and potential health concerns. This method is not only eco-friendly and budget-friendly, but it also delivers sparkling clean results with minimal effort.
Why is this a must-try? Because it saves you time, money, and frustration. It breathes new life into your beloved frying pans, extending their lifespan and ensuring they’re always ready for your next culinary adventure. Think of all the delicious meals you can create without the added stress of a dirty pan looming over you.
But the beauty of this DIY trick lies in its versatility. While baking soda and water are the core ingredients, feel free to experiment with variations to suit your specific needs. For particularly stubborn stains, consider adding a splash of white vinegar to the baking soda paste. The fizzing action will help to loosen the grime even further. Alternatively, if you’re dealing with a pan that has a non-stick coating, be extra gentle and use a soft sponge or cloth to avoid scratching the surface. You can also try adding a few drops of dish soap to the baking soda paste for extra cleaning power.
Another variation involves pre-soaking the pan in hot, soapy water before applying the baking soda paste. This can help to soften the burnt-on food and make it easier to remove. For cast iron pans, be sure to re-season them after cleaning to prevent rusting.
We’ve found that a little elbow grease goes a long way, but don’t be afraid to let the baking soda paste sit for a longer period of time, even overnight, for truly stubborn messes. Just remember to rinse thoroughly and dry completely after cleaning.
This method isn’t just for frying pans either! You can use this same baking soda cleaning paste on other cookware, like pots, baking sheets, and even oven racks. It’s a truly versatile cleaning solution that every home cook should have in their arsenal.
Don’t just take our word for it – try it yourself! We’re confident that you’ll be amazed by the results. It’s a simple, effective, and affordable way to keep your frying pans looking their best.
We encourage you to give this DIY trick a try and share your experience with us. Let us know in the comments below how it worked for you, what variations you tried, and any tips or tricks you discovered along the way. We love hearing from our readers and learning from your experiences. Together, we can make kitchen cleaning a breeze! So, grab your baking soda, your dirty frying pan, and get ready to be amazed! You’ll be wondering why you didn’t try this sooner. Happy cleaning!
Frequently Asked Questions (FAQ)
Q: Can I use this baking soda method on all types of frying pans?
A: Generally, yes, this method is safe for most types of frying pans, including stainless steel, ceramic, and even cast iron (with proper re-seasoning afterward). However, exercise caution when cleaning non-stick pans. Avoid using abrasive scrubbers that could damage the coating. Opt for a soft sponge or cloth and a gentle touch. If you’re unsure, test a small, inconspicuous area of the pan first.
Q: How much baking soda should I use for the cleaning paste?
A: The amount of baking soda you need will depend on the size and severity of the stains on your frying pan. A good starting point is to mix about 1/4 cup of baking soda with enough water to form a thick paste. You can always add more baking soda or water as needed to achieve the desired consistency. The paste should be thick enough to adhere to the pan’s surface but not so thick that it’s difficult to spread.
Q: How long should I let the baking soda paste sit on the frying pan?
A: The amount of time you let the baking soda paste sit on the frying pan will depend on the severity of the stains. For light stains, 30 minutes to an hour may be sufficient. For more stubborn stains, you can let the paste sit for several hours or even overnight. Just be sure to keep the paste moist by covering the pan with plastic wrap or a damp cloth.
Q: What if the baking soda paste doesn’t remove all the stains?
A: If the baking soda paste doesn’t remove all the stains on your frying pan, don’t despair! There are a few things you can try. First, try adding a splash of white vinegar to the baking soda paste. The fizzing action will help to loosen the grime even further. Second, try scrubbing the pan with a bit more elbow grease. Use a non-abrasive scrubber or a soft sponge to avoid damaging the pan’s surface. Finally, if all else fails, you can repeat the process. Apply a fresh layer of baking soda paste and let it sit for a longer period of time.
Q: Can I use this method to clean burnt food off the bottom of my frying pan?
A: Yes, this method is particularly effective for cleaning burnt food off the bottom of your frying pan. The baking soda helps to loosen the burnt food, making it easier to scrub away. For particularly stubborn burnt food, you can try boiling a mixture of water and baking soda in the pan for a few minutes before applying the baking soda paste. This will help to soften the burnt food and make it even easier to remove.
Q: Is baking soda safe to use on non-stick frying pans?
A: Yes, baking soda is generally safe to use on non-stick frying pans, but it’s important to be gentle. Avoid using abrasive scrubbers that could scratch the non-stick coating. Opt for a soft sponge or cloth and a gentle touch. You can also try adding a few drops of dish soap to the baking soda paste for extra cleaning power. Always rinse the pan thoroughly after cleaning to remove any residue.
Q: How do I re-season a cast iron frying pan after cleaning it with baking soda?
A: Re-seasoning a cast iron frying pan after cleaning it with baking soda is essential to prevent rusting. To re-season your pan, first, wash and dry it thoroughly. Then, apply a thin layer of cooking oil (such as vegetable oil, canola oil, or flaxseed oil) to the entire surface of the pan, inside and out. Wipe off any excess oil with a clean cloth. Finally, bake the pan in a preheated oven at 350 degrees Fahrenheit for one hour. Let the pan cool completely in the oven before using it.
Q: Can I use this baking soda cleaning method on other cookware besides frying pans?
A: Absolutely! This baking soda cleaning method is versatile and can be used on other cookware, such as pots, baking sheets, oven racks, and even stainless steel sinks. Just be sure to adjust the amount of baking soda and water as needed to create a paste that is appropriate for the surface you are cleaning. And always test a small, inconspicuous area first to ensure that the method is safe for the material.
Q: How often should I clean my frying pan with baking soda?
A: The frequency with which you clean your frying pan with baking soda will depend on how often you use it and how dirty it gets. For pans that are used frequently, you may want to clean them with baking soda once a week or more. For pans that are used less often, you may only need to clean them with baking soda once a month or less. It’s always a good idea to clean your frying pan as soon as possible after using it to prevent food from sticking and becoming difficult to remove.
Q: What are the benefits of using baking soda to clean my frying pan compared to commercial cleaners?
A: There are several benefits to using baking soda to clean your frying pan compared to commercial cleaners. First, baking soda is a natural and non-toxic cleaning agent, making it a safer option for you and your family. Second, baking soda is much more affordable than commercial cleaners. Third, baking soda is readily available and can be found in most grocery stores. Finally, baking soda is an effective cleaning agent that can remove stubborn grease and burnt-on food without damaging your frying pan.
Leave a Comment